Smartsheet and Airtable Integration: Automated Data Transfer
Smartsheet is a popular online tool for managing tasks and projects, created to optimize teamwork in a single environment. Airtable is a popular cloud service for storing and processing information and databases management. If you are faced with the task of regularly synchronizing data between these services, we offer a simple and reliable solution. Now we will tell you how to set up Smartsheet and Airtable integration.
Automating the process of manual data transfer eliminates one of the labor-intensive routine tasks. It helps save time and resources for employees and minimizes the likelihood of errors. By integrating platforms, information processing will be much faster. This will have a positive effect on your productivity, as well as on the efficiency of the department and the company as a whole.
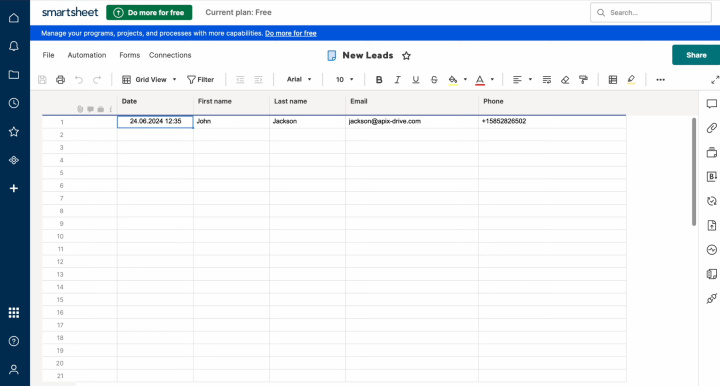
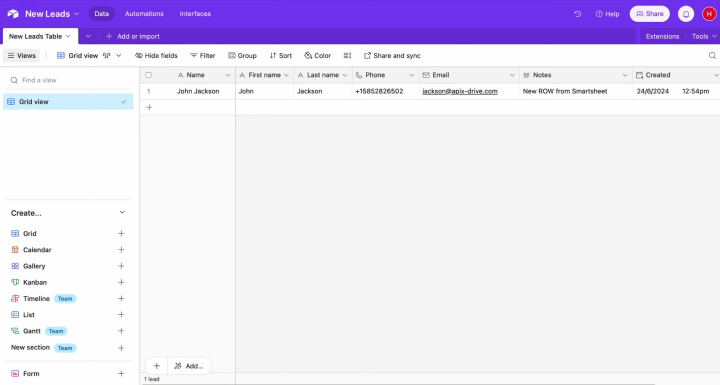
How to Set Up Smartsheet and Airtable Integration
To set up Smartsheet + Airtable integration, you don’t need to learn the basics of programming or understand the complexities of API requests. You don’t have to ask for help from specialists, either. Our online connector ApiX-Drive will do all the work for you. With its help, you can quickly and effortlessly connect both platforms. Thanks to the user-friendly interface and simple operating principle, the setup will take you no more than 10 minutes. Detailed text guides and video instructions will help you easily cope with connecting accounts and setting up parameters.
- Automate the work of an online store or landing
- Empower through integration
- Don't spend money on programmers and integrators
- Save time by automating routine tasks
Let's get started. Register your personal account on the apix-drive.com website. Thereafter, proceed to Airtable + Smartsheet integration. First, let's set up the data source.
Setting Up the Data Source – Smartsheet
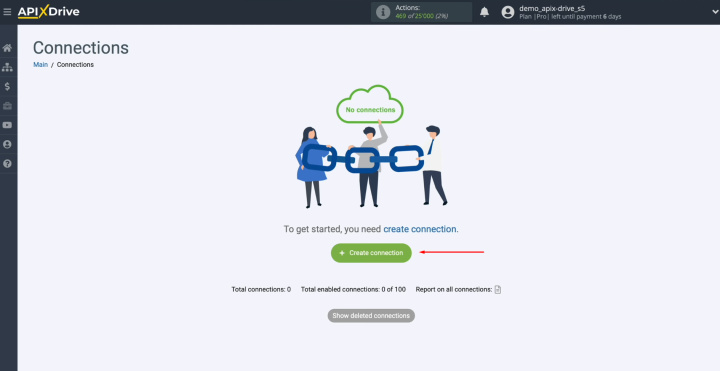
To set up Smartsheet integration with Airtable, first, you need to create a new connection.
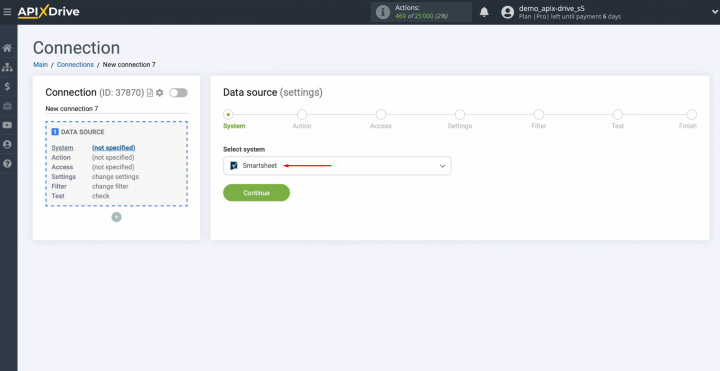
Select the data source system. You need Smartsheet.
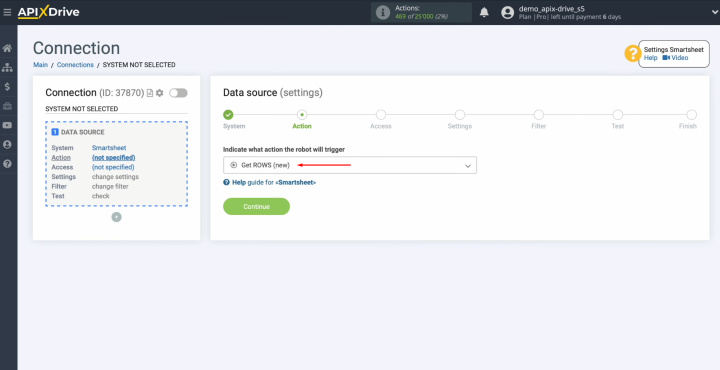
Choose the action
"Get ROWS (new)."
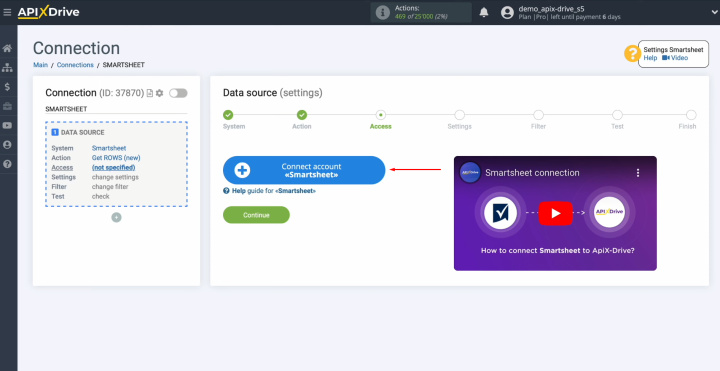
Connect your Smartsheet account to ApiX-Drive.
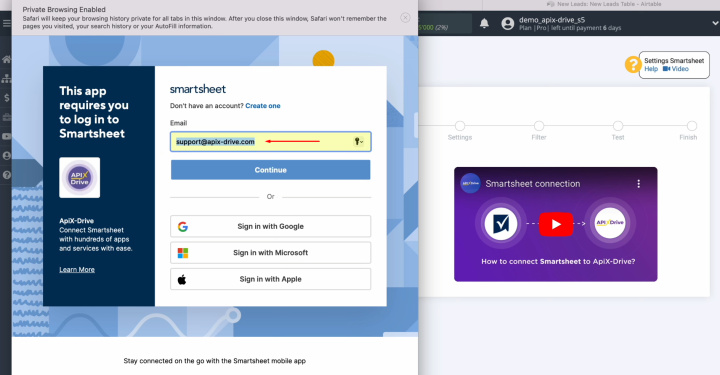
Specify the
username for your Smartsheet account and click “Continue.”
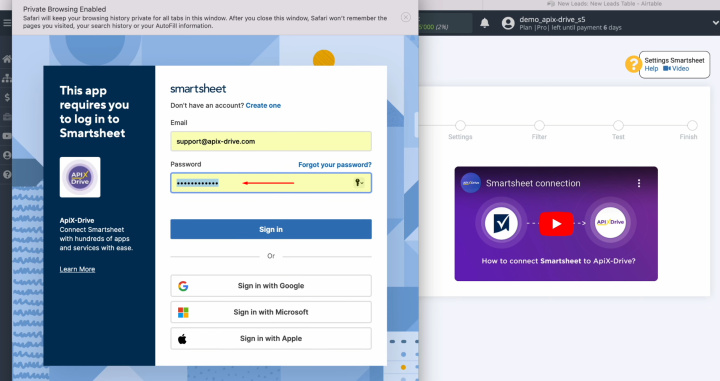
Specify the
password for your Smartsheet account and click “Sign in.”
Grant
ApiX-Drive access to work with your Smartsheet account. For this,
click “Allow.”
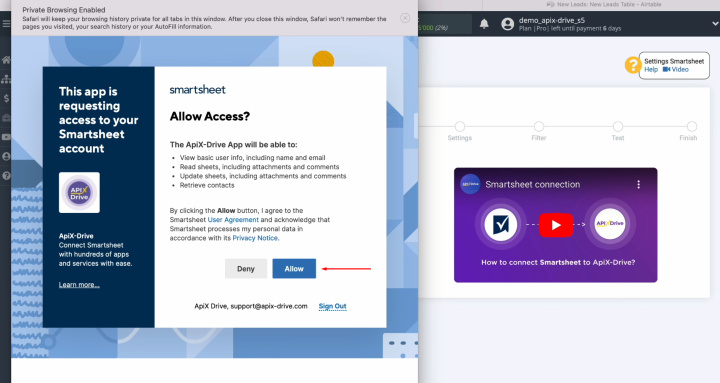
When the
connected login appears in the list of active accounts, select it and click
"Continue."
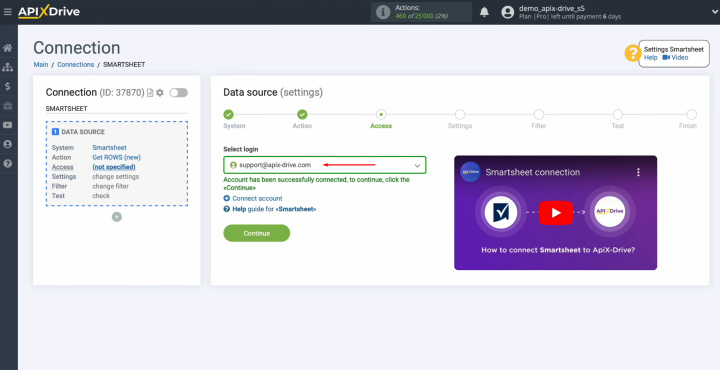
Select the
sheet from which you will receive new rows.
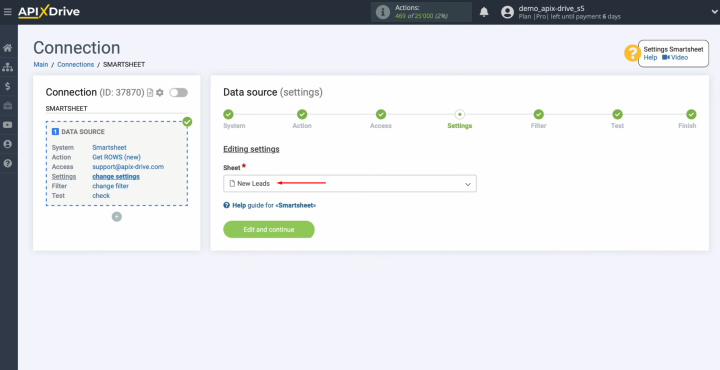
Here, you can
set up a data filter. In this instance, this step is unnecessary, so simply click "Continue."
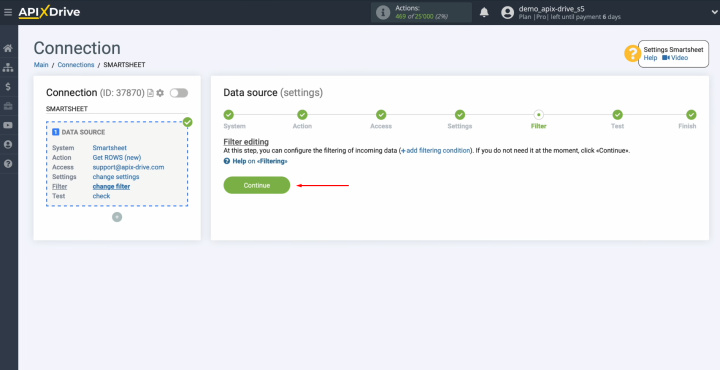
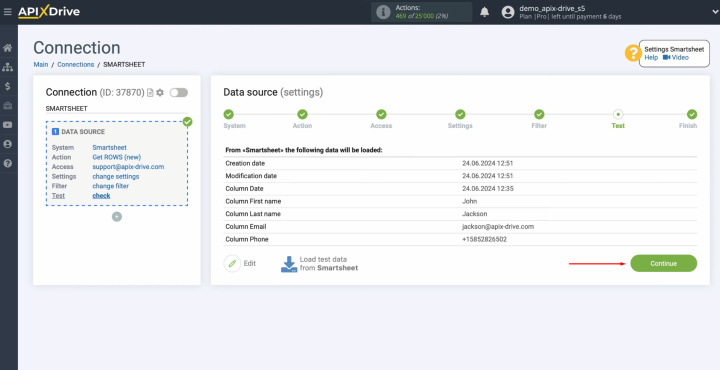
Now, you see an
example of data for one of your Smartsheet rows. To complete setting up the Smartsheet data
source, click
"Continue."
Setting Up the Data Receiver – Airtable
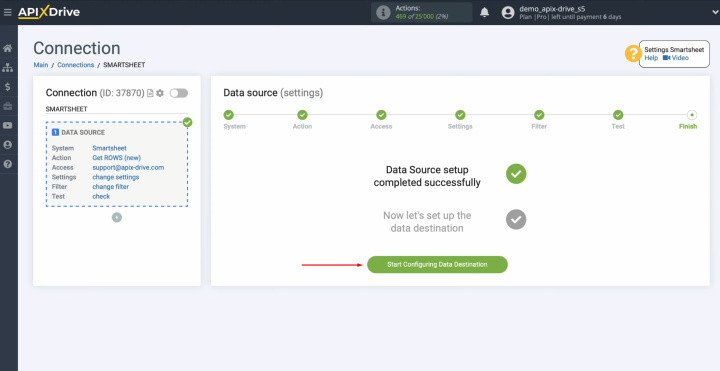
To set up Airtable integration with Smartsheet, you need to connect your Airtable account to ApiX-Drive. Click “Start Configuring Data Destination.”
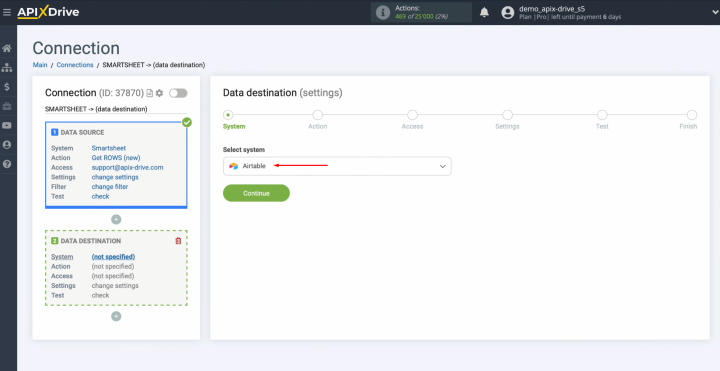
Select the
system. You require Airtable.
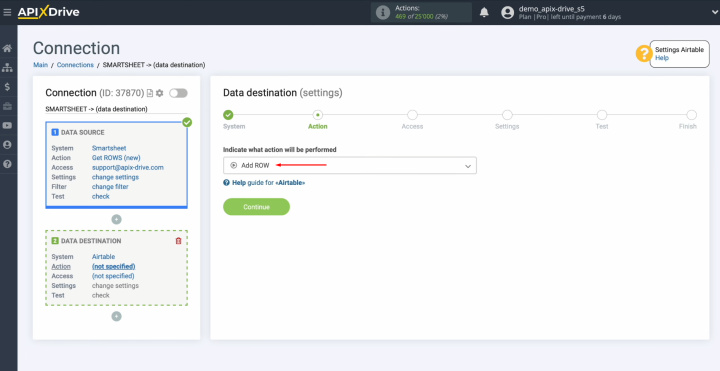
Choose the
action "Add ROW."
Connect your
Airtable account to ApiX-Drive.
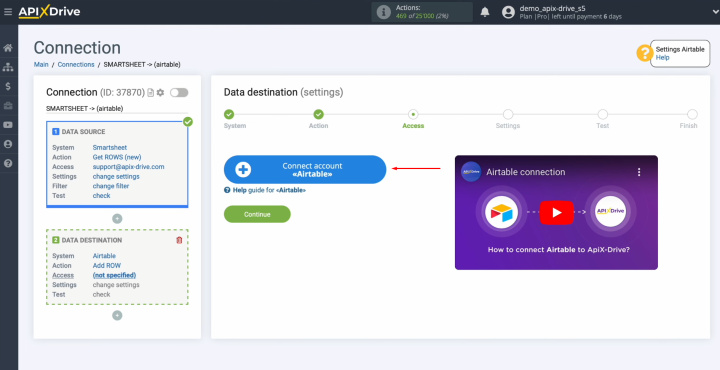
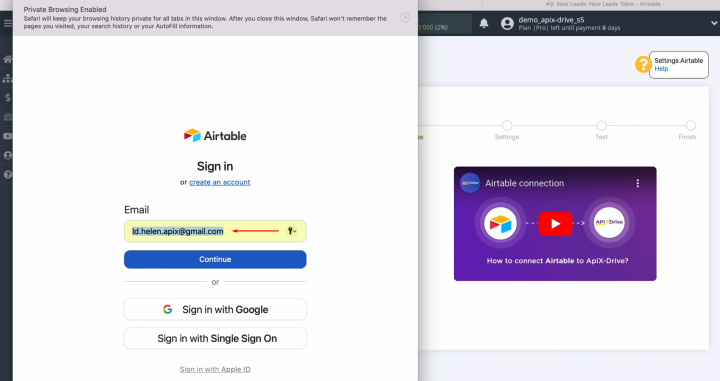
Specify the
login of your Airtable personal account and click
“Continue.”
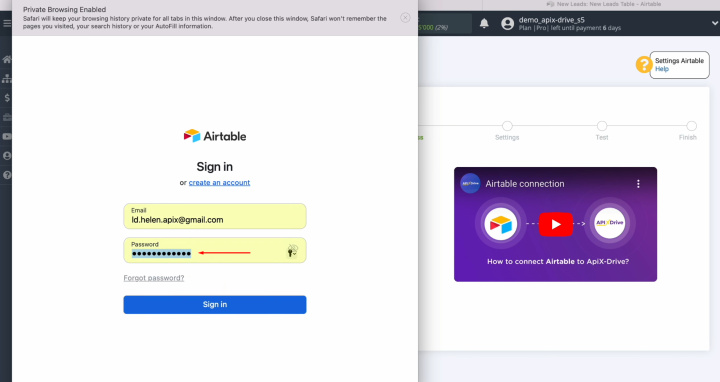
Specify the password
of your Airtable personal account and click “Sign in.”
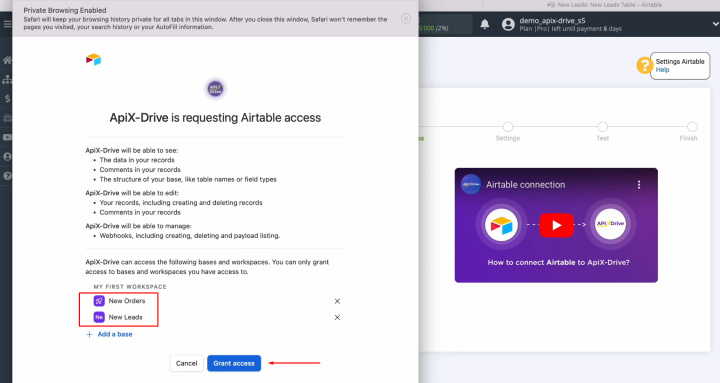
Provide
ApiX-Drive access to work with your Airtable databases. You must add a
base.
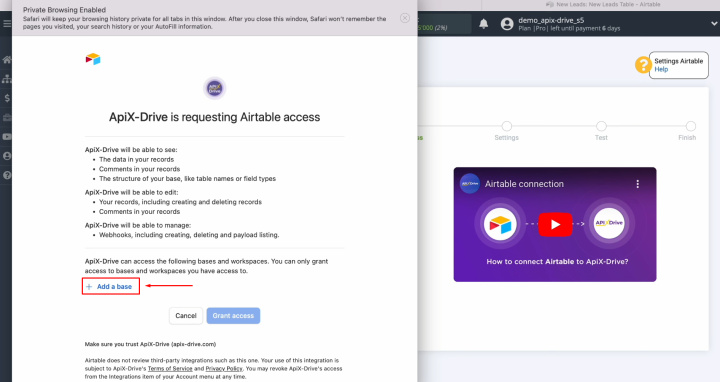
We recommend providing access to all databases at once to be able to work with them in the future. Once all databases are added, click “Grant access.”
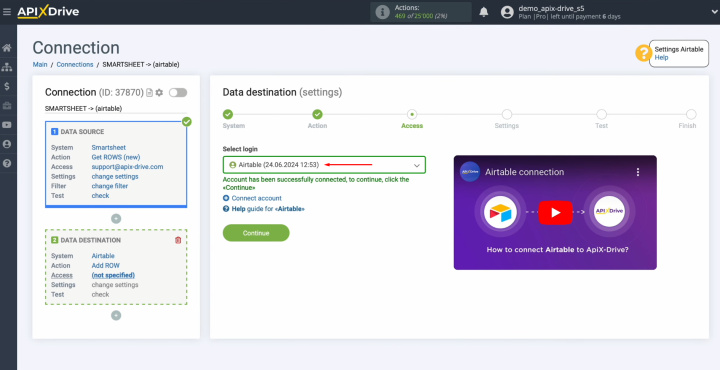
When the
connected login appears in the list of active accounts, select it and click
"Continue."
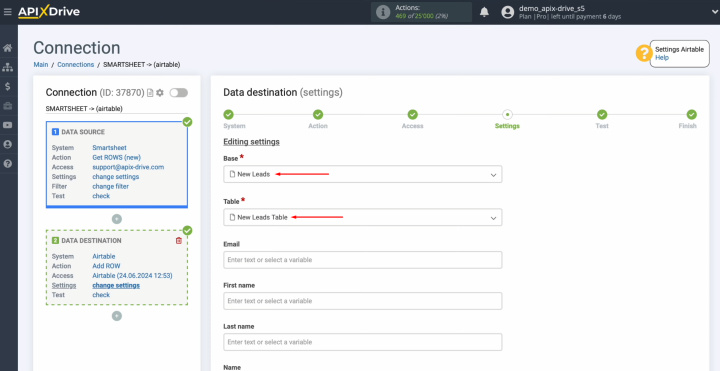
Select the
base in which new rows will be created. Also, select the table.
Now, you see
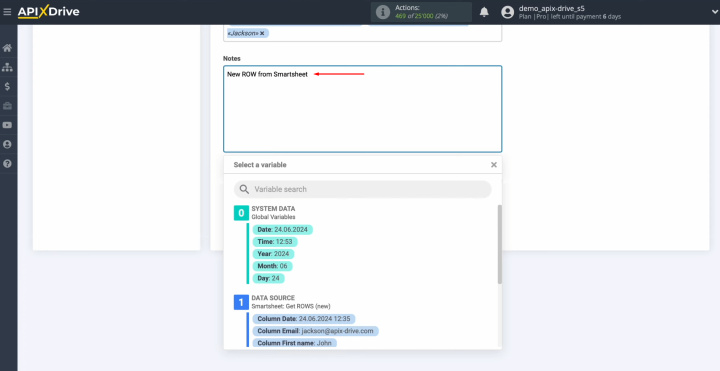
the editable fields for creating new rows. You can assign variables from Smartsheet to these fields. Click on the field and choose a variable from the drop-down menu to complete this step.
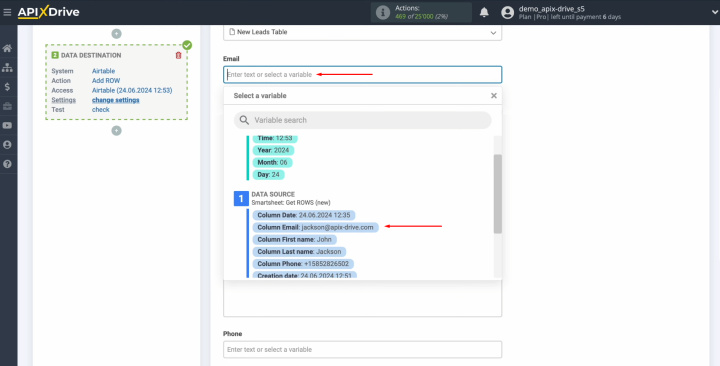
Please note
that you can use not only variables from the drop-down list but also enter
data manually.
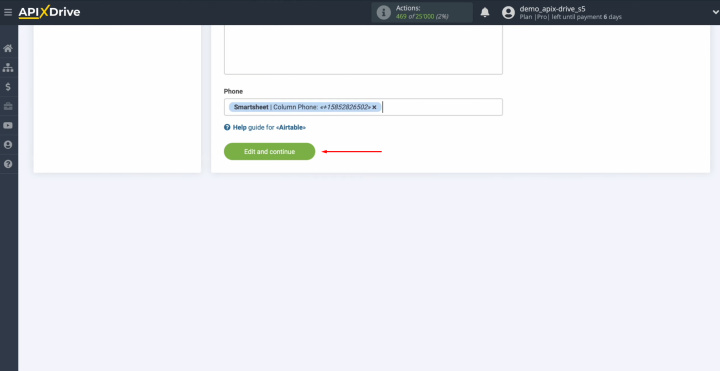
When all
required fields are filled in, click "Edit and continue."
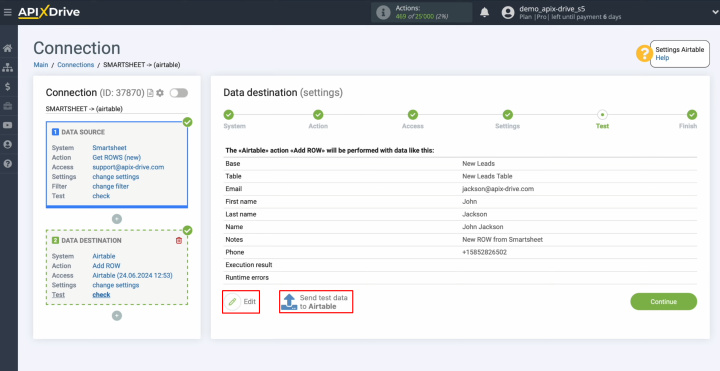
Now, you see an
example of the data that will be transferred to Airtable as new rows for
each new row from Smartsheet. If something doesn’t meet your expectations, click "Edit" to return to the previous step. To verify the settings, click "Send Test Data to Airtable."
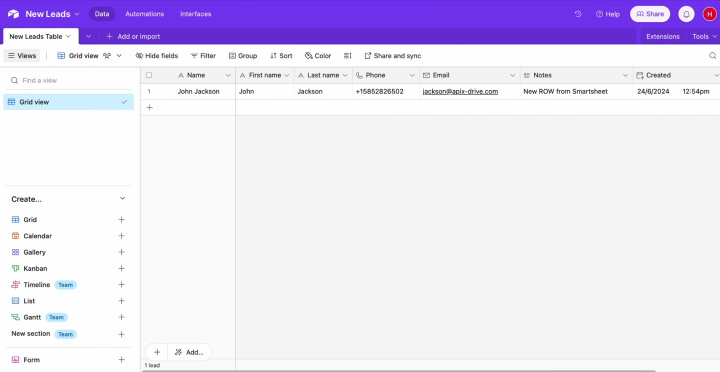
After
successful sending, go to Airtable and check the result.
Then, return to ApiX-Drive and continue setting up.
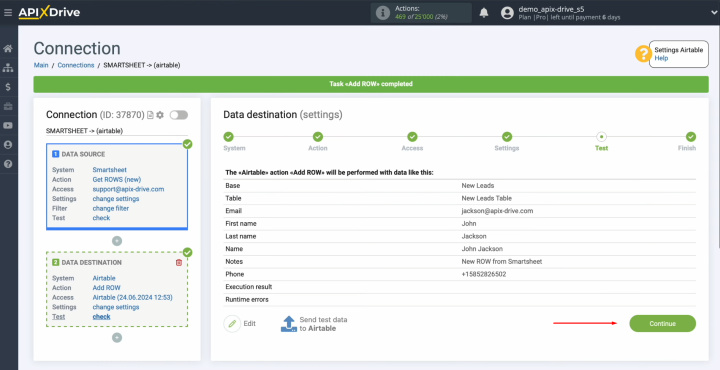
At this point, setting up Airtable as a data receiver has been successfully completed.
Setting Up Auto-Update
In order for data transfer to occur automatically, configure auto-update. Click “Enable update.”
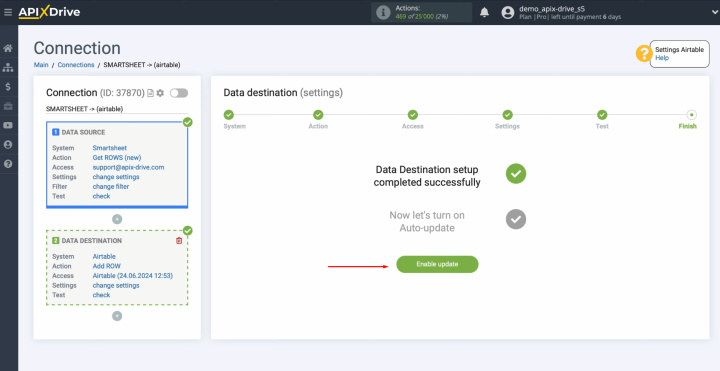
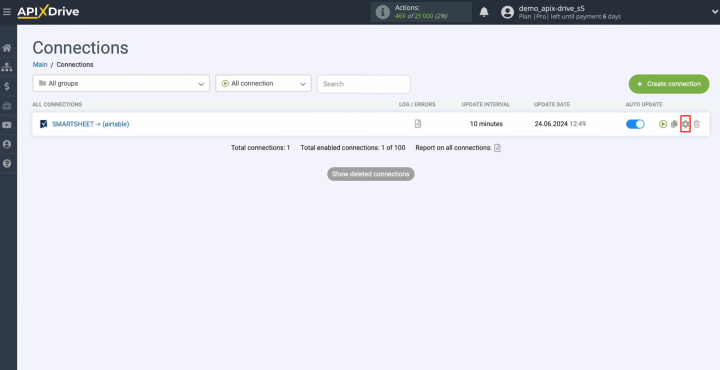
Click on the
gear button.
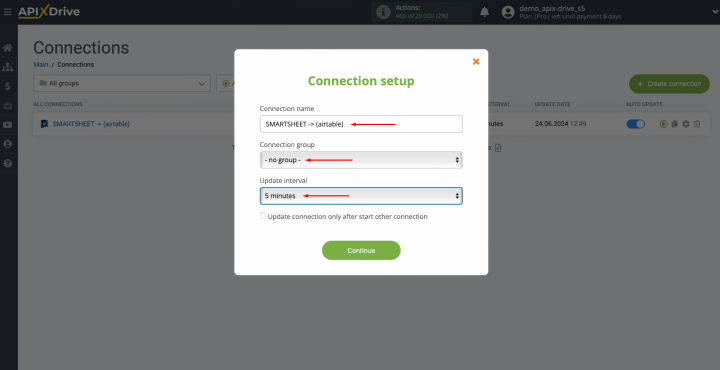
Select the
interval for the operation of the connection. For example, once every 5
minutes. Moreover, here you
can change the name of the connection and assign it to the required group.
What is the Result
So, you have set up the Smartsheet integration with Airtable and enabled auto-update. Now both systems will work together. The Airtable integration with Smartsheet will save you from tedious manual work. Now you don’t need to manually transfer data from one platform to another. This process is fully automated. Routine tasks will be handled by our online connector, ApiX-Drive. Meanwhile, you can focus on more important aspects: improving customer interactions, developing new marketing strategies, and other key areas that will help your business reach new heights.
Read also about other integrations:


