Facebook and Salesforce Integration: Automatic Contacts Creation
In this article, we will consider a situation where one of the lead generation channels is the Facebook social network, and Salesforce CRM functionality is used to process applications. You'll learn how to set up an automated Salesforce contact creation process based on new Facebook leads.
Content:
1. How to set up Facebook and Salesforce integration
2. Connect Facebook
3. Connect Salesforce
4. Turn on auto-update
5. The result of Facebook and Salesforce integration
CRM systems help develop business, provide quality customer service, and increase employee productivity. Modern CRM platforms offer a whole range of tools that, in addition to processing leads and storing data, allow you to solve marketing, automation, planning, communication, etc. tasks. Salesforce is just such a feature rich service with a wide range of specialized products. The platform allows you to create optimal customized work environments for almost any business area.
Salesforce CRM offers a thoughtful structure and user-friendly interface for working with leads, contacts, opportunities, and tasks. This service is premium in its segment, so the functionality and user interface meet the highest requirements. The employee gets quick access to the data, as well as wide opportunities for their processing.
If you use the Facebook Lead Ads tool, you regularly face the challenge of downloading new leads and transferring them to other systems. For example, you need to convert data from completed Facebook lead forms to Salesforce contacts. If you get dozens or hundreds of leads a day, manually transferring them to the CRM system is not a good solution. This will take quite a long time. It also increases the likelihood of missing a lead or losing a customer due to late feedback. These problems can be avoided by integrating Facebook and Salesforce. Each new lead from the social network will be entered as a contact in the CRM system automatically.
How to set up Facebook and Salesforce integration
Various technologies can be used to link two platforms and set up data transfer between them. One of the most common is the API. You can enlist the support of programmers who will create a solution for a particular integration and will maintain it. However, to connect two systems and automate workflows, there is an easier and more cost-effective way — using the ApiX-Drive online connector.
The ApiX-Drive service provides the ability to create various integrations through a web interface. This is a no-code tool that does not require the user to have special skills or knowledge. This means that you can set up integration without involving programmers. For our task, the ApiX-Drive system will track new leads in the Facebook advertising account, upload the necessary data and create contacts in Salesforce CRM. Let's take a step-by-step look at how to set up such an automated process.
Connect Facebook
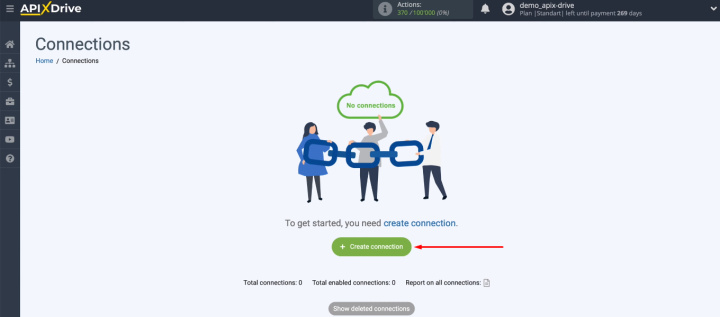
Go through registration on the site apix-drive.com and create a new connection in your personal account.
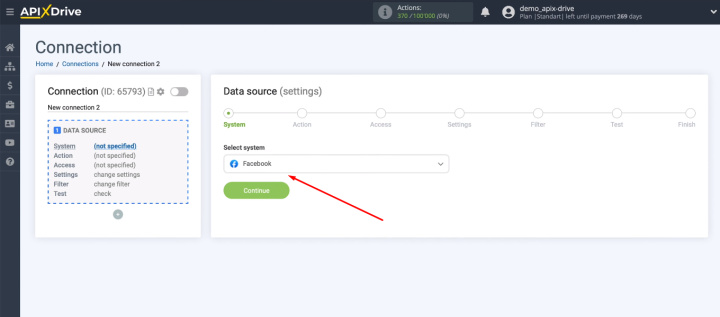
Select the data source — Facebook.
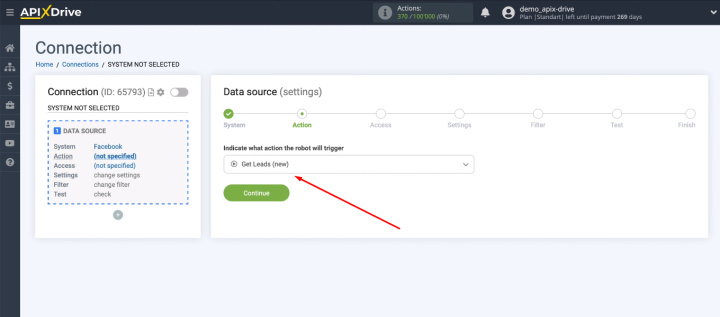
Choose an action — Get Leads (new).
You need to connect your Facebook account to the ApiX-Drive system.
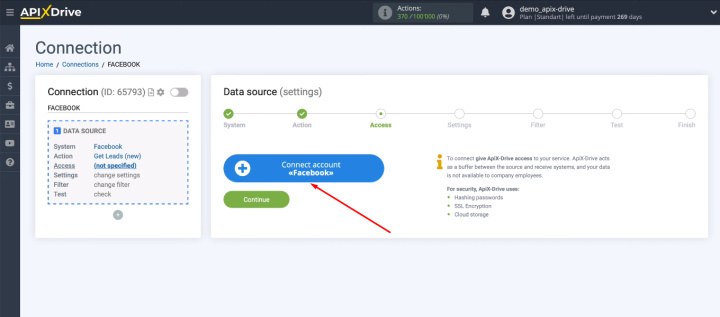
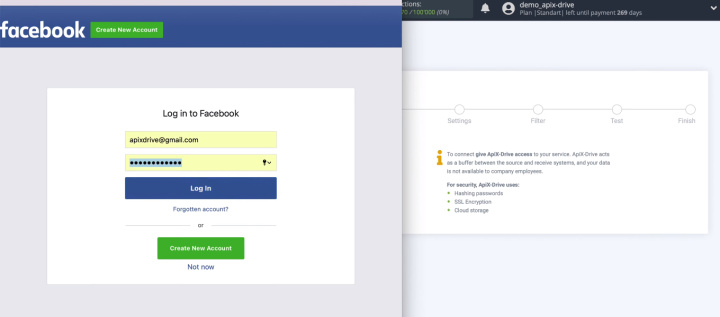
Log in to Facebook.
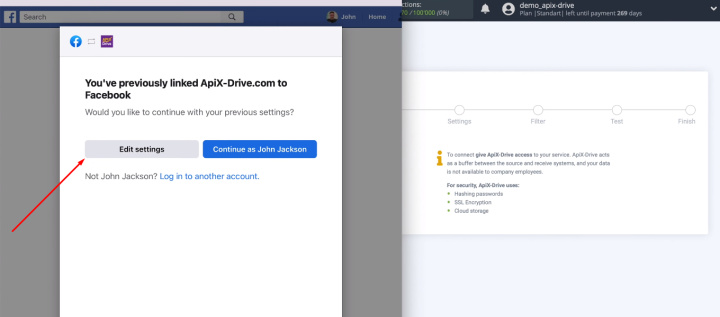
Go to advanced settings.
We need to select advertising pages that we will connect to ApiX-Drive. If, after adding a Facebook account to the ApiX-Drive system, more advertising pages appear, you will need to reconnect and mark new pages.
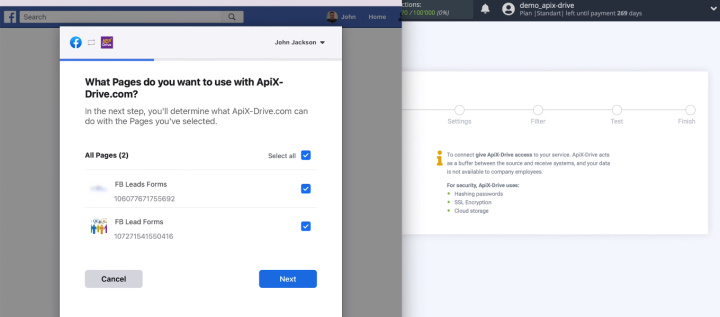
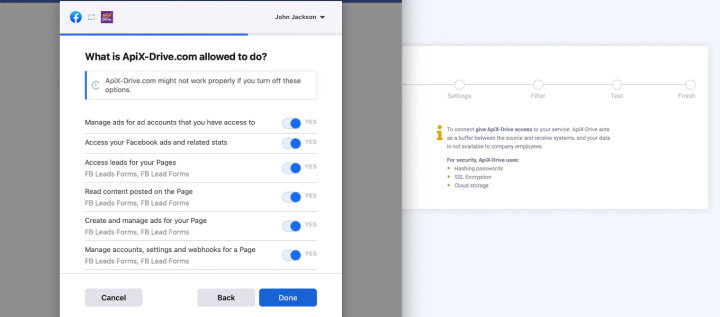
In the next window, you must leave all the access checkboxes enabled.
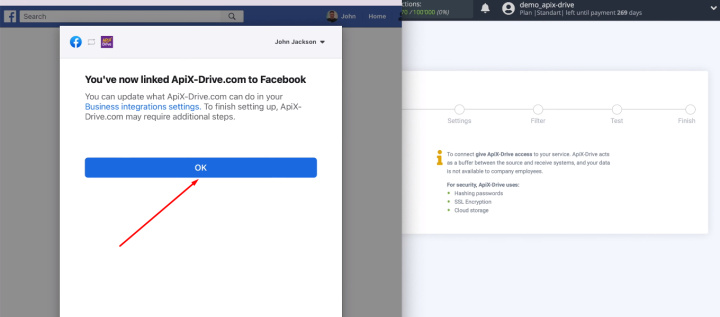
We have successfully connected a Facebook account to the ApiX-Drive system.
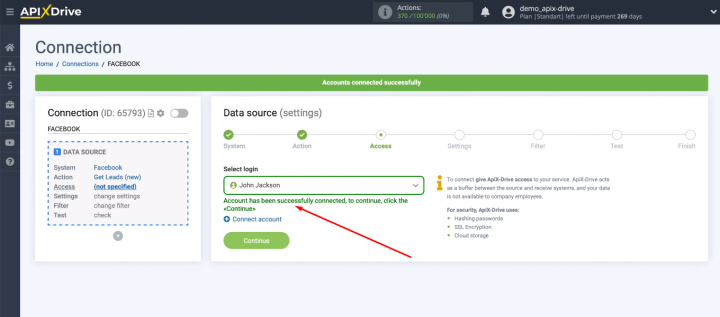
The connected login appeared in the list of available ones. Select it.
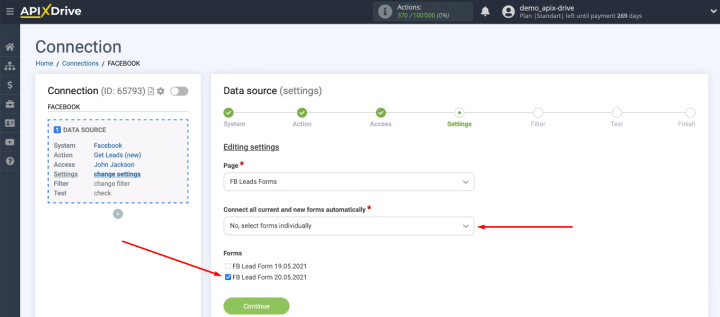
Define the advertising page with which we will work. As for lead forms, we can leave the option to connect all current and new forms.
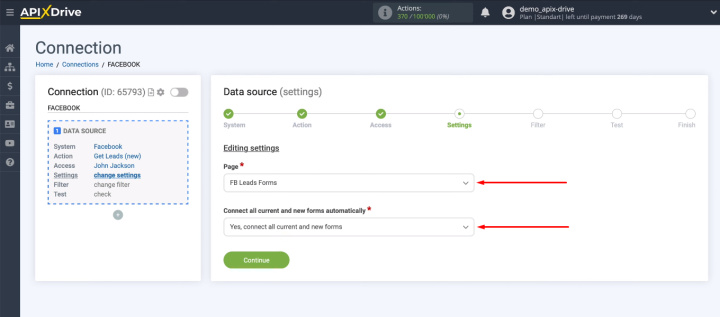
You can also manually select individual forms for uploading leads.
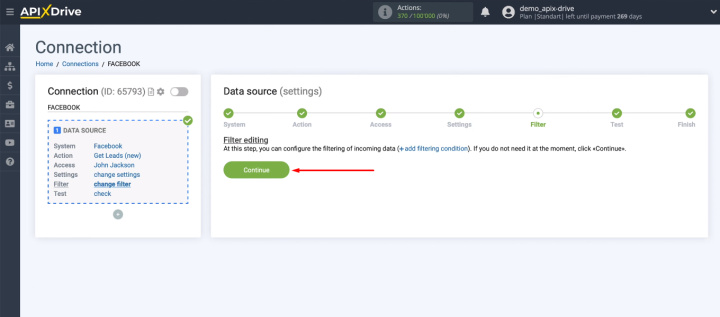
The next stage is called "Filter". The system prompts us to add conditions for filtering data coming from Facebook. It is possible to combine filters with different parameters for a more accurate selection of information.
- Automate the work of an online store or landing
- Empower through integration
- Don't spend money on programmers and integrators
- Save time by automating routine tasks
In our particular case, filtering incoming data is not needed. Therefore, we simply skip this step.
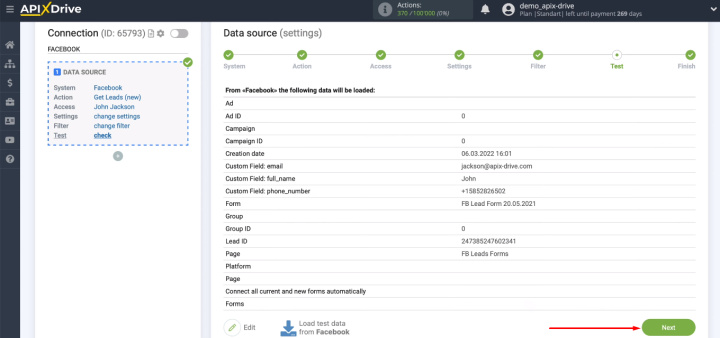
Now we see an example of a test lead that will be uploaded from Facebook. If there is no data at this stage, then you need to wait for a real lead or generate it yourself. After that, you need to click “Load test data from Facebook”. After checking the data at the “Test” stage, click “Next”.
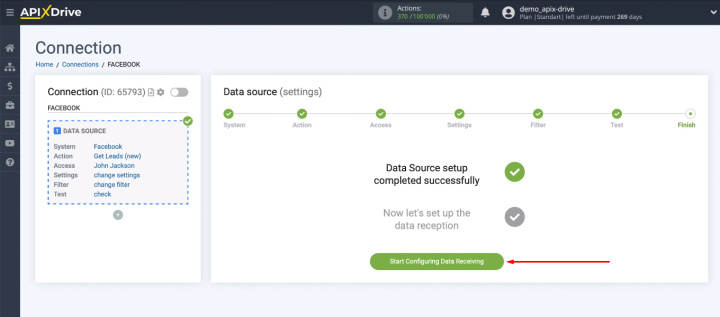
This completes the data source configuration successfully.
Connect Salesforce
Select the Salesforce CRM platform as the destination system.
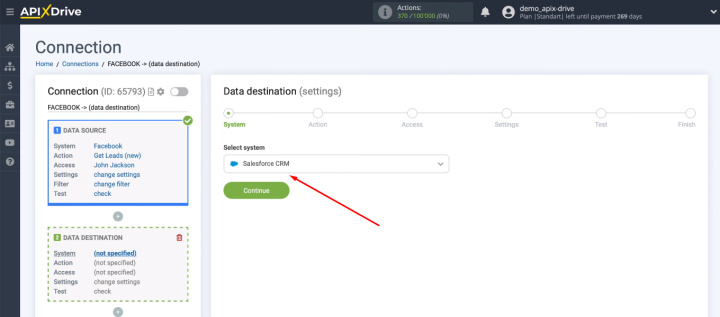
As an action that will be performed on the Salesforce side, select “Create Contacts”.
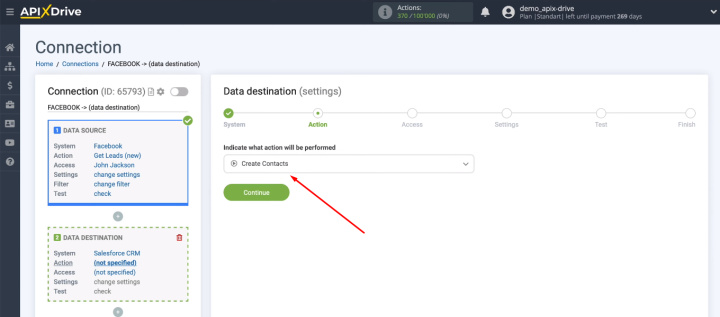
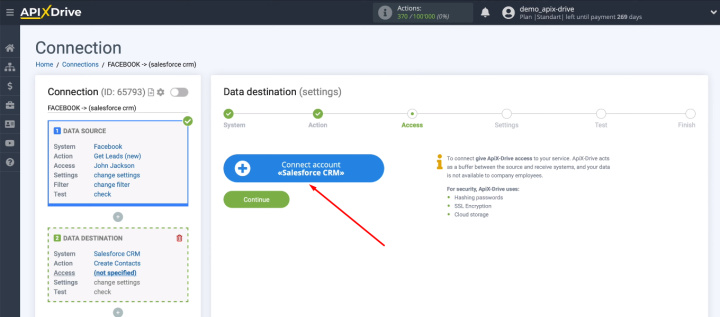
We need to connect the Salesforce account to the ApiX-Drive system.
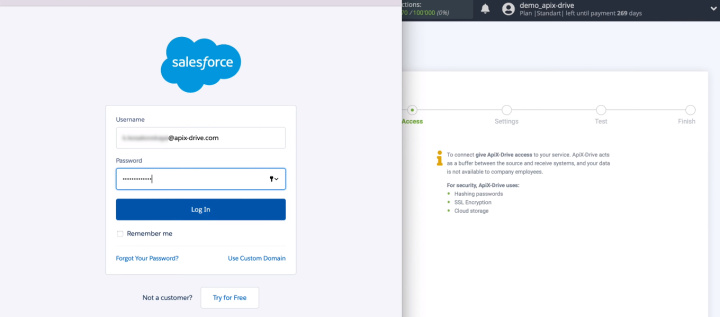
Specify the login and password of the Salesforce account.
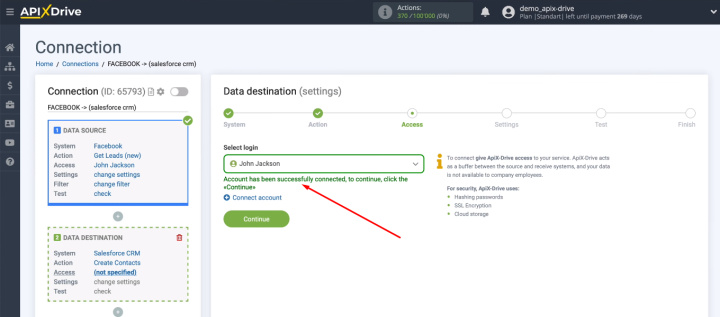
Our account appeared in the list of available connections. Select it for further configuration.
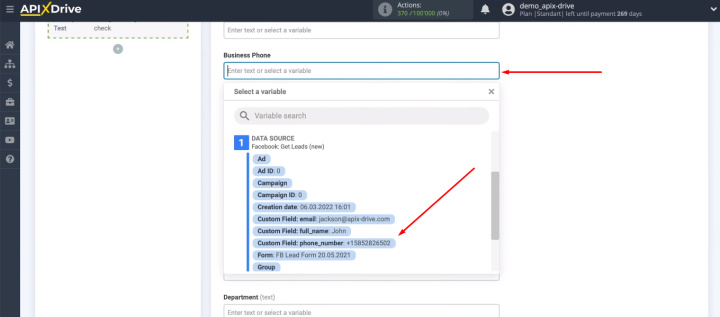
Now the system offers us a set of Salesforce fields for creating a contact in the CRM system. Click in the required field and select the appropriate variable from the drop-down list. You can also enter text in the fields manually. When all required fields are filled in, click “Continue”.
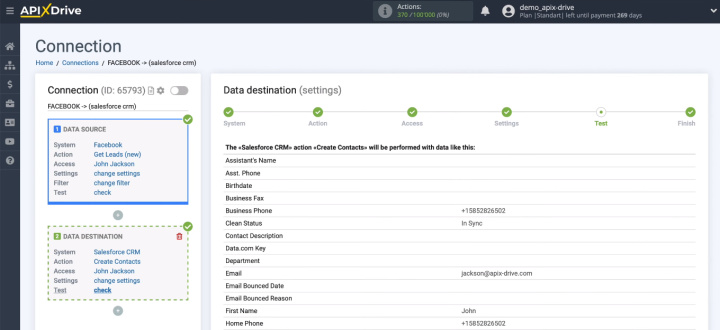
In the “Test” step, we see an example of the data that will be passed to Salesforce to create a new contact. If something doesn't suit you, you can go back a step and make the necessary adjustments in the Salesforce fields.
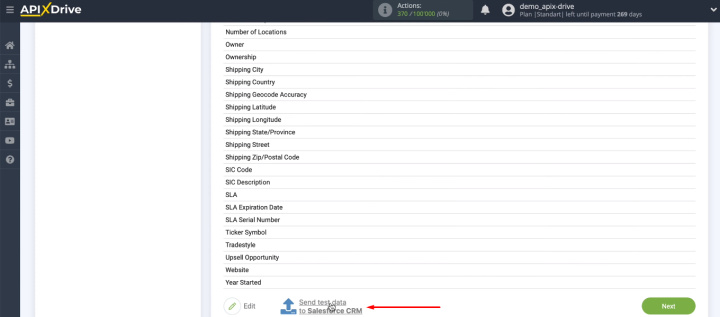
After visually checking the test data, click “Send test data to Salesforce CRM”.
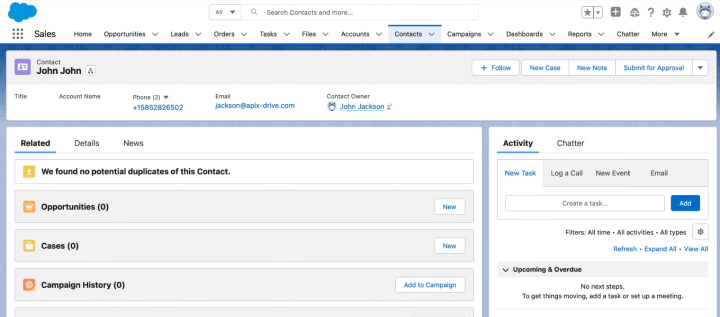
Go to the Salesforce account and check for the presence of a new test object in the “Contacts” section. Also check the correctness of adding all the data.
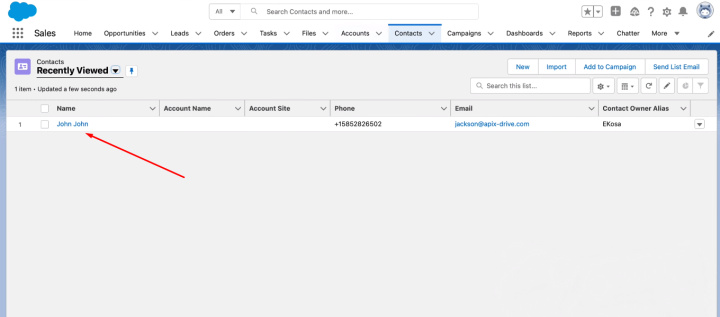
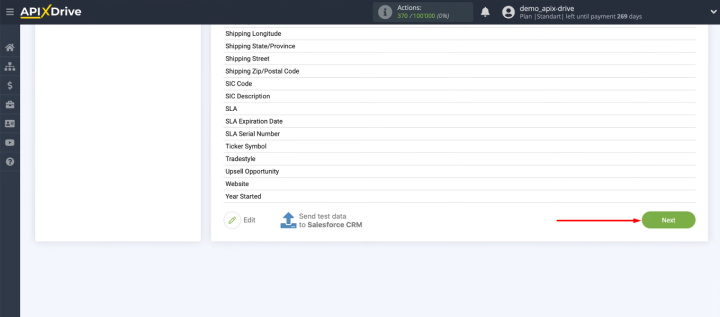
After checking the connection, return to the ApiX-Drive and click “Next”.
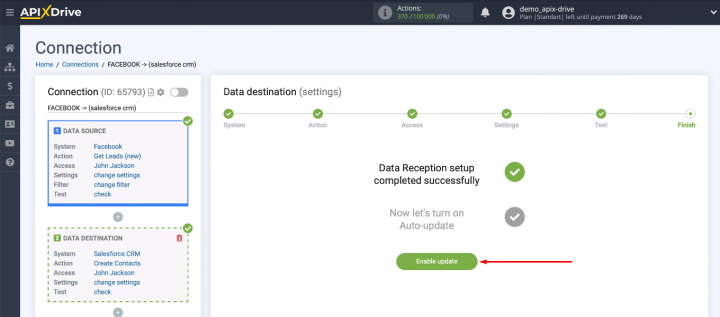
Turn on auto-update
At this stage, we have already configured the data source and receiver. The final step is to enable auto-update.
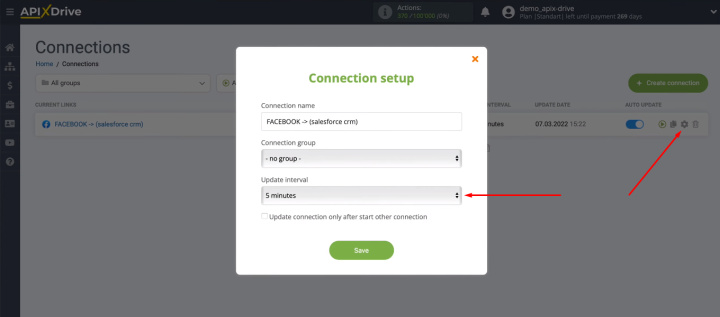
We can control how often the connection will be triggered. To do this, go to the integration settings and select the appropriate parameter in the “Update interval” field.
The result of Facebook and Salesforce integration
The Salesforce platform is the premier service of choice for companies looking to maximize productivity and leverage modern technology. A business with such a philosophy is unlikely to involve a large number of routine work processes that are performed manually and take a lot of time from employees. This fully applies to the work of transferring new leads from Facebook to Salesforce.
The integration set up with ApiX-Drive completely solves the problem of converting new Facebook leads into Salesforce contacts. We have set up a connection between Facebook and Salesforce CRM in just a few minutes and without the help of programmers or API knowledge. The result of our efforts is the exclusion from the daily routine of several routine work processes. The freed up temporary resource can now be used for more important tasks.
