How To Connect Google Sheets And Autopilot
If you use the Google Sheets service and the Autopilot platform in your work, then you have probably faced the task of transferring data from one system to another. In this article, we will show you how to get rid of such a routine procedure and set up automatic transfer of contacts from a spreadsheet to the Autopilot service.
Content:
1. How to create the Google Sheets and Autopilot integration
2. Connect Google Sheets
3. Connect Autopilot
4. Enable auto-update
5. The result of integrating Google Sheets and Autopilot
Google Sheets is a convenient tool for storing and processing various information. Often this service is used as a CRM system. You can store order data and customer contacts in a spreadsheet. It is also convenient to create separate files for different groups of leads. Google Sheets can be the optimal solution for storing and processing data. Especially for small or medium businesses.
The Autopilot platform is a multifunctional tool for marketing automation. This service allows you to set up advertising campaigns using various communication channels. Using a simple interface, you can create scripts and series of mailings for various conditions and triggers. To work with Autopilot, you need to update the contact database regularu. Using the ApiX-Drive online connector, you can set up automatic uploading of contacts from Google Sheets to the Autopilot account.
How to create the Google Sheets and Autopilot integration
To keep your contact lists in sync between your spreadsheet and Autopilot, you can manually transfer your data. However, there is a more efficient solution — automatically uploading contacts from a Google Sheets file to the Autopilot system. This problem can be solved without the involvement of programmers and significant financial investments. The ApiX-Drive online connector will provide communication between systems and automated data transfer. It will take a few minutes to create the integration. Setting up communication does not require special knowledge or skills.
The ApiX-Drive service offers various subscription options for any set of automation tasks. There is also a free-plan that allows you to get rid of one routine process and evaluate the prospects of using an online connector. Below we will look at how to create an integration between Google Sheets and the Autopilot service in order to eliminate the manual transfer of data between these systems from the list of regular tasks.
Connect Google Sheets
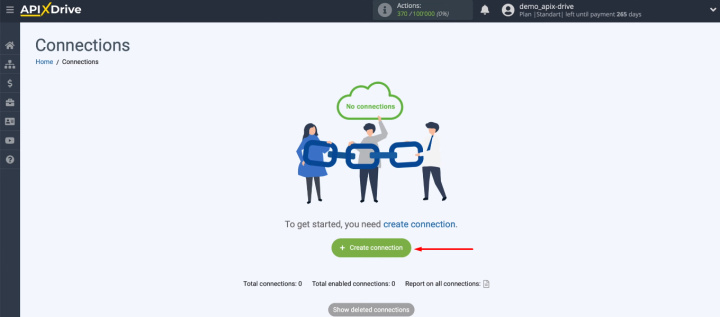
We register on the website of the ApiX-Drive service and go to your personal account. To create an integration, we have to set up a data source and a receiver. But first, let's create a new connection.
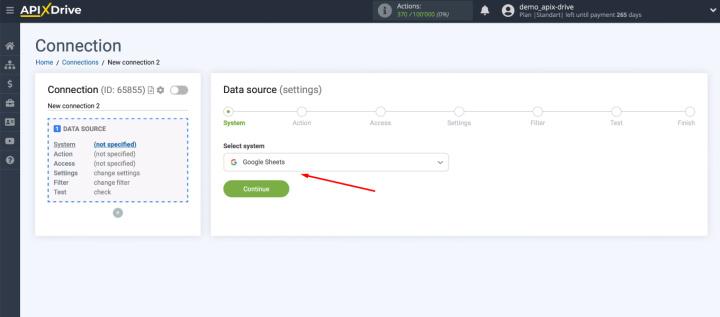
Select Google Sheets as the data source.
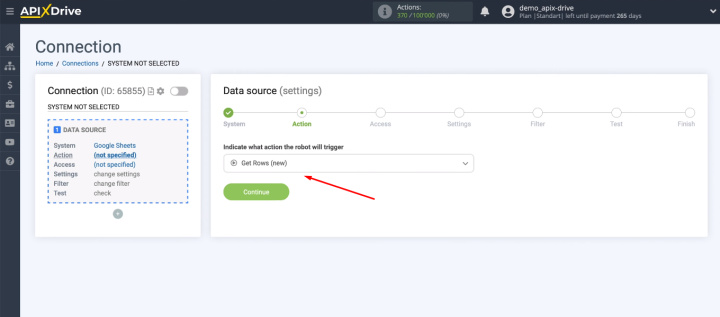
Our task is to unload new records from the spreadsheet, so at the stage of defining the action, select the “Get Rows (new)” item.
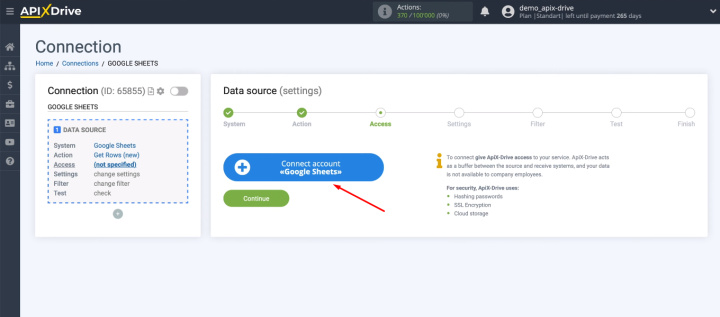
Connect the Google Sheets account to the ApiX-Drive system.
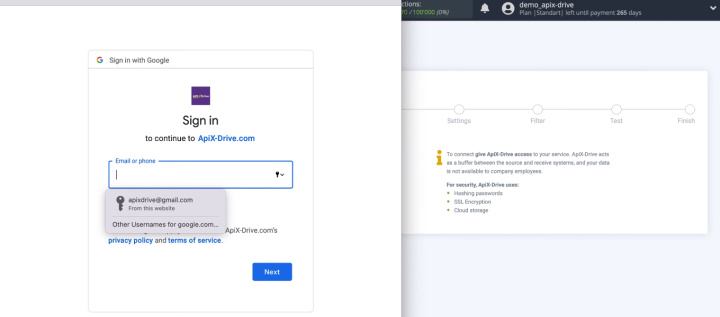
Login to Google Sheets.
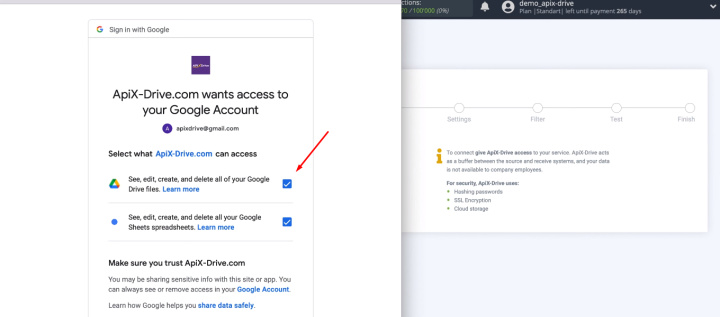
Provide the ApiX-Drive service with the necessary access.
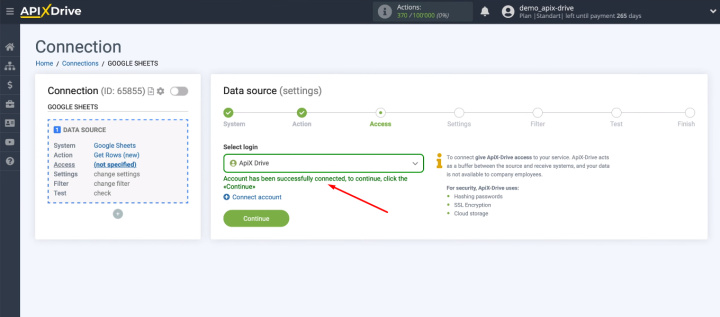
When the connected account appears in the list of available ones, select it.
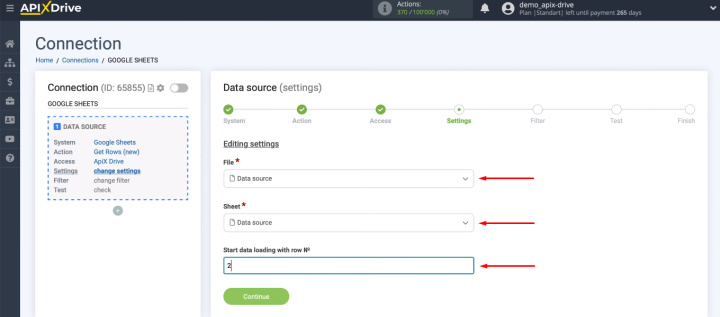
Now you need to select the spreadsheet file, sheet and row from which to start loading the data.
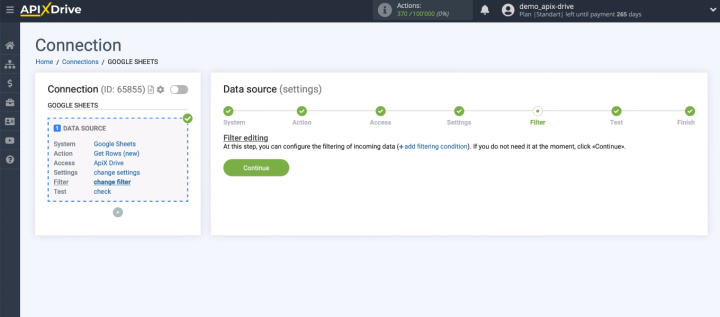
The next step is to add conditions to filter the data that will come from the source. We skip this step, since we do not need data filtering.
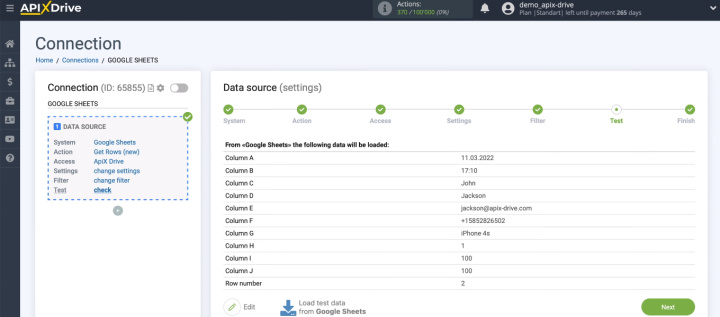
We see an example of the data that will be uploaded from Google Sheets.
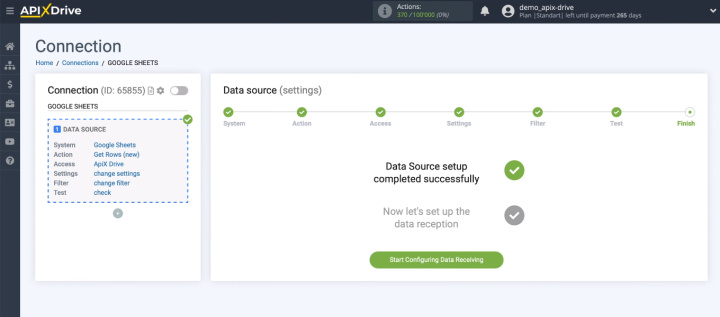
Source setup completed successfully.
Connect Autopilot
As a receiver, we choose the Autopilot marketing automation service.
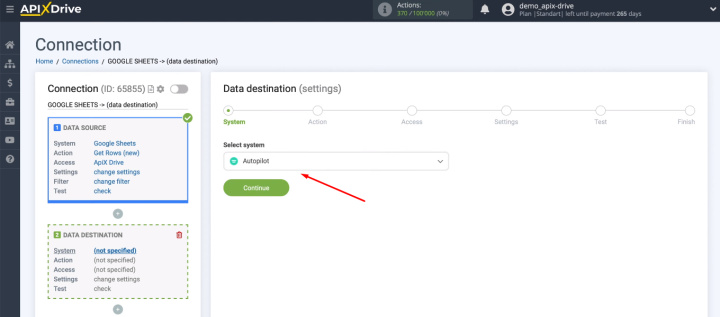
Action — Add or Update Contact.
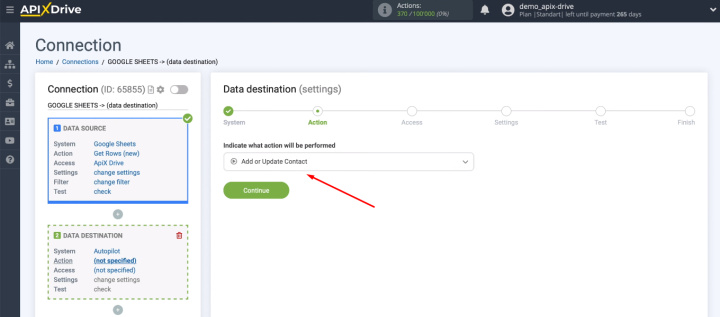
Now we connect the Autopilot account.
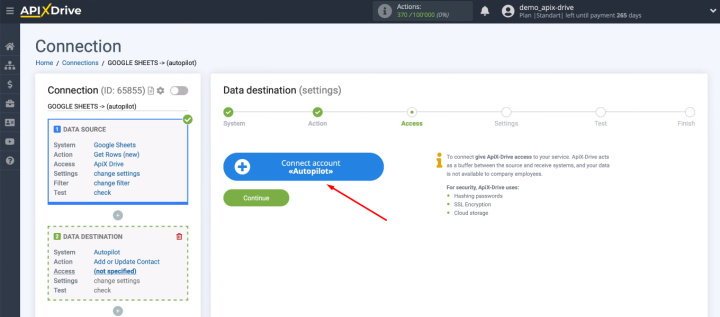
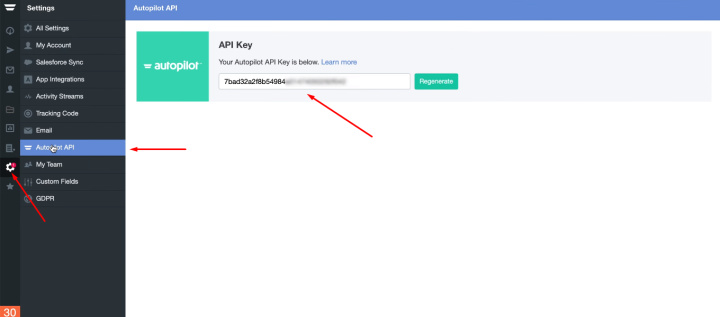
To connect the Autopilot service to the ApiX-Drive system, you must specify an API Key.
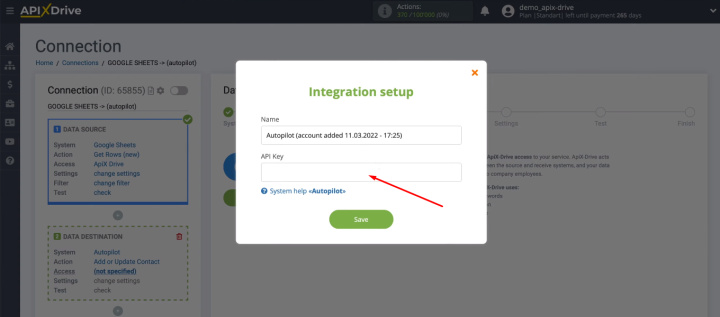
Go to your personal Autopilot account and go to settings. Select "Autopilot API". Copy the API key.
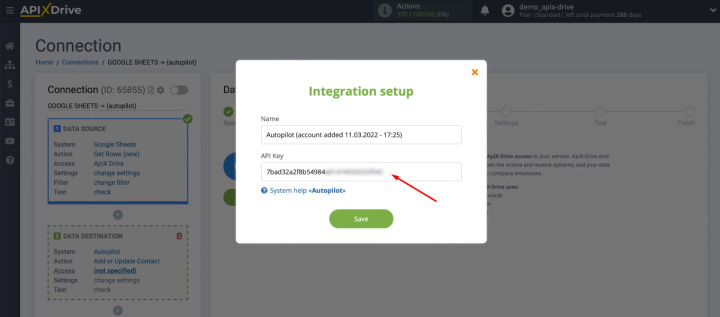
Now we return back to the ApiX-Drive system and fill in the API Key field.
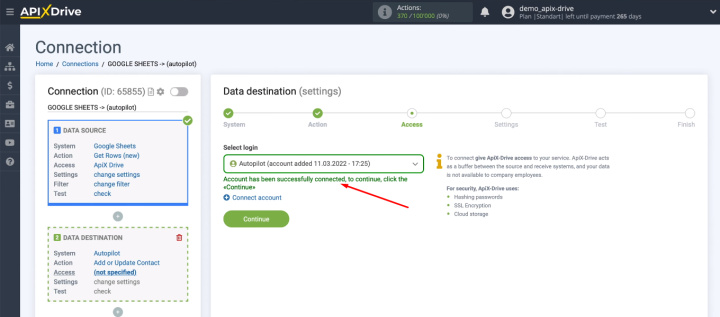
The connected account appeared in the list of available ones. Select it and proceed with the setup.
Now select the list to which new contacts will be added on the side of the Autopilot service.
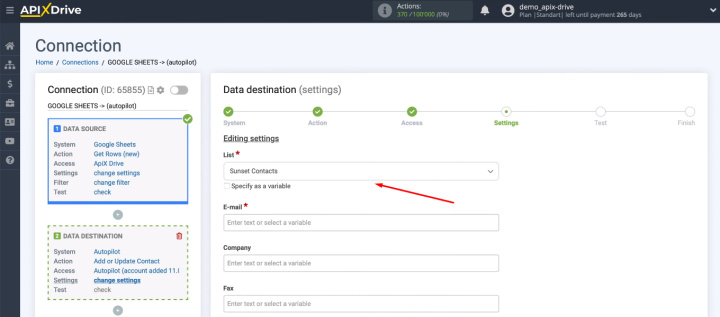
We need to define the data that will be sent to the Autopilot service. To do this, we use a drop-down list of variables obtained from Google Sheets.
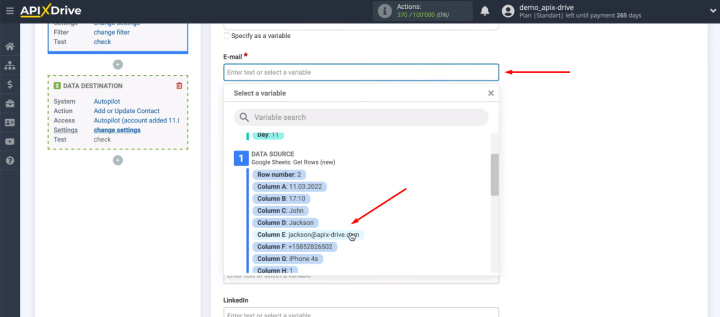
You can define data manually. To do this, place the cursor in the field and enter text.
- Automate the work of an online store or landing
- Empower through integration
- Don't spend money on programmers and integrators
- Save time by automating routine tasks
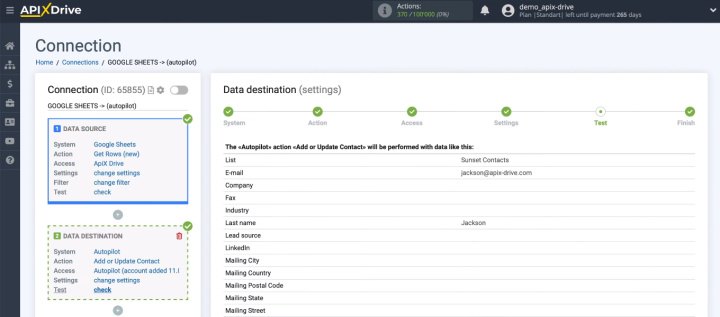
Checking test information to send to Autopilot. If something does not suit us, then we can go back a step and edit the data. Sending a test contact.
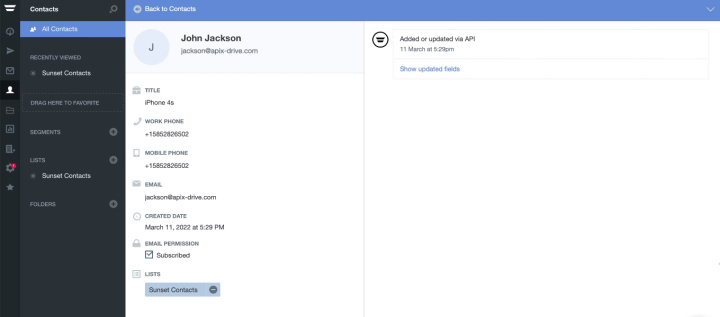
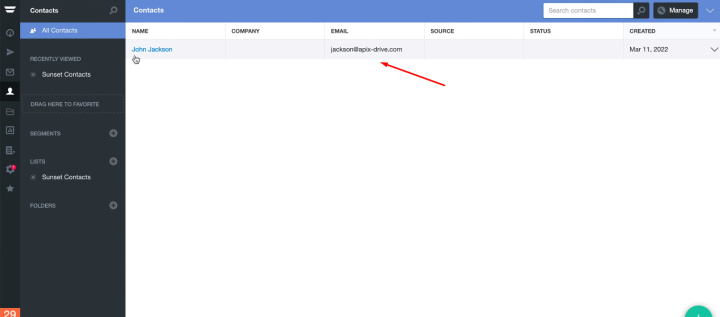
We check adding an entry to the contact list in the Autopilot account.
Enable auto-update
The integration is almost set up. The last step is to enable auto-update.
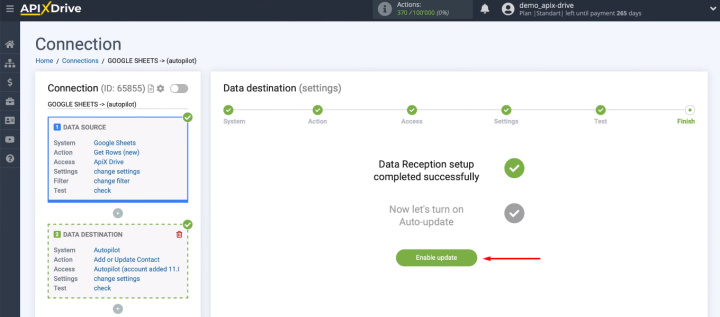
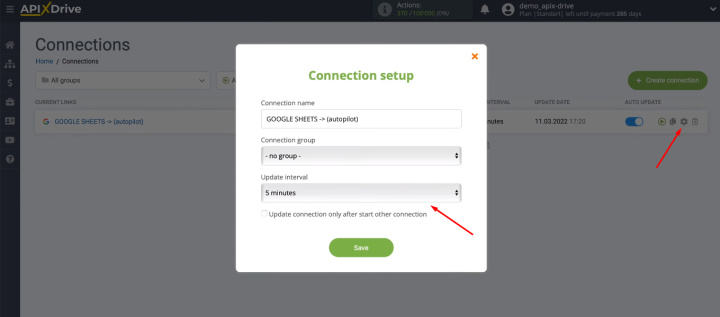
The system will periodically check the source for new records and transfer them to the receiving system. The communication interval can be changed via the “Connection setup” menu.
The result of integrating Google Sheets and Autopilot
An Internet marketer or an advertising campaigner often performs a large number of routine tasks. One of these is the transfer of data from one service to another. Google Sheets and Autopilot integration allows you to automate the synchronization of information in these two systems. New contacts that are entered into the spreadsheet are automatically included in the lists for mailing based on the Autopilot platform.
The connection between Google Sheets and Autopilot is set up using the ApiX-Drive online connector in just a few minutes. Any experienced PC user can create an integration. Programming knowledge or API knowledge is not required. The ApiX-Drive service offers a simple interface and a clear setup procedure.
