How to Connect Google Forms to Asana: Form Results into Tasks
Google Forms is a web-based tool for creating and processing various surveys. Using this service, you can conduct surveys, collect orders and contacts, register for events, receive feedback, etc. Google Forms offers functionality for handling responses, but if you're using Asana, it's much more convenient to get form results directly into your project management application. In this article, we will use a specific example to analyze how to set up automatic data transfer from a Google form to Asana.
Google Forms and Asana services are popular solutions in their niches. Using the user-friendly interface of Google Forms, users get the opportunity to create forms for almost any task. You can use various question formats, add videos, pictures, links. The finished form is sent by mail or inserted into the site using HTML code. You can also use the link to share the form via messenger or add it to a post.
The Asana app is a service that simplifies team communication and helps coordinate workflows. We will consider the situation when Google Forms and Asana are used in conjunction. We need the results of the forms to automatically get into the task manager as tasks. In an Asana project, you can quickly assign a person to process data. Employees will receive information quickly and in their usual workspace.
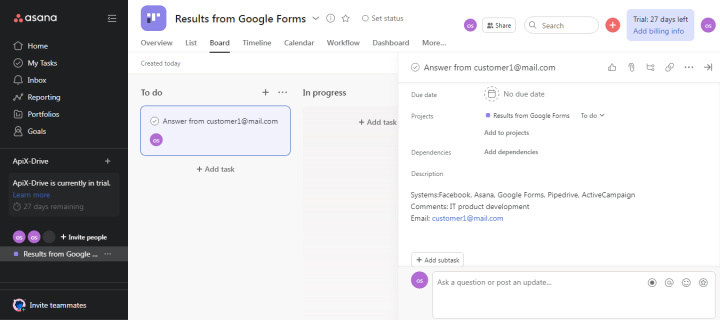
How to transfer data from Google Forms to Asana
Our task is to set up automatic data transfer from Google Forms to Asana. We will do this using the ApiX-Drive online connector. This is a no-code tool for easy and quick setup of various integrations. ApiX-Drive offers hundreds of ready-made solutions for CRM systems, Email and SMS services, instant messengers, task managers, Google services, etc.
What we have to do:
- Create a Google-form for our task.
- Connect the Google-table for data collection.
- In ApiX-Drive, we will set up a Google-table as a data source.
- Connect the Asana account to the integration as a receiver.
The result of our efforts will be an automated process of converting the data from each submitted form into Asana tasks. We will not pay attention to the process of creating a project in the task manager (this is done in a few clicks). But we propose to consider the next steps in more detail.
Create Google Form
Create a form for surveying potential customers. Let's ask the respondents to indicate the set of services they use in their work. In response, we will send a list of integrations (and instructions for setting up) by mail that will help get rid of routine processes.
Go to the Google Forms service, select an empty file or a suitable template. Forms can also be created in Google Drive or through Google Sheets (Tools tab). In the file that opens, add the name and description of the form.
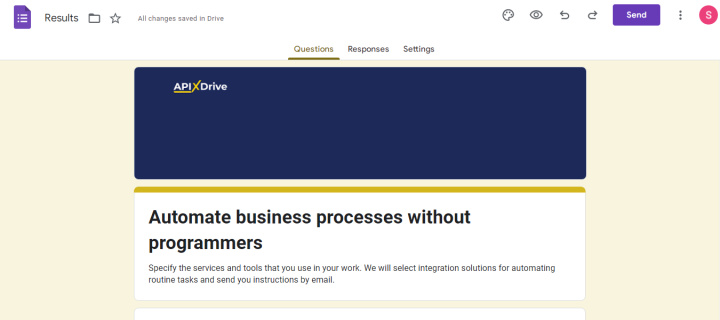
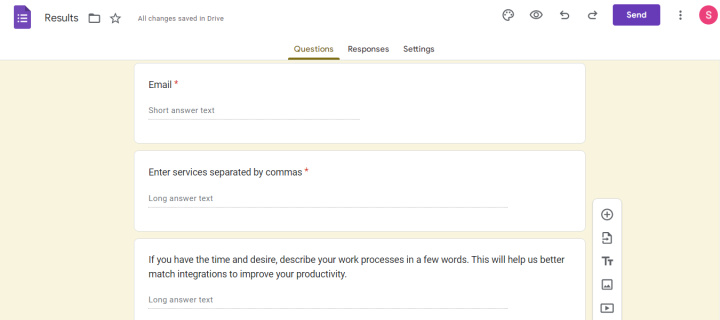
Now setting up the questions. Add two required fields where customers will specify Email and used services. We will also create an optional field where it will be possible to describe the type of activity in a few words. In the footer of the form, we add a few words of gratitude, as well as an invitation to learn more about our service and a link to the site.
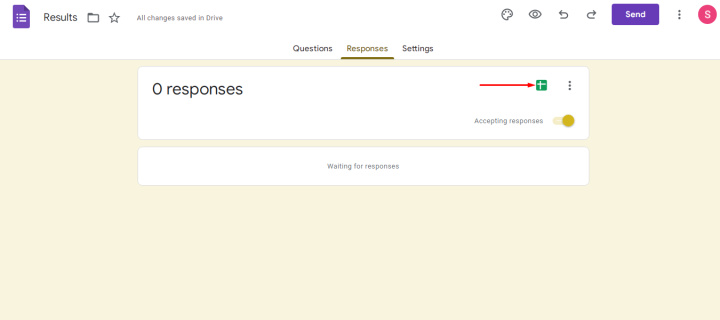
Now open the “Responses” tab and click on the Google Sheets icon. We are invited to select or create a table in which the results of the forms will be entered. For these purposes, we have already created the “Results” table, let's select it.
Let's do some tests. Fill in the fields and submit the form.
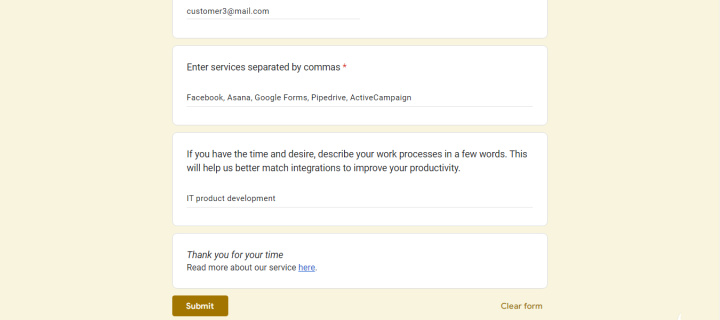
The survey results are correctly collected in the “Results” table.
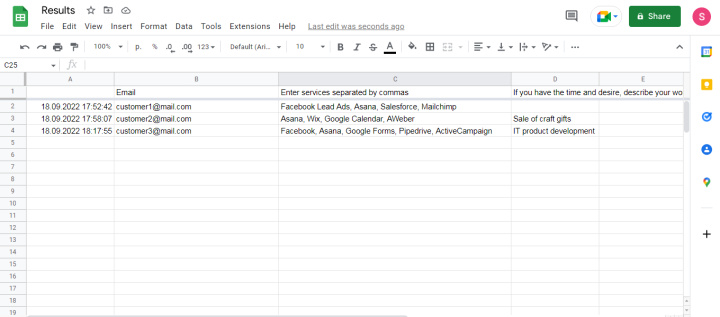
Now let's move on to the next step — set up the integration of Google Sheets and Asana. At this point, the ApiX-Drive online connector comes into play.
Google Sheets setup
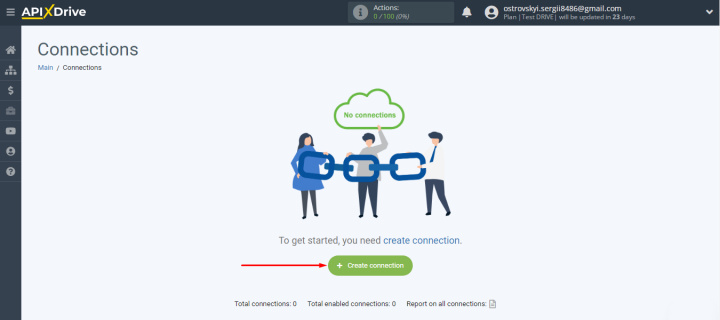
Log in to your personal ApiX-Drive account and click “Create connection”.
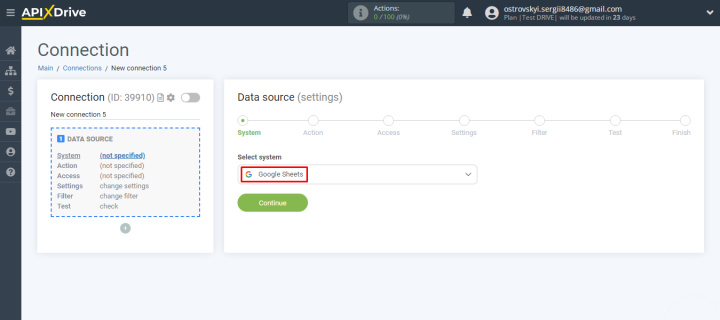
Select the Google Sheets service as the source.
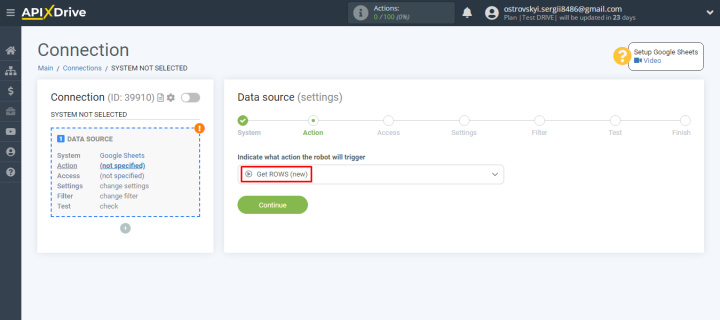
Specify the action “Get ROWS (new)”.
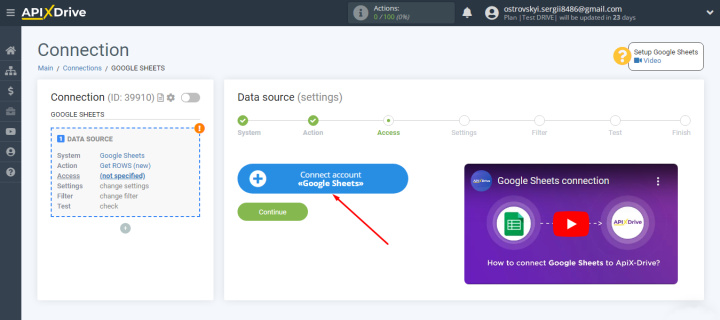
Let's add a Google Sheets account to the ApiX-Drive system.
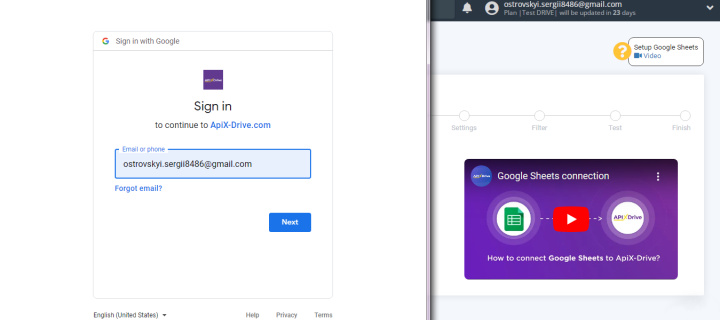
Specify the login.
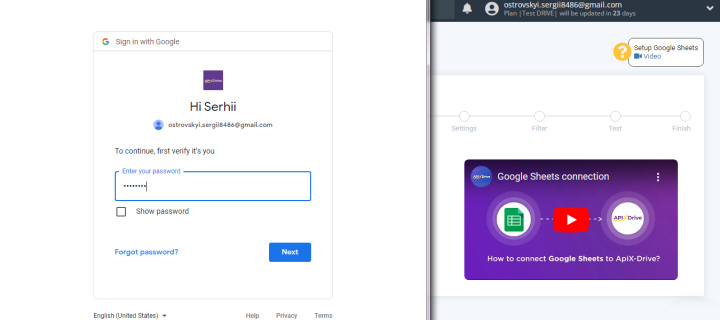
Specify the password.
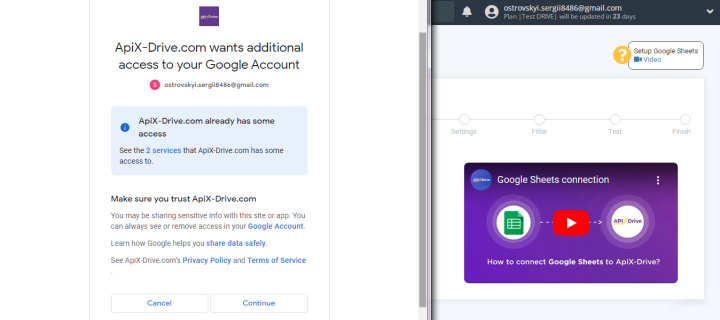
Grant necessary access.
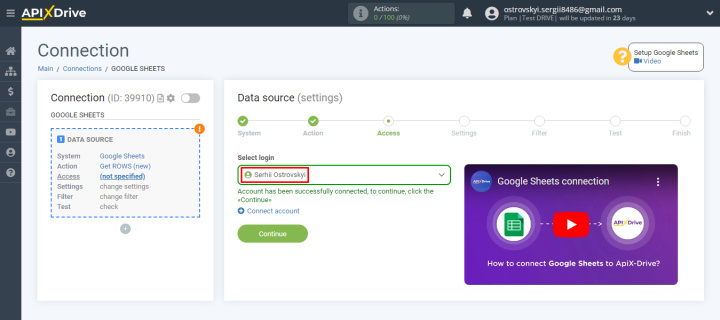
The added account appeared in the list of available logins. Select it and click "Continue".
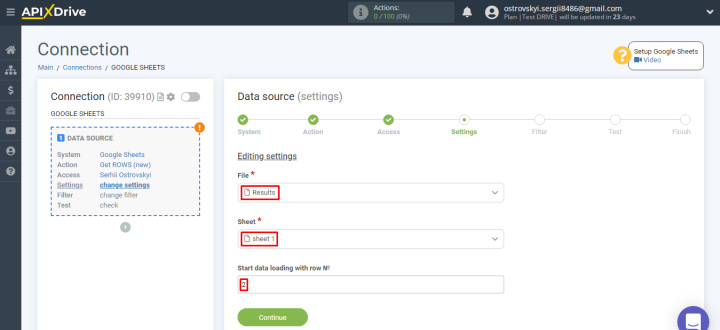
Select the Google Sheets file, sheet and row from which the data will be loaded.
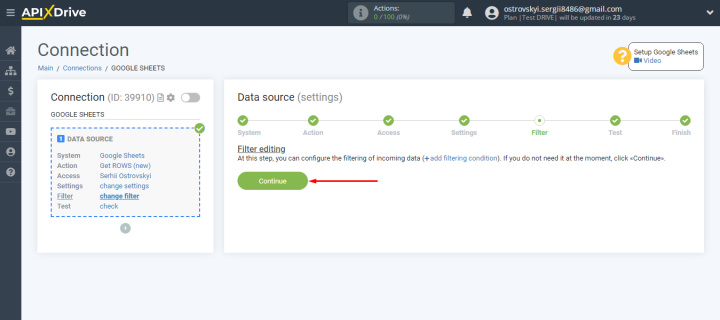
The next step is to add conditions to filter the incoming data. You can use "contains", "empty", "equals", "greater", etc. checks for table cells. Filter conditions can be combined using the logical operators “AND” or “OR”.
- Automate the work of an online store or landing
- Empower through integration
- Don't spend money on programmers and integrators
- Save time by automating routine tasks
For our task, the filtration conditions are not needed. Click "Continue".
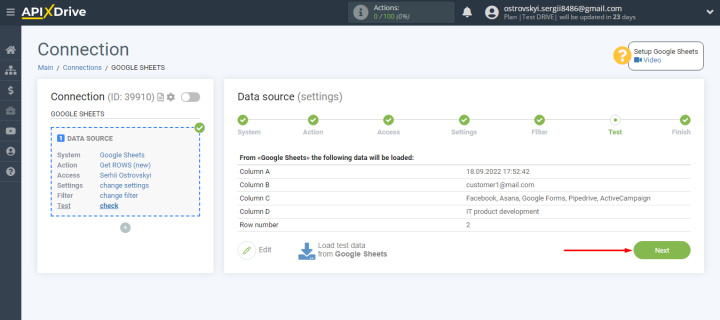
In the next step, we see the information that was loaded from the Google Sheets file. You should have the data in the table and also check the row number you provided as the starting point for the upload. At the “Test” stage, everything suits us. Click "Next".
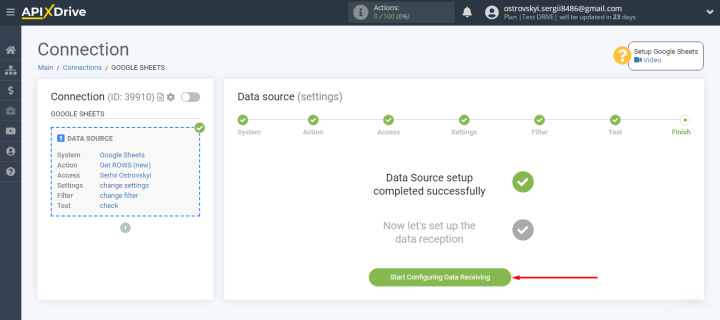
The work with the data source is completed. Let's move on to the receiving system.
Asana setup
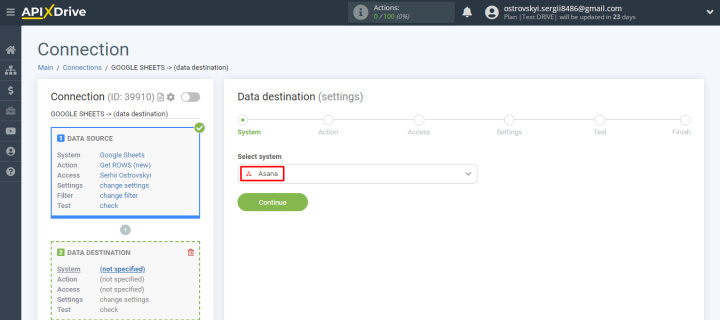
Choose the Asana service.
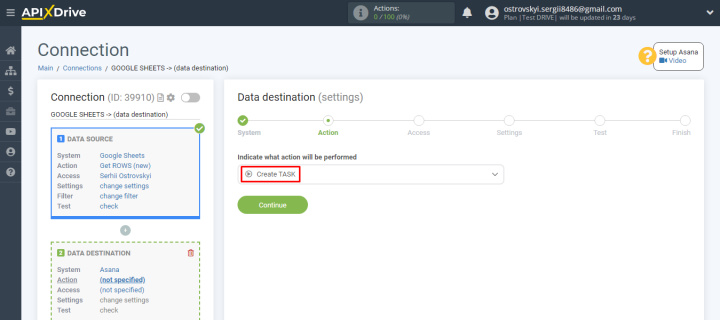
Select the action “Create TASK”.
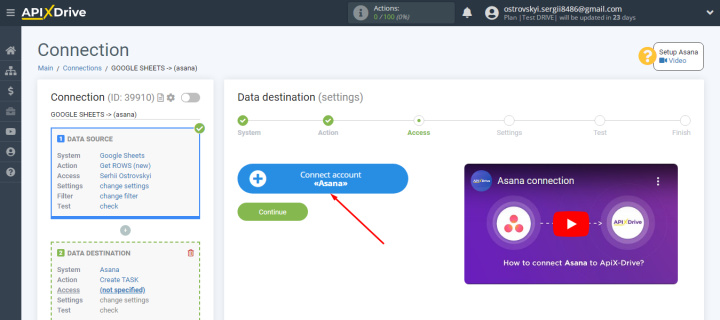
Click "Connect account Asana".
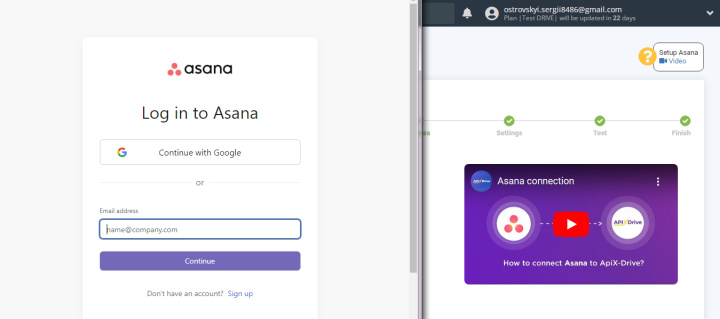
Specify the login.
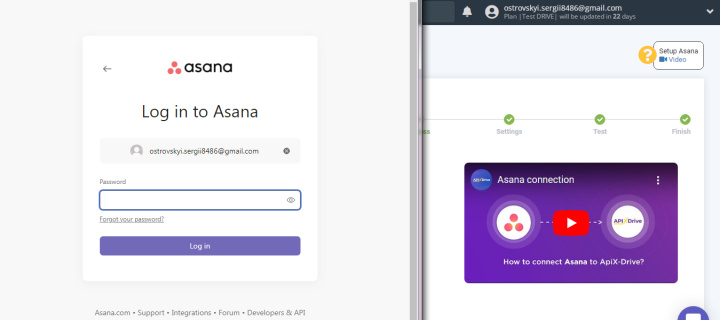
Specify the password.
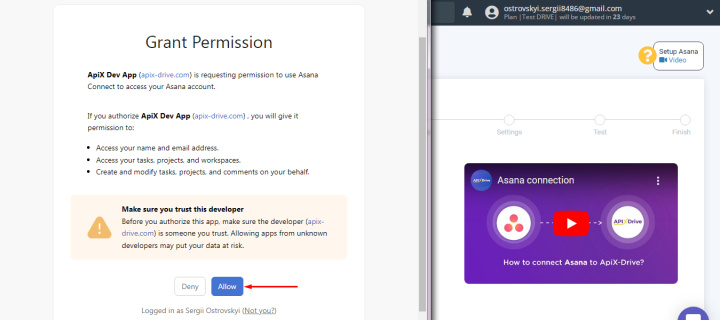
Grant necessary access to the ApiX-Drive service.
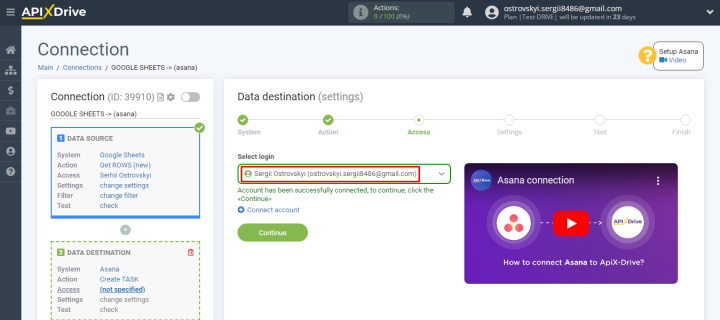
Asana account added. Select it for further configuration.
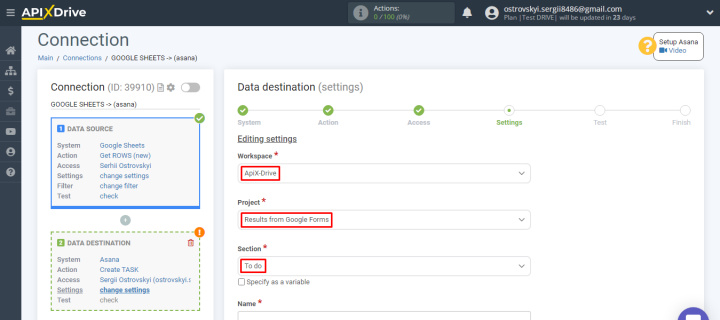
Define the workspace, project and section in which new tasks will be added.
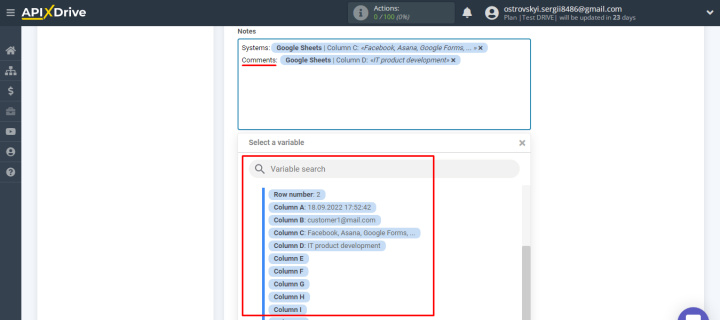
Set up the content of Asana fields. To do this, we use variables from the list, and also add our own text. When all required fields are configured, click “Continue”.
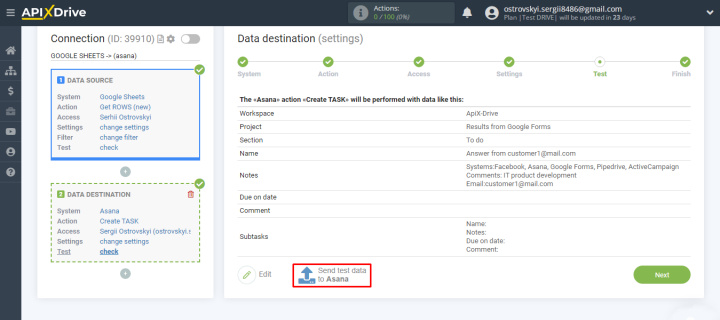
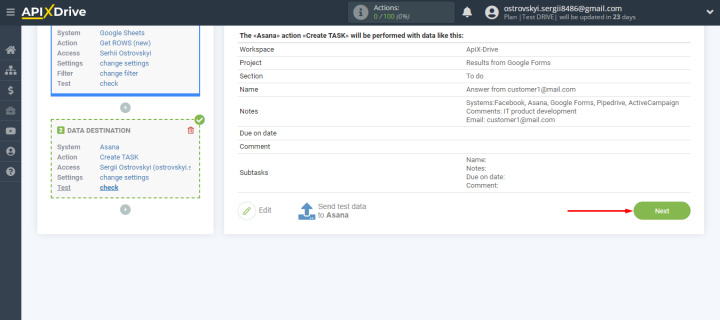
At the next stage, check the set and format of data that will be sent to Asana to create new tasks. If you need to make edits, click “Edit” and go back one step. If everything suits, click “Send test data to Asana”.
Go to the Asana project and check for a new task.
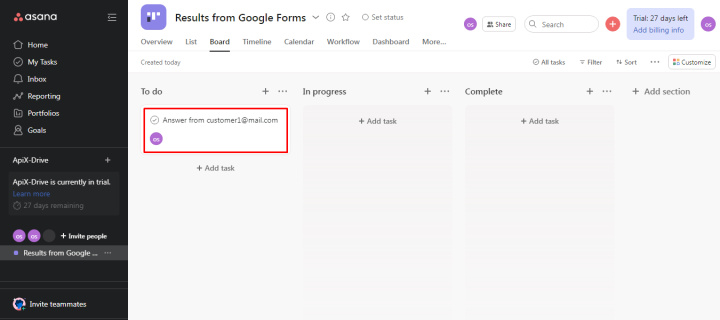
The connection is working correctly. Return to ApiX-Drive and click “Next”.
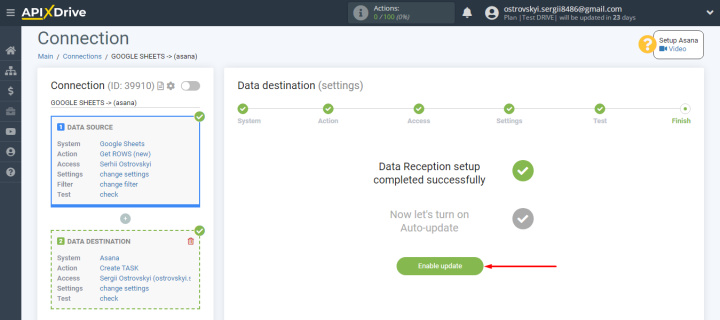
Turn on auto-update
Recall that we are setting up for the Asana Google Forms as the source of information. The intermediate link is the Google Sheets file. In order for the ApiX-Drive service to automatically transfer all new rows from the spreadsheet to Asana, you must enable automatic data updating. Click "Enable update".
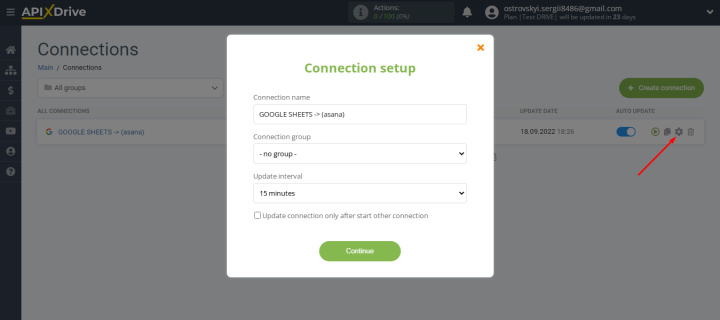
The integration appeared in the list of connections. To change the name of the connection, click the “gear”. In the settings window that opens, we can also select the data update interval and add the integration to the group.
Conclusions. Google Forms and Asana integration
What did we get as a result? All submitted Google Forms will be automatically converted to Asana tasks. This will increase the speed of processing responses and greatly simplify the work of employees. To set up an automated data transfer, we used the ApiX-Drive service. As you can see, no special skills were required to create the integration. Communication is configured via the web interface in a few minutes. Use Google Forms for surveys, data collection, and customer engagement. And with the help of integrations created in the ApiX-Drive system, increase the speed and efficiency of information processing.
