How to Integrate Google Contacts and Brevo: Step-by-Step Instruction
Google Contacts is a popular free service for storing and managing contacts. Brevo (formerly Sendinblue) is a universal cloud platform for digital marketing automation and CRM. It allows you to quickly and efficiently interact with potential and existing customers through various communication channels: email, SMS, WhatsApp, online chats, and chatbots. Working with both services will be much faster and more efficient if you automate the process of transferring data from one to another. This can be done by integrating both systems via the ApiX-Drive online connector. From our article, you will learn how to set up Google Contacts and Brevo integration and thus automate the transfer of new client contacts from the service for their collection to the digital marketing platform.
Automation of contact data transfer will completely free you from one of the routine work processes. Its main value is saving time and human resources, as well as eliminating errors that usually occur due to inattention. In addition, the integration of the information collection tool and the marketing platform will significantly speed up interaction with clients. This will improve your productivity, increase the efficiency of the department, and, accordingly, the company as a whole.
After setting up Brevo and Google Contacts integration via our online connector ApiX-Drive, you will be able to see and evaluate the results literally immediately. New contacts will be automatically transferred to the service for communication with clients and conducting marketing campaigns. Now you do not have to manually transfer names and surnames, phone numbers, email addresses, etc. Thus, you optimize your work, and your clients will receive accelerated feedback. By the way, according to Verint, an American developer of software for automation of interaction with clients, 65% of consumers call a quick response one of the most important aspects of good service.
How to Set Up Google Contacts and Brevo Integration
To implement Google Contacts + Brevo integration, you don’t need to learn programming or delve into API details. Our online connector, ApiX-Drive will do almost everything for you. With its help, connecting systems is quick and easy. Thanks to the intuitive interface and simple operating principle, the entire process will take no more than 10 minutes. As a “guide”, you can use our detailed text and video instructions, where the settings and connection of accounts are analyzed step by step.
The first thing you will need to do is register on the apix-drive.com website. Then you can proceed directly to setting up Brevo + Google Contacts integration.
Setting Up the Data Source – Google Contacts
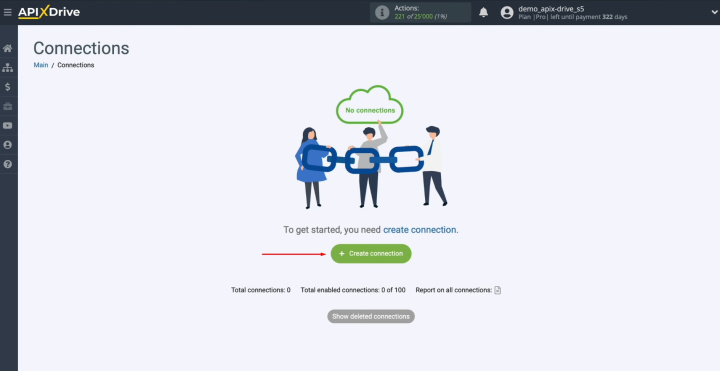
To set up the Google Contacts integration with Brevo, first create a new connection. To achieve this, click the appropriate button.
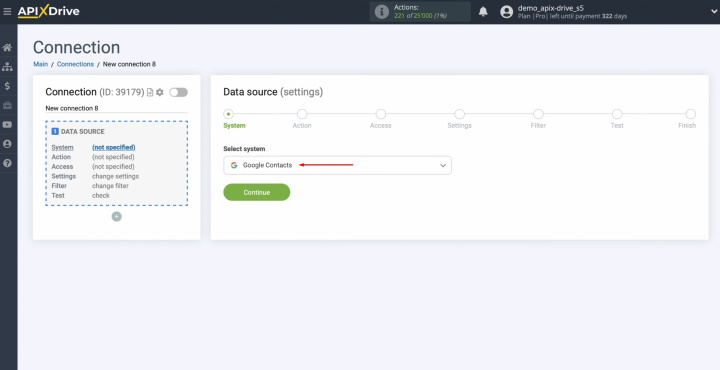
Select the data source system. This is Google Contacts. Click
“Continue”.
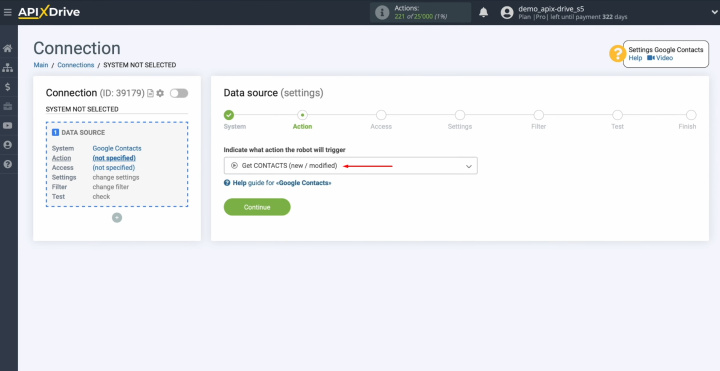
Choose the action “Get CONTACTS (new/modified)”. Click
“Continue”.
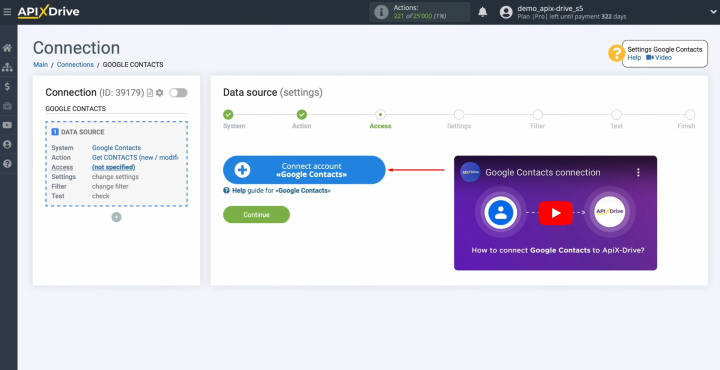
Connect your Google
account to ApiX-Drive. For this, click the appropriate button.
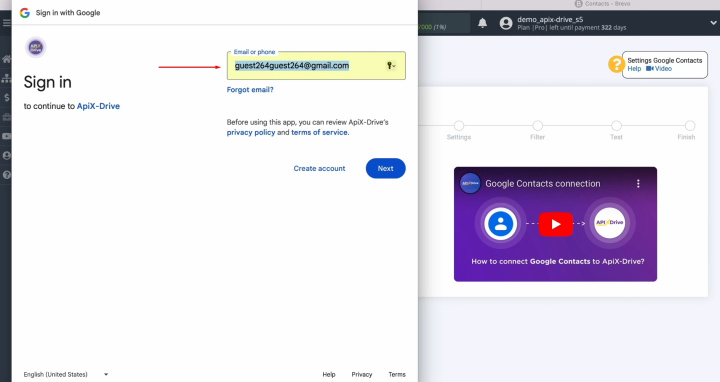
Specify the
login of your Google personal account. Click “Next”.
Specify the
password of your Google personal account. Click
“Next”.
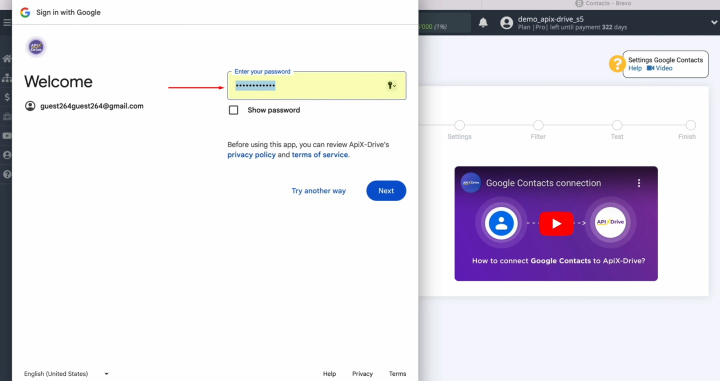
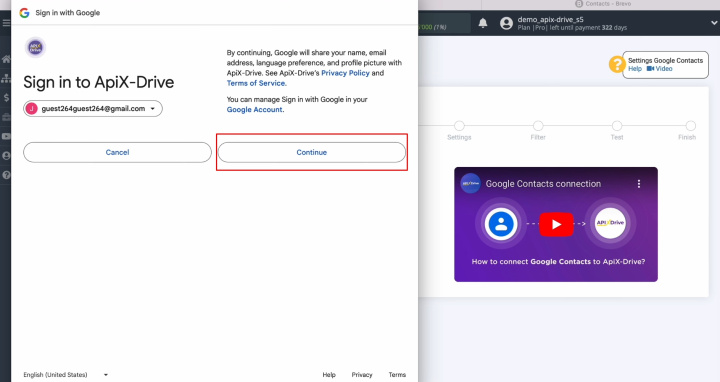
Provide
ApiX-Drive access to work with your Google account. For this,
click “Continue”.
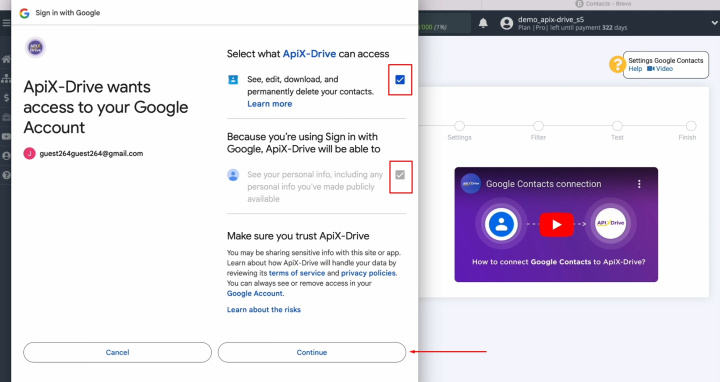
Here, be sure to
check all the boxes and click “Continue” again.
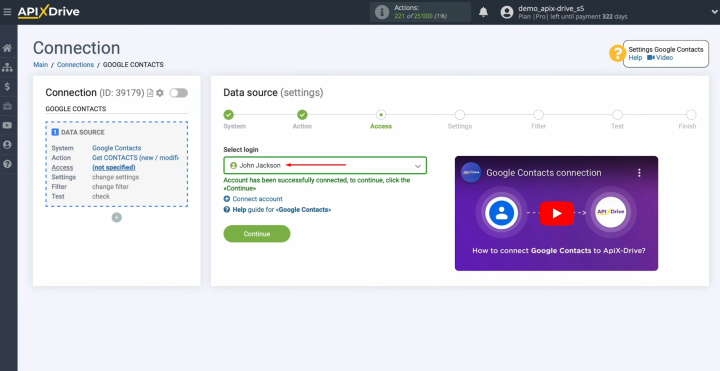
When the
connected account appears in the list of active accounts, select it and click “Continue”.
There are no
additional settings for the Google Contacts system, so just click “Continue”.
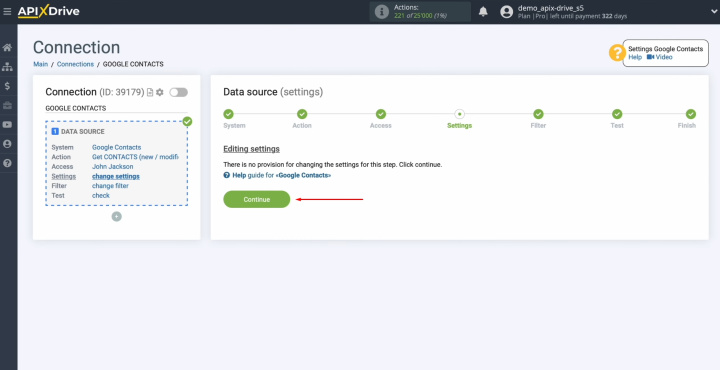
You can set
up a data filter. In this case, there is no need for this, so you can also click “Continue”.
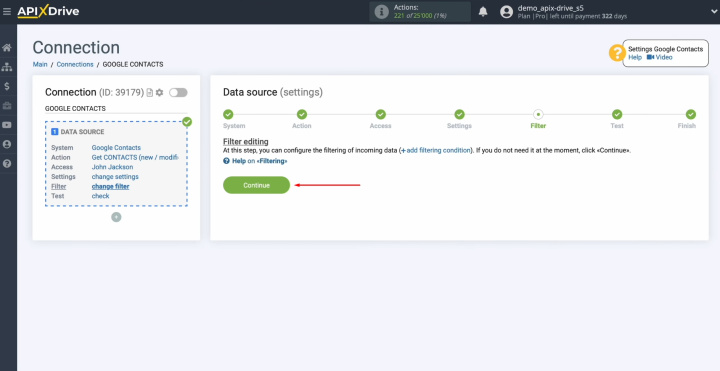
Now, you see
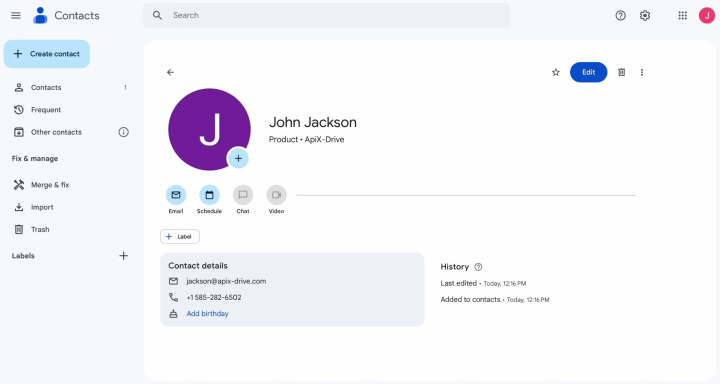
an example of data for one of your contacts in Google Contacts. If everything suits you, click “Continue”.
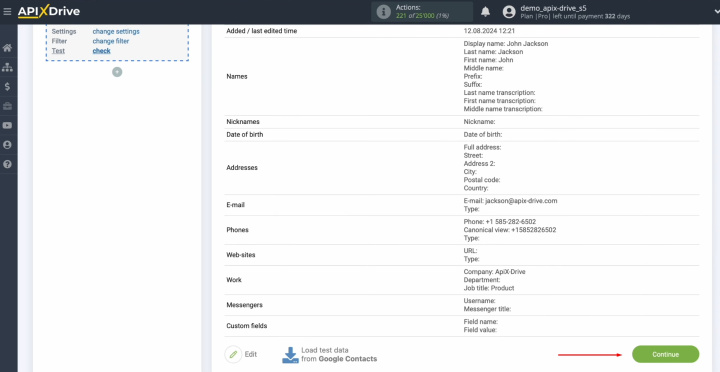
You have now completed setting up Google Contacts as a data source.
- Automate the work of an online store or landing
- Empower through integration
- Don't spend money on programmers and integrators
- Save time by automating routine tasks
Setting Up the Data Receiver – Brevo
Now, you can proceed to setting up the data receiver. For this, click "Start Configuring Data Destination".
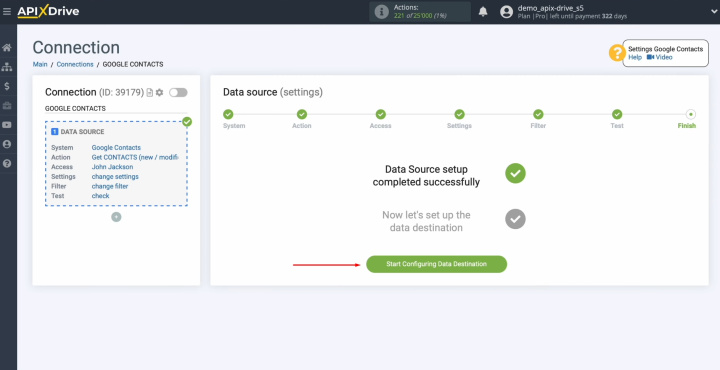
To set up the Brevo integration with Google Contacts, select the data receiver system. You need Brevo. Click
“Continue”.
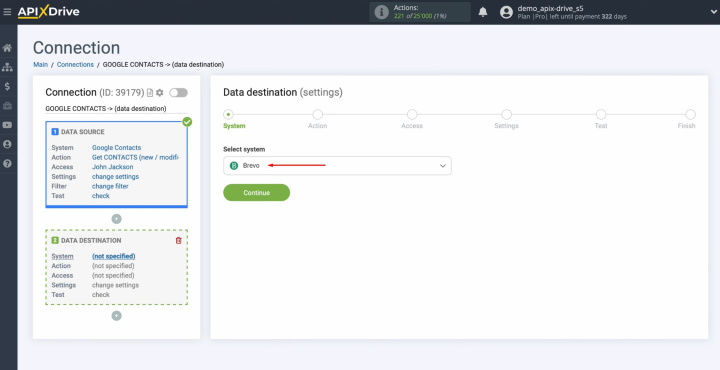
Choose the action “Add/Update CONTACT”. Click
“Continue”.
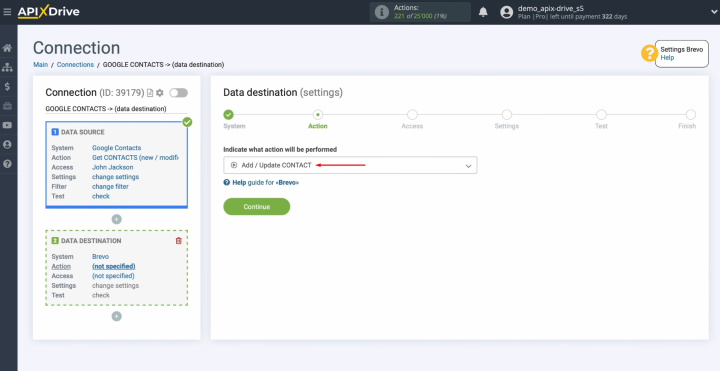
Connect your
Brevo account to ApiX-Drive. For this, click the appropriate button.
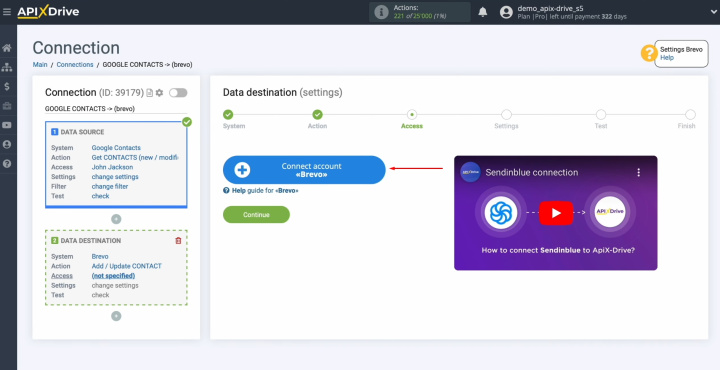
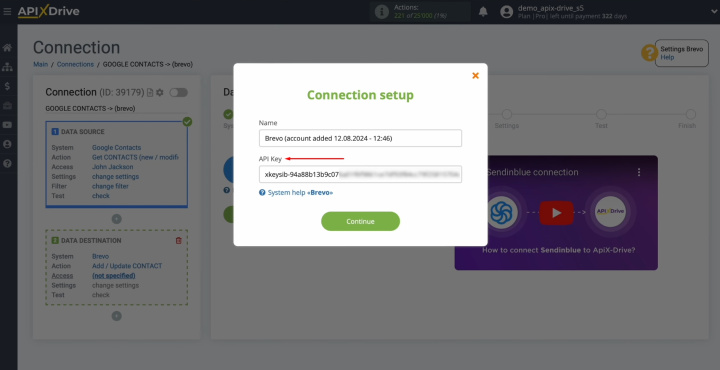
In this window, you must specify the API key.
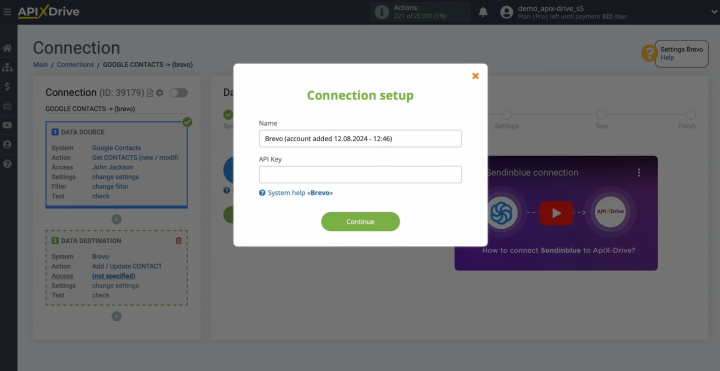
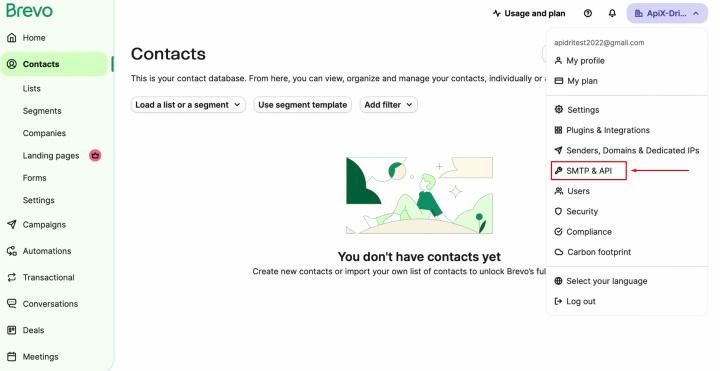
To get the
API key, go to the settings of your Brevo personal account. Then, go to
the SMTP
& API section.
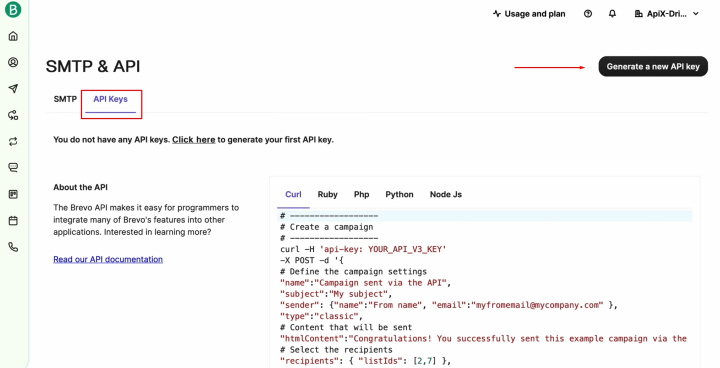
Click on “API Keys” and “Generate a new API key”.
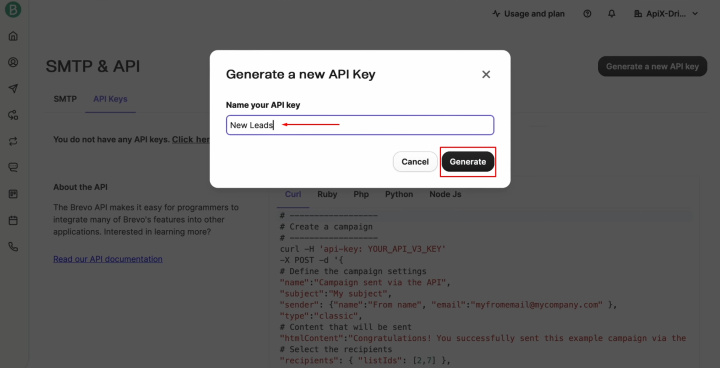
Specify a
name for the new key and click “Generate”.
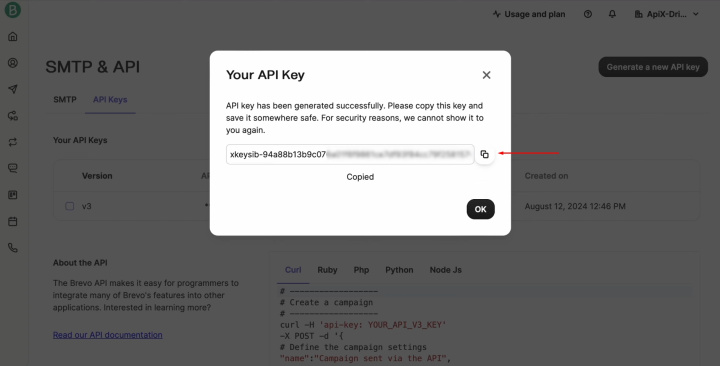
Copy the API
key and click “OK”.
Paste the API
key into the appropriate field in ApiX-Drive. Then, click “Continue”.
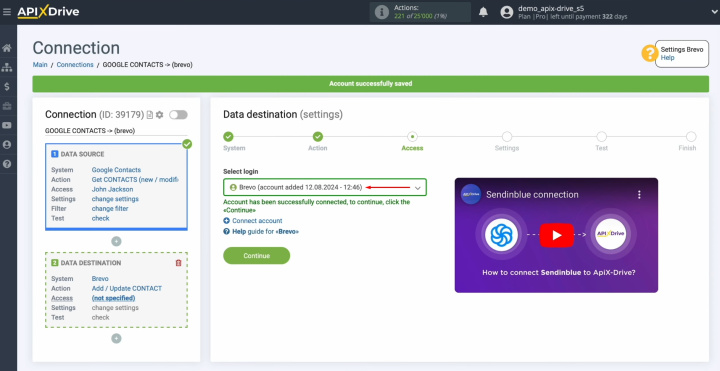
When the
connected login appears in the list of active accounts, select it and click “Continue”.
Select the
List to which new contacts will be added.
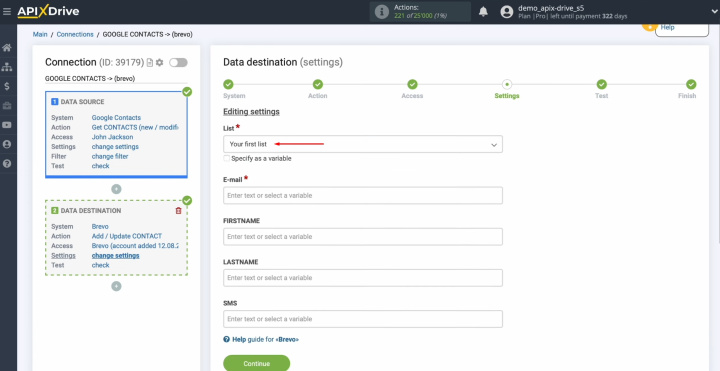
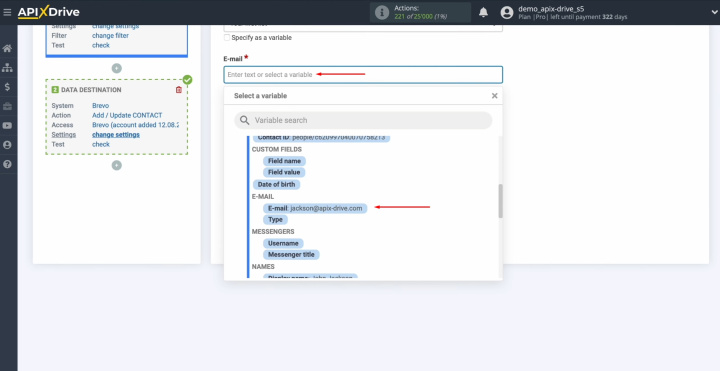
Here, you see
the Brevo fields for creating new contacts. You can assign variables from
Google Contacts to these fields. To do this, place the cursor on the desired field and select the appropriate data from the drop-down list.
When all the
necessary fields are filled in, click “Continue”.
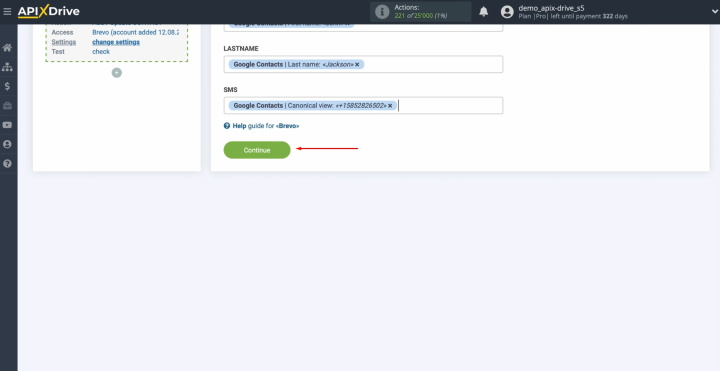
Now, you see an
example of the data that will be sent to Brevo as new contacts for each
new contact from Google Contacts. If you are not satisfied with
something, click “Edit” and you will go back one step.
In order to check the correctness of the settings, click “Send test data to Brevo”.
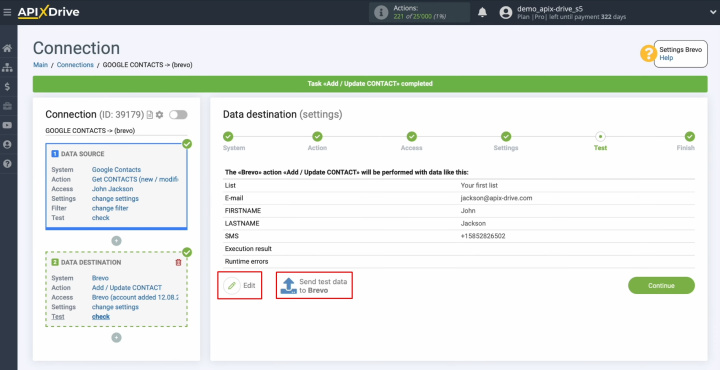
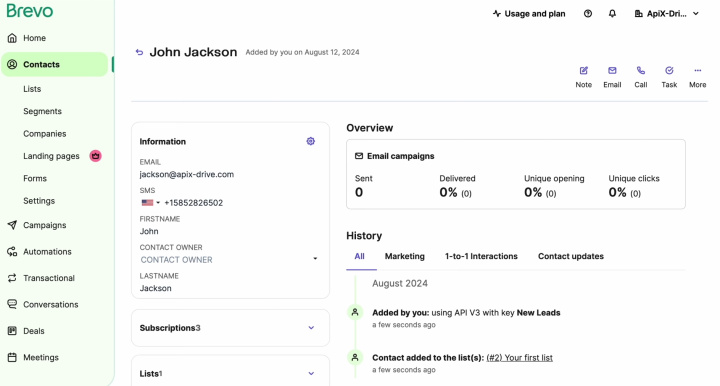
After
successful sending, go to Brevo and check the result.
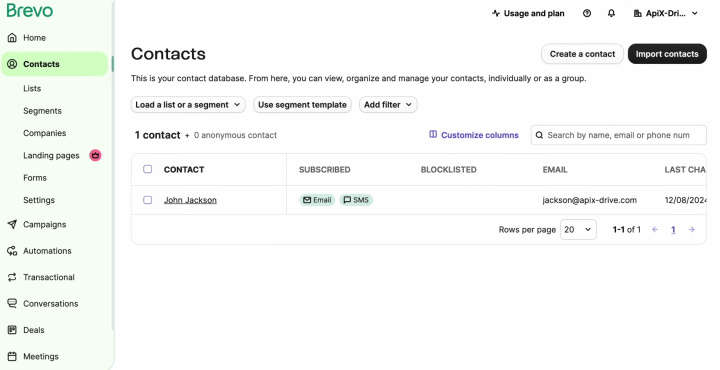
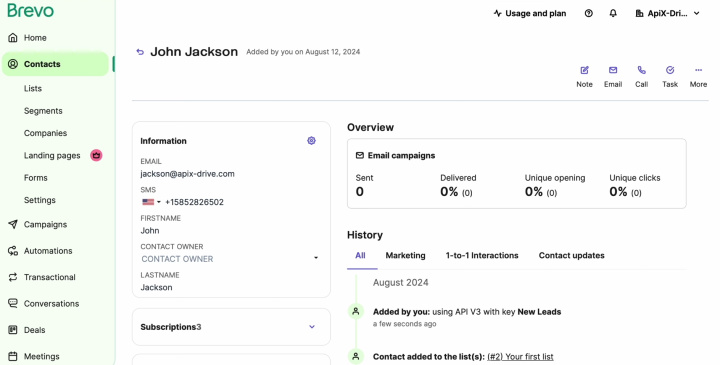
If you are
satisfied with everything, return to ApiX-Drive and continue setting up.
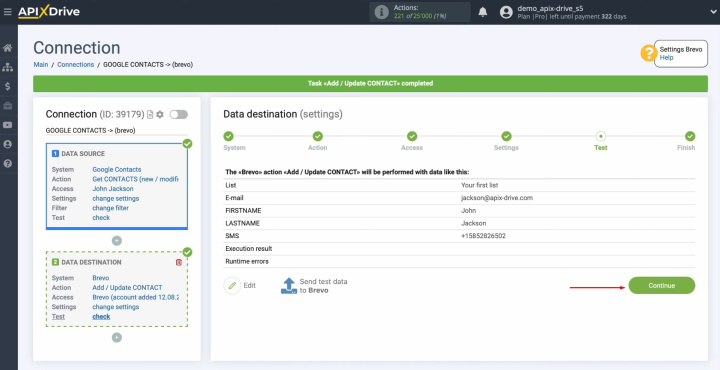
Setting up
Brevo as a data receiver is successfully completed.
Setting Up Auto-update
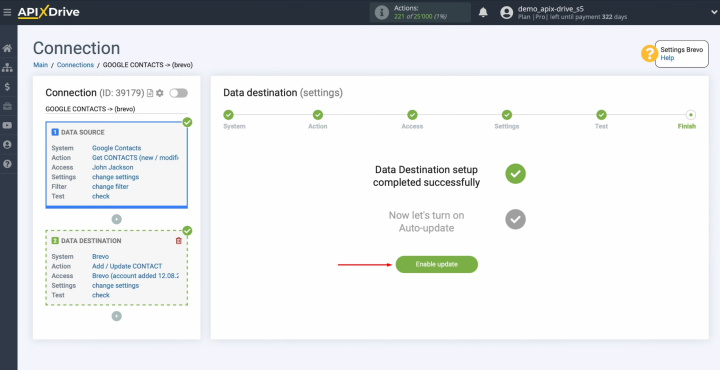
In order for data transfer to occur automatically, configure auto-update. Click on the green button “Enable update”.
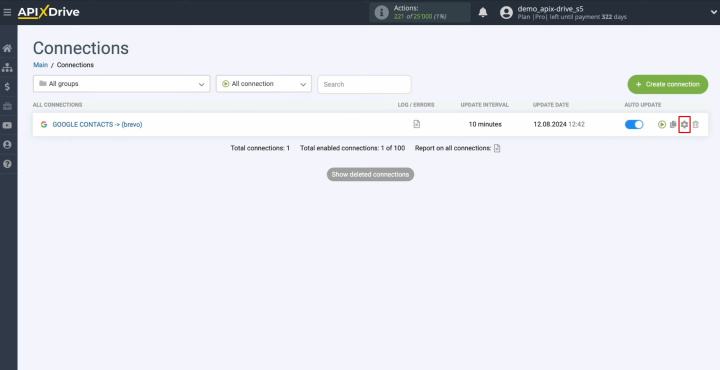
Click on the
gear button.
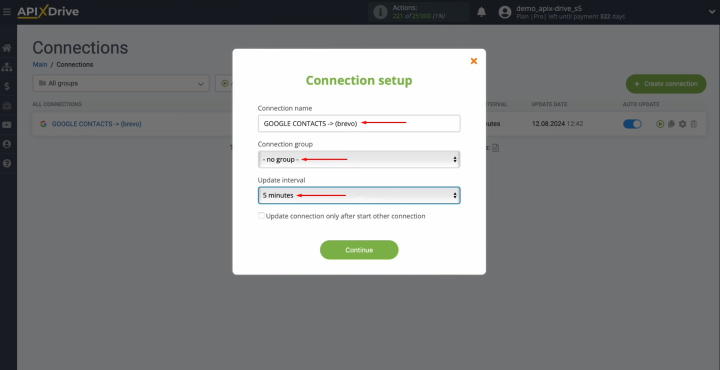
Select the
interval for the operation of the connection. For example, once every 5
minutes. Additionally, here you can give the integration a new name and assign it to a specific group.
Click “Continue”.
That's all. The integration was
completed. You
did it. Congratulations!
What Is the Result?
After you have completed the Google Contacts & Brevo integration setup according to our instructions and enabled auto-update, the systems will start working together in a smooth manner. Brevo & Google Contacts integration will free you from routine, monotonous manual work. From now on, you will not have to manually transfer customer or lead contacts from one platform to another. This process will be fully automated with our online connector ApiX-Drive. As a result, you will be able to focus on improving customer interactions, developing new marketing strategies, and other tasks that will help your business reach a new level.
