Tally and MailerLite Integration: Automatic Transfer of Leads
Tally is a simple and convenient no-code service for creating forms to collect different information. MailerLite is a multifunctional platform for automating mailings and other marketing processes with a wide range of advanced tools. If you already work with both systems or are planning to do so, you will probably be interested in learning how to optimize workflow. A proven and guaranteed effective method is to automate the exchange of data between them. It can be organized by integrating both platforms through our online connector ApiX-Drive. In this article, you will find a guide on setting up Tally and MailerLite integration using this service. You can automate the process of entering data from forms into the email marketing system and register them there as new subscribers.
What does Automating Data Transfer from Tally to MailerLite Provide?
Automating the transfer of lead data will greatly simplify your work, save time and money, and minimize the likelihood of errors. In addition, it helps speed up data processing. This will increase your personal productivity, improve the results of your department, and the company as a whole.
By running MailerLite and Tally integration through the no-code connector ApiX-Drive, you will immediately notice improvements. All data received from the forms will be automatically transferred to the email marketing system and registered there as new subscribers. This will free you from the need to manually transfer names, phone numbers, email addresses, and other data of potential clients or customers. Instead, you will be free to focus on more important aspects of your work.

Why is It Worth Choosing ApiX-Drive to Set Up Integration?
Setting up Tally + MailerLite integration using the connector ApiX-Drive does not require special programming knowledge or understanding of the API. You will only need to provide it with the necessary inputs and permissions.
Main advantages of the service:
- Extensive catalog of integrations. The platform has hundreds of different connectors. In most cases, users immediately find what they need and begin customizing it to their needs.
- Intuitive interface with a convenient menu. The developers made sure that every user do not experience difficulties in interacting with the connector.
- Simple operating principle. Thanks to it, integrations are set up quickly and easily.
- Automation for everyone. The service is suitable for heads of departments and companies from different fields, managers at all levels, online store owners, marketers, IT specialists, copywriters, and more.
- Save time. The entire process of setting up and launching system communication takes no more than 10 minutes. And this is assuming that you have never done anything like this before.
- Availability of detailed instructions in text and video format. Training materials prepared by ApiX-Drive employees will help you understand connecting accounts and settings if you have any difficulties.
- User's trust. Over 100,000 people have chosen this service for themselves and their businesses.
How to Set Up Tally and MailerLite Integration?
The first step is to register on the website apix-drive.com. After this, you can proceed directly to setting up MailerLite + Tally integration.
Setting Up the Data Source – Tally
To set up the Tally integration with MailerLite, create a new connection. For this, click on the green button.
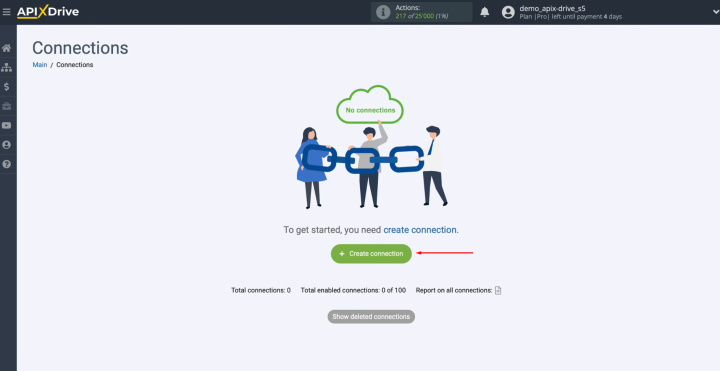
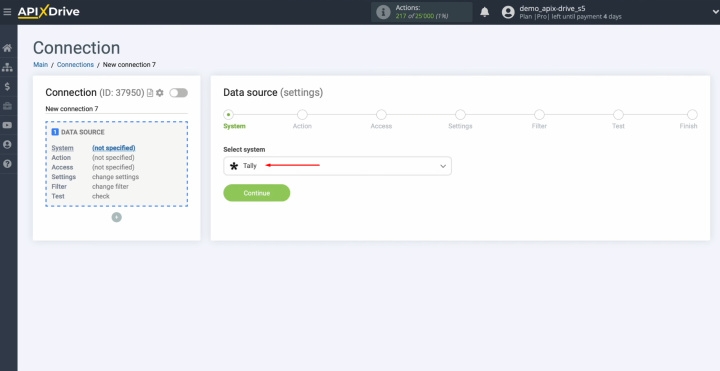
Select the
data source system. It is Tally. Click “Continue”.
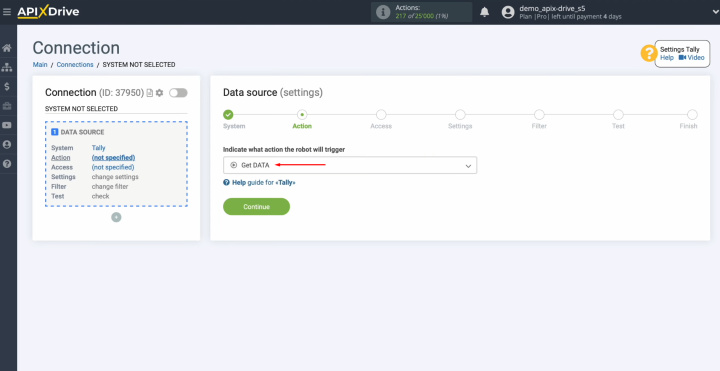
Choose the action
"Get DATA". Click “Continue”.
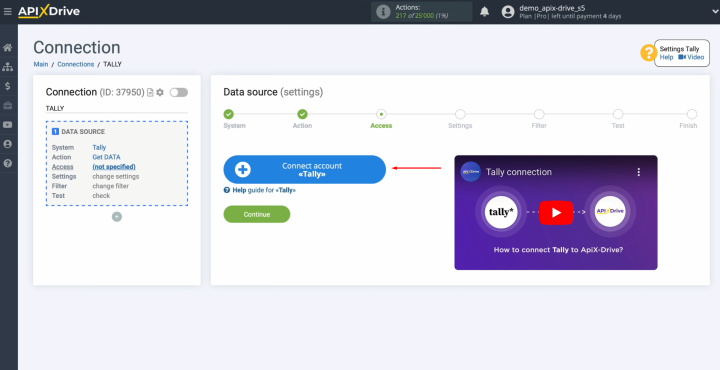
Connect your Tally account to the ApiX-Drive system. For this,
click on the blue button.
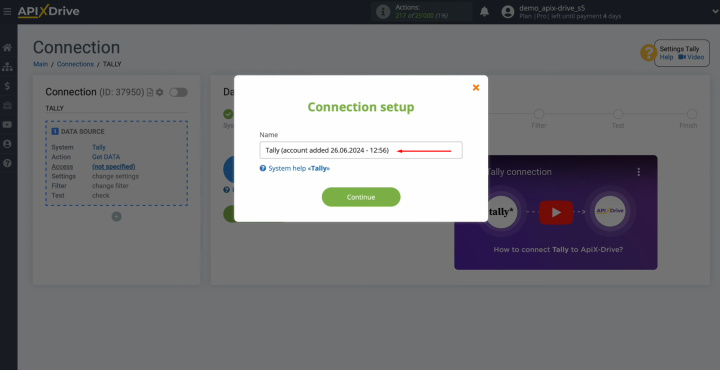
Change the name or just click "Continue".
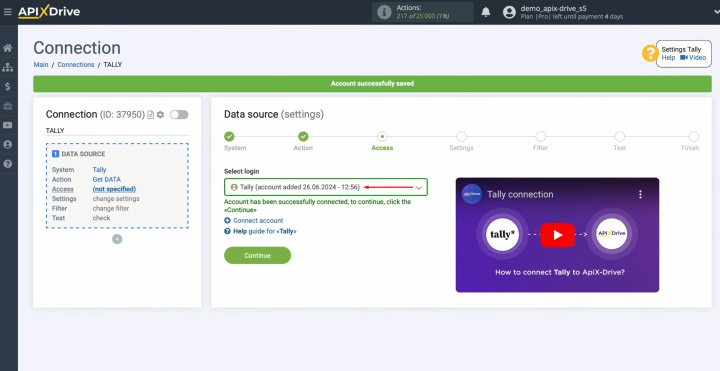
When the
connected account appears in the list, select it and click "Continue".
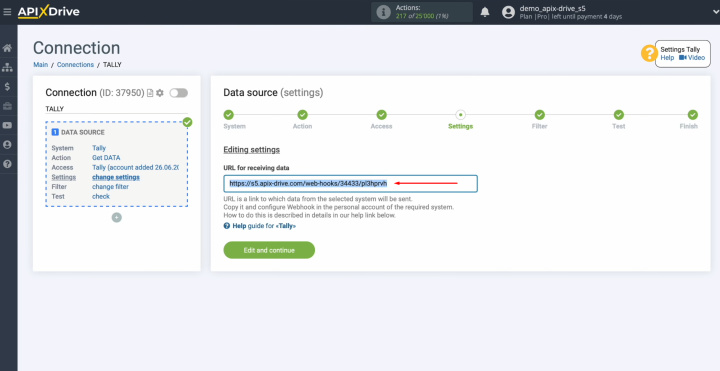
Now, you see
the URL for receiving data. This is the URL where new leads will come from Tally. Copy it.
Go to your
Tally account.
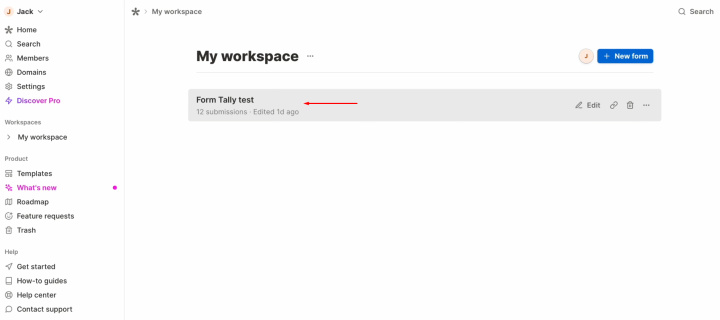
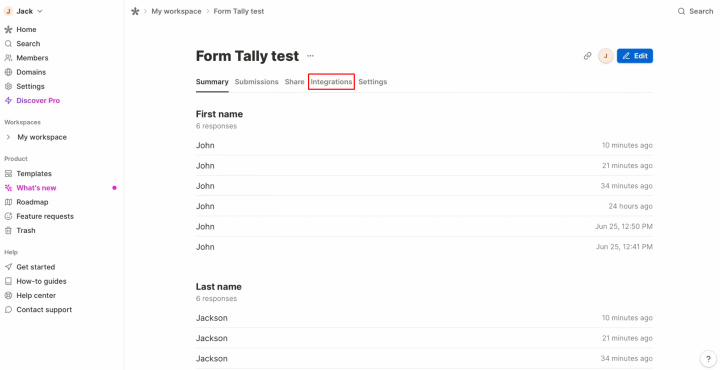
We move on to
setting up the form from which we want to receive new leads. Go to the "Integration"
section.
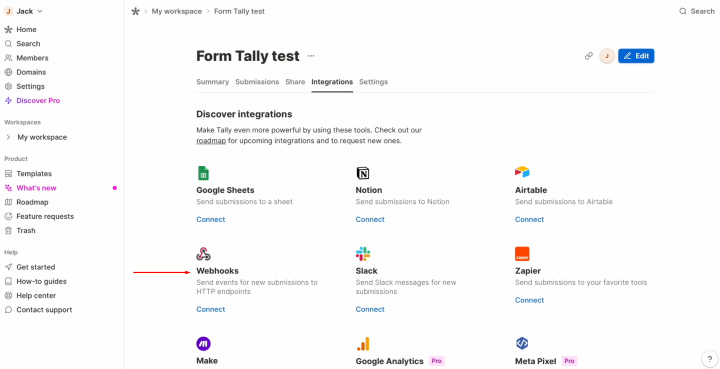
Find the
"Webhooks", and click "Connect".
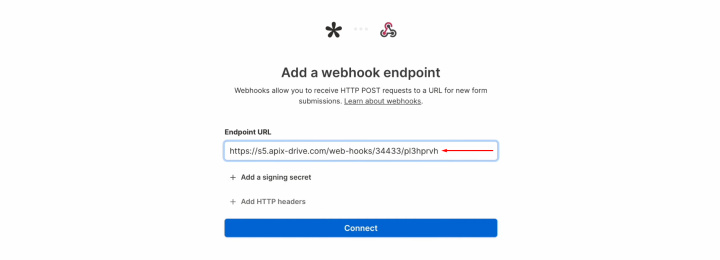
Paste the
copied URL (in the ApiX-Drive system) and click "Connect".
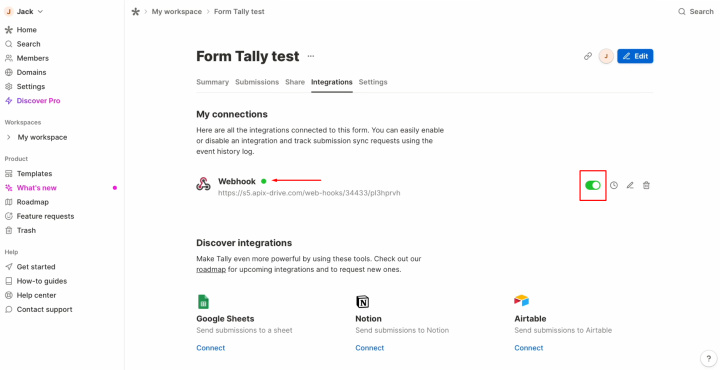
Check that
the webhook system is turned on.
Copy the link.
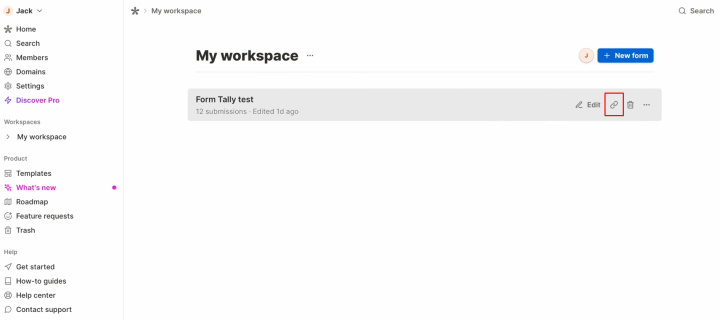
Generate test
data that will be sent to the specified URL. For this, fill out a form.

After successfully submitting out the form, return to ApiX-Drive and continue the configuration.
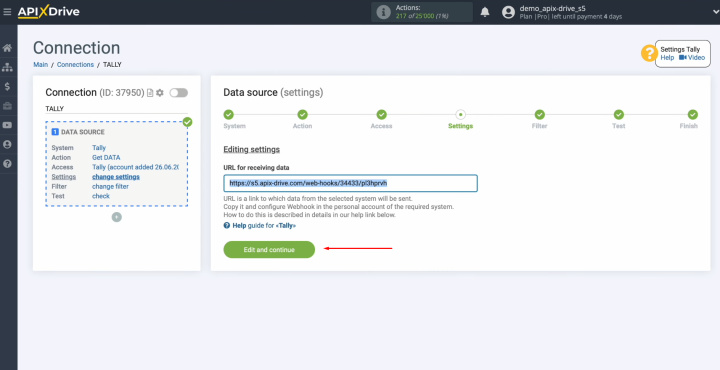
Here, you can
set up a data filter. In this
case, there is no need for this, so just click "Continue".
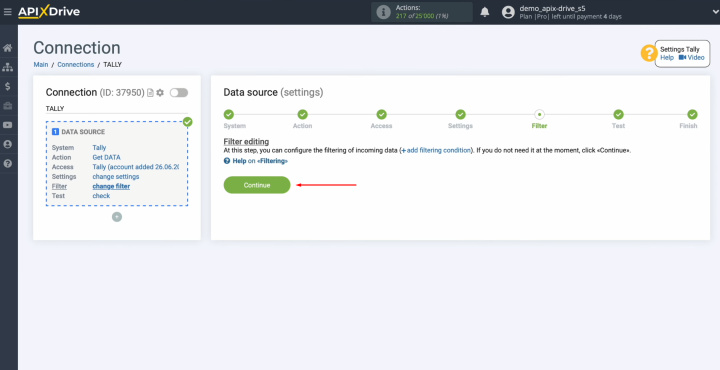
You see the
data that we just filled out in the form. If there is no data at this stage,
try following the steps described earlier. If you are satisfied with
everything, click "Continue".
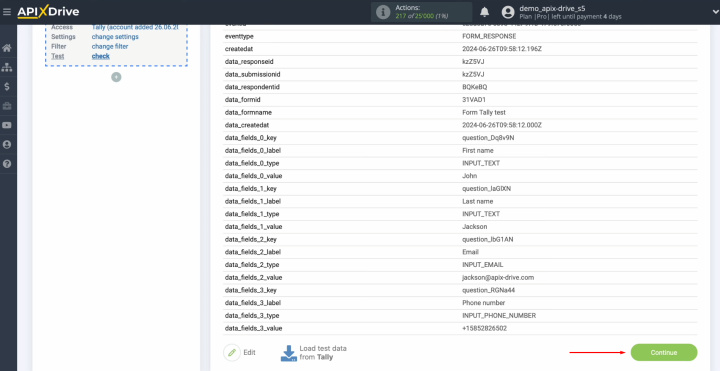
Now, setting up Tally as a data source has been successfully
completed.
Setting Up the Data Receiver – MailerLite
To set up the MailerLite integration with Tally, click on the green button “Start Configuring Data Destination”.
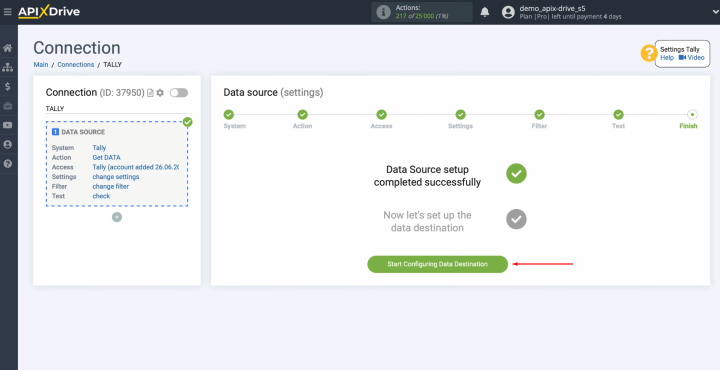
Choose the
system. You need MailerLite. Click
“Continue”.
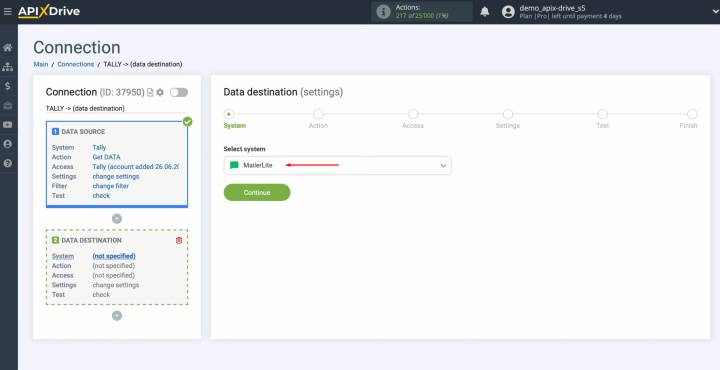
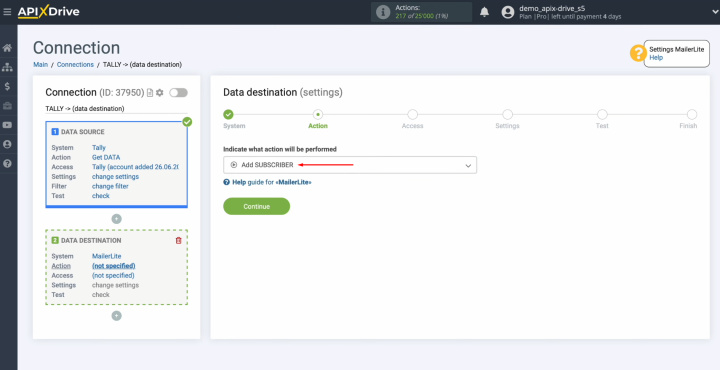
Select the
action "Add Subscriber".
Connect your
MailerLite account to ApiX-Drive. For this, click on the blue
button.
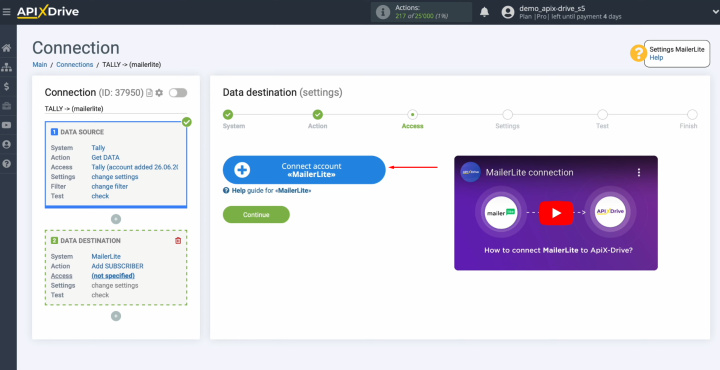
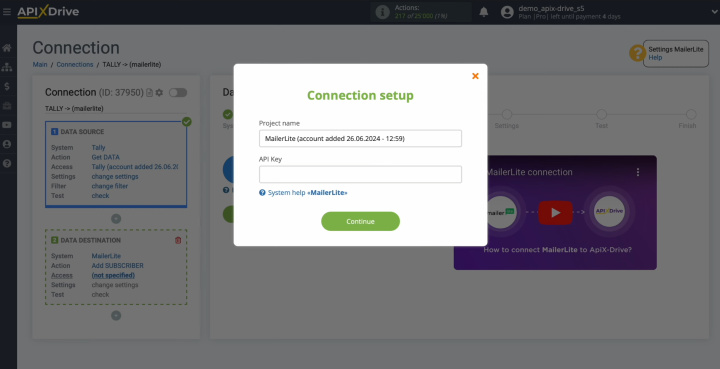
In this
window, you have to specify
the API key.
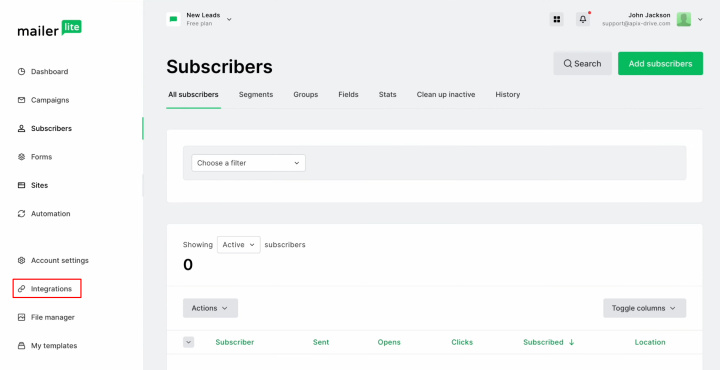
To get it,
go to the "Integration" section on your MailerLite personal account.
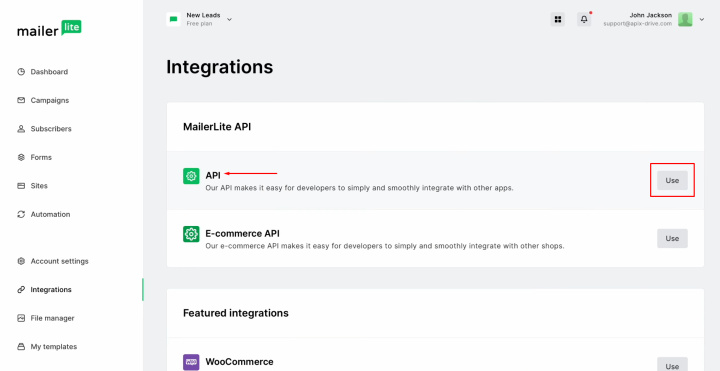
Find the
"API" item, and click “Use”.
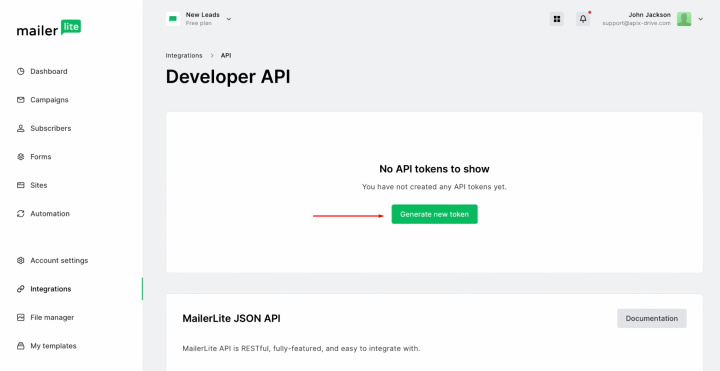
Click "Generate new token".
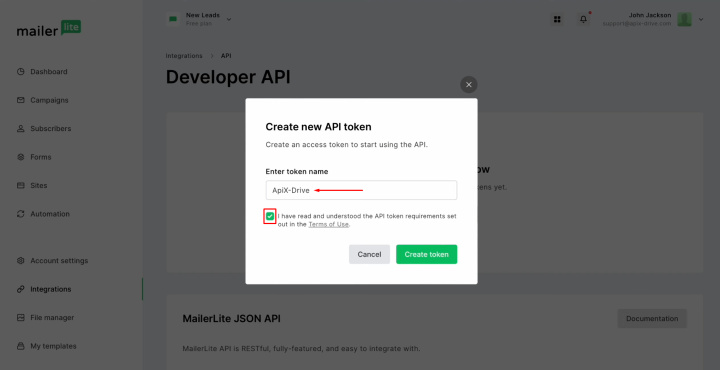
Specify
a name for the new token, place a check mark, and click
“Create token”.
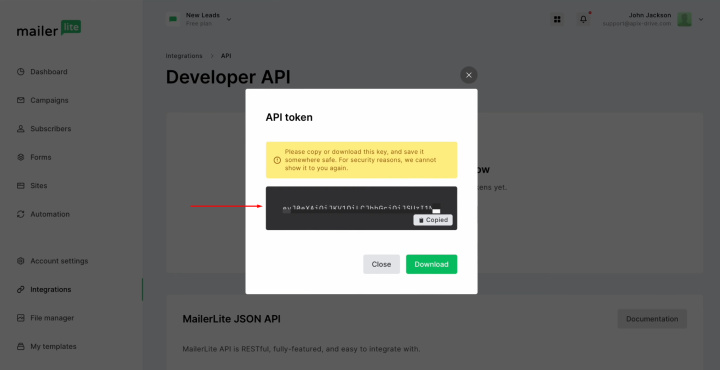
Copy the
token.
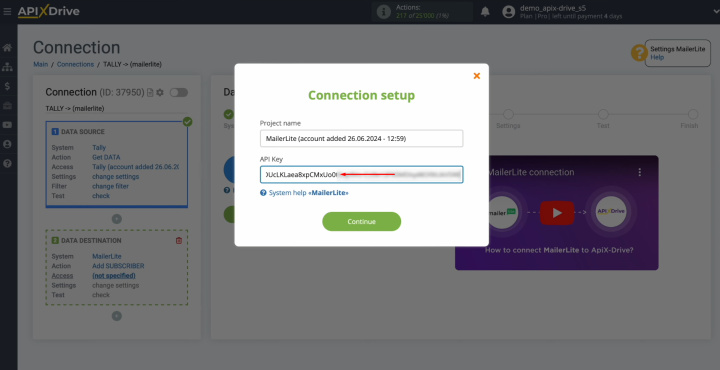
Paste the
token into the appropriate field in ApiX-Drive. When the required field is filled
in, click "Continue".
When the
connected account appears in the list of active accounts, select it and click
"Continue".
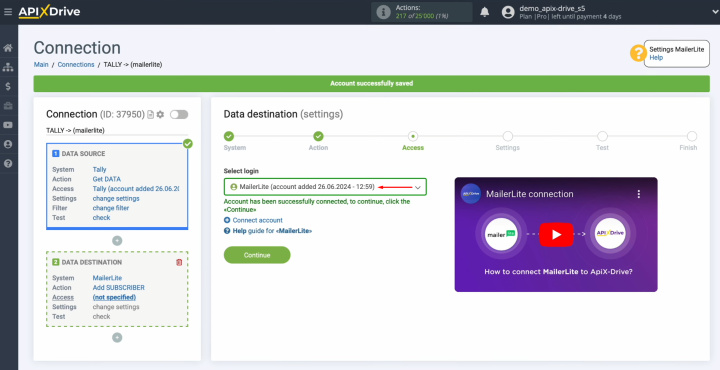
Select a
group to which new subscribers will be added.
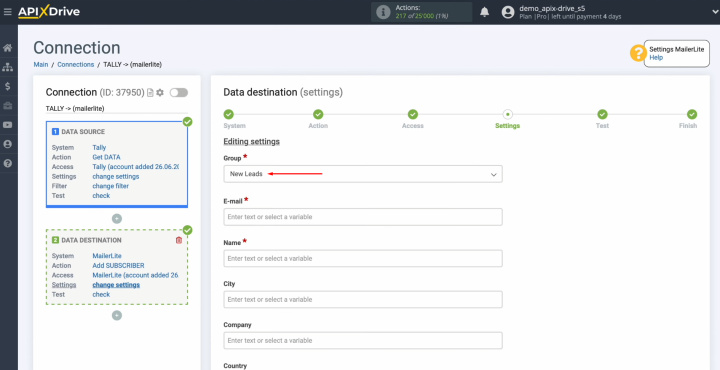
Now, you see
MailerLite fields for creating new subscribers. You can assign variables from Tally
to these fields. To do this,
click in the field and select a variable from the drop-down list.
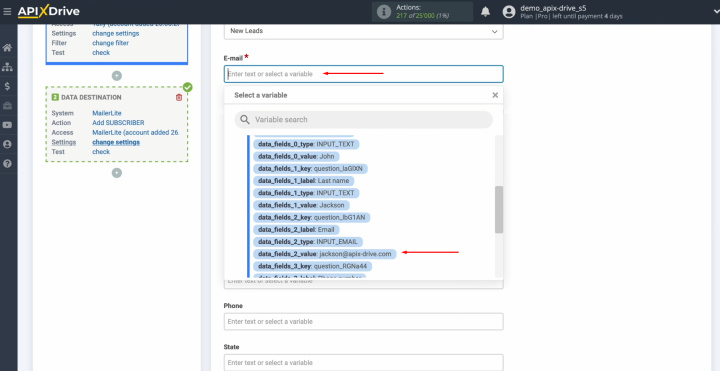
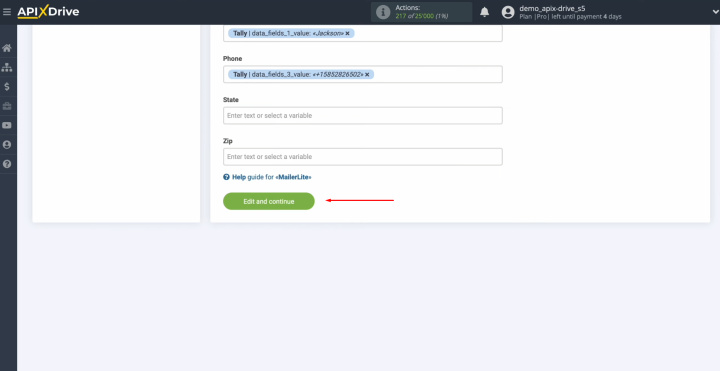
When all the
required fields are assigned, click "Edit and continue".
Here, you can
see an example of the data that will be sent to MailerLite in the form of
new subscribers for every new lead from Tally. If you need to adjust something, click "Edit" and you can do it. To check if the settings are correct, click “Send test data to MailerLite”.
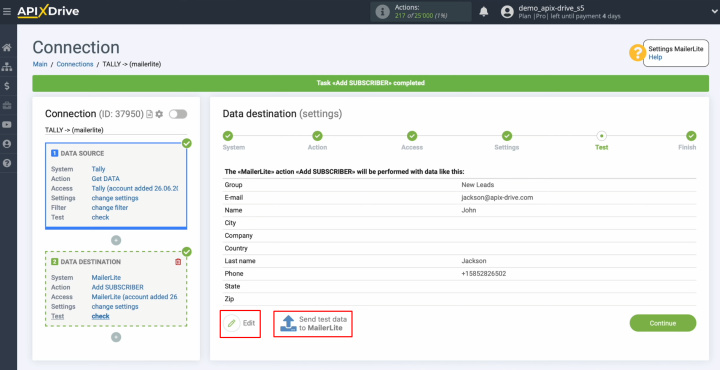
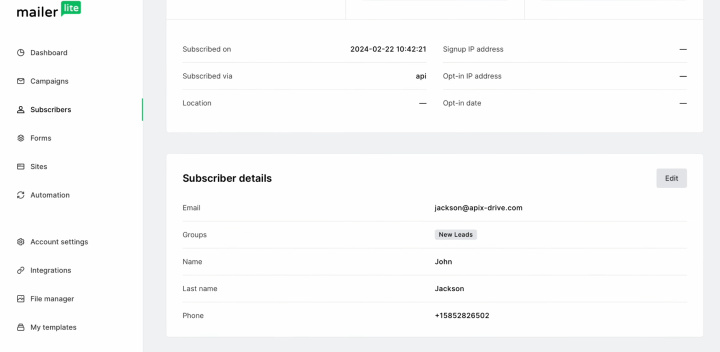
After successful
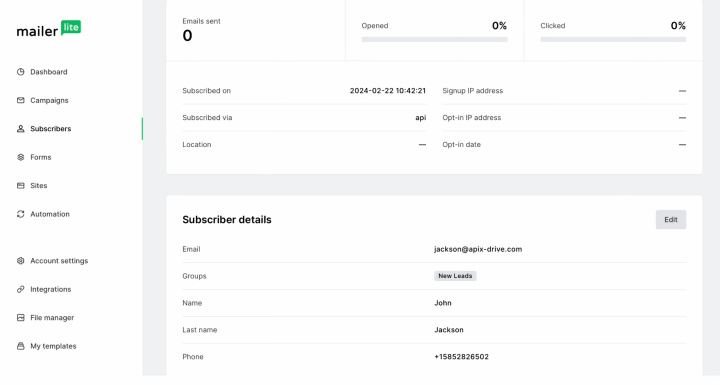
sending, go to MailerLite and check the result.
If everything is ok, return to ApiX-Drive and click "Continue".
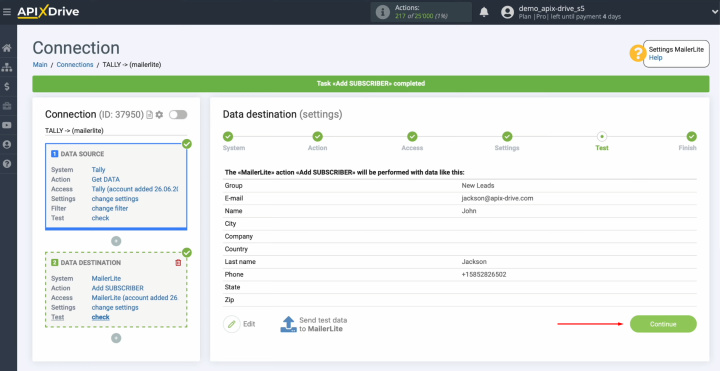
This completes the configuration of MailerLite as a data receiver.


Setting Up Auto-update
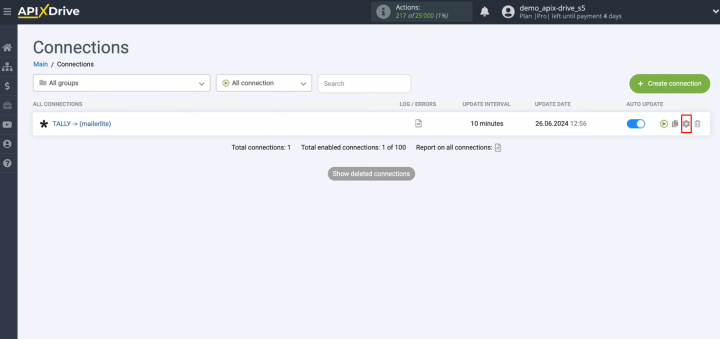
In order for data transfer to occur automatically, configure auto-update. Click on the green button “Enable update”.
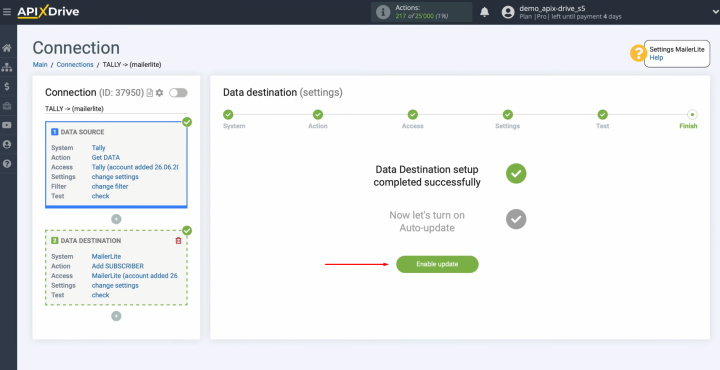
Click on the
gear button.
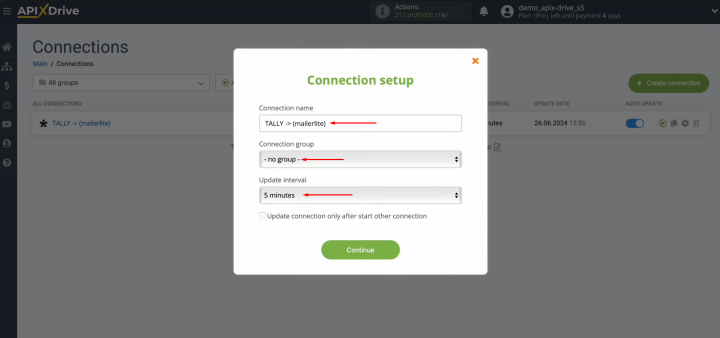
Select the
update interval. For example, once every 5
minutes. Moreover, here you can give the connection a different name and assign it to the desired group. Click “Continue”.
That's all. MailerLite +
Tally integration was
completed. You did it. Good job!
Results
Using the ApiX-Drive online connector to automate data transfer takes business process management to a new, more advanced level. This tool allows you to create effective automated processes even for novice users without programming skills. After successfully setting up Tally & MailerLite integration and running auto-update, the stable operation of the systems will be ensured. You will be able to evaluate its first results literally immediately. We are sure you have already done this.
MailerLite & Tally integration will save you from routine manual data transfer. Thanks to ApiX-Drive, this process is now fully automated. You can spend your free time improving customer service, learning new marketing strategies, and other important areas for growing your business.

