How to setup AirTable Update Row / Add Row
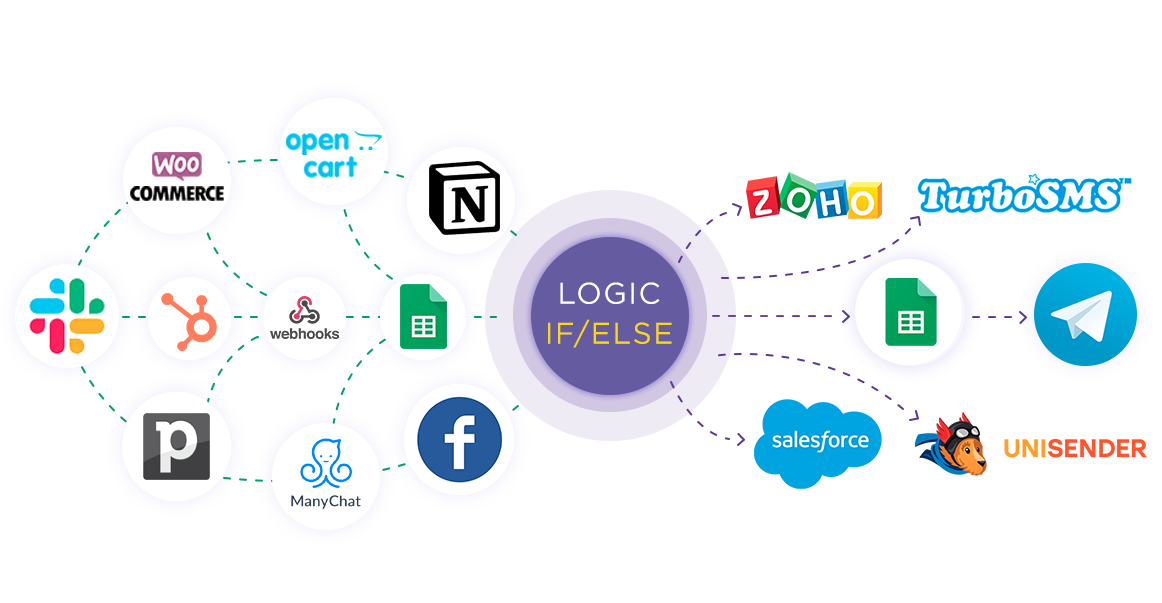
Integration will allow you to implement a row update scenario, and in case of an error, based on specific conditions, add new rows in AirTable based on data from other systems, and using the Logic If/Else section you can send error notifications to Slack or to email, for example Gmail. This will allow you to get fields with data in the Data Source and update / add a row in AirTable using specified values and transfer data to other systems. This way you can automate the process of updating/adding a row and processing data as efficiently as possible using the different services you use.
Let's go through the entire setup of AirTable Update ROW / Add ROW using Logic If/Else together.
Navigation:
Connecting Google Sheets as a Data Source:
1. What data can you get from Google Sheets?
2. How to connect your Google Sheets account to ApiX-Drive?
3. Select the table and sheet from which rows will be get.
4. An example of data for one of the rows in your table.
Connecting AirTable as a Data Destination for updating rows:
1. What will the integration with AirTable do?
2. How to connect your AirTable account to ApiX-Drive?
3. How can I configure the selected action to update rows in AirTable?
4. Example of data that will be updated in your AirTable.
Setting up the Logic If/Else section - AirTable to add a row:
1. What logical action will the Logic section perform?
2. How to set a specific condition for a selected action?
3. How to add Data Destination inside the Logic section?
4. What will the integration with AirTable do?
5. How to connect an AirTable account in the Logic section?
6. How can I configure the selected action to transfer data to AirTable?
7. Example of data that will be sent to your AirTable.
8. Auto-update and update interval.
Answers to frequently asked questions:
1. How to set up Logic based on the result of data transmission of the Data Destination system, if the execution result condition is Successful or Unsuccessful?
2. What will be the final result for the given condition?
Setting up an additional section Logic If/Else - Slack:
1. What logical action will the additional Logic section perform?
2. How to set a specific condition for a selected action?
3. How to add Data Destination inside the Logic section?
4. What will integration with Slack do?
5. How to connect a Slack account in the Logic section?
6. How to configure data transfer to Slack in the selected action?
7. Example of data that will be sent to your Slack.
Setting Data SOURCE: Google Sheets
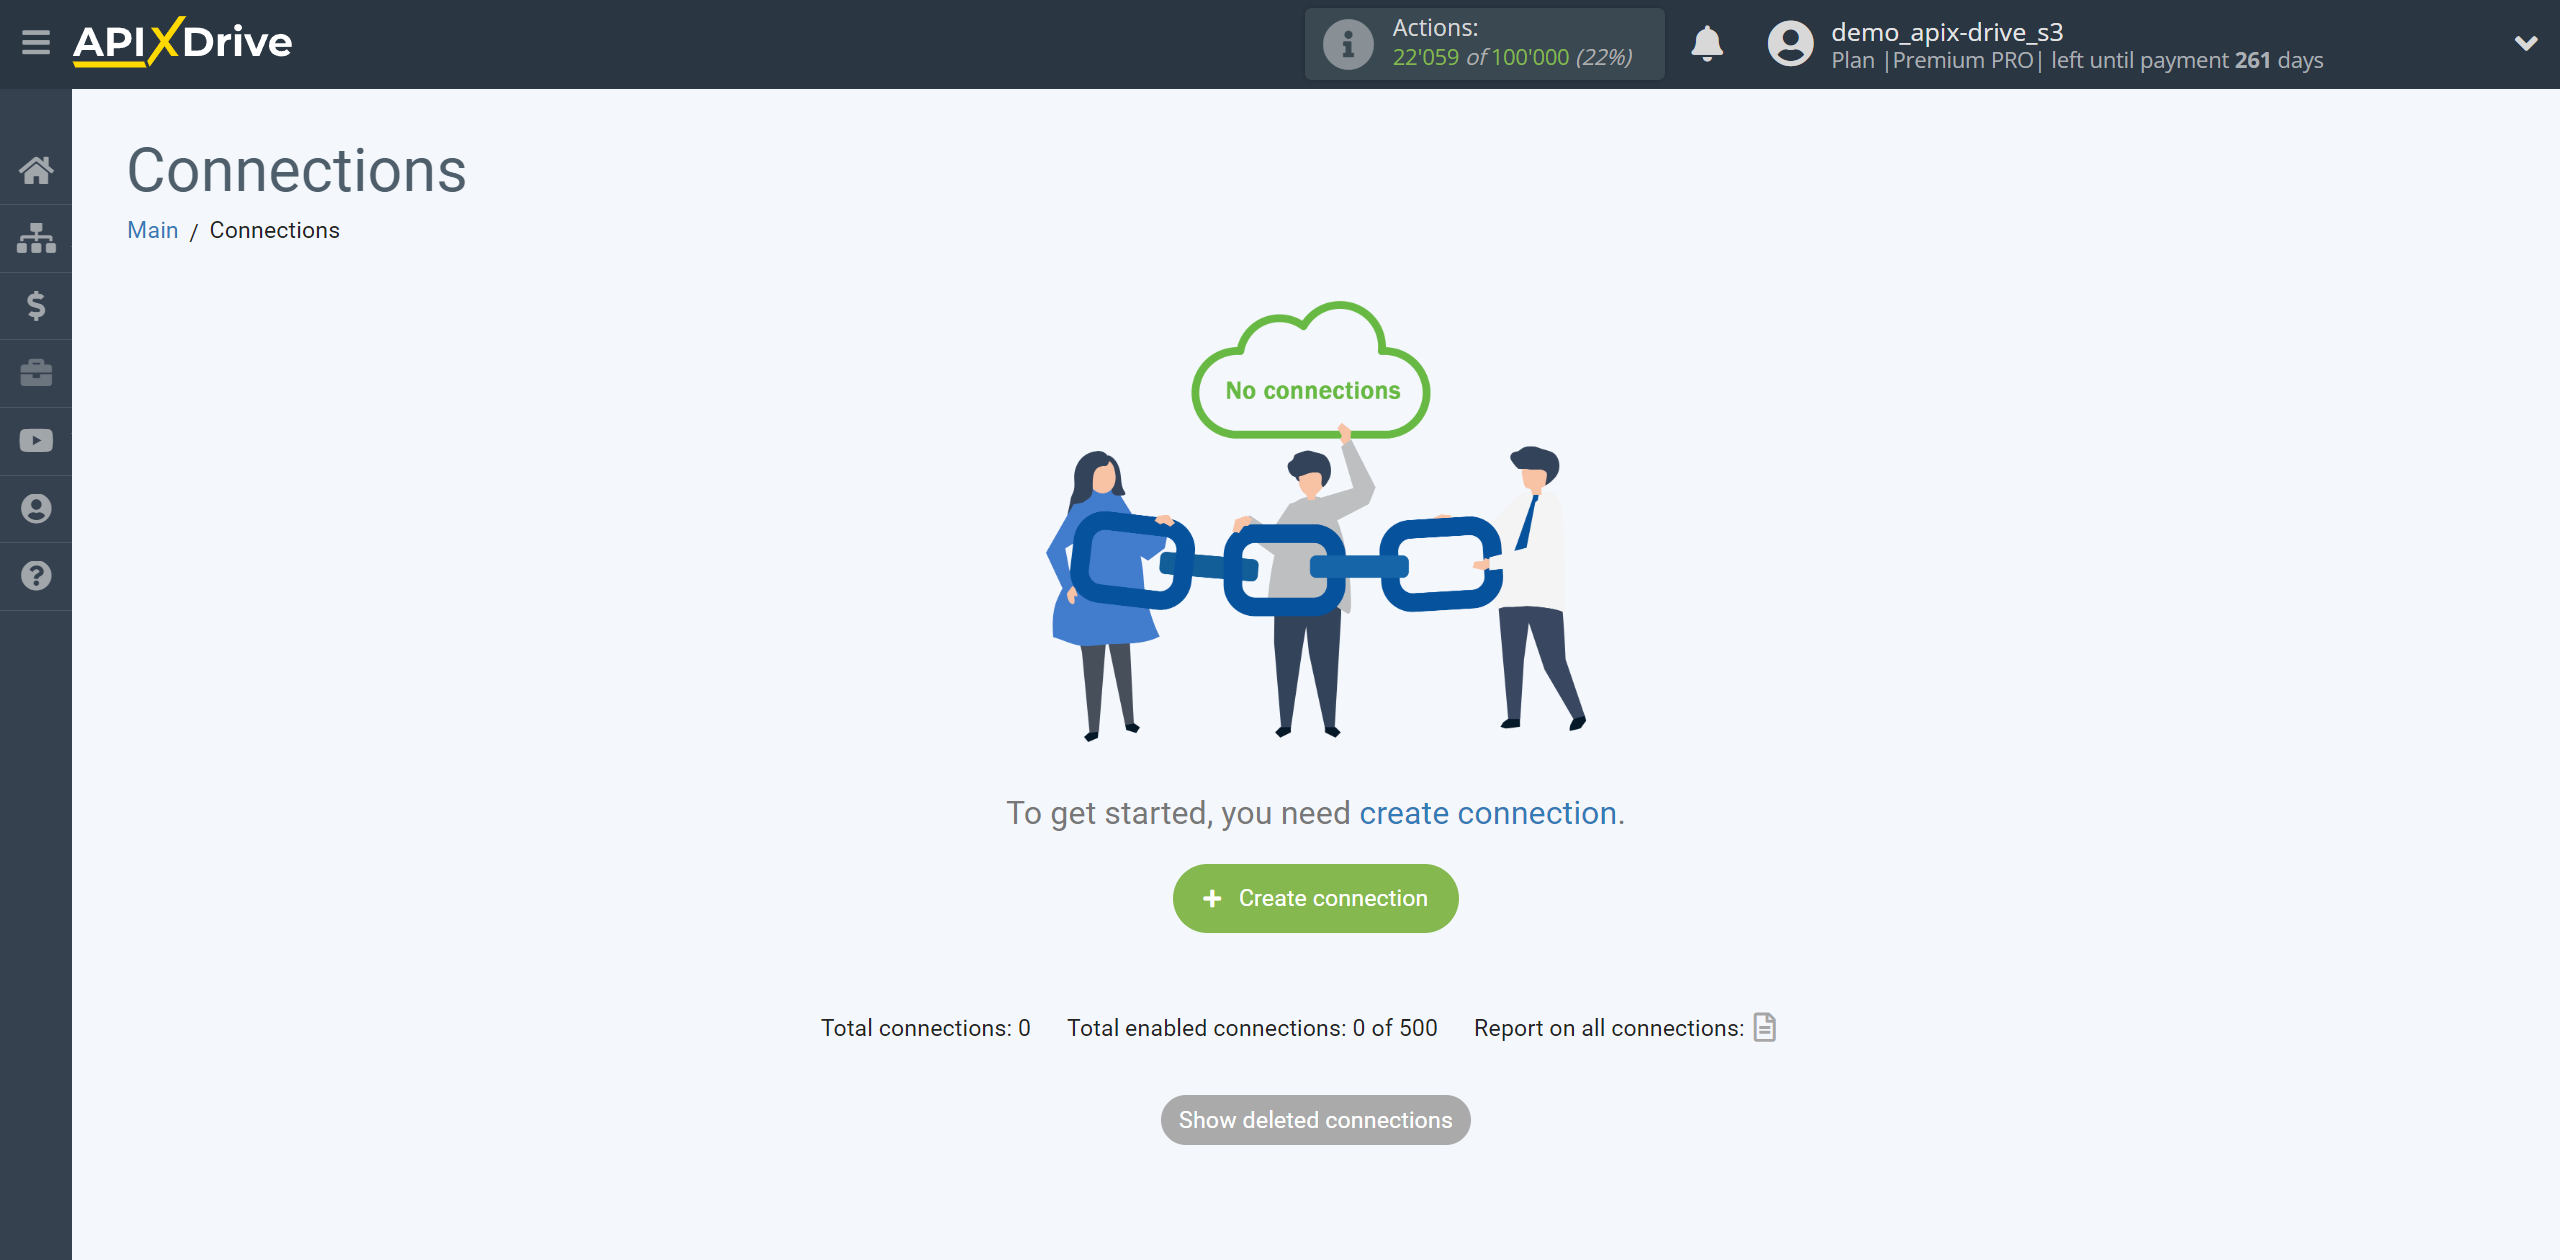
First, you need to create a new connection, click “Create connection”.
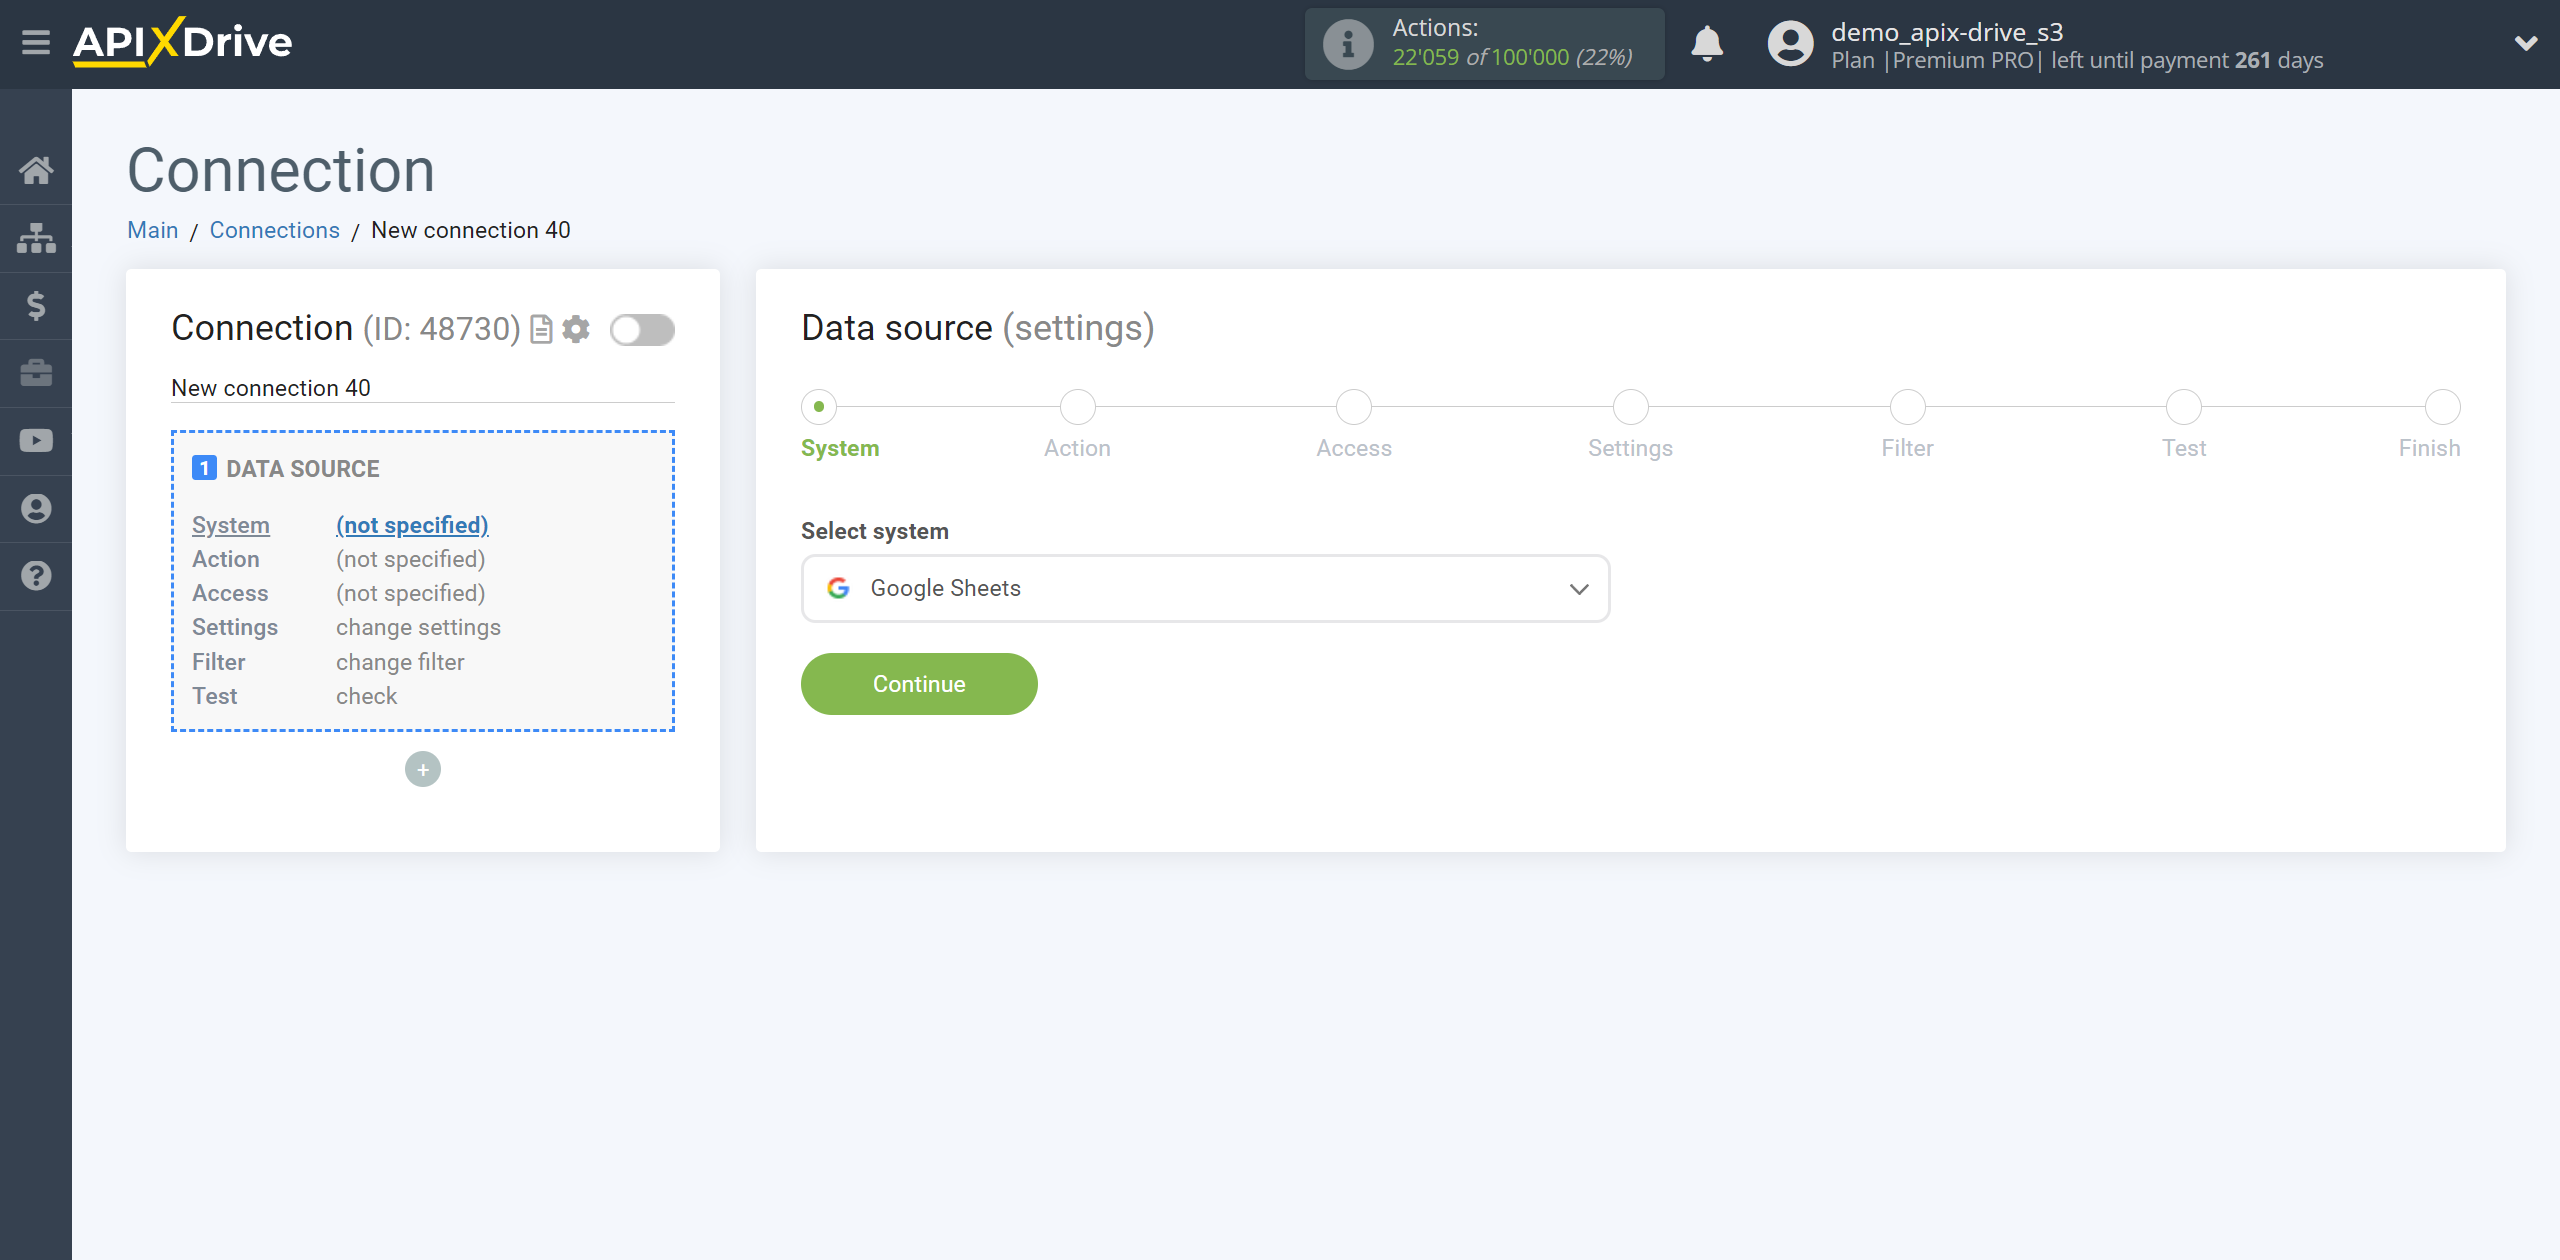
Select the system as the Data Source. In this case, you must specify Google Sheets.
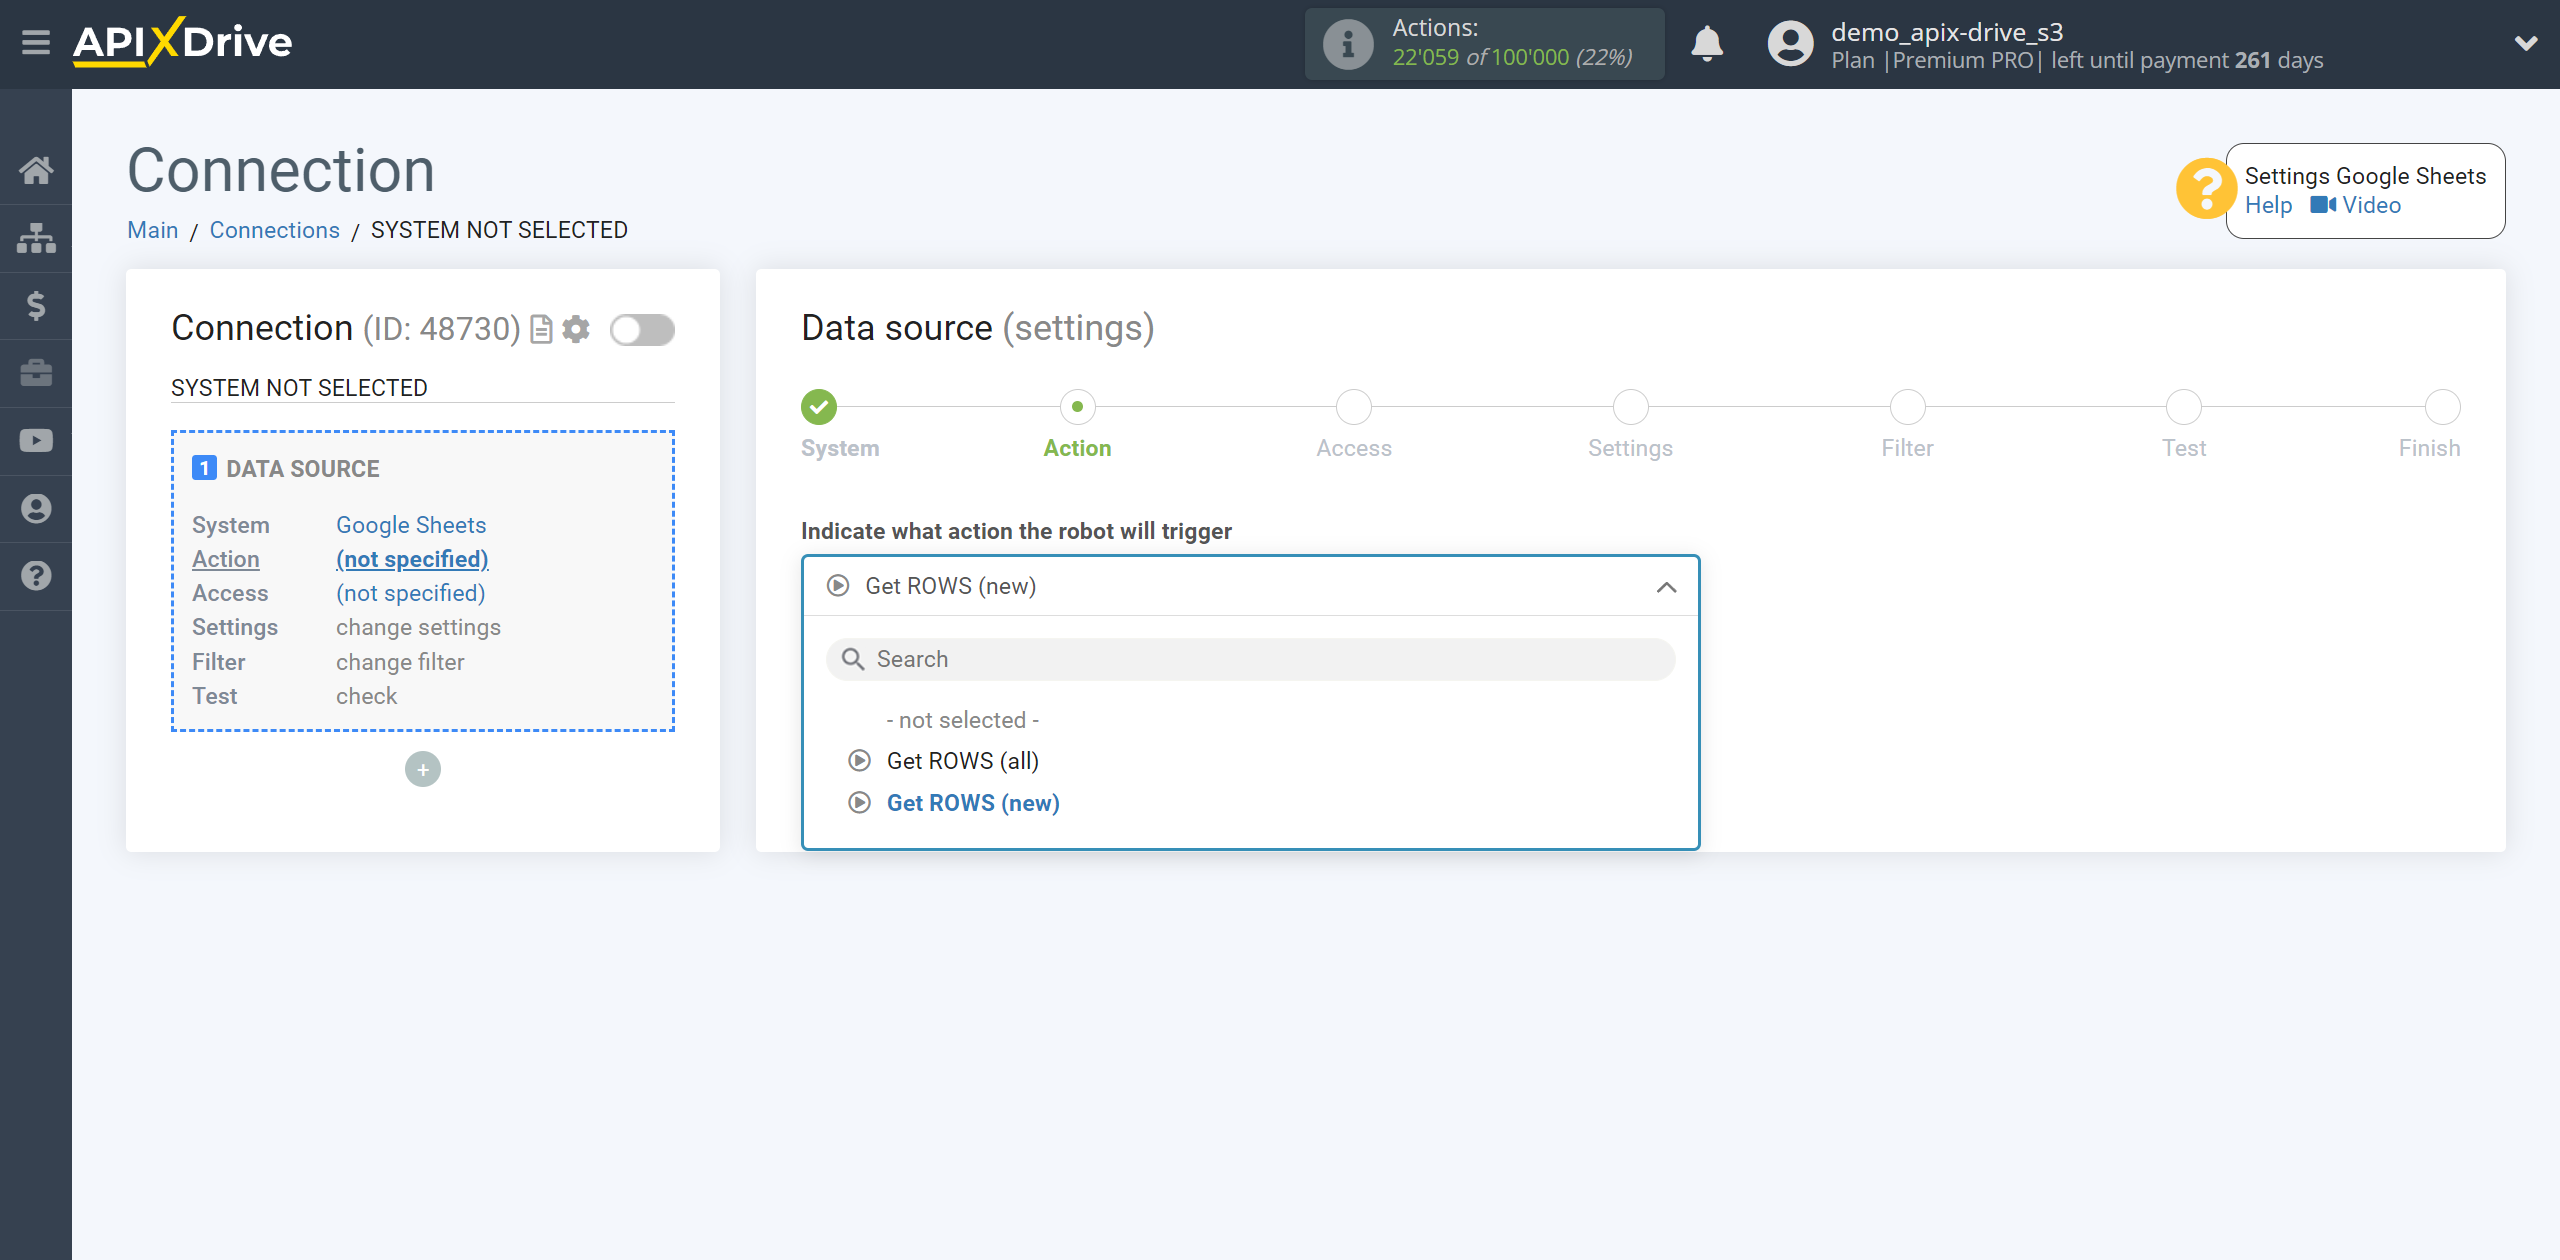
Next, you need to specify the action "Get ROWS (new)".
The next step is to select a Google Sheets account from which data will be get.
If there are no logins connected to the system, click “Connect account”.
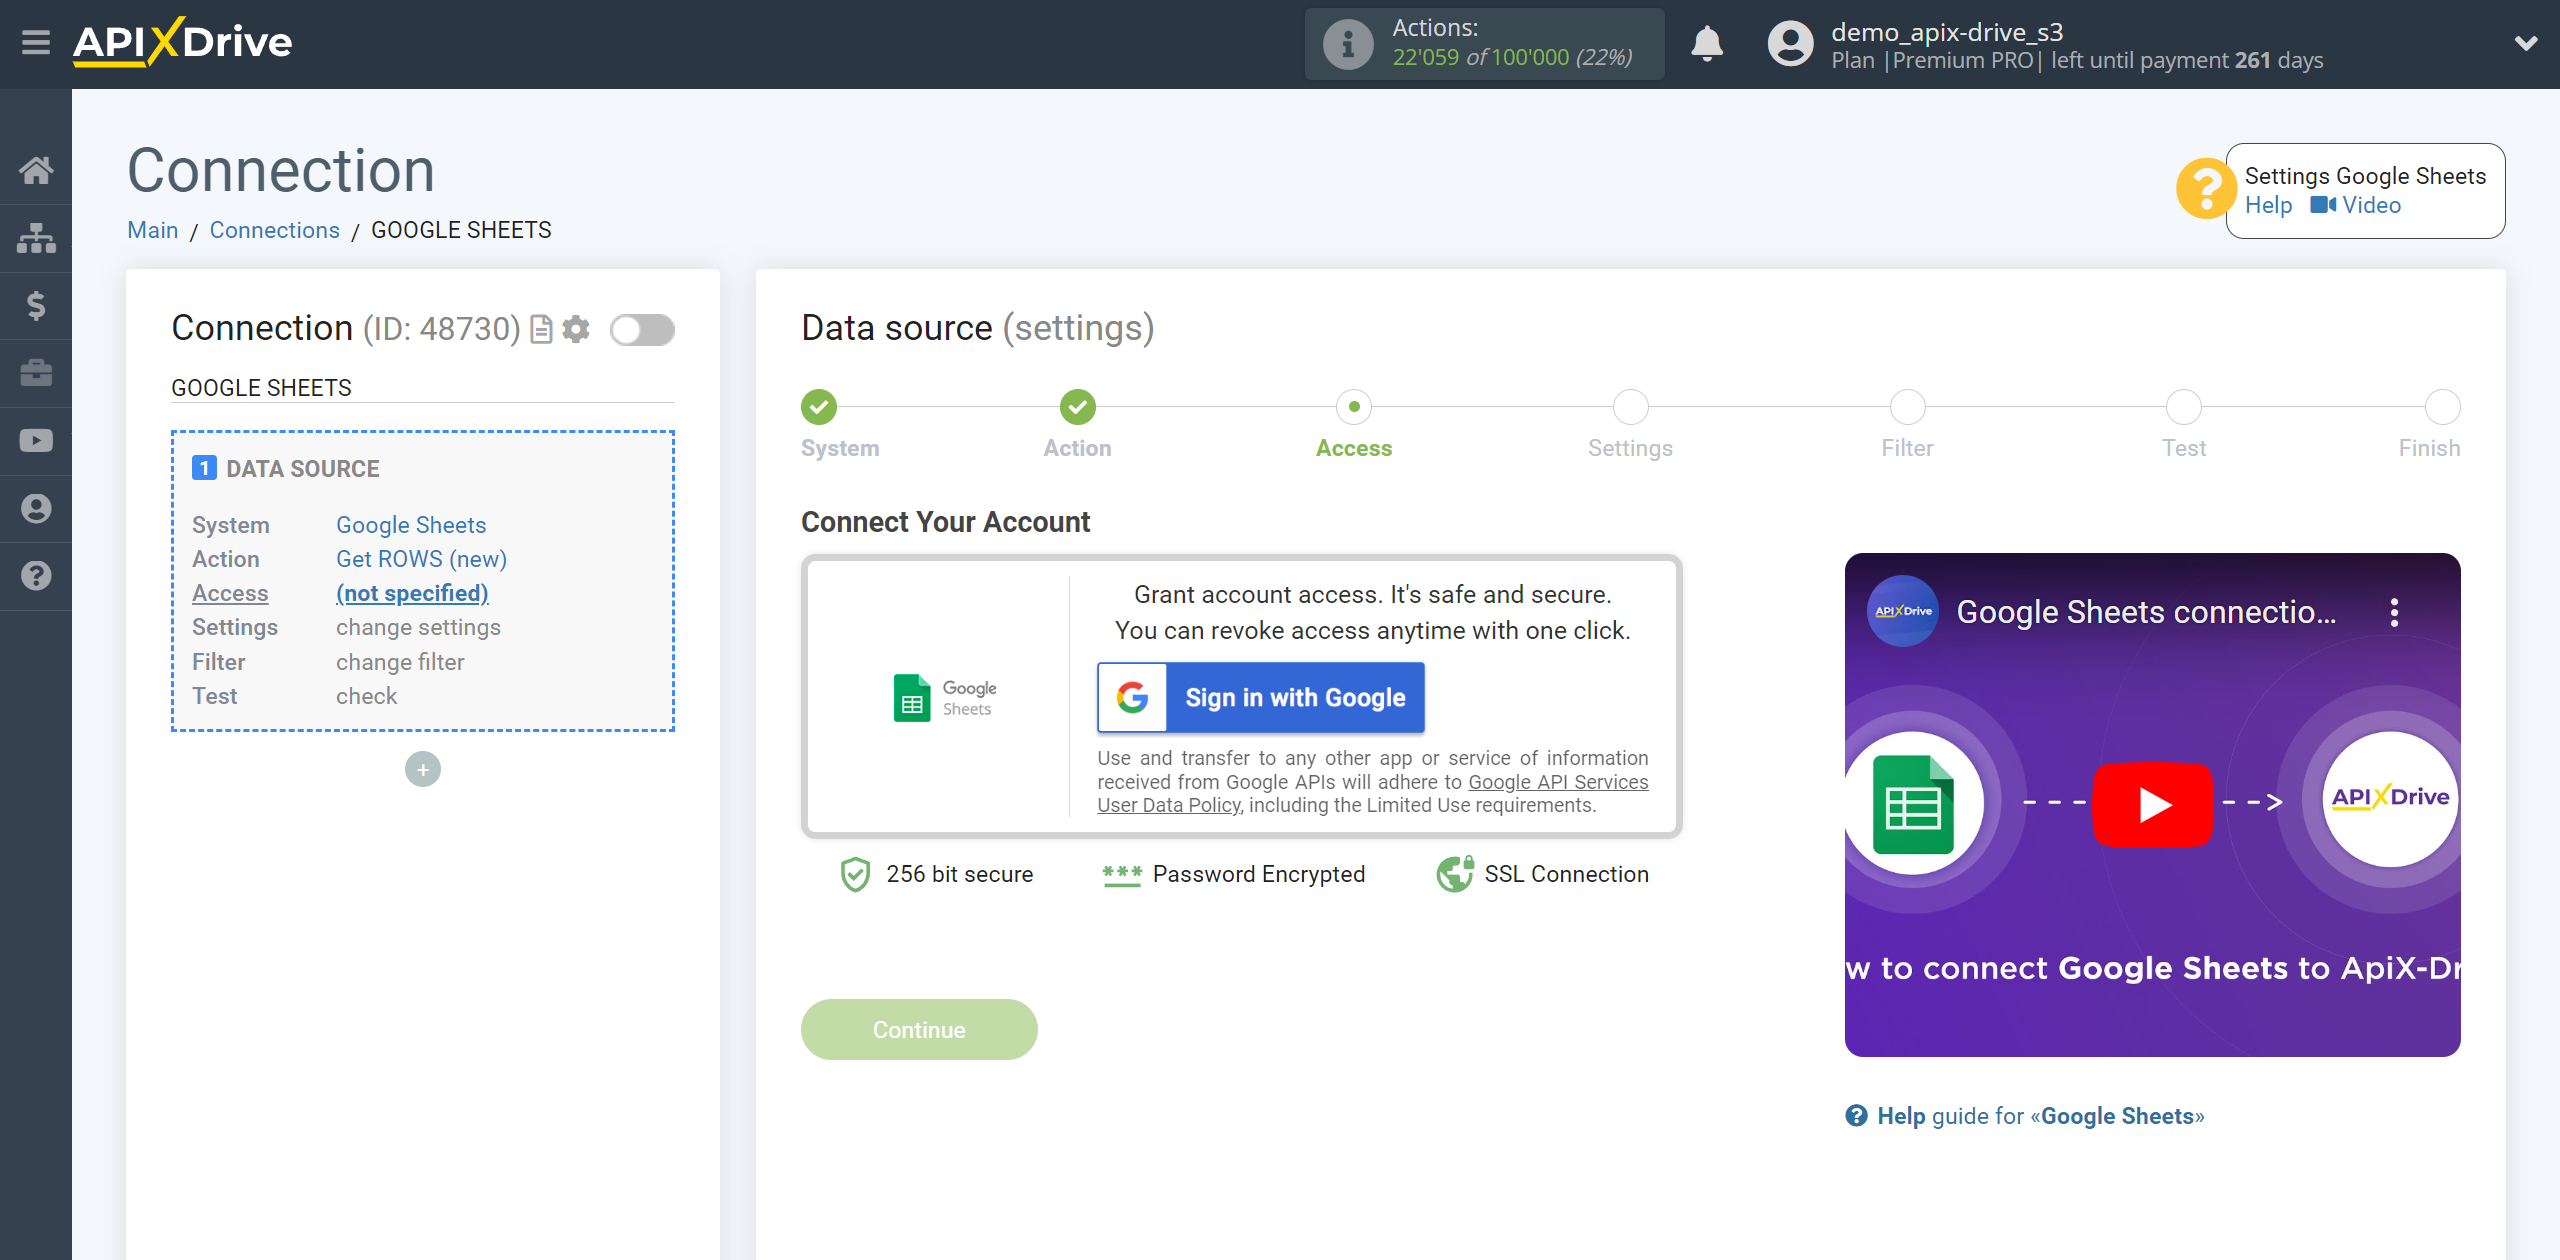
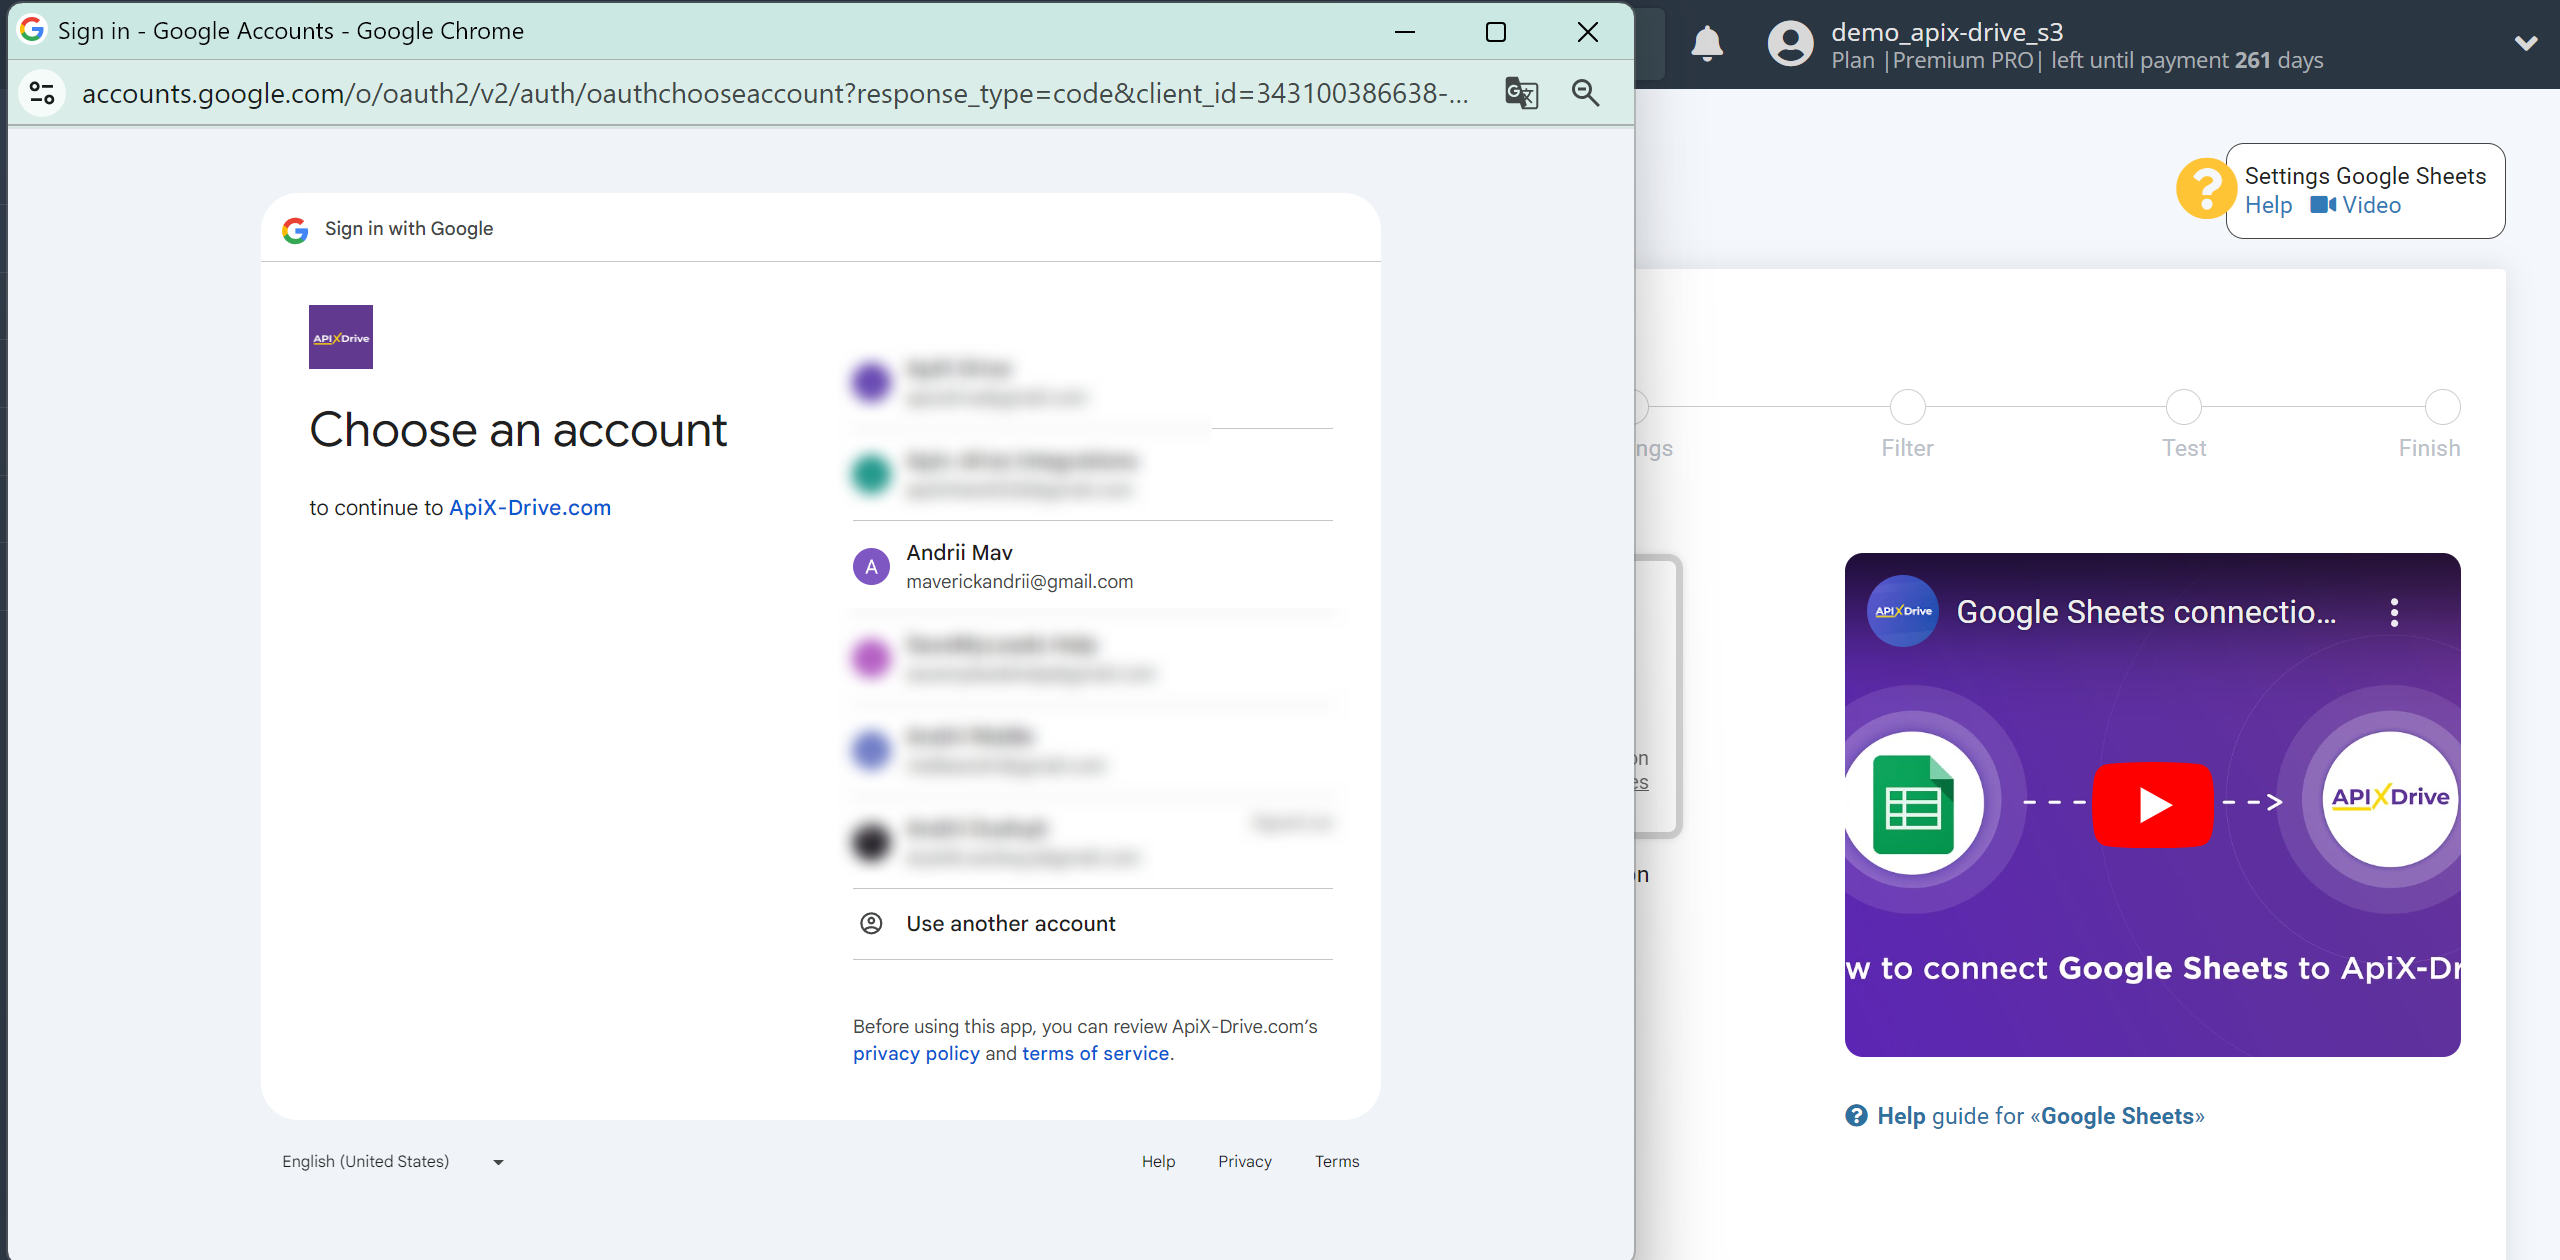
Select which account you want to connect to ApiX-Drive.
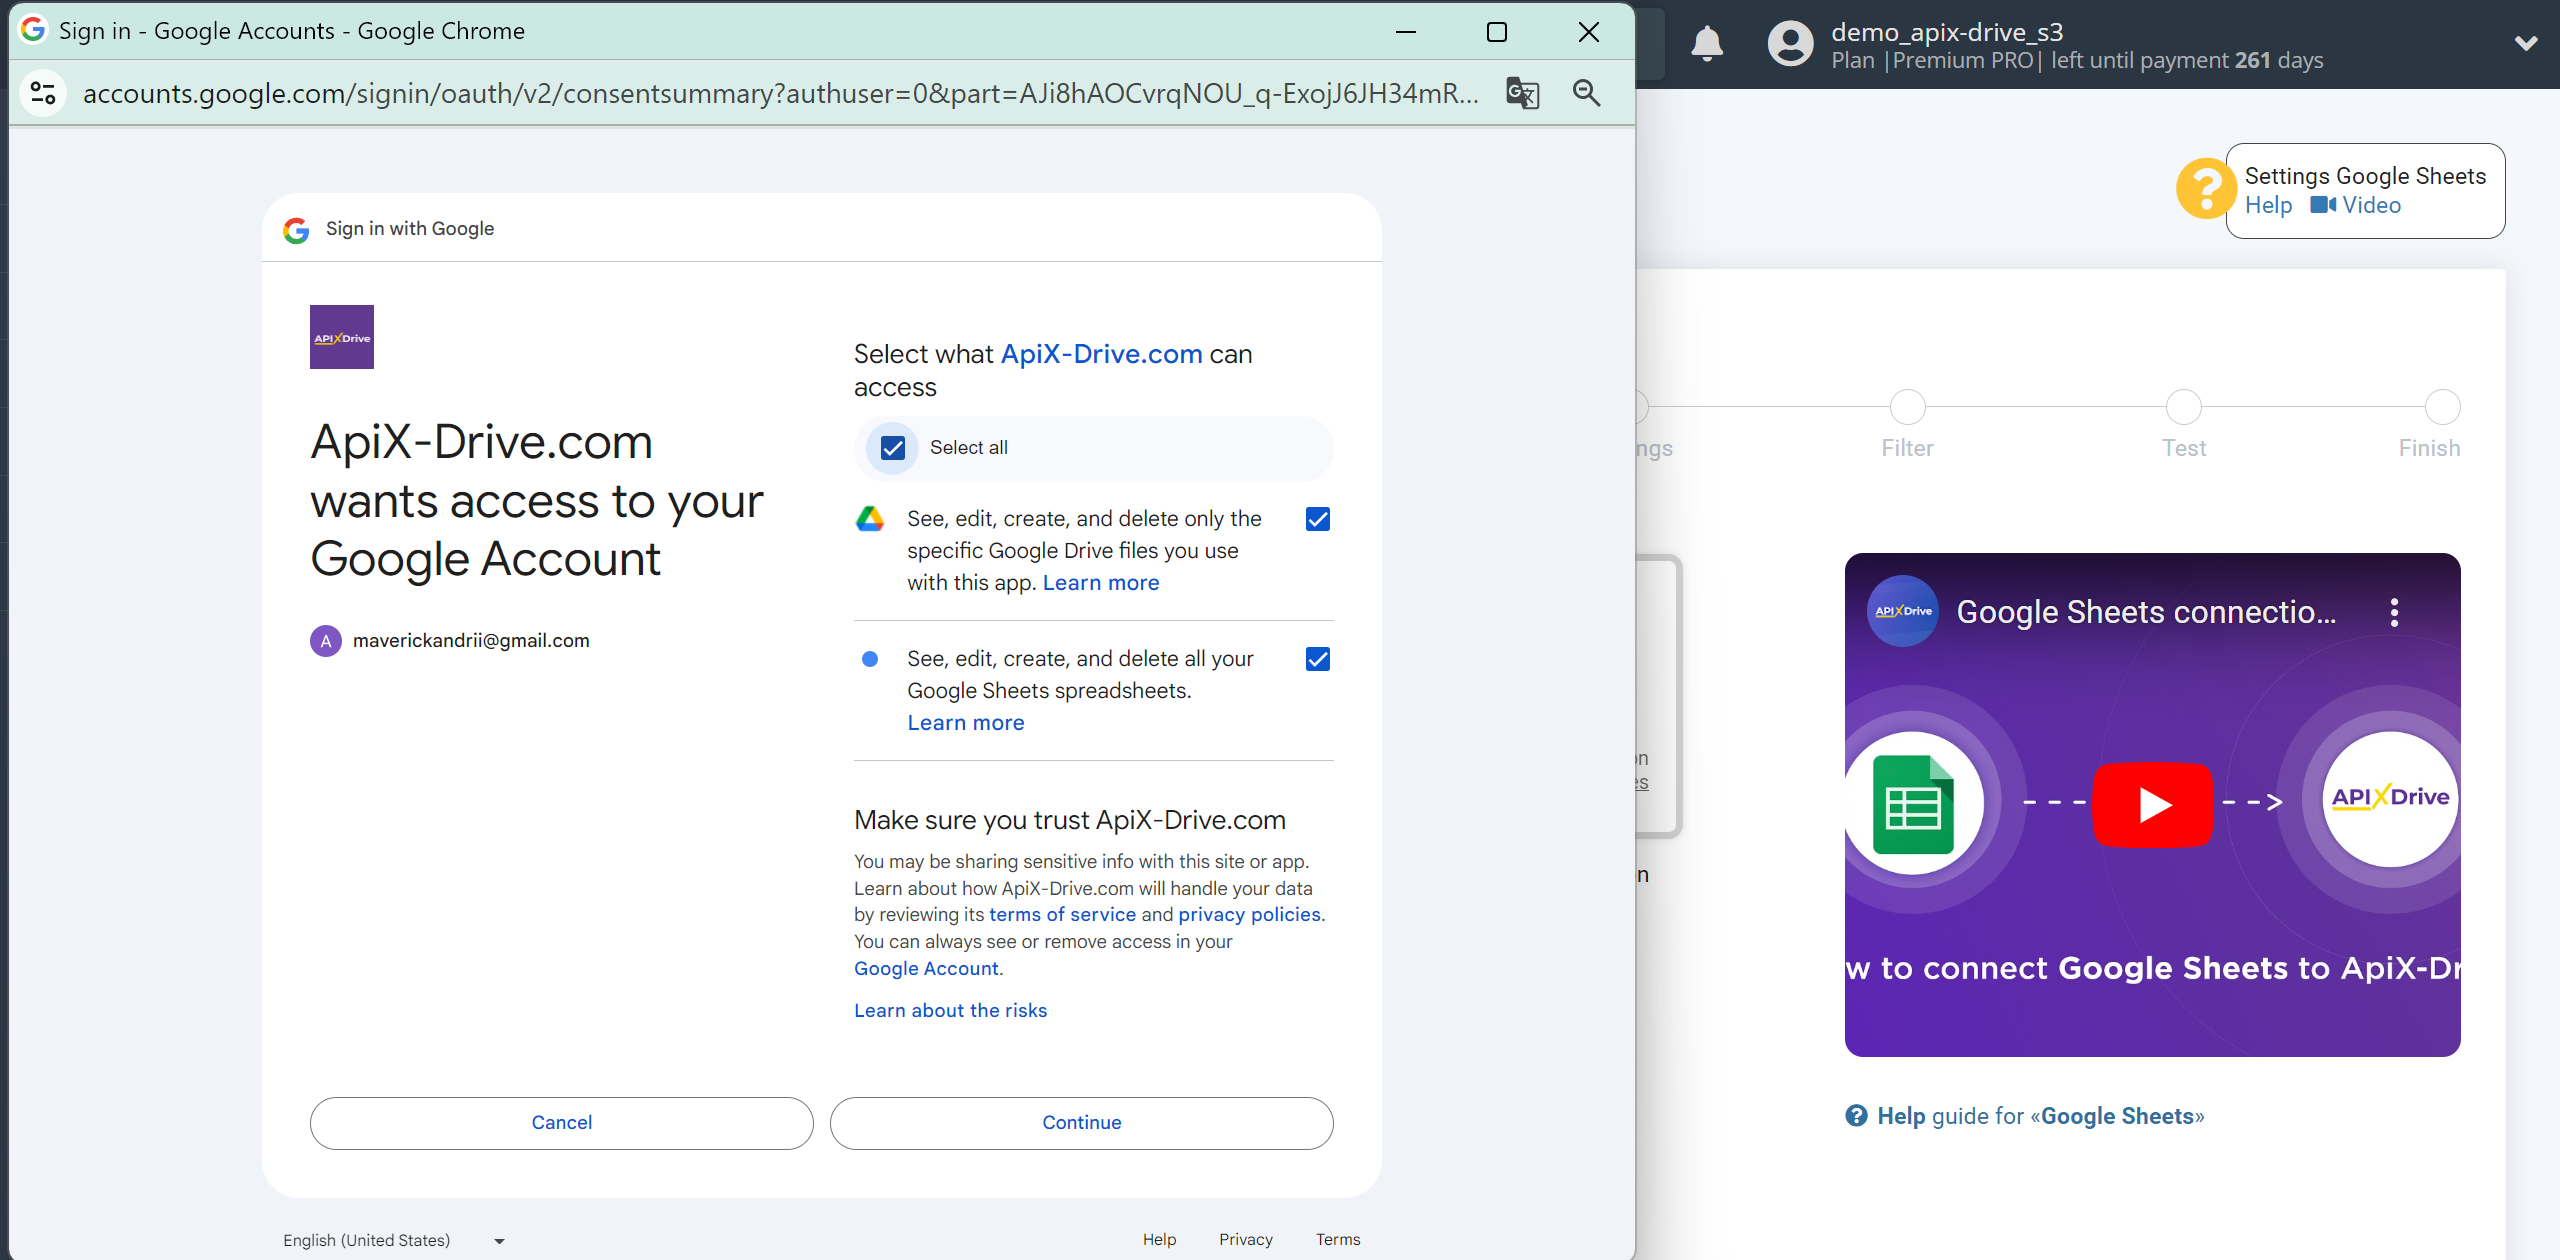
Give your permission to ApiX-Drive to work with this account.
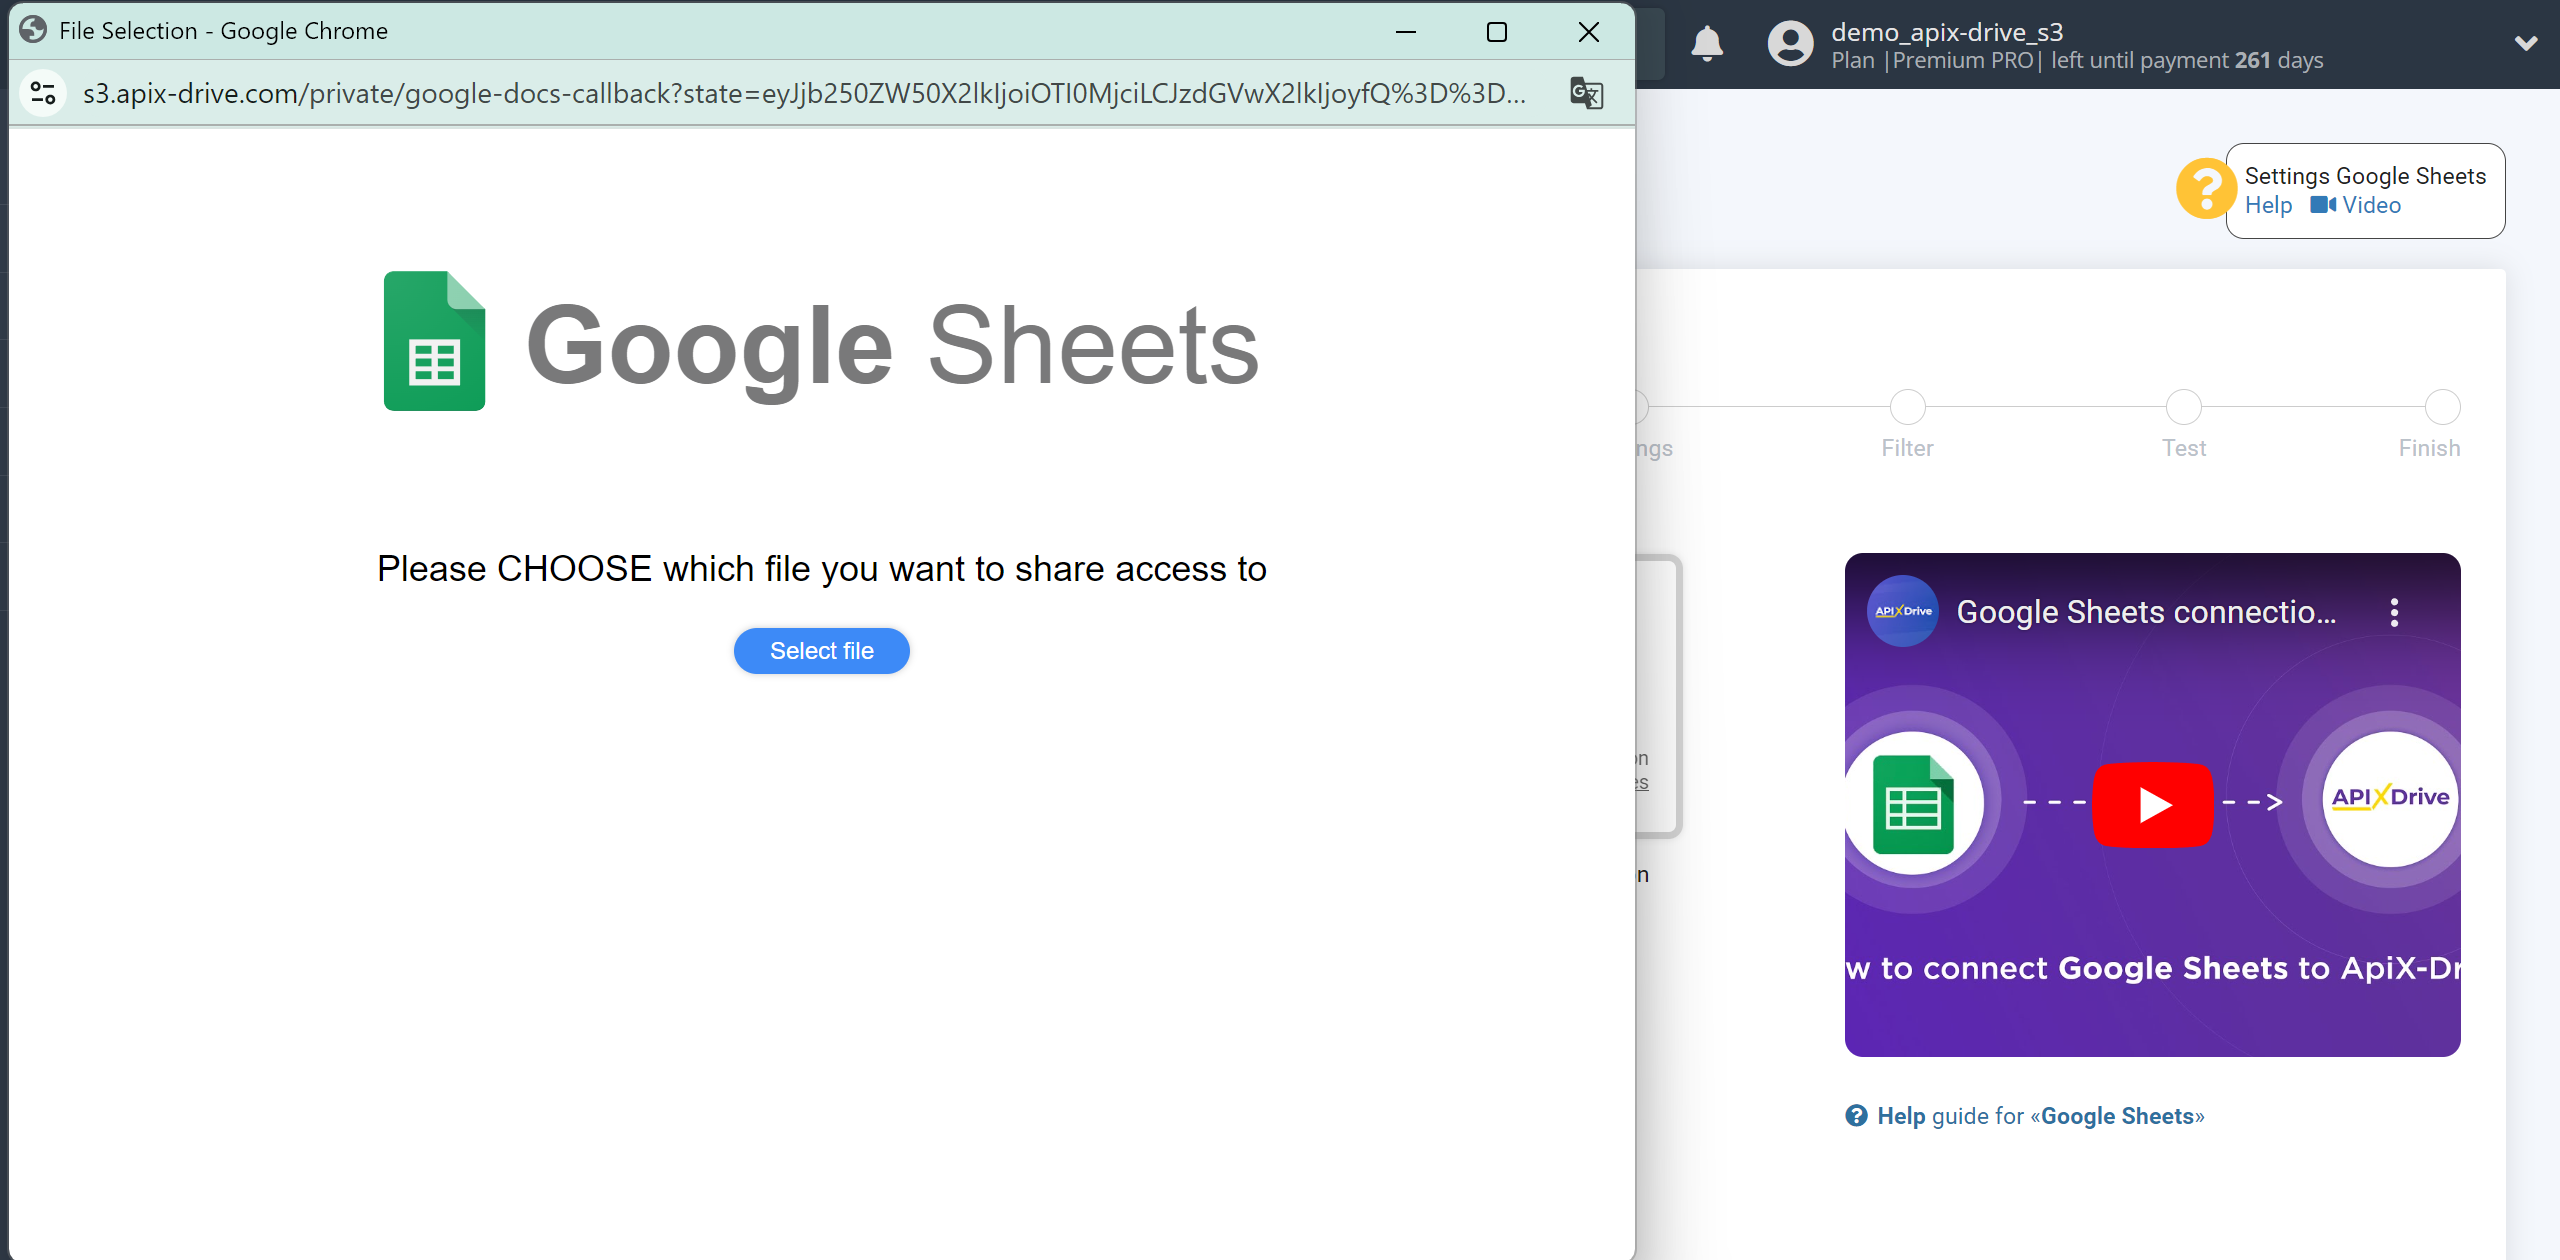
Click Select table and select the table from which you want to get data, click Select after selecting.
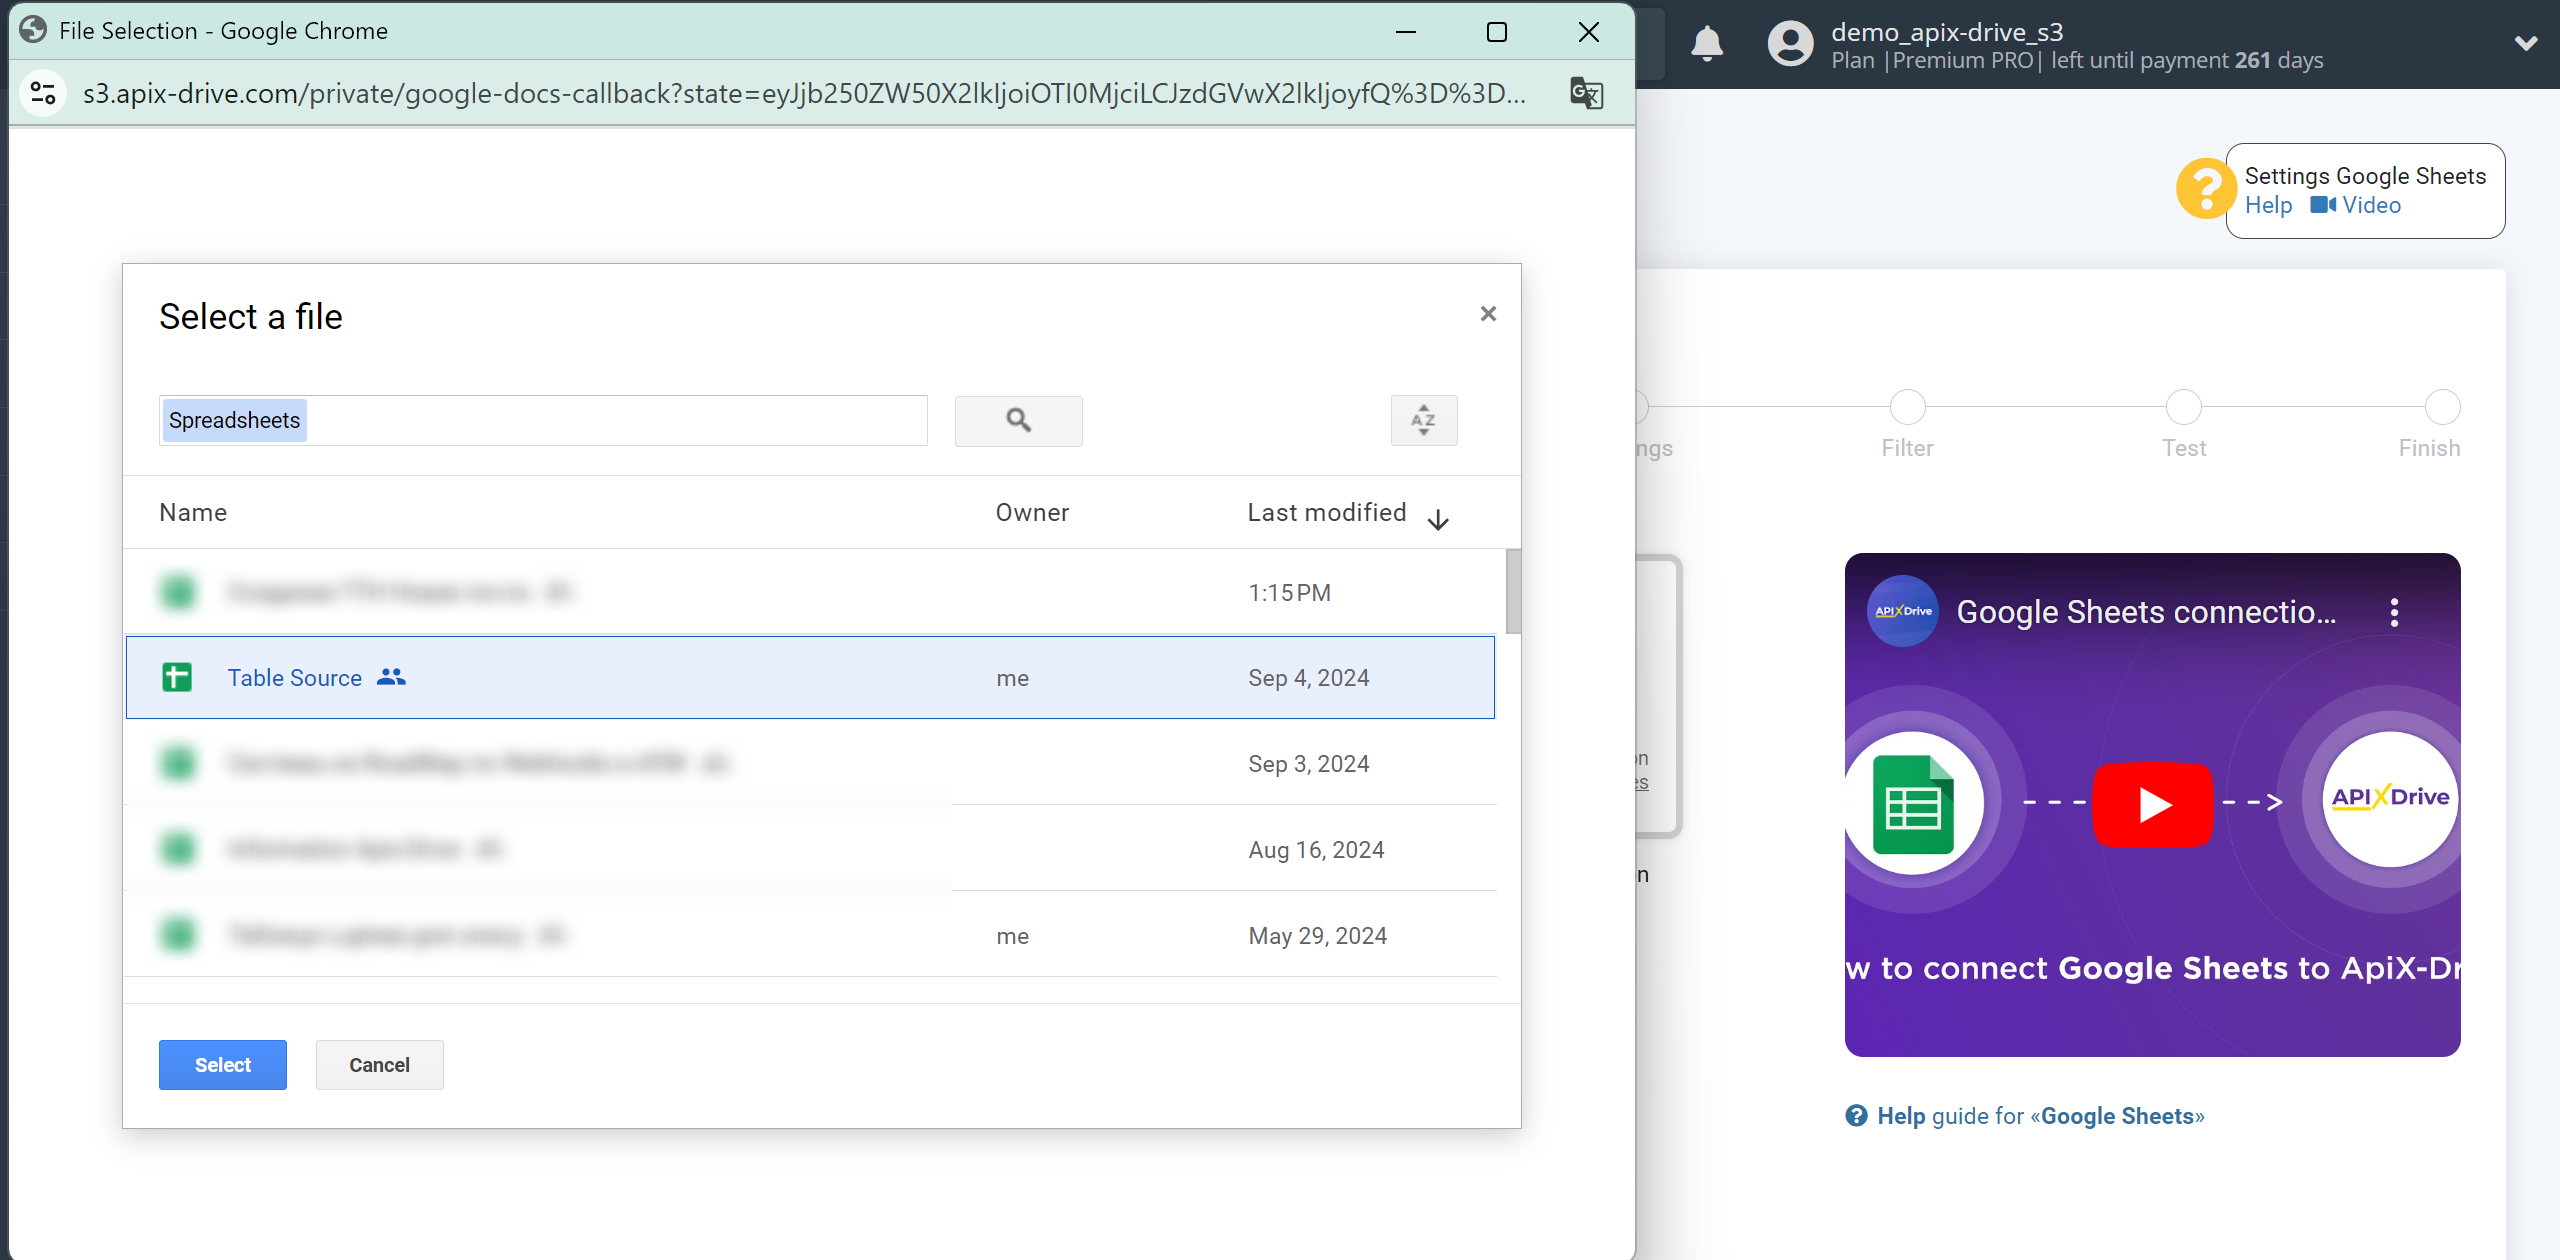
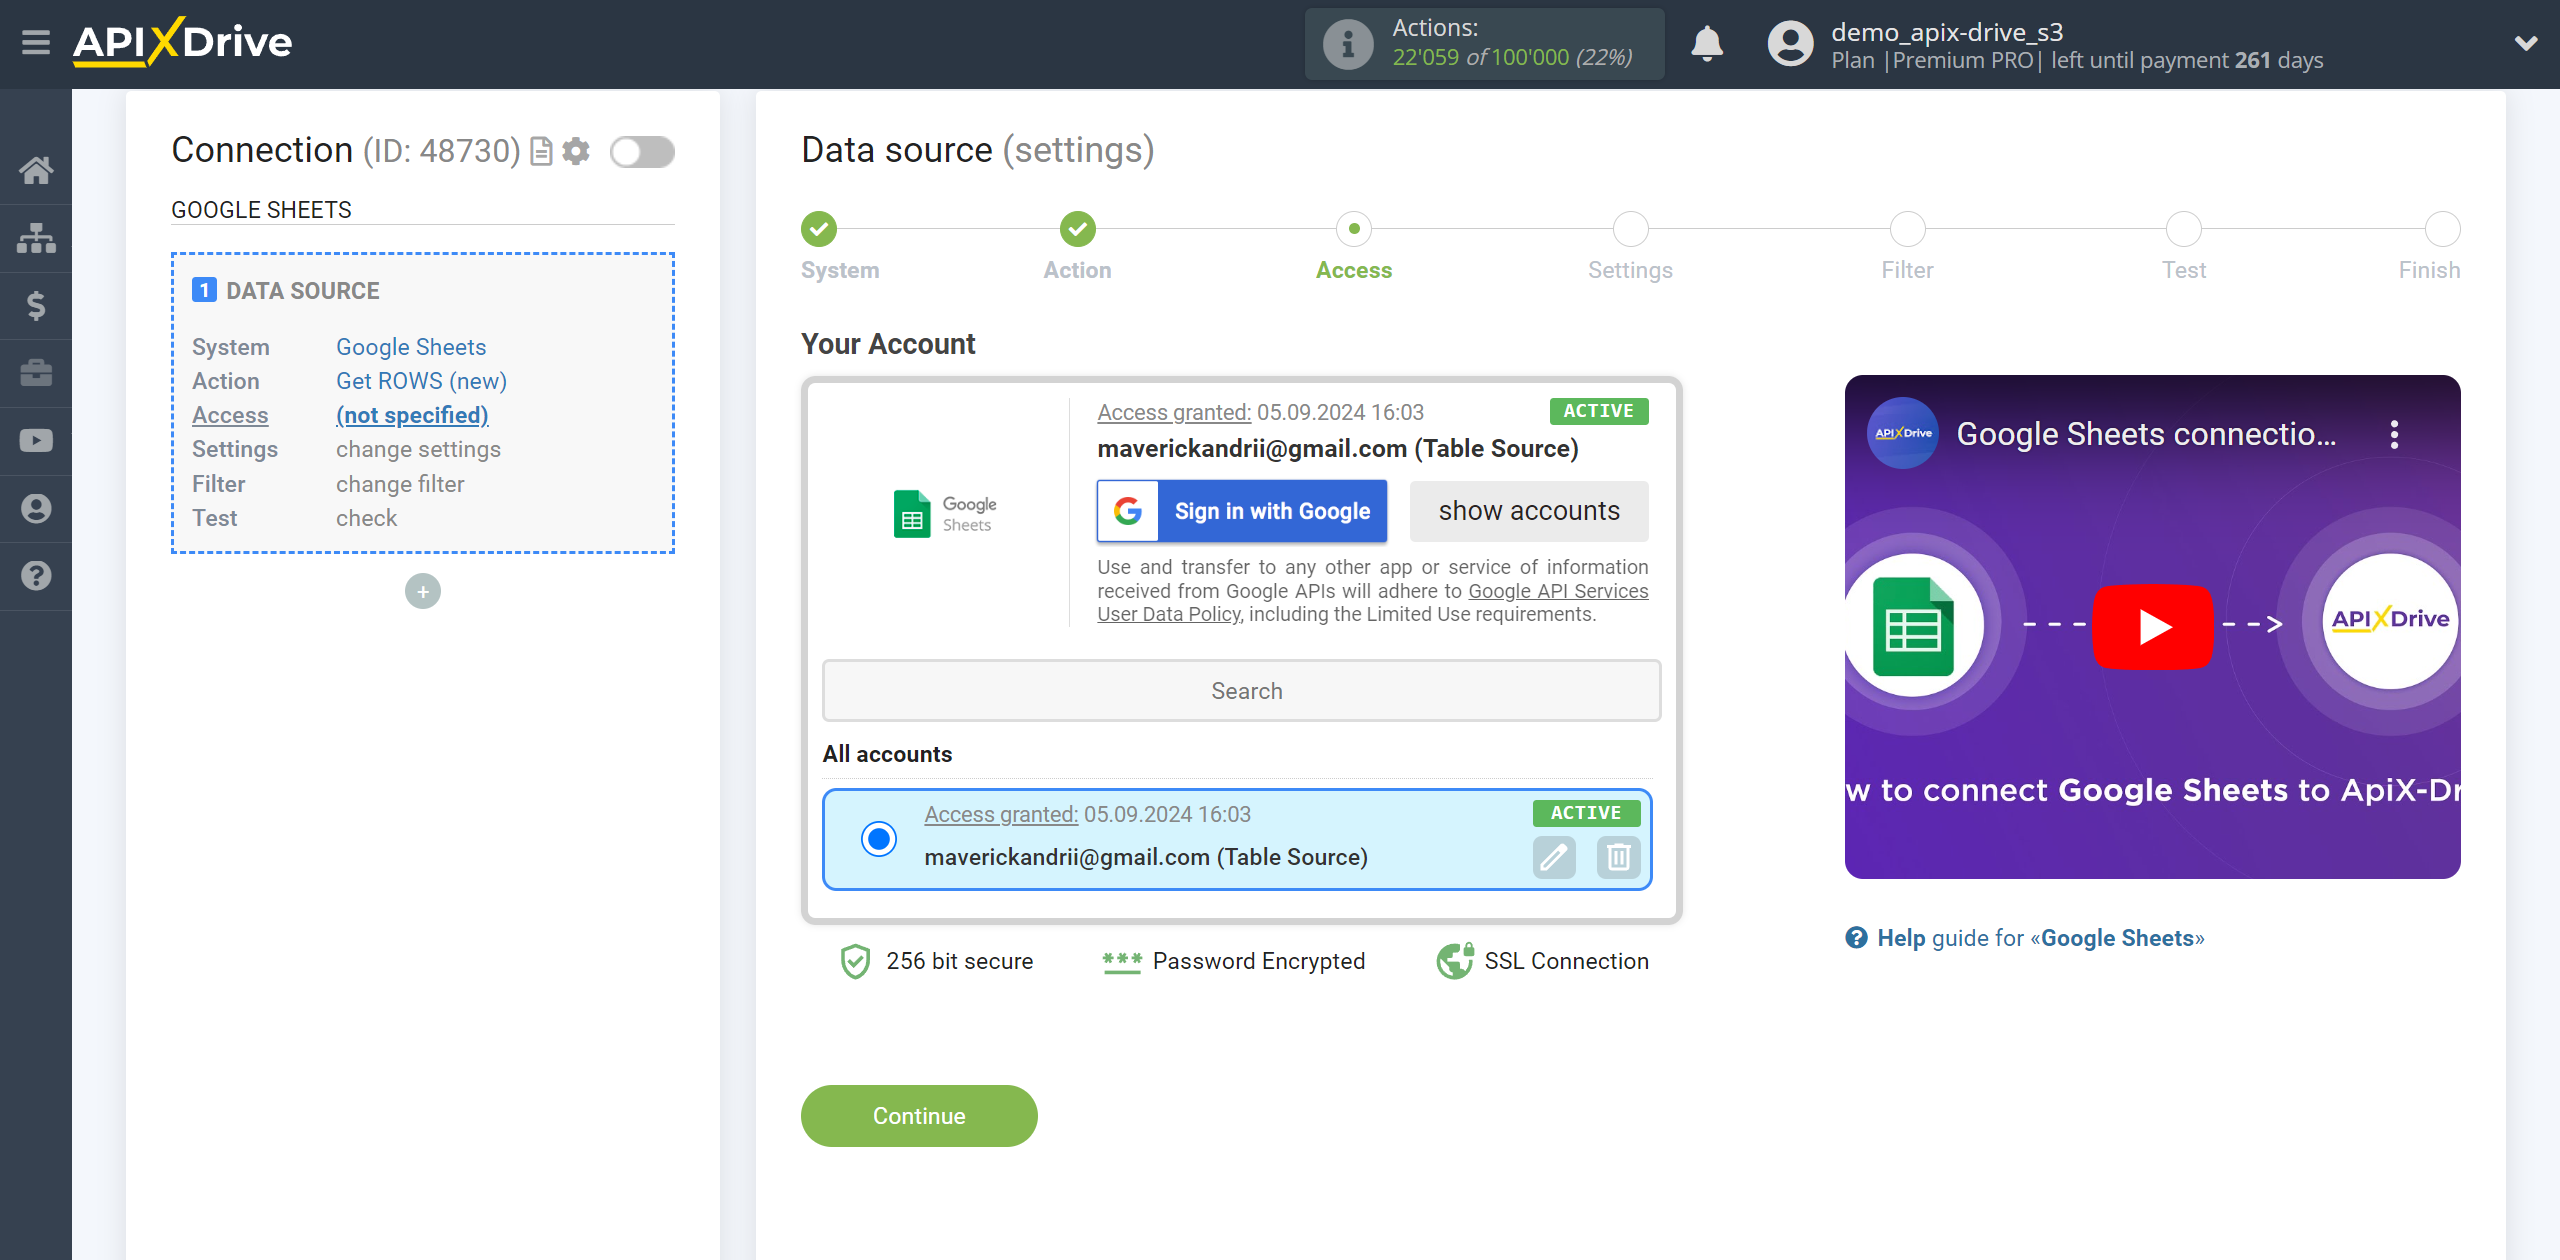
When the connected account appears in the "active accounts" list, select it.
Attention! If your account is on the "inactive accounts" list, check your access to this account!
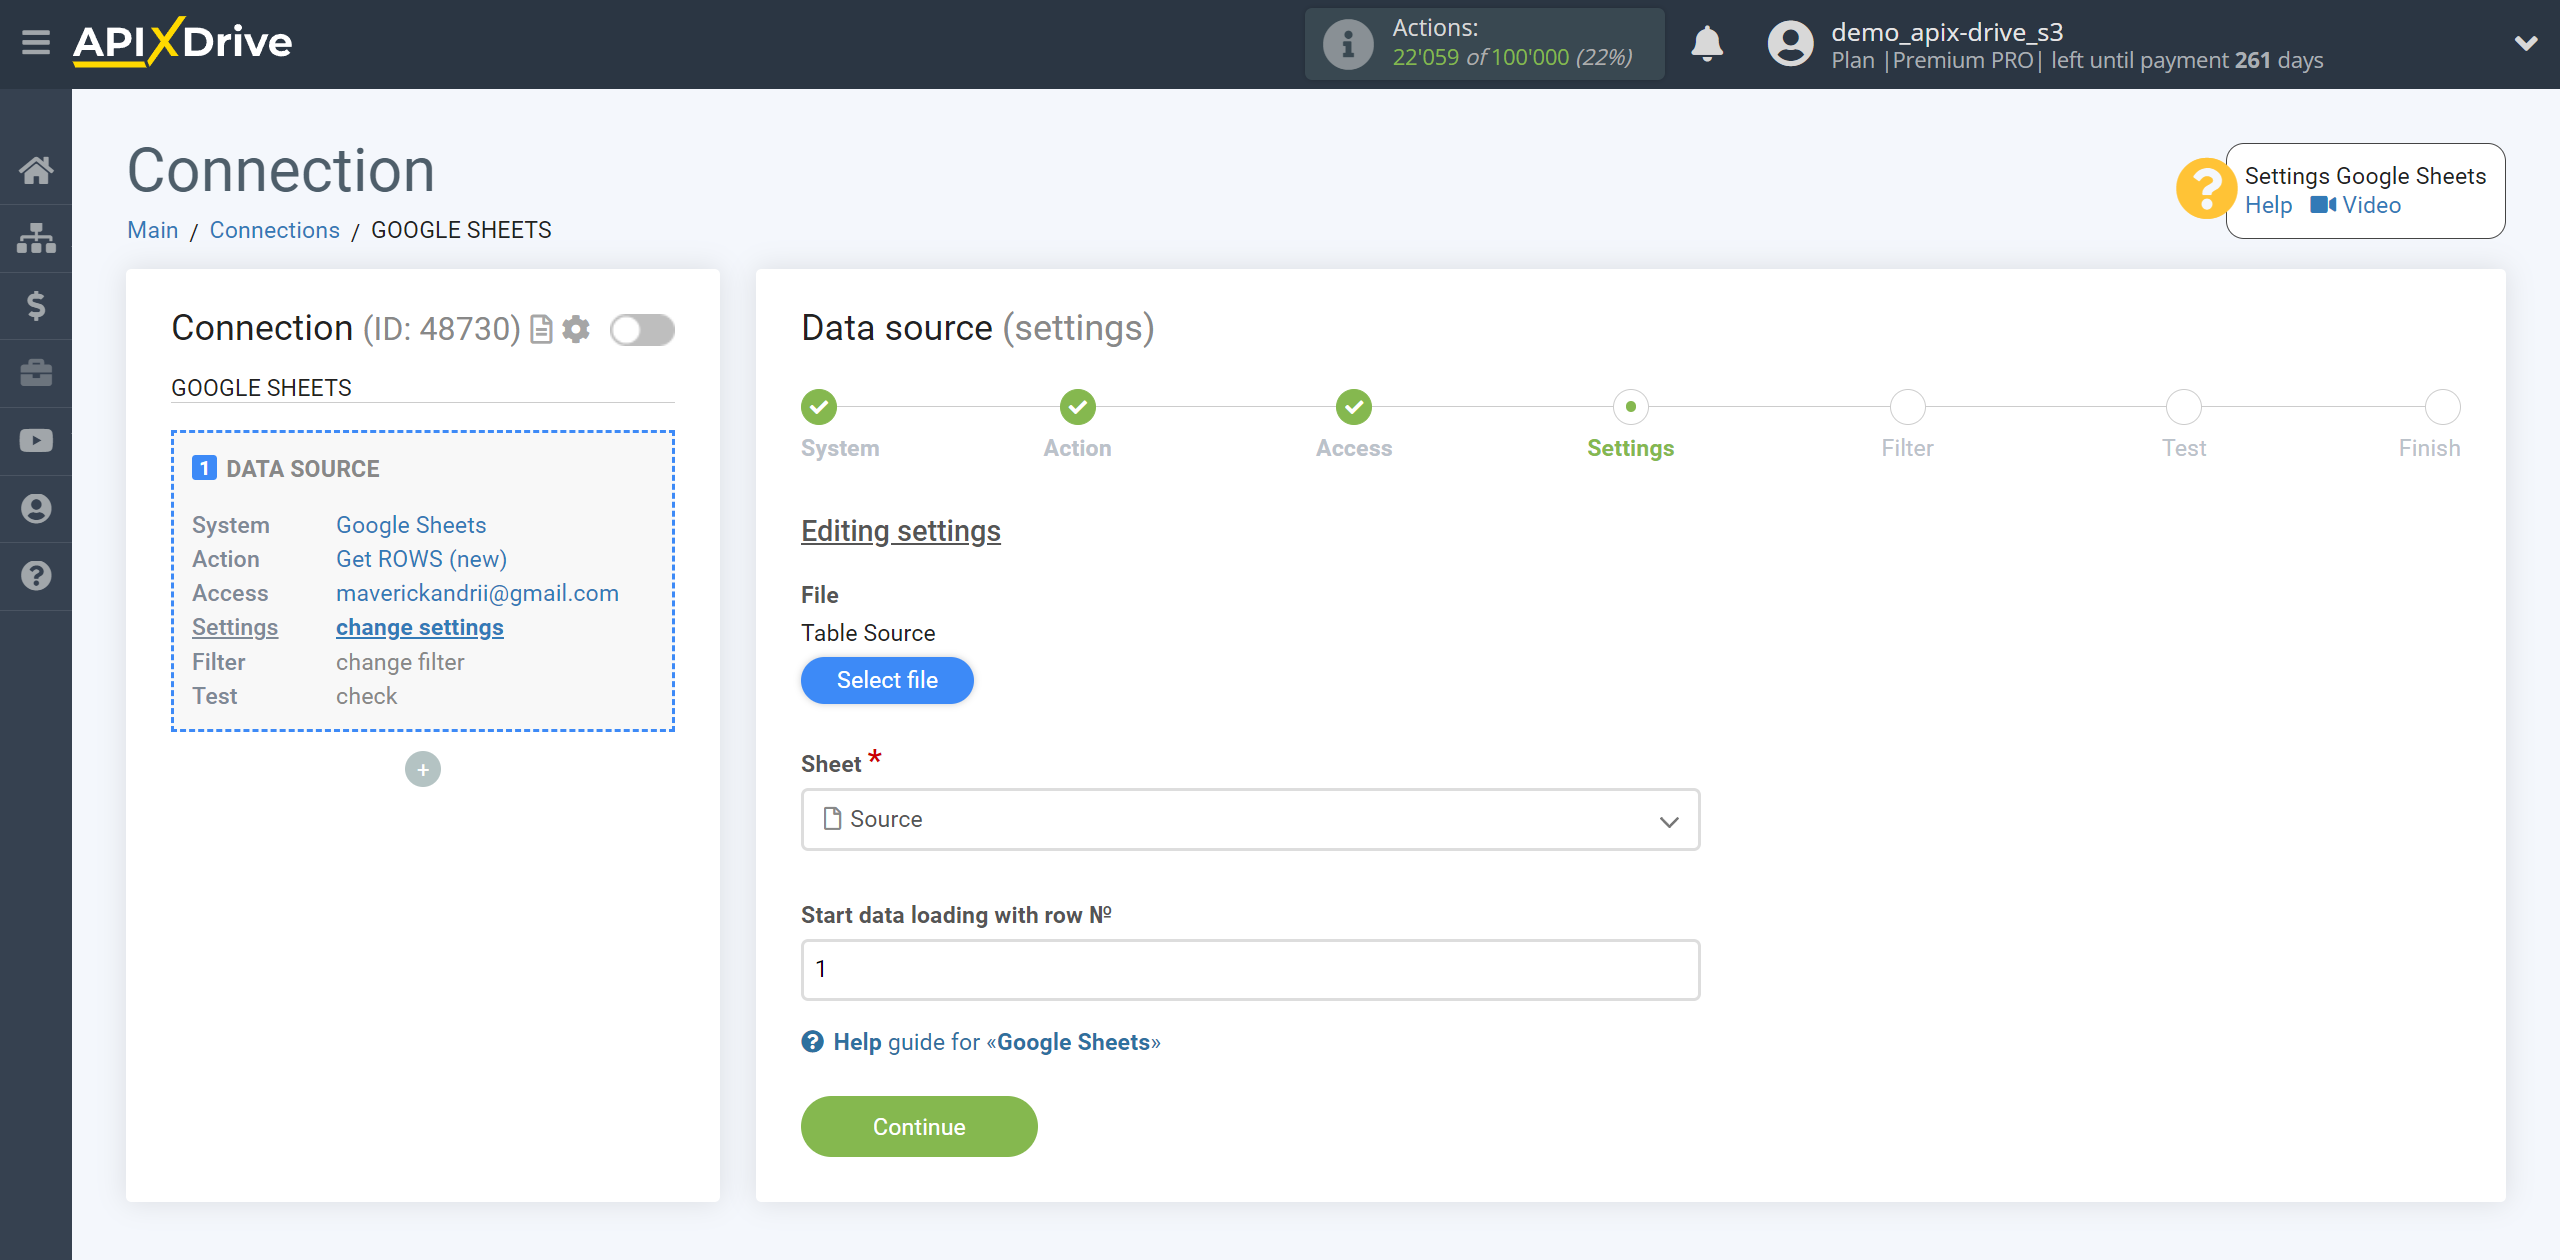
Next, specify the Google Sheets sheet where the data you need is located in the selected table. If necessary, you can change the Table(File).
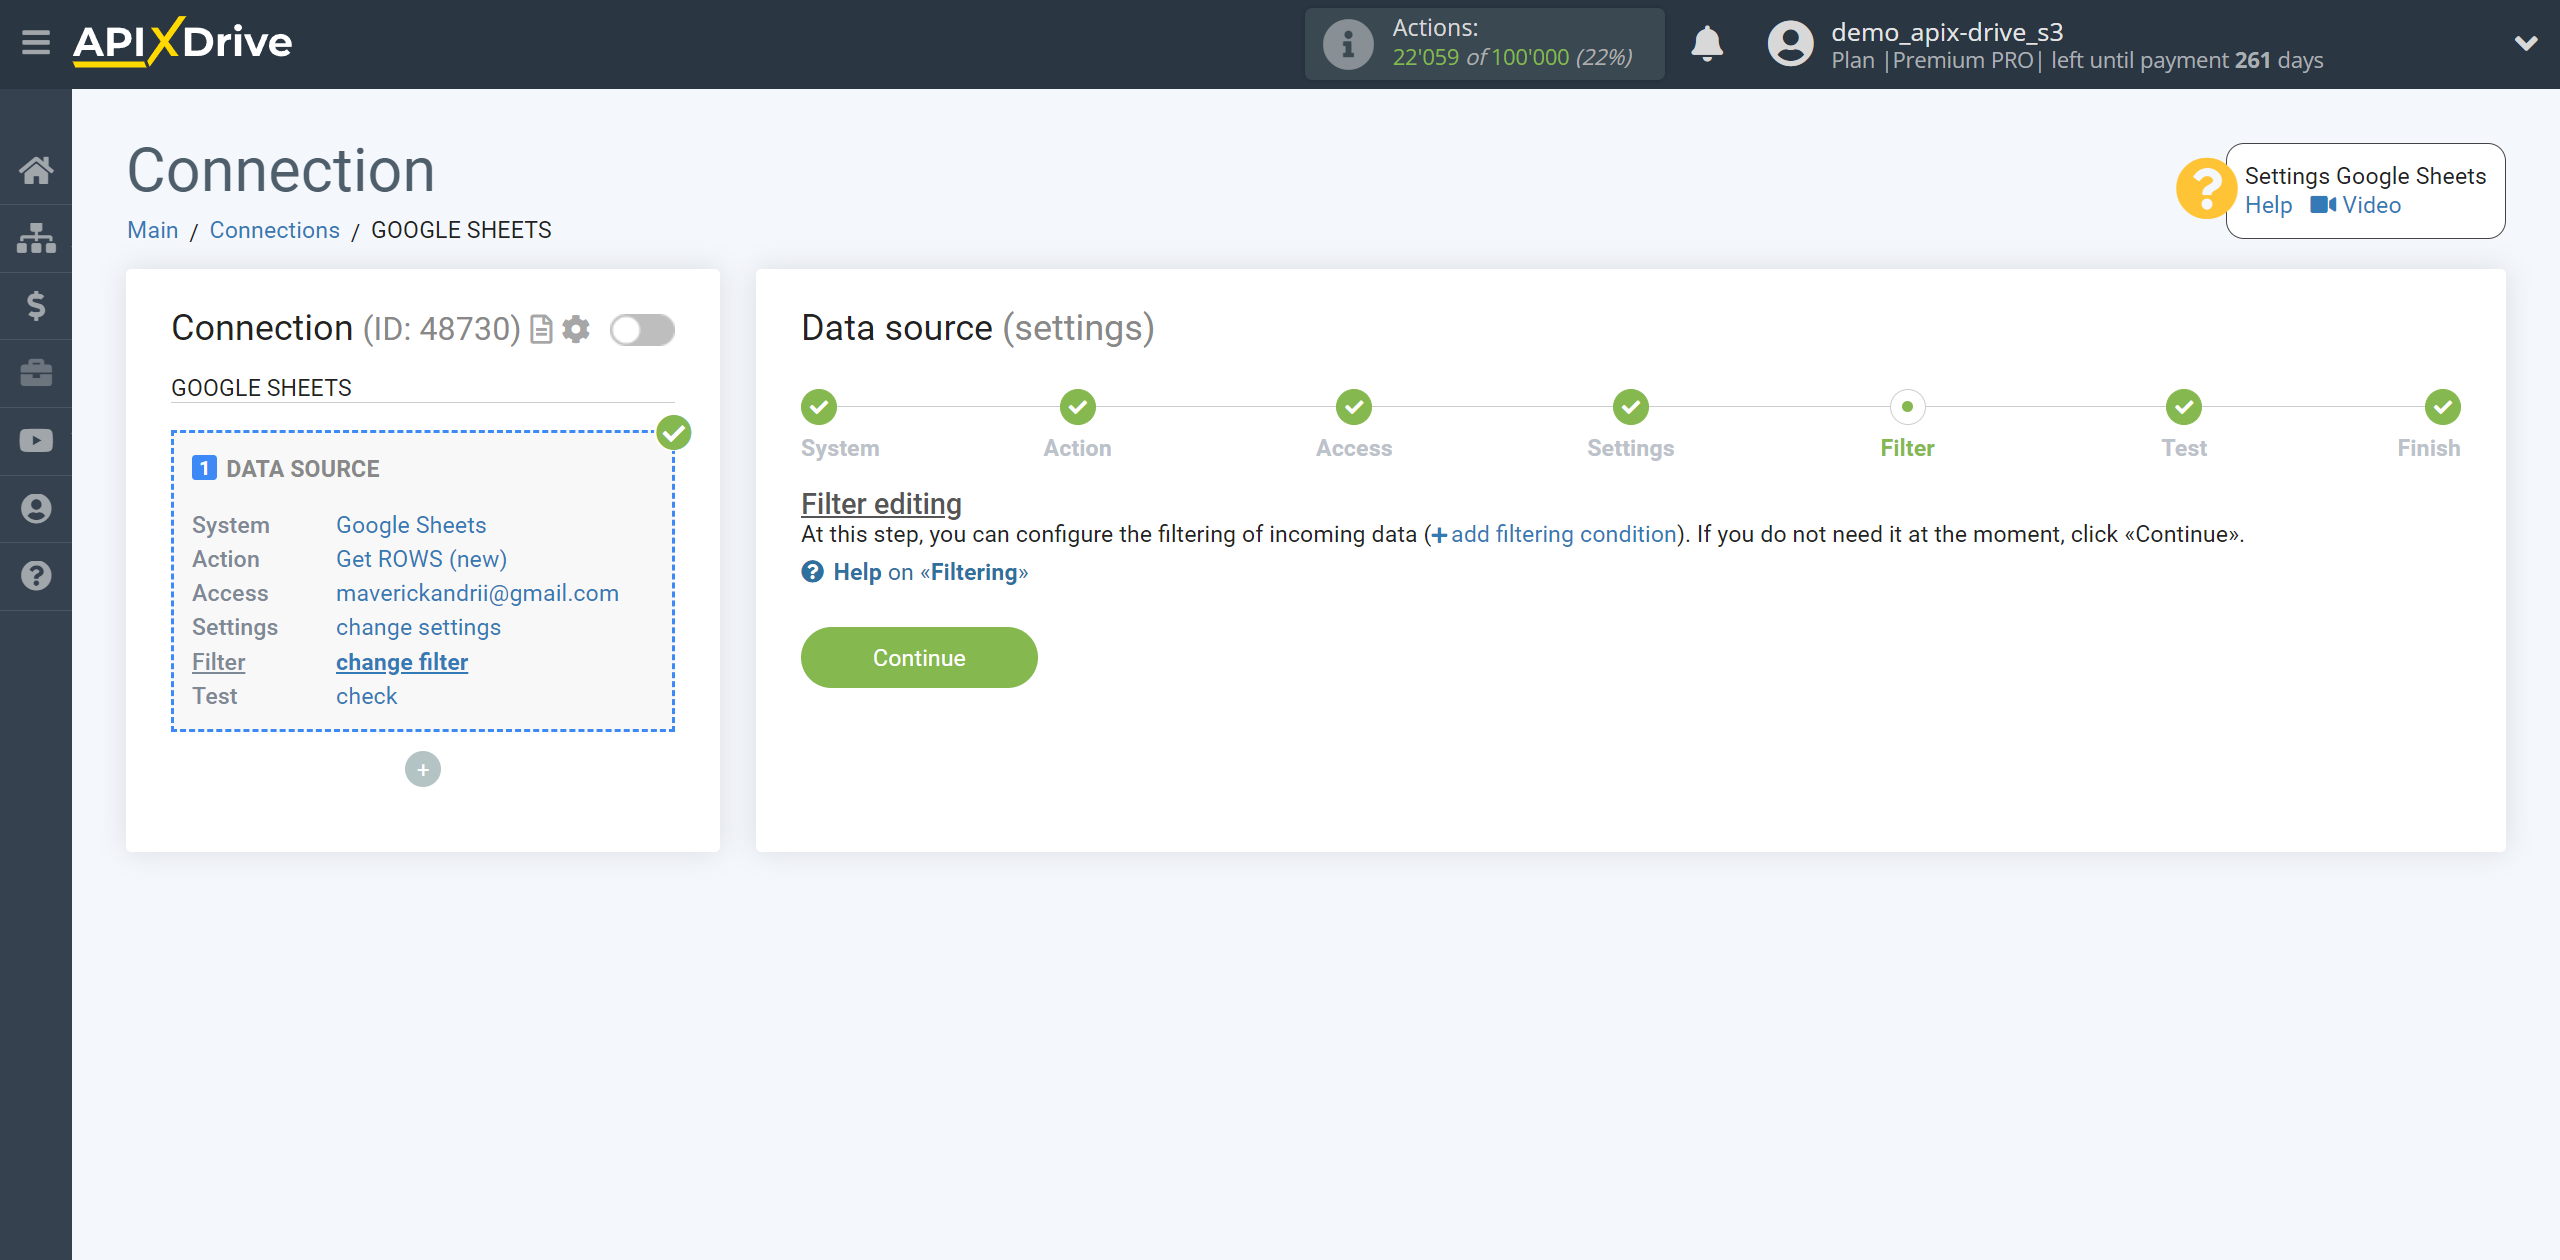
If necessary, you can set up a Data Filter, or click "Continue" to skip this step.
To find out how to setup the Data Filter, follow the link: https://apix-drive.com/en/help/data-filter
Data in a Google Sheets table, one row at a time.
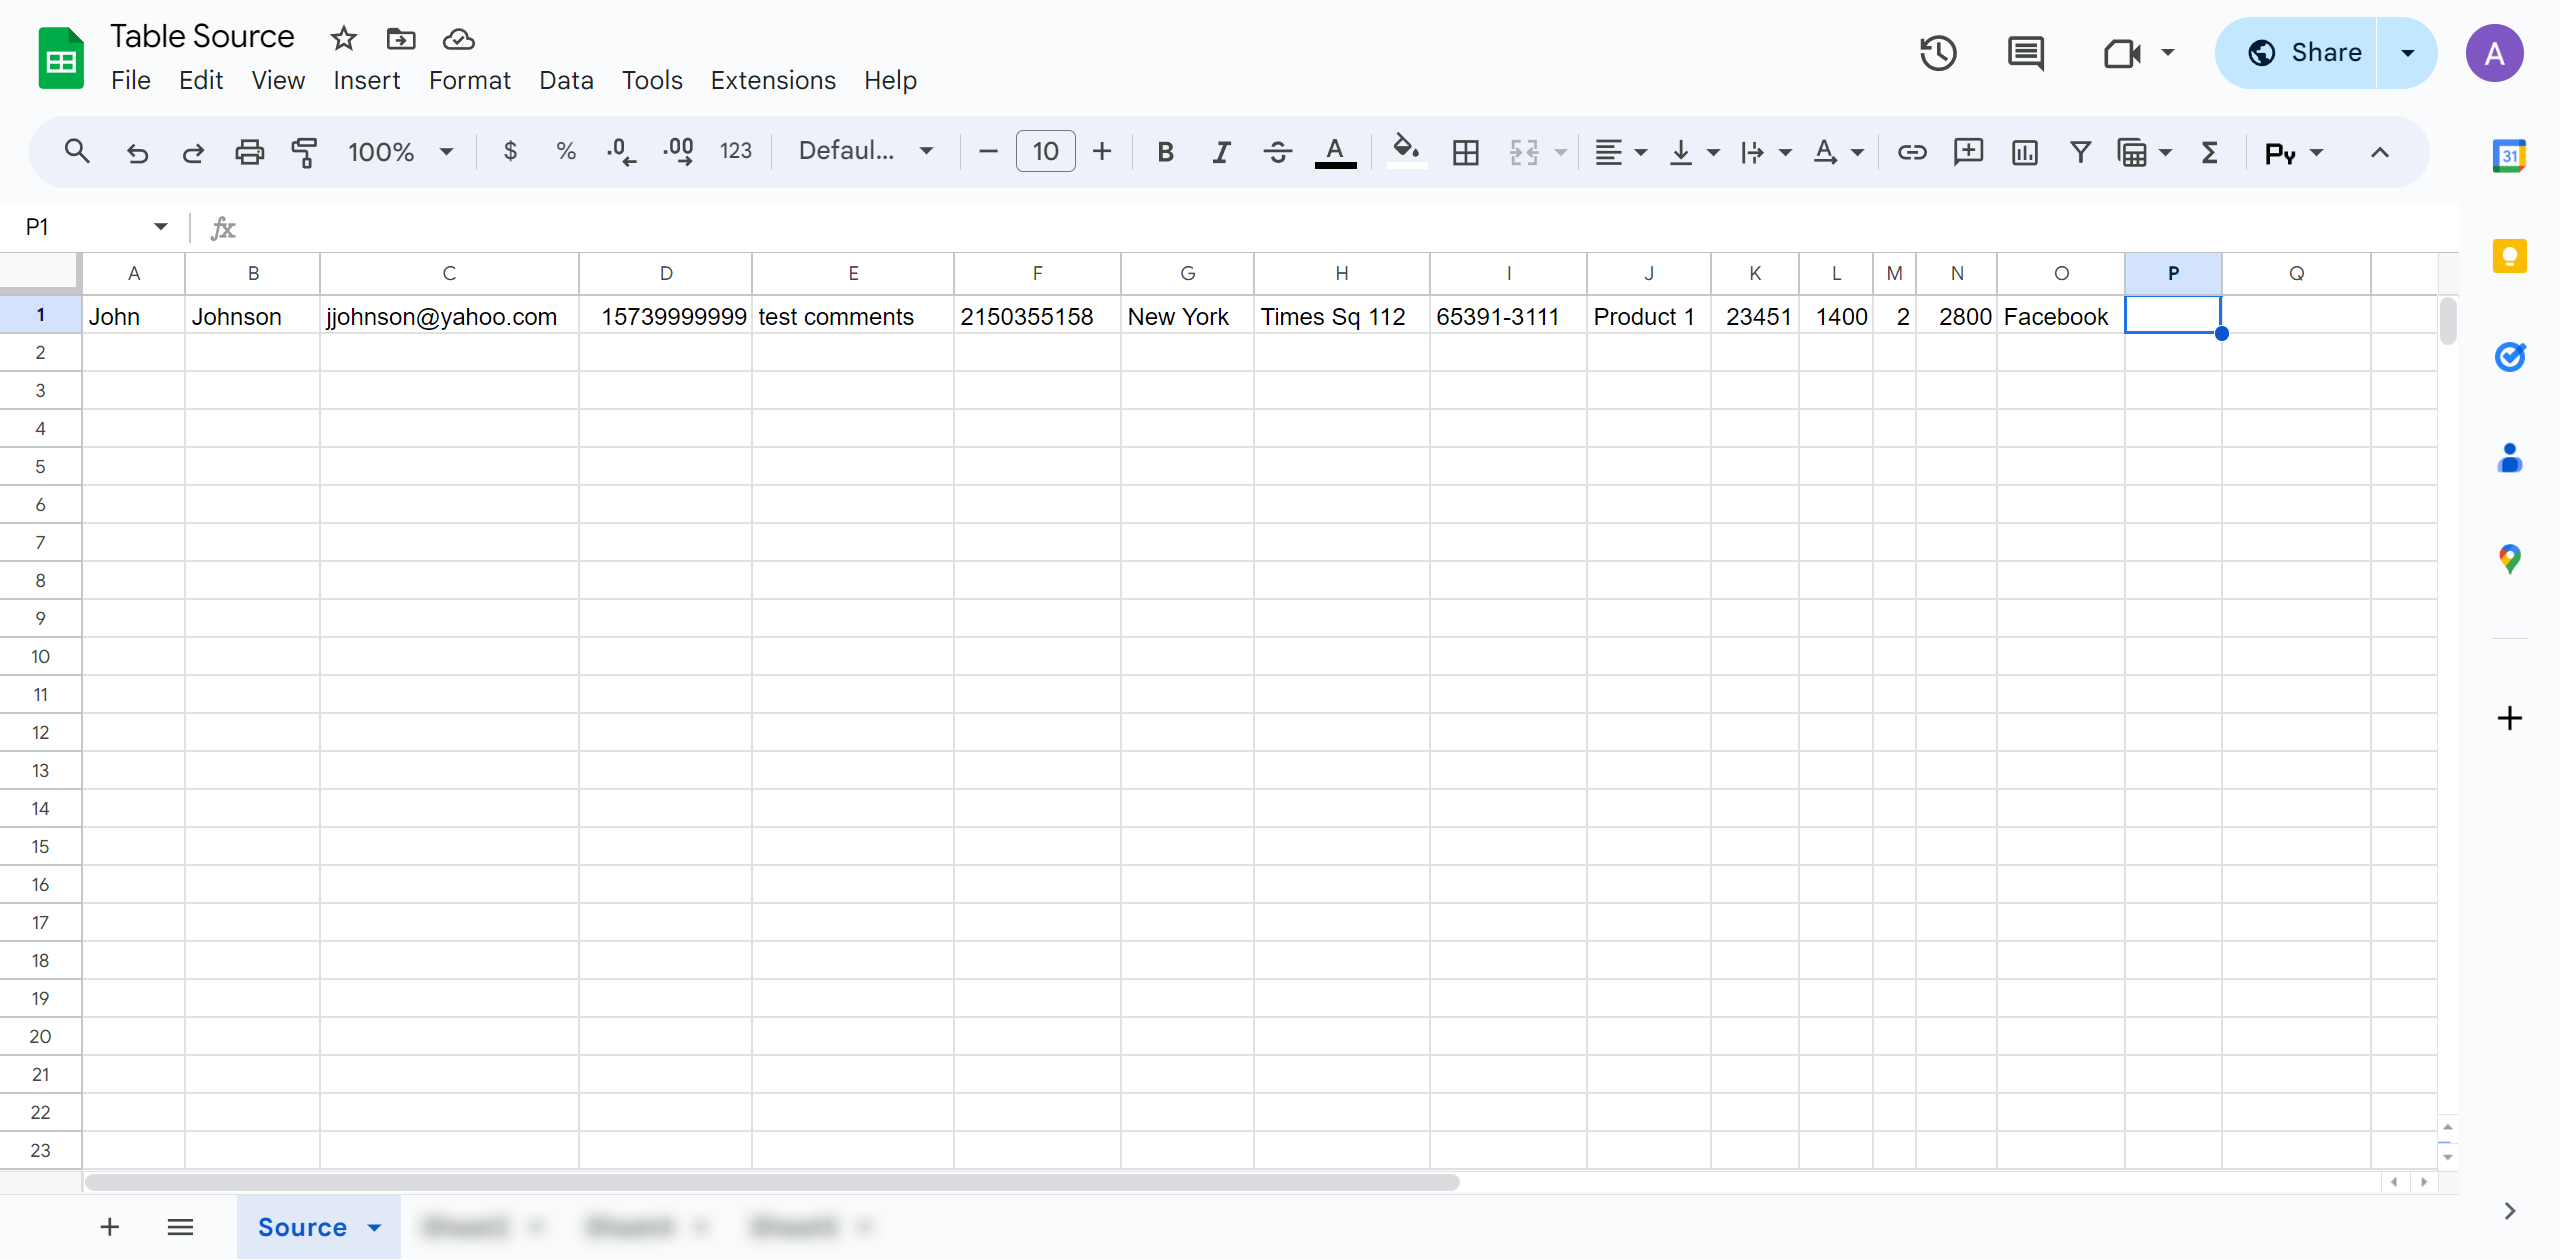
You can now see the test data in ApiX-Drive by one of the rows in your Google Sheets.
If you want to update your test data, click "Download Test Data from Google Sheets."
If you want to change the settings, click "Edit" and you will go back a step.
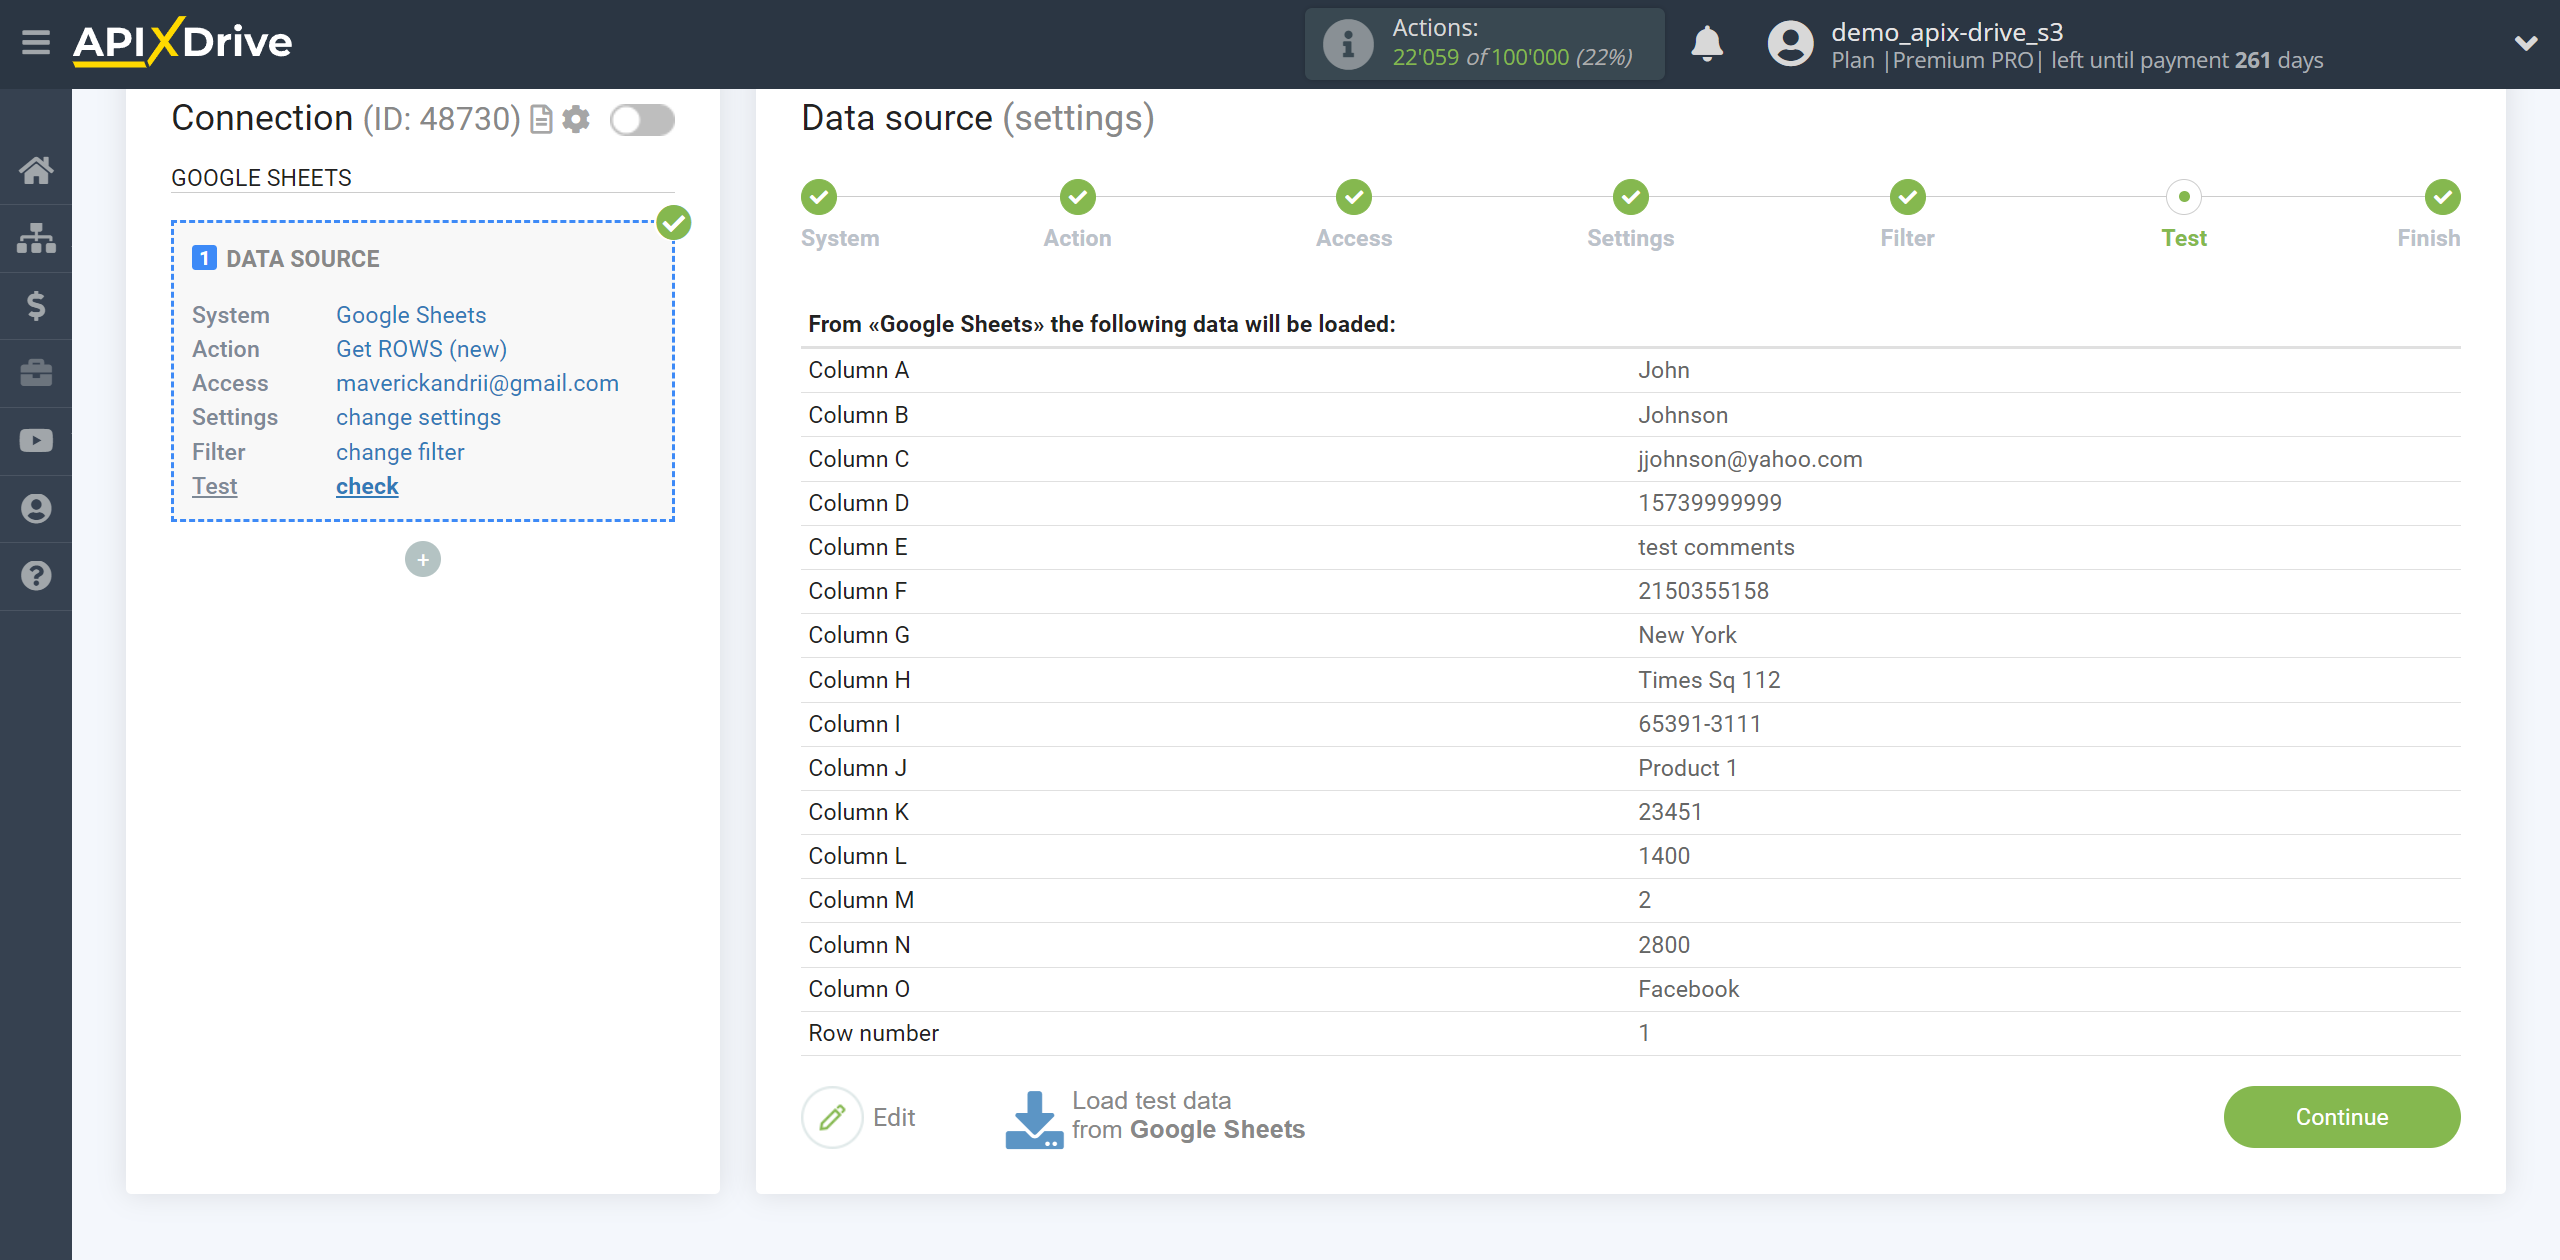
This completes the Data Source setup!
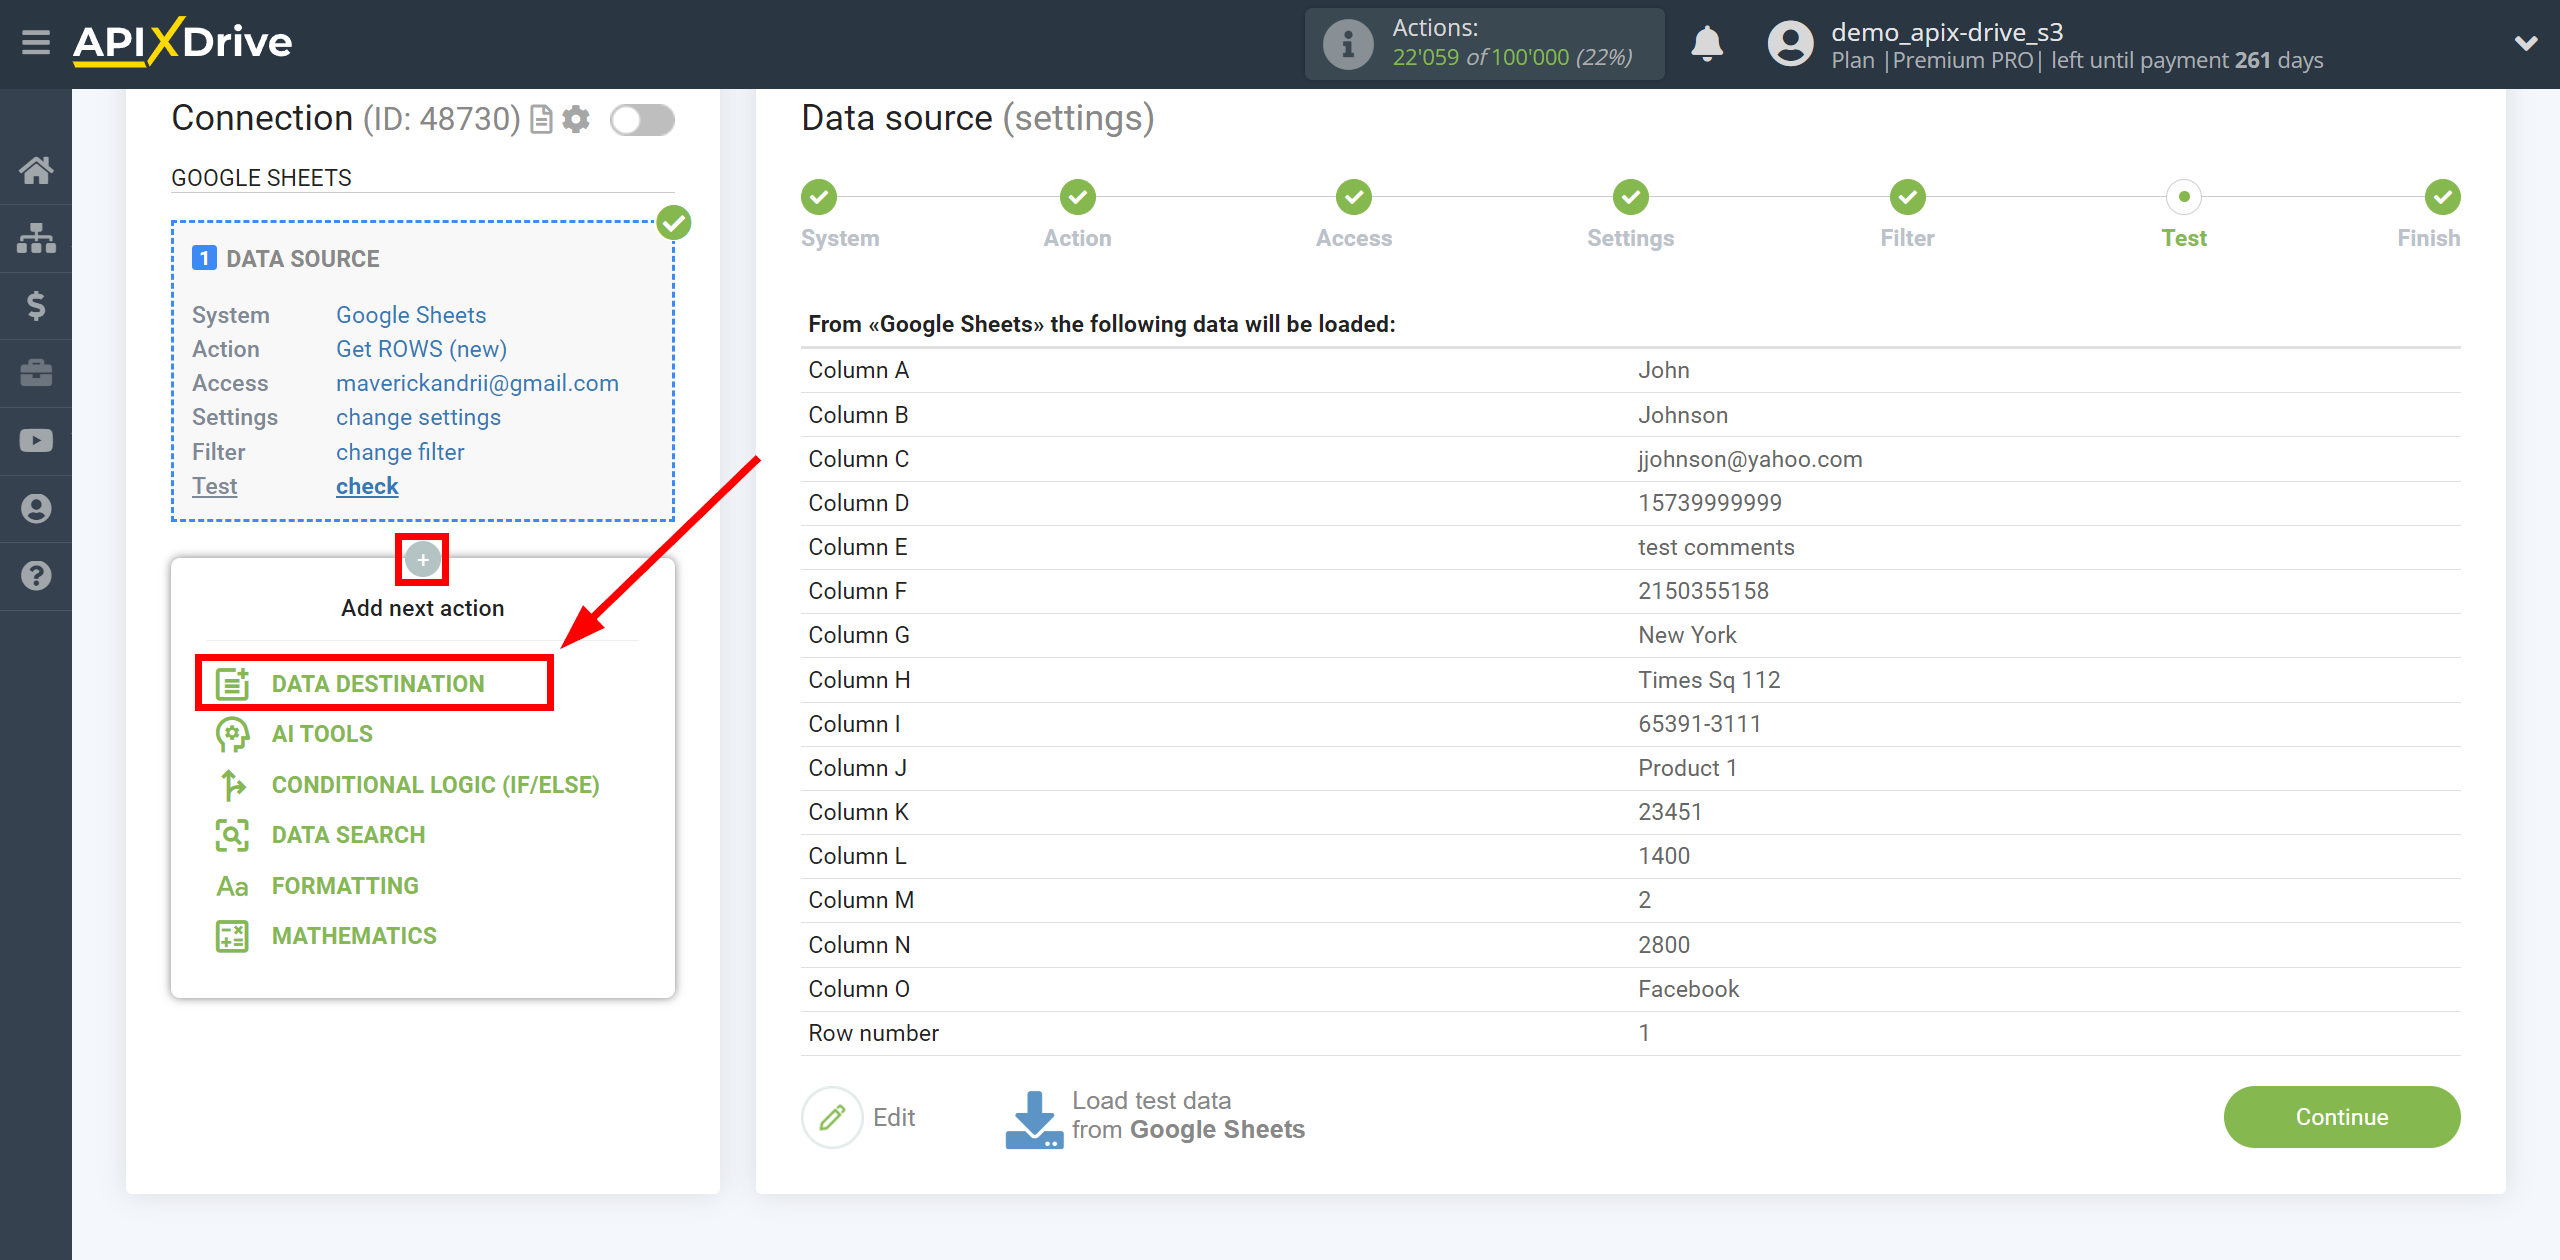
Now we connect the Data Destination section. To do this, click on “+” and select “DATA DESTINATION” from the list.
Setting Data Destination: AirTable updating rows
Select the system as Data Destination. In this case, you must specify AirTable.
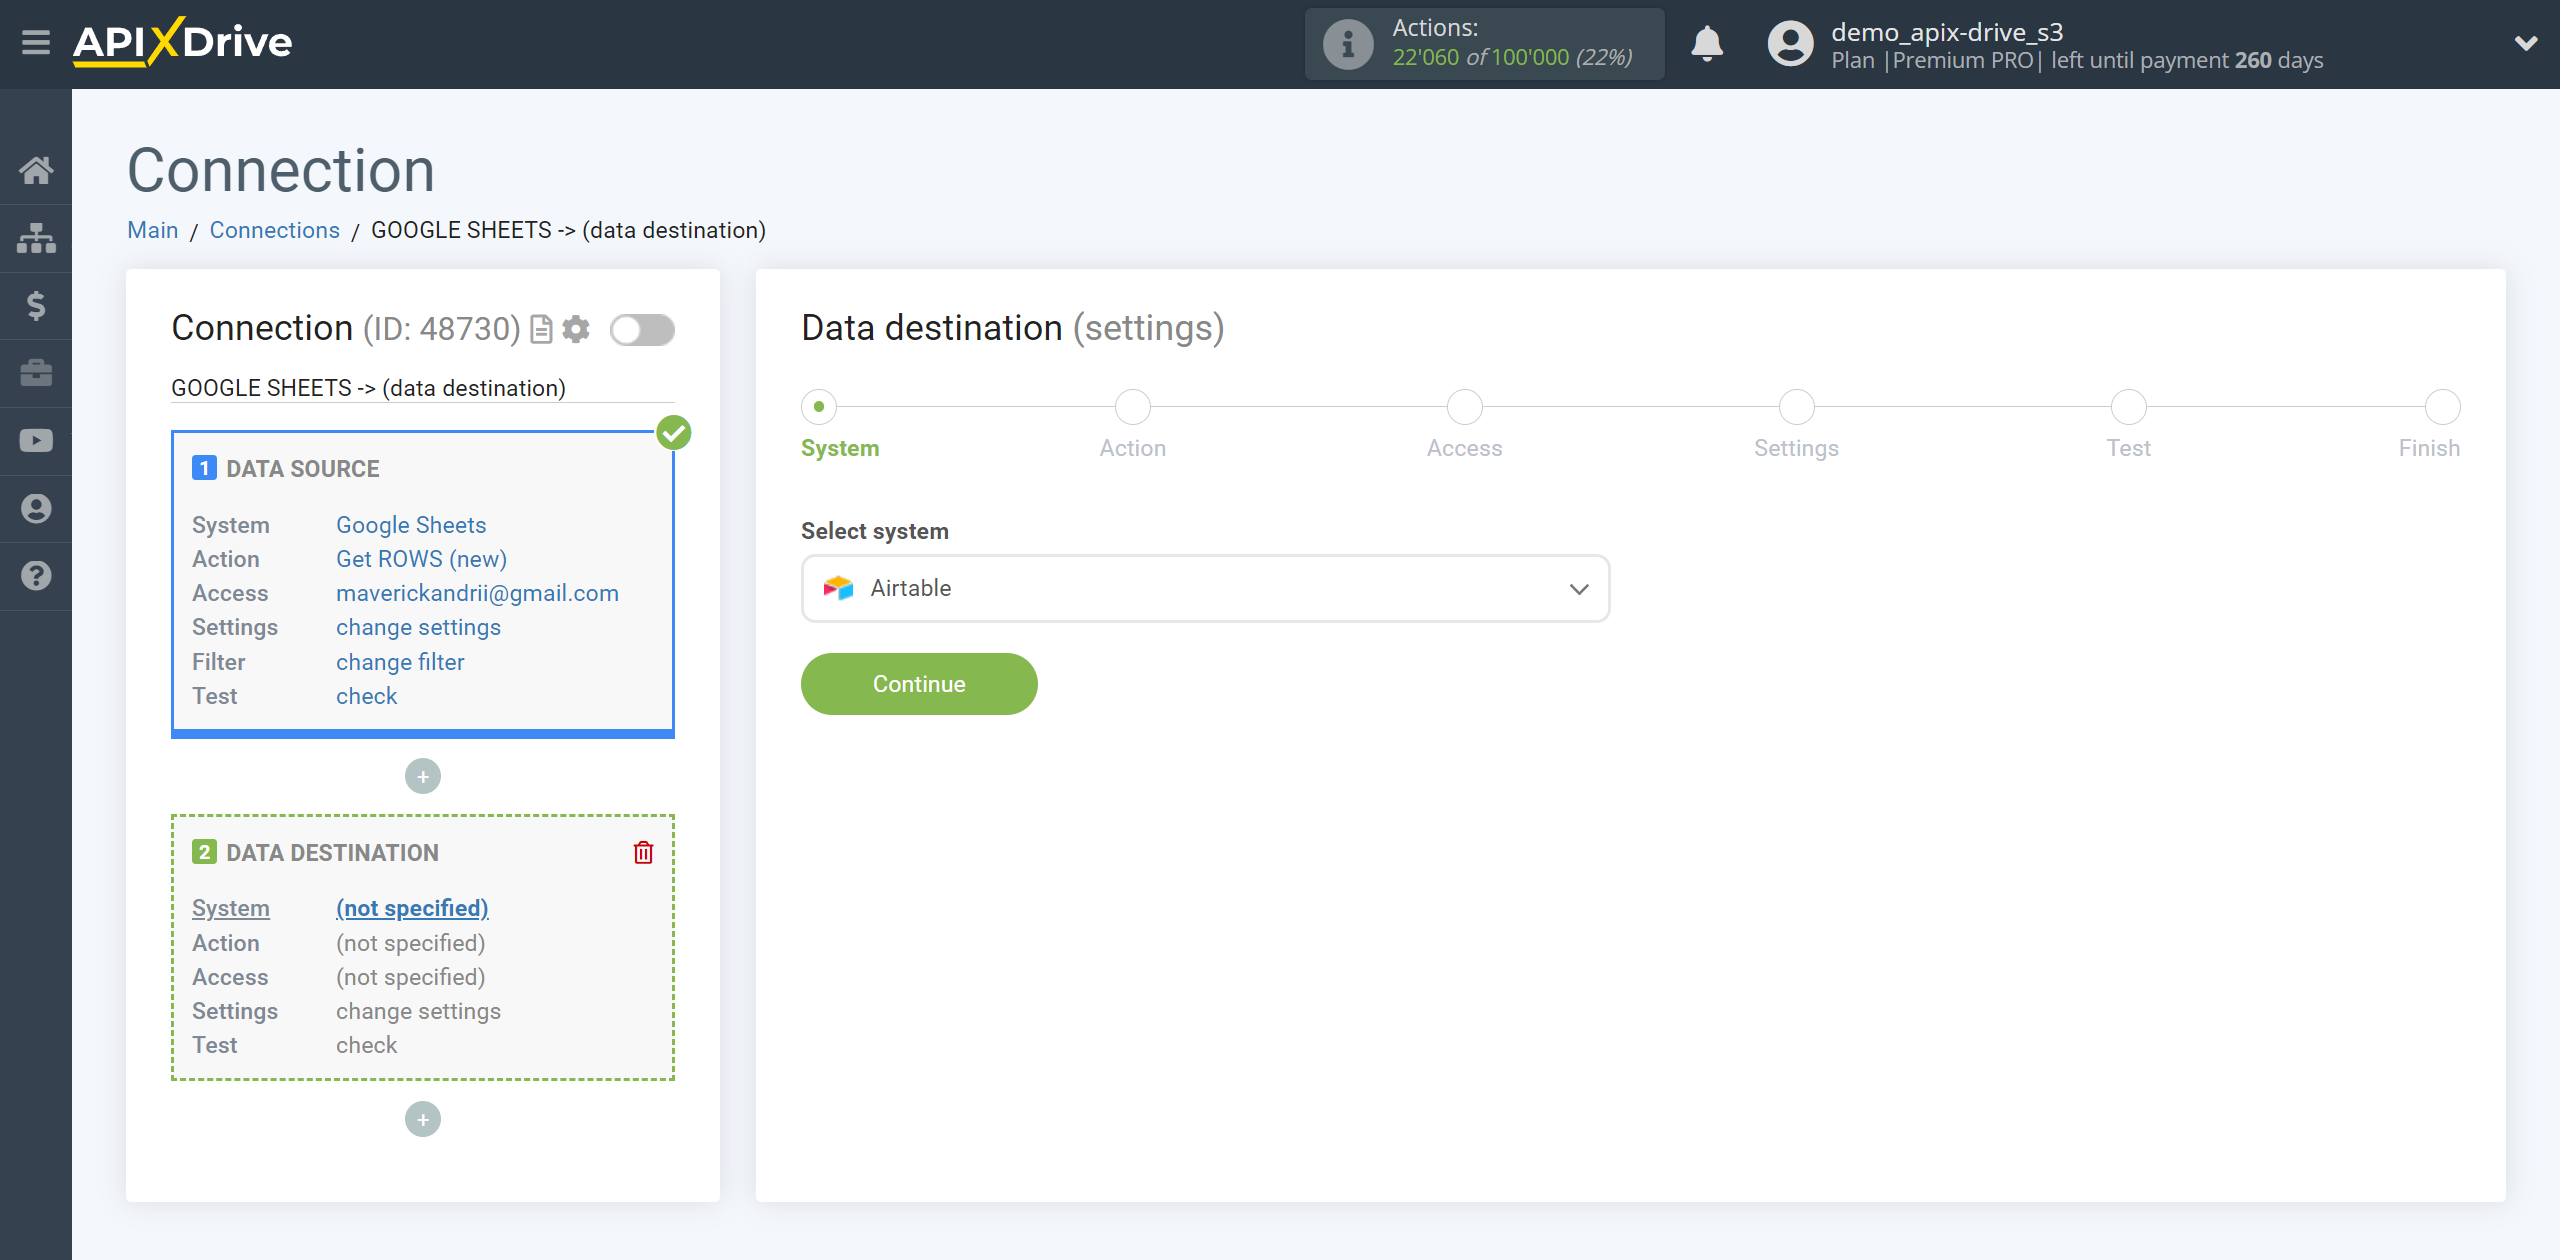
Next, you need to specify the action “Update ROW”.
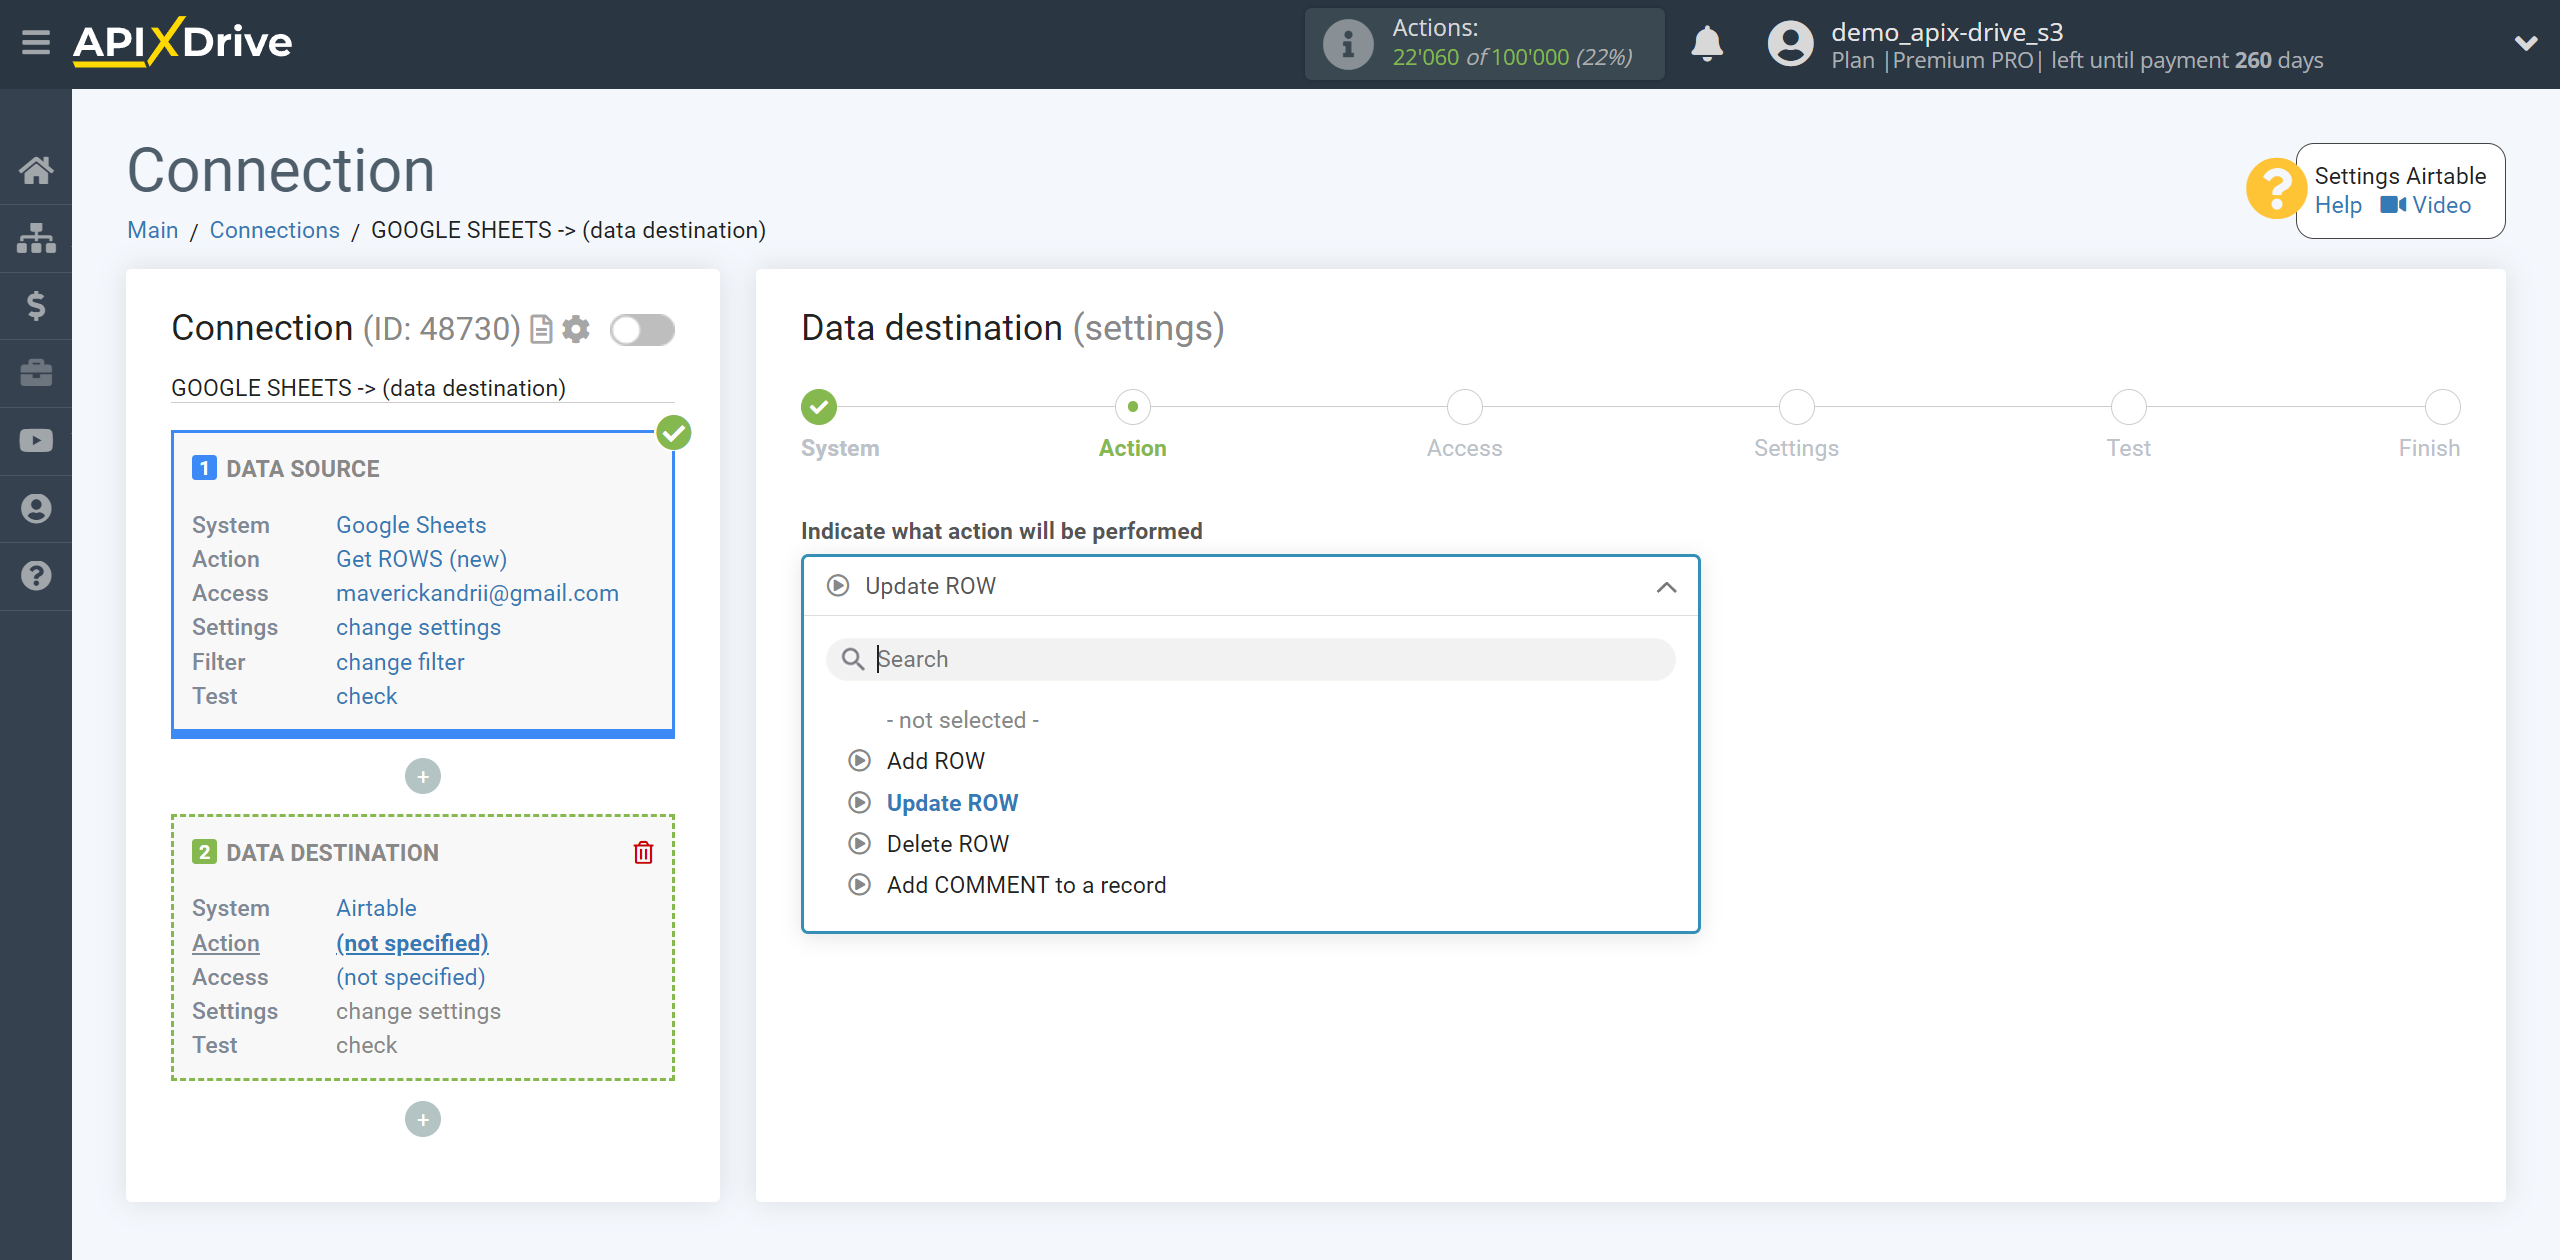
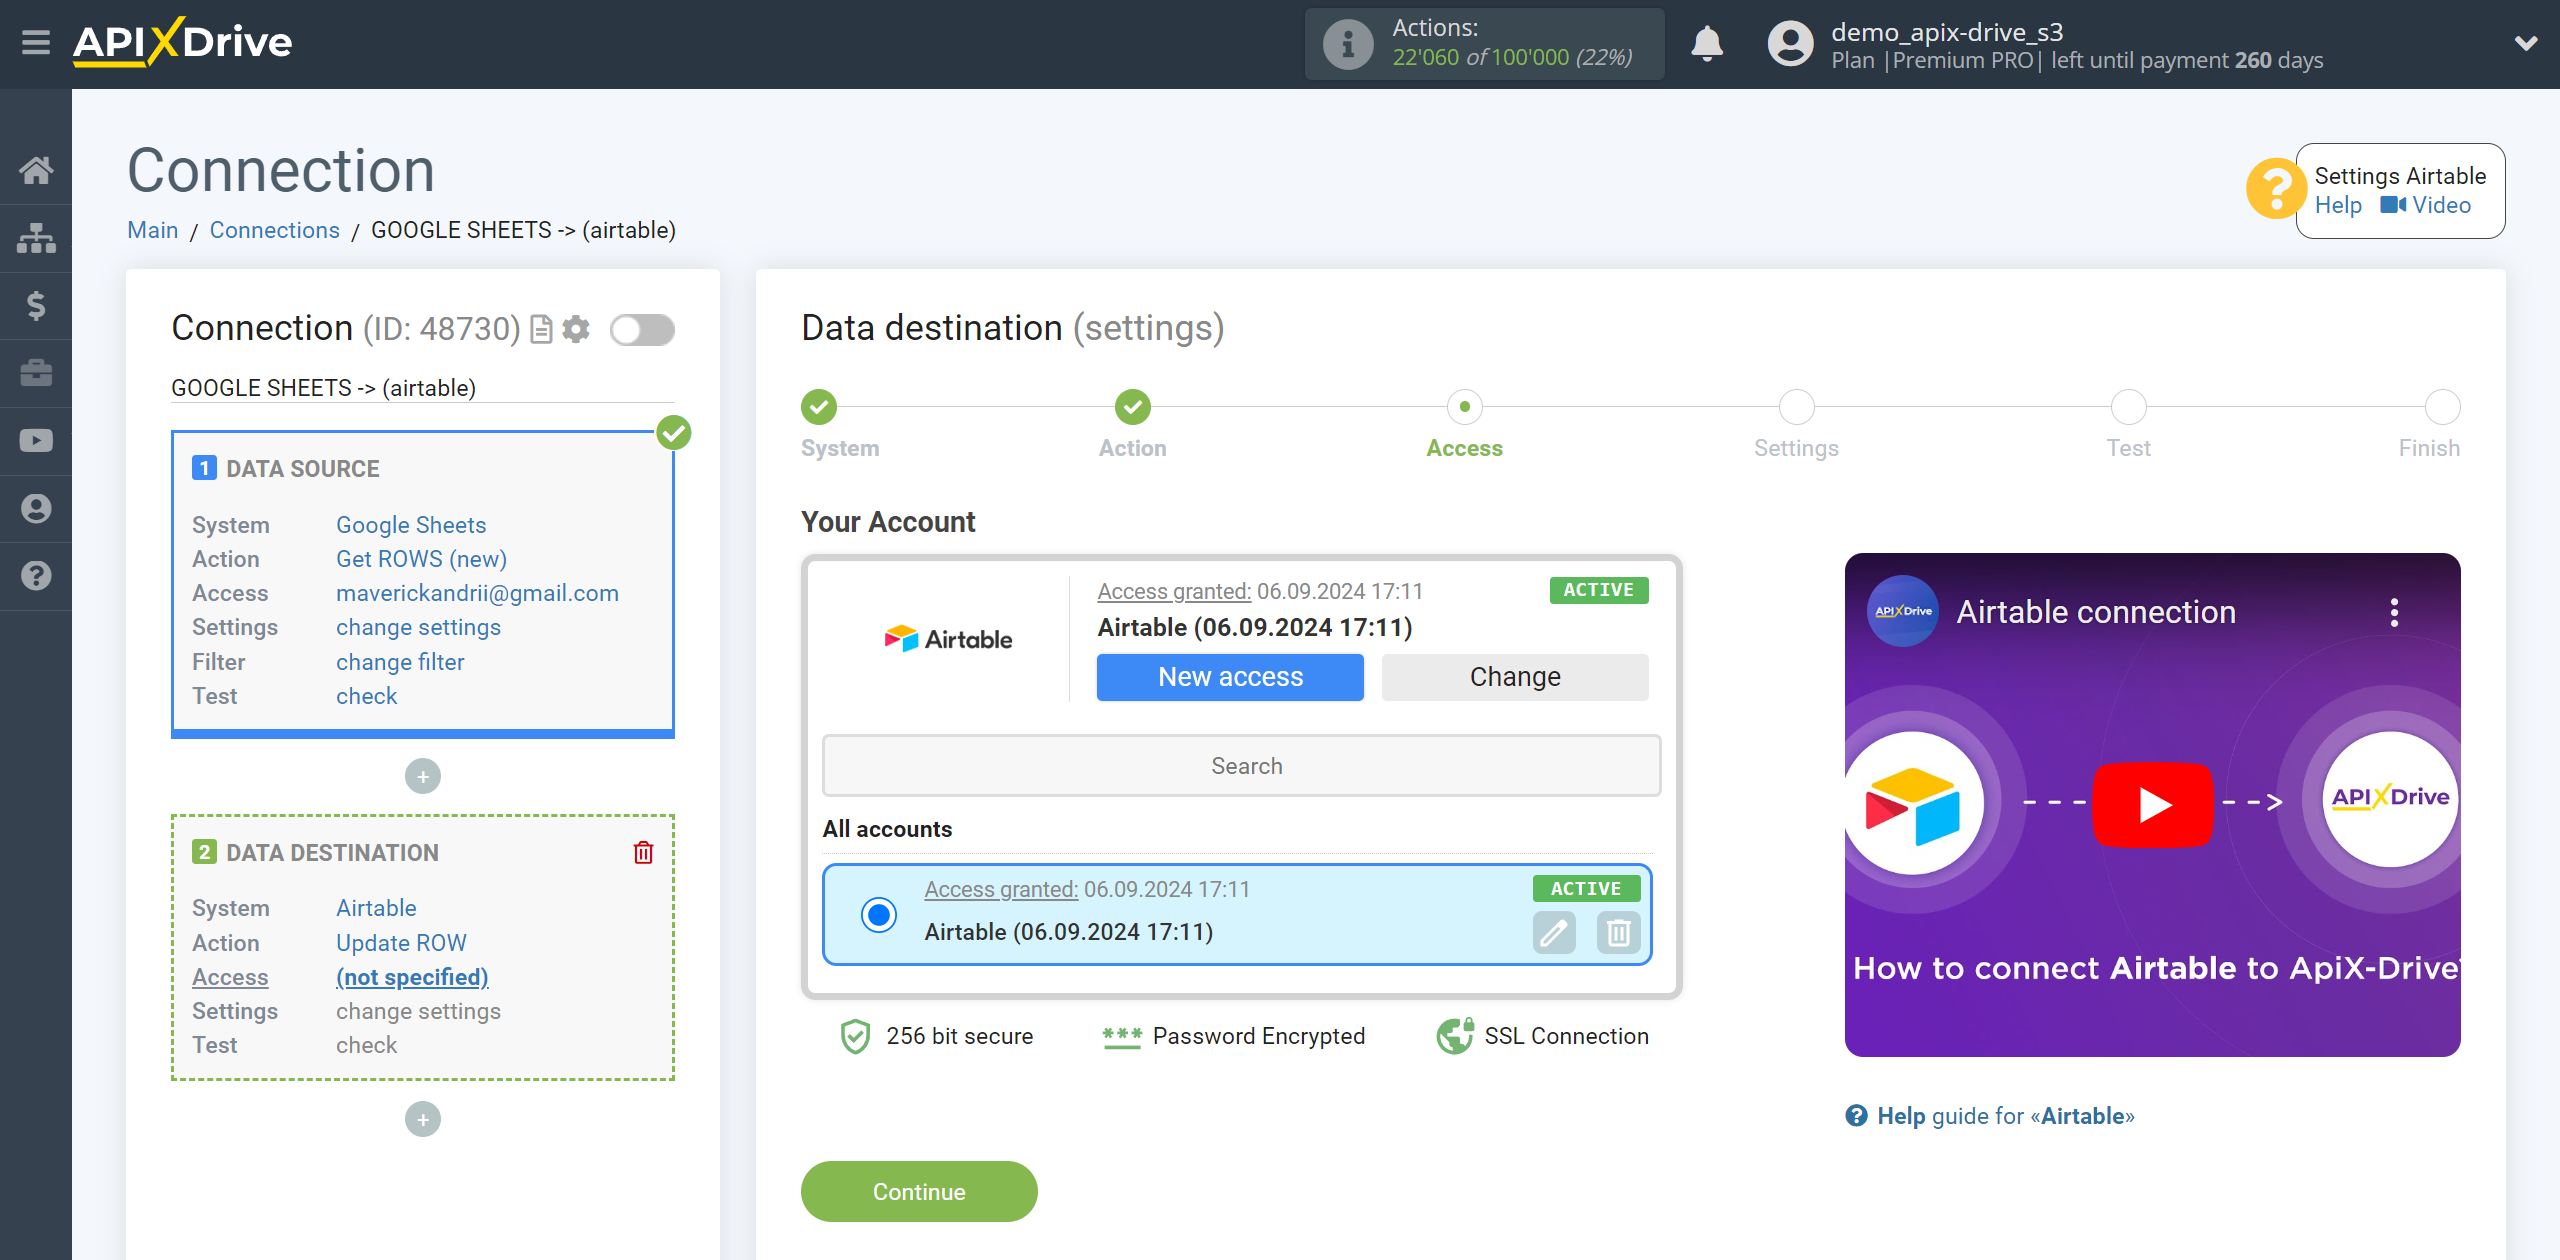
The next step is to select an AirTable account where rows will be updated.
If there are no accounts connected to the ApiX-Drive system, click “Connect account”.
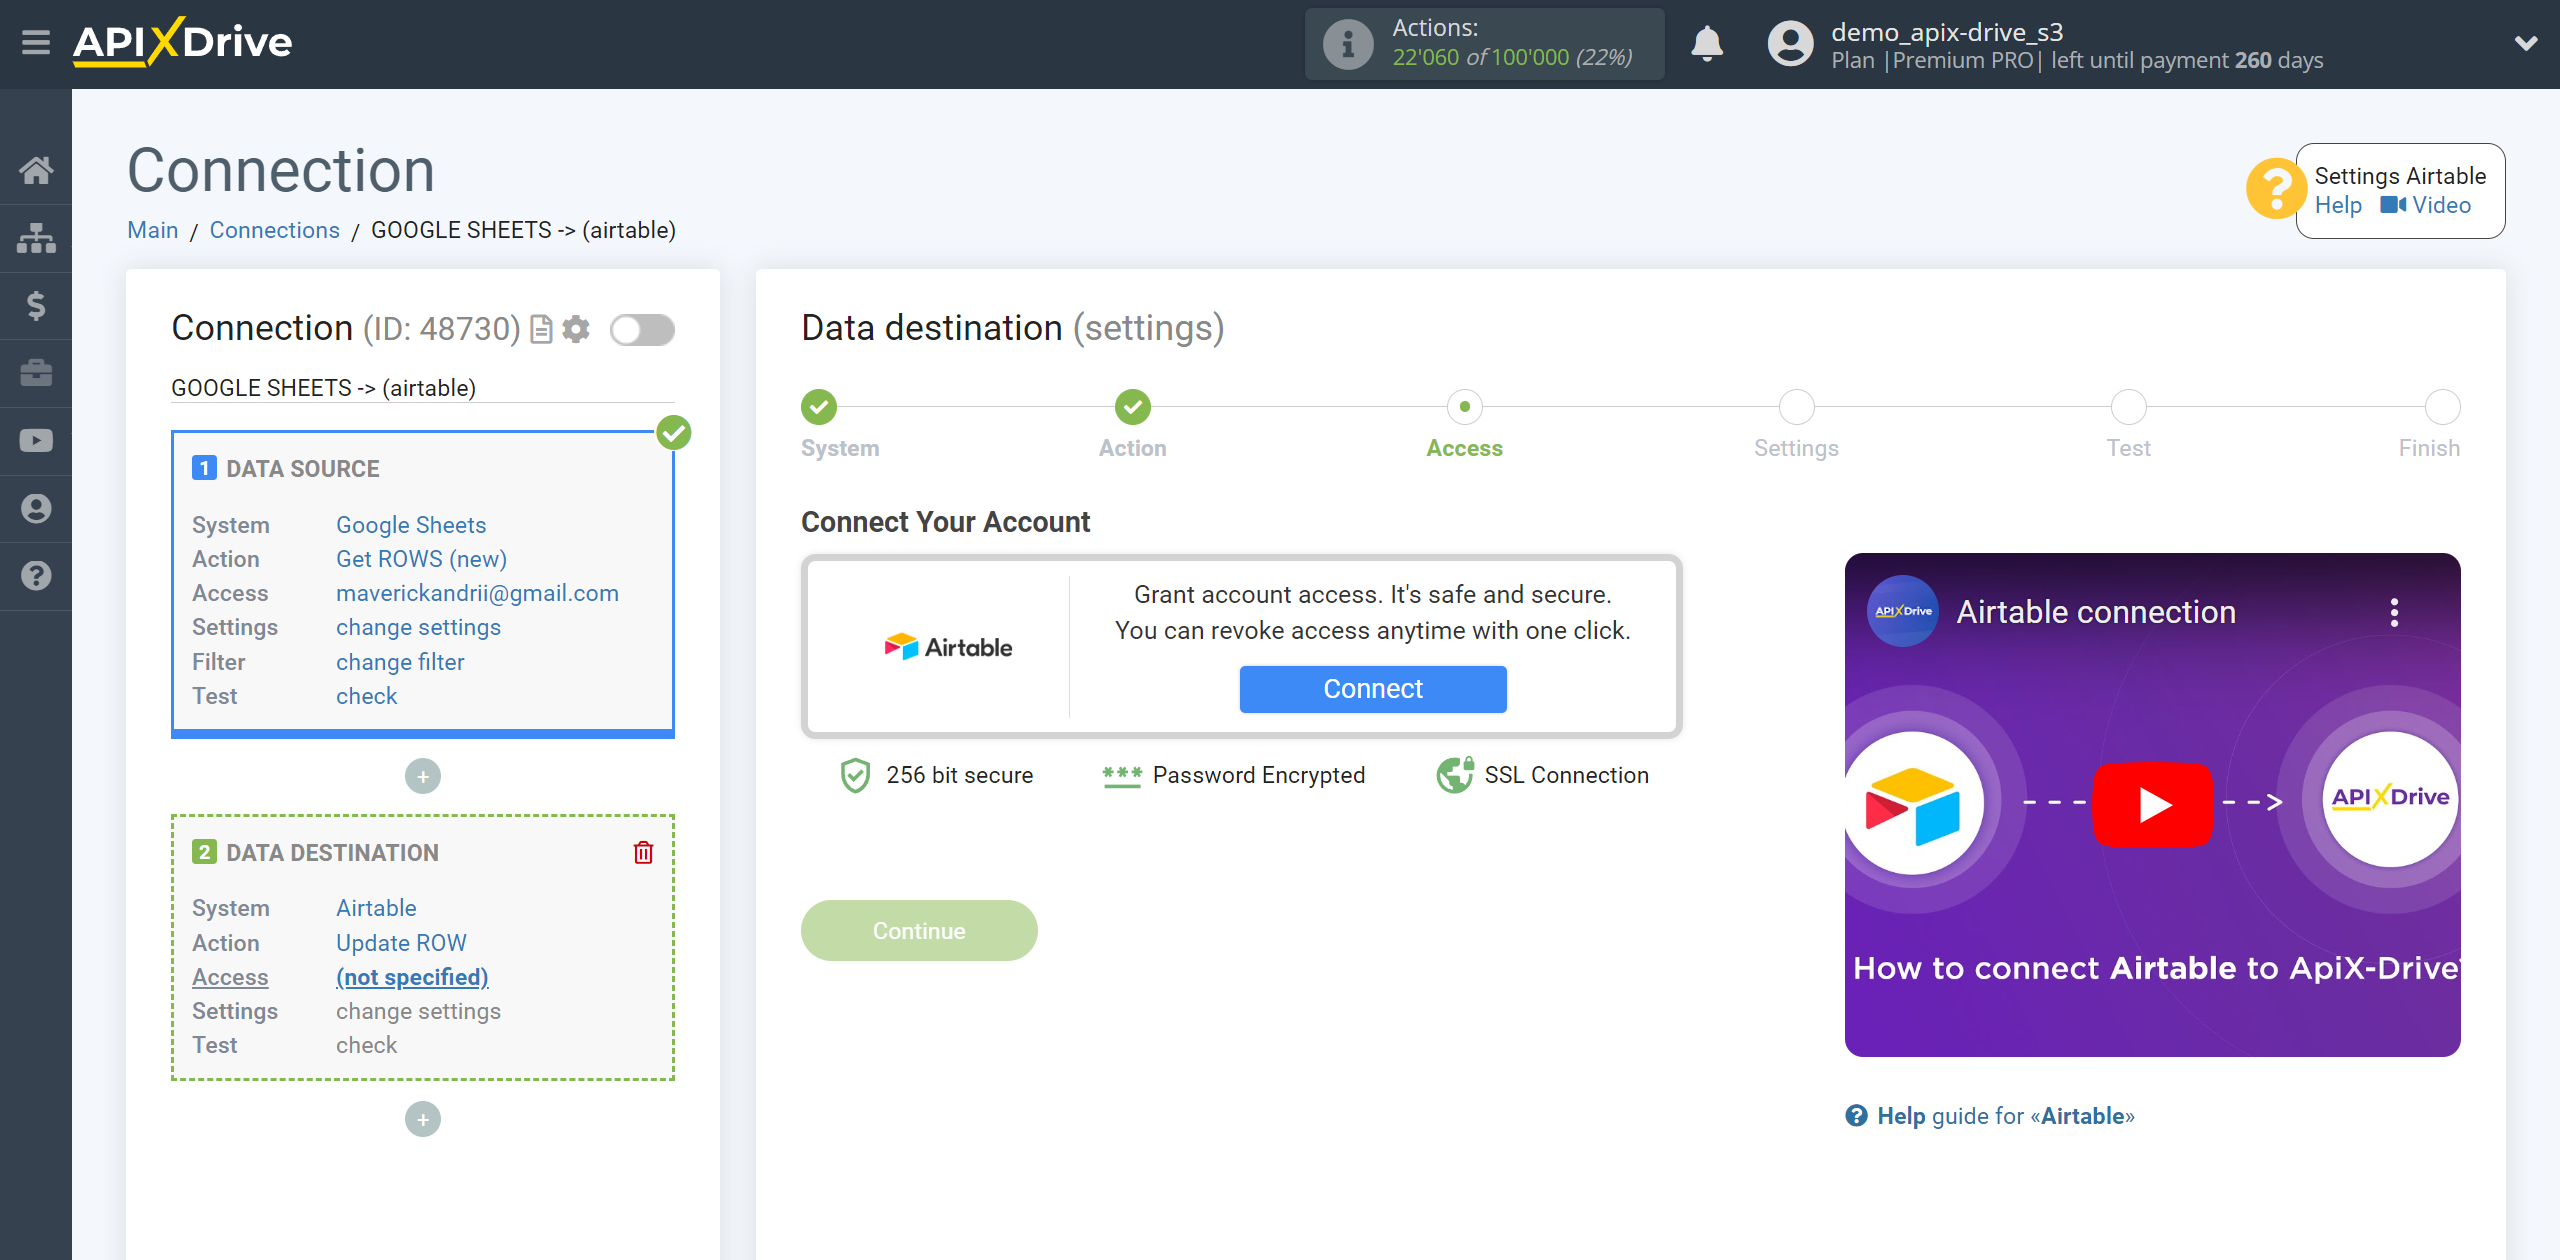
Enter E-mail and Password from your AirTable account.
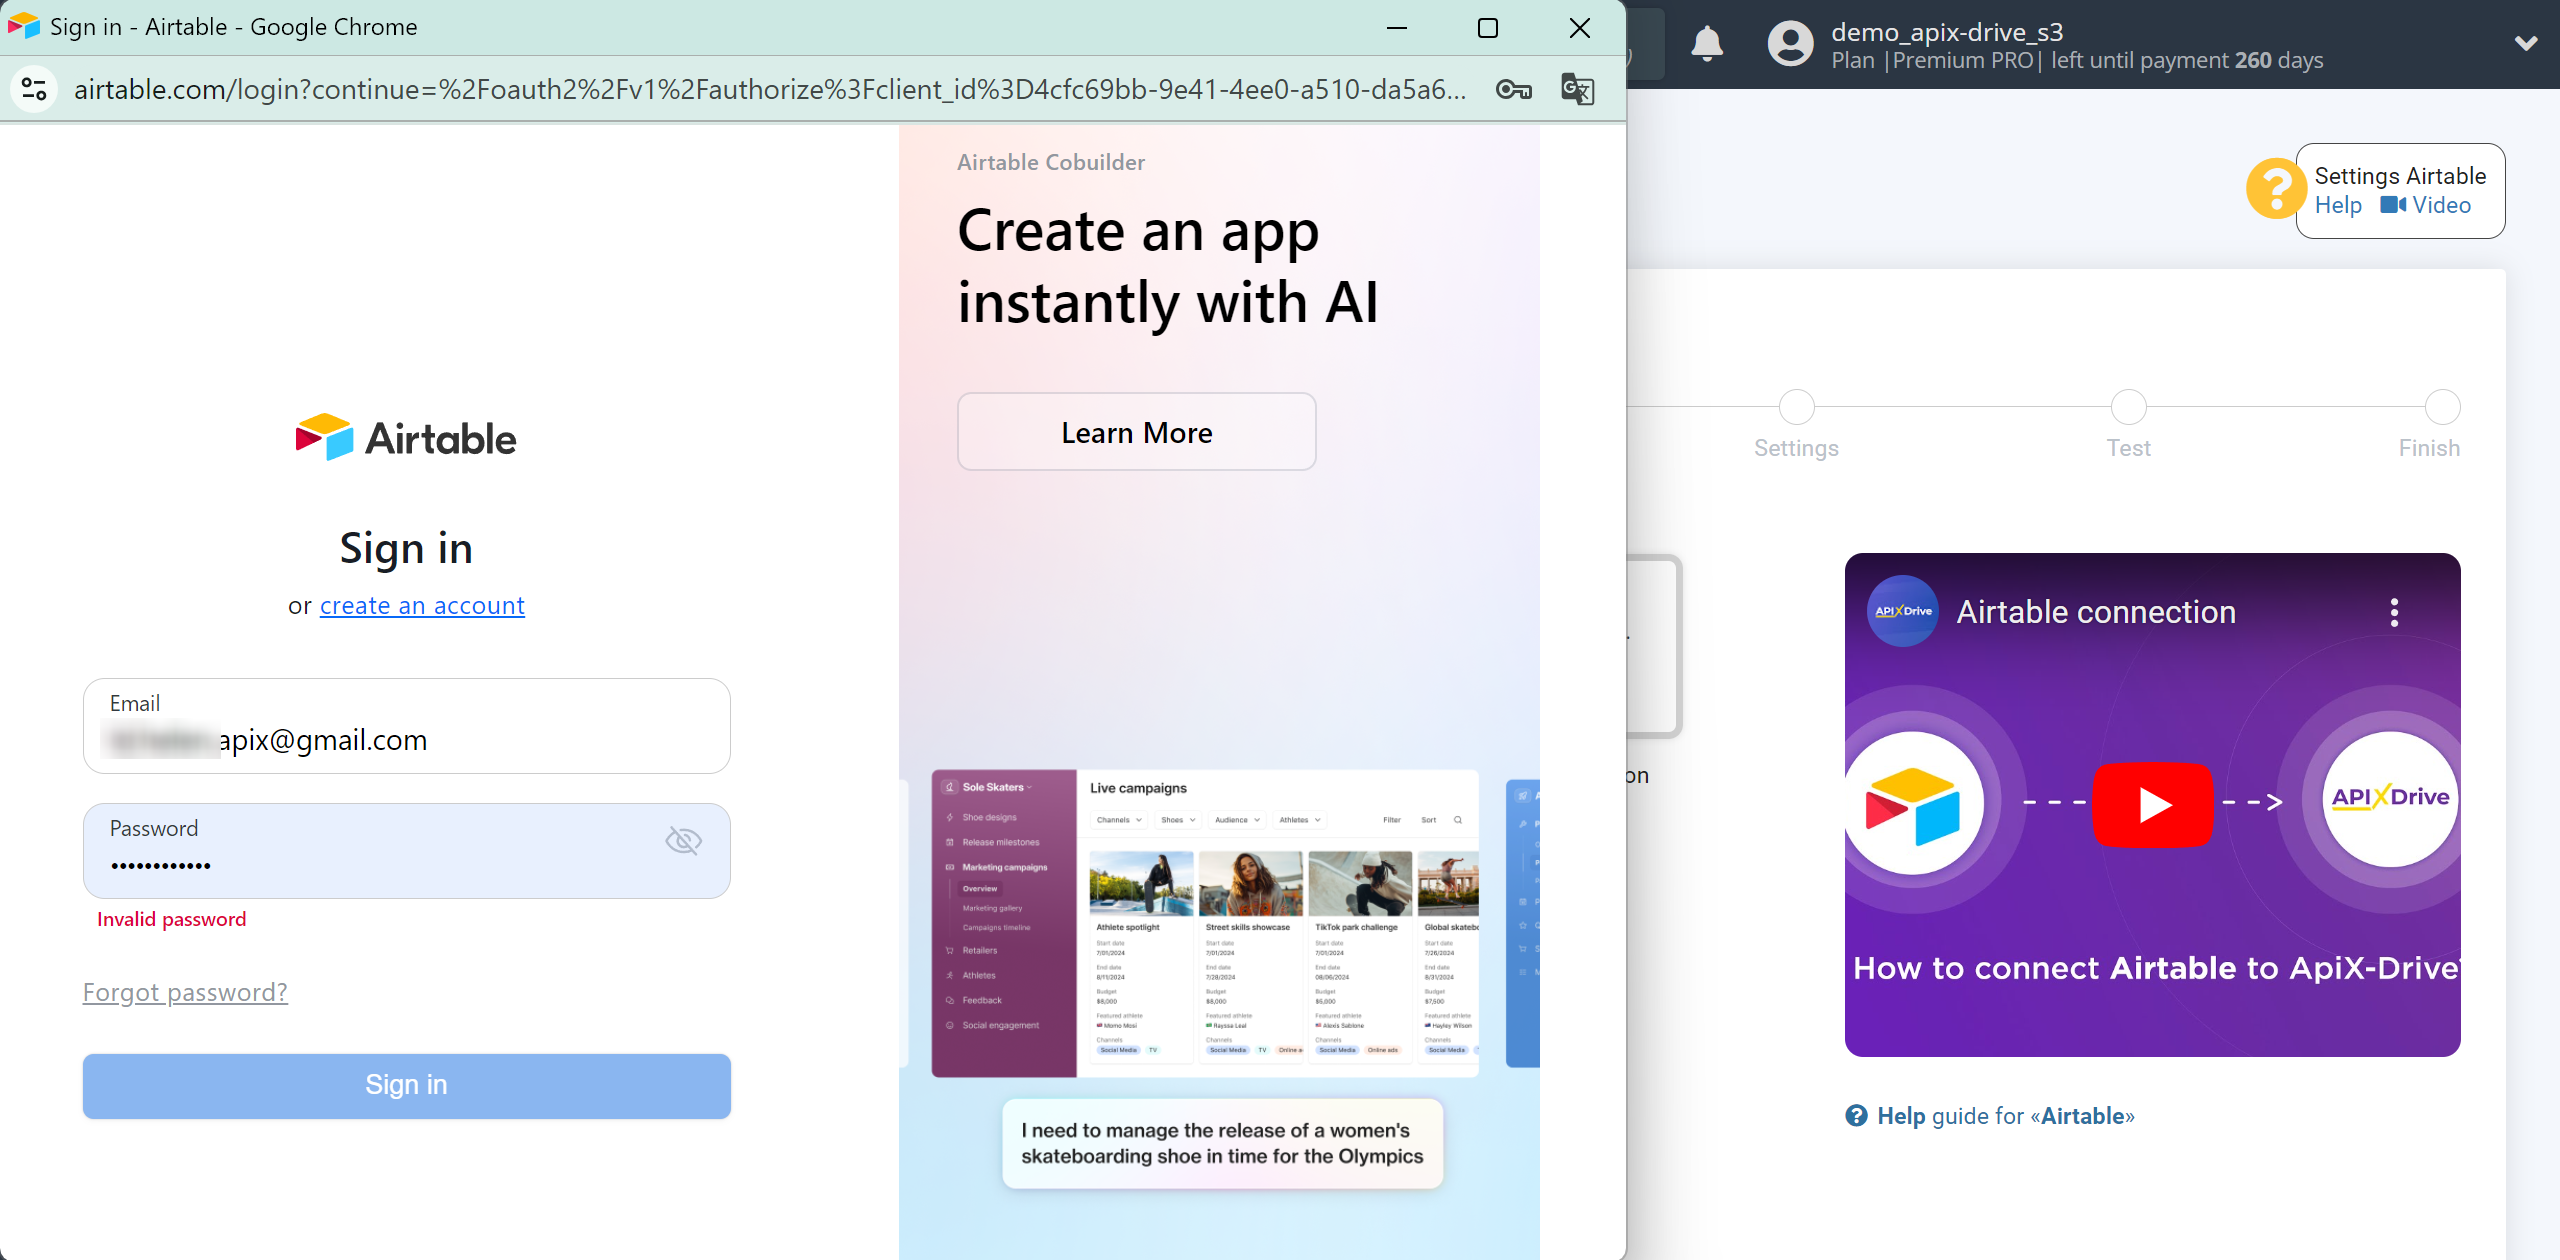
Give your permission to ApiX-Drive to work with this account. To do this, click "Add a base", then select "All current and future bases in all current and future workspaces".
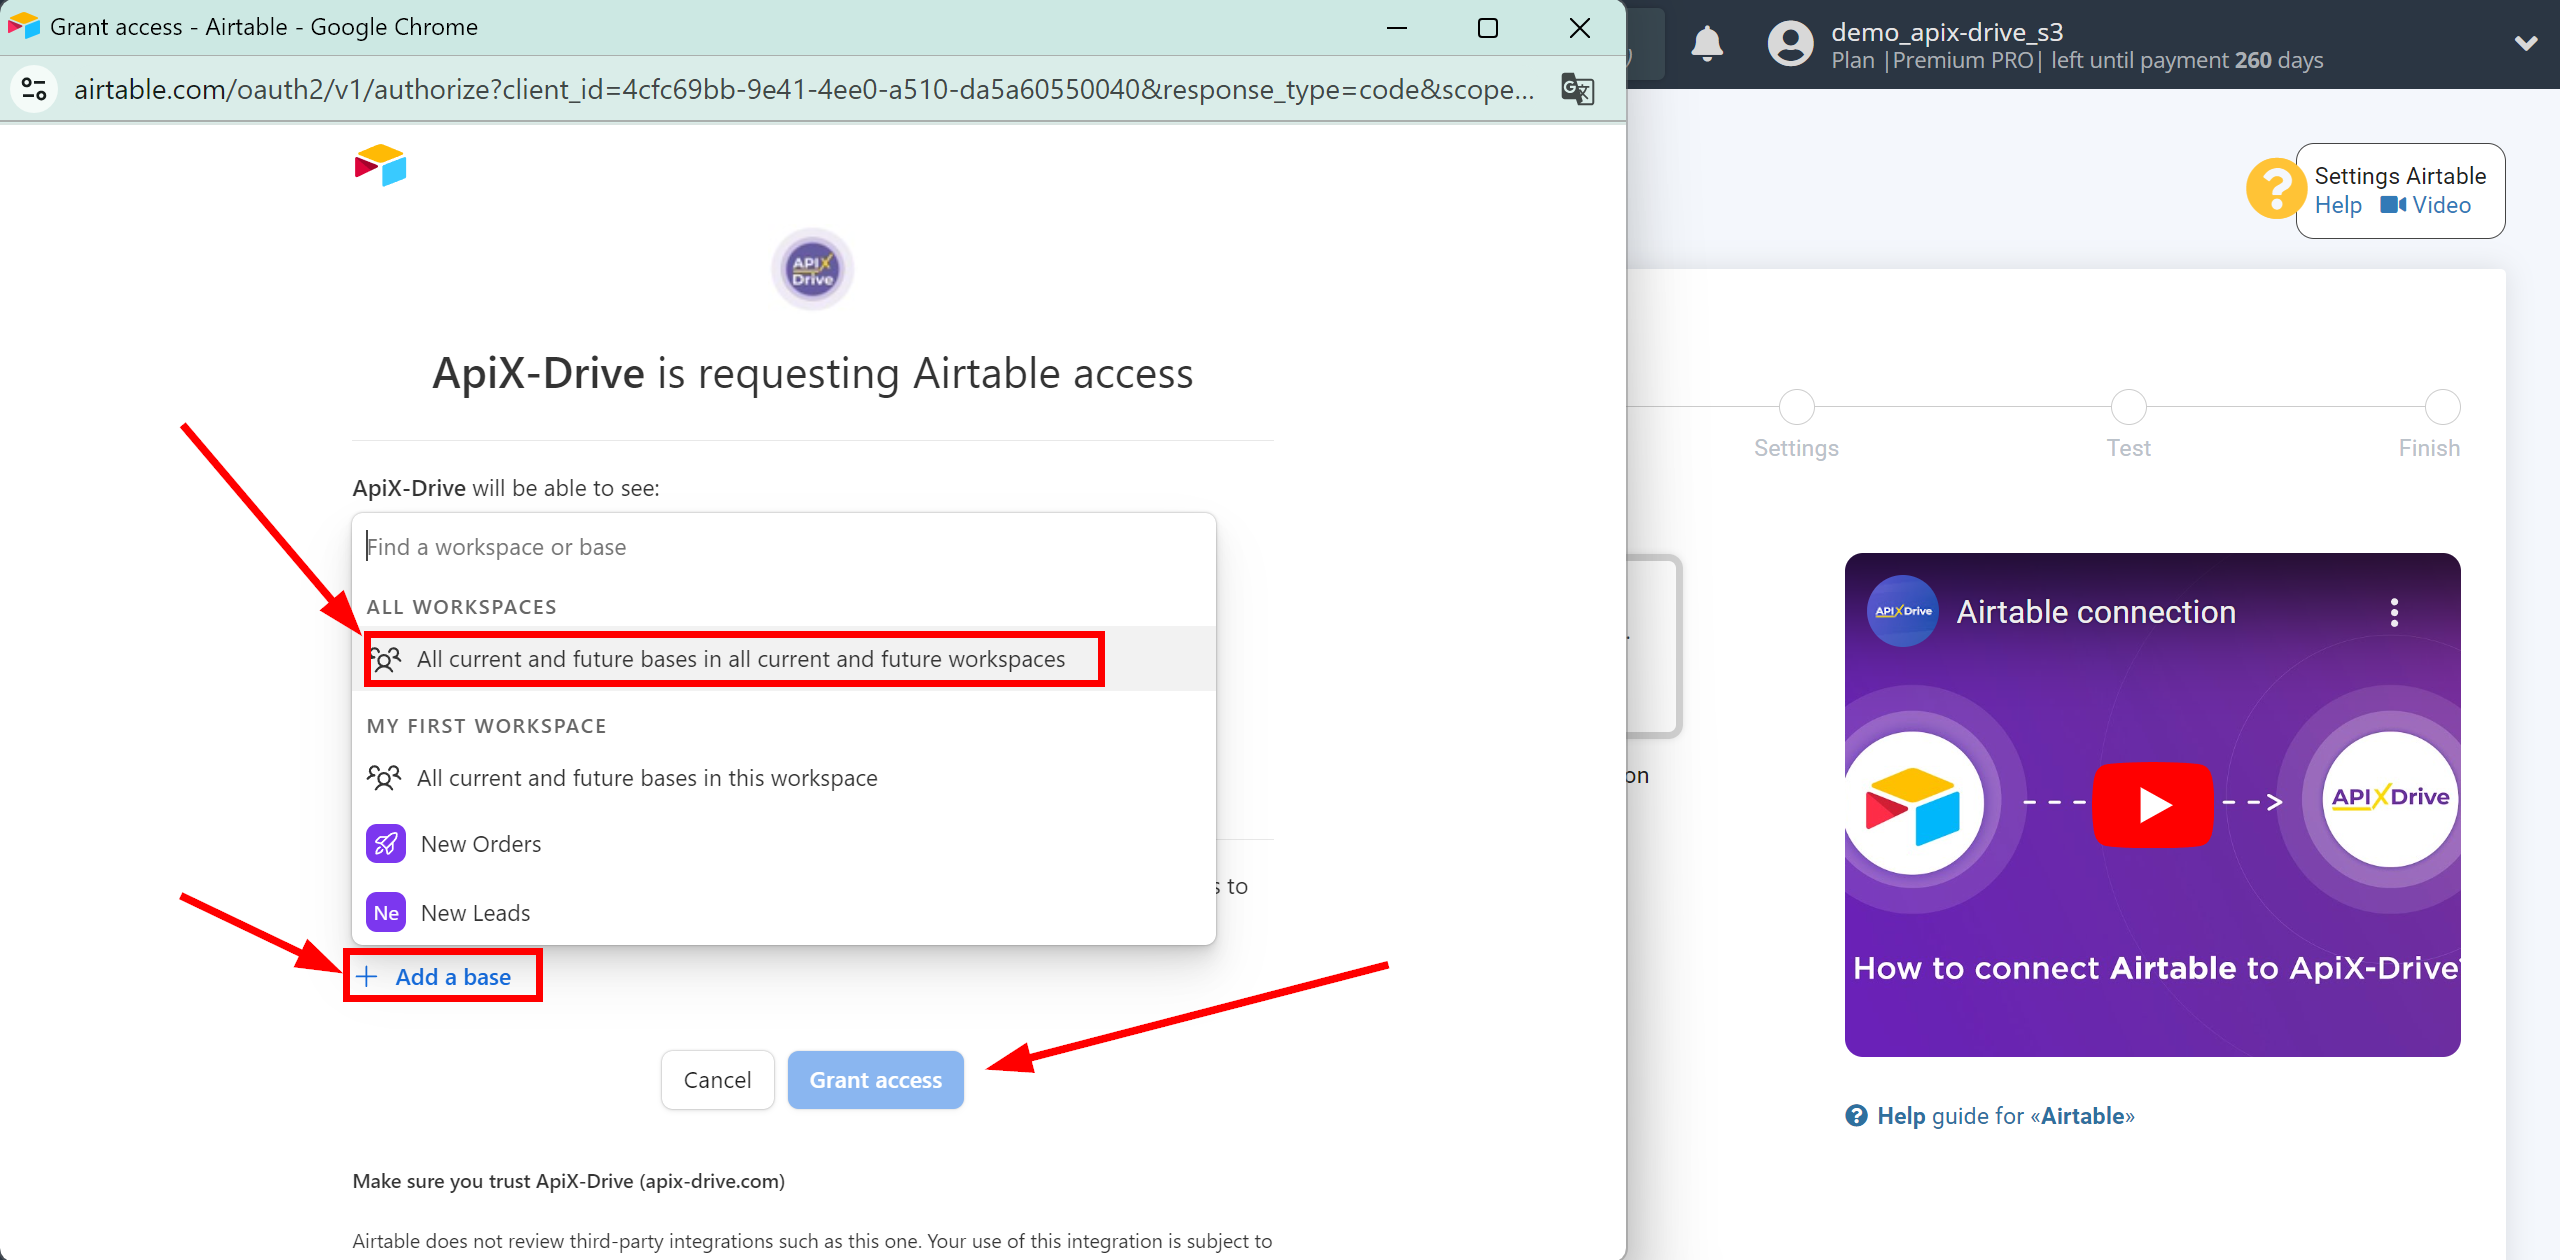
When the connected account appears in the "active accounts" list, select it.
Attention! If your account is on the "inactive accounts" list, check your access to this account!
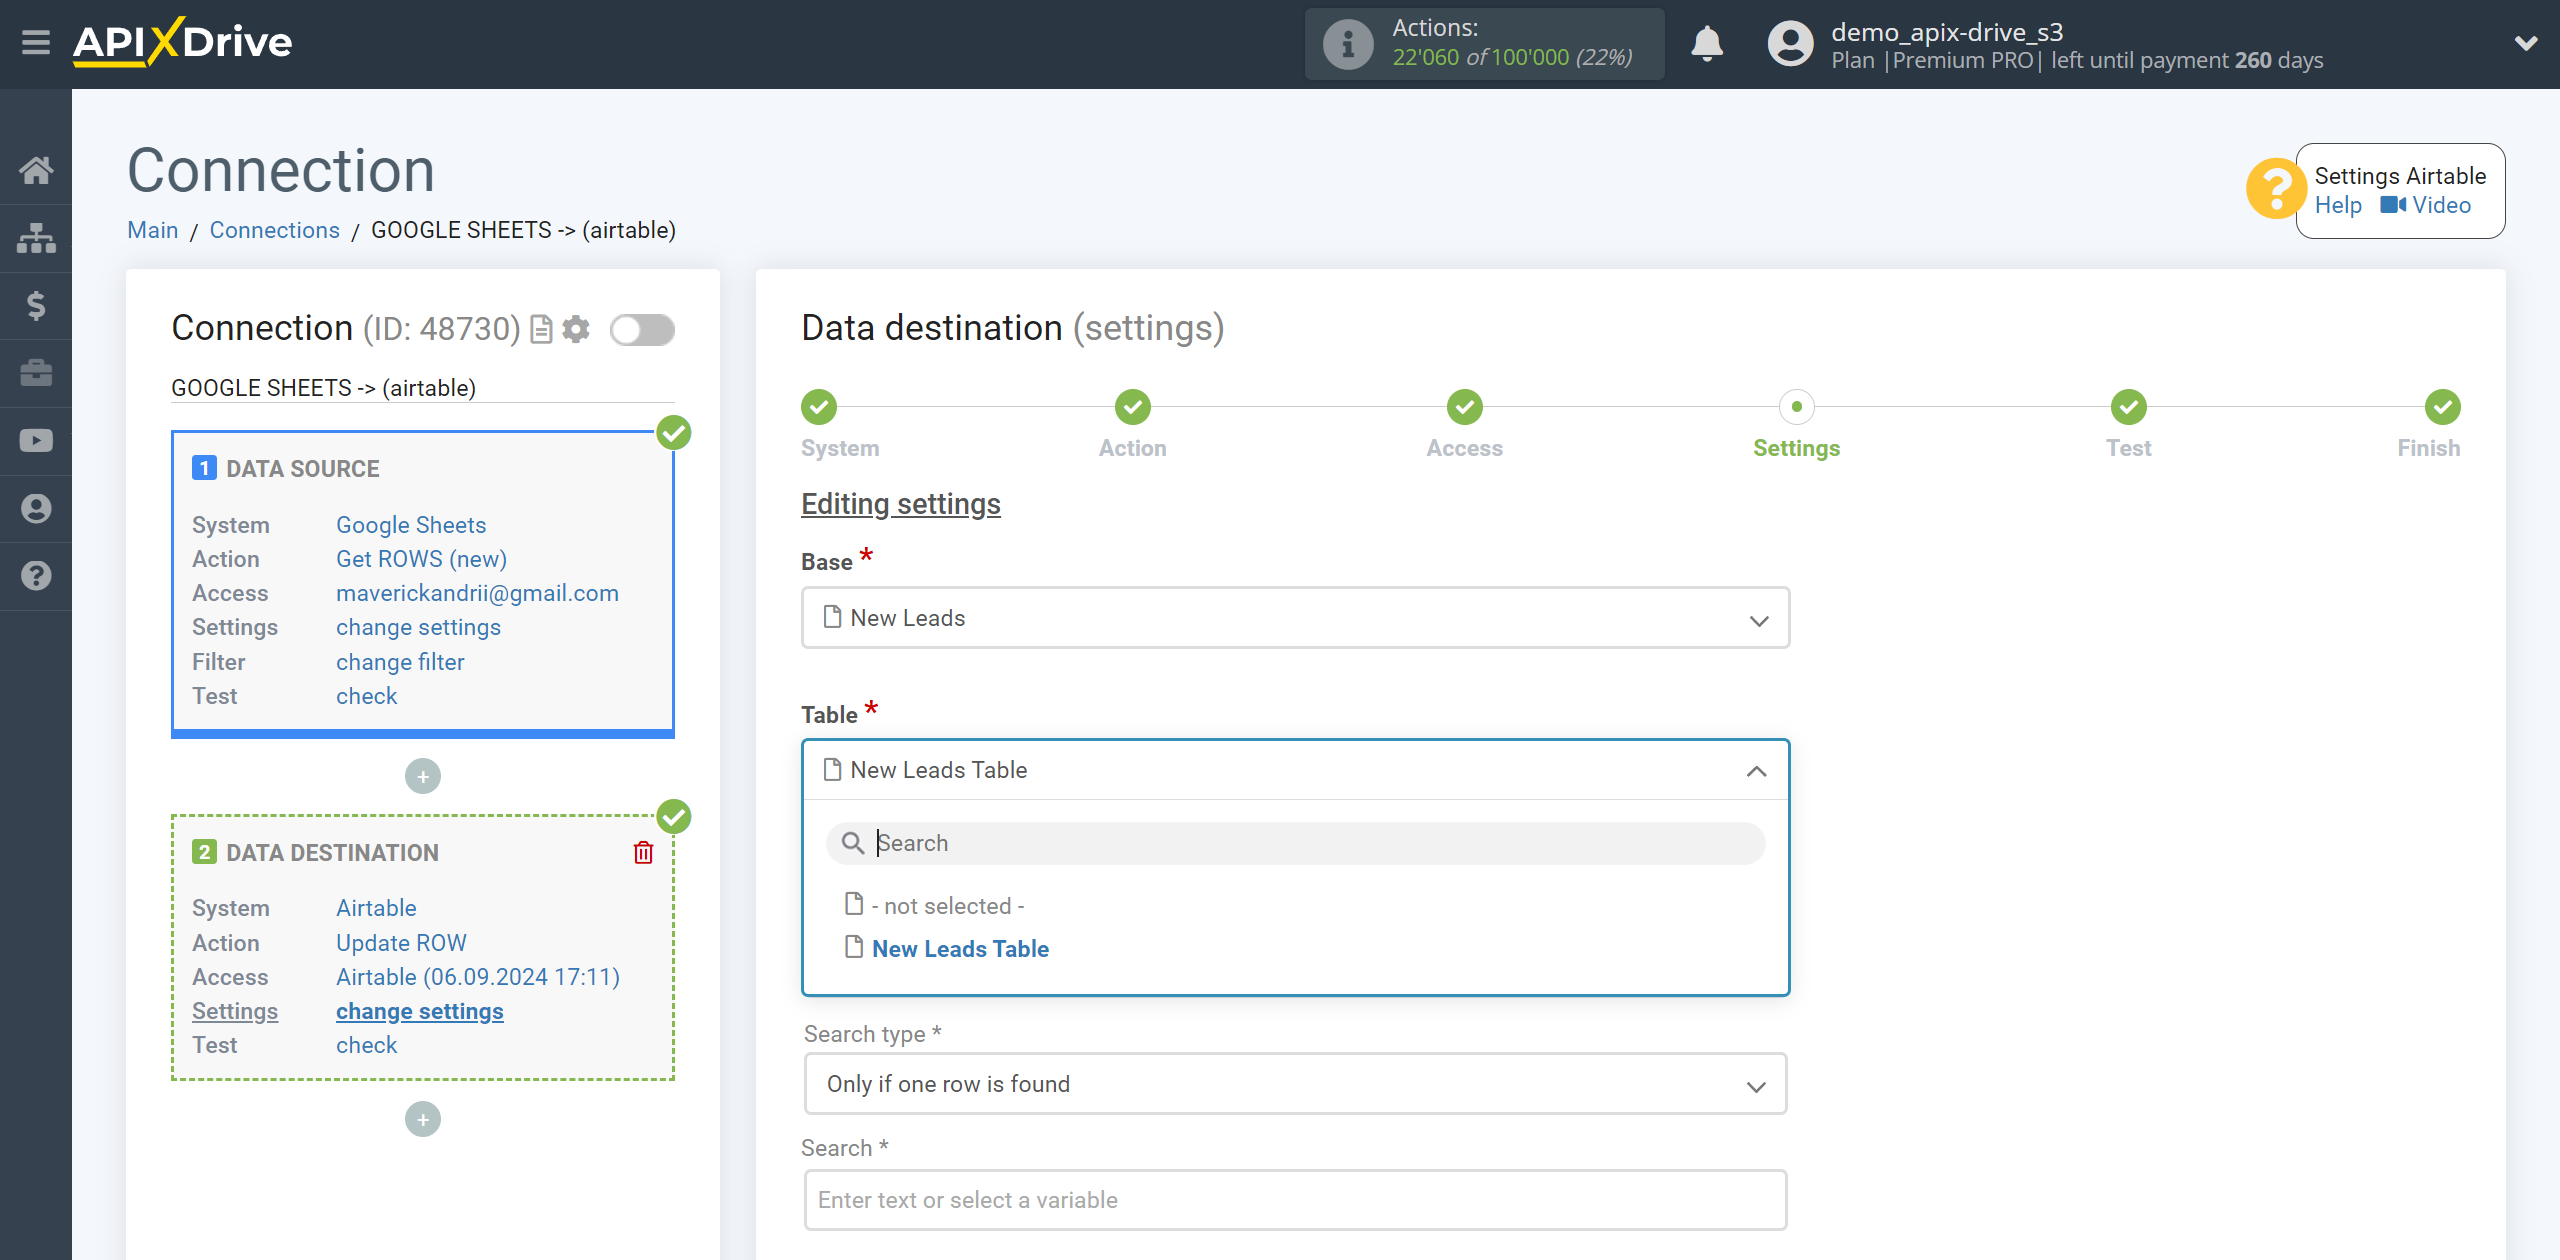
Specify the base and table AirTable in which the data will be updated.
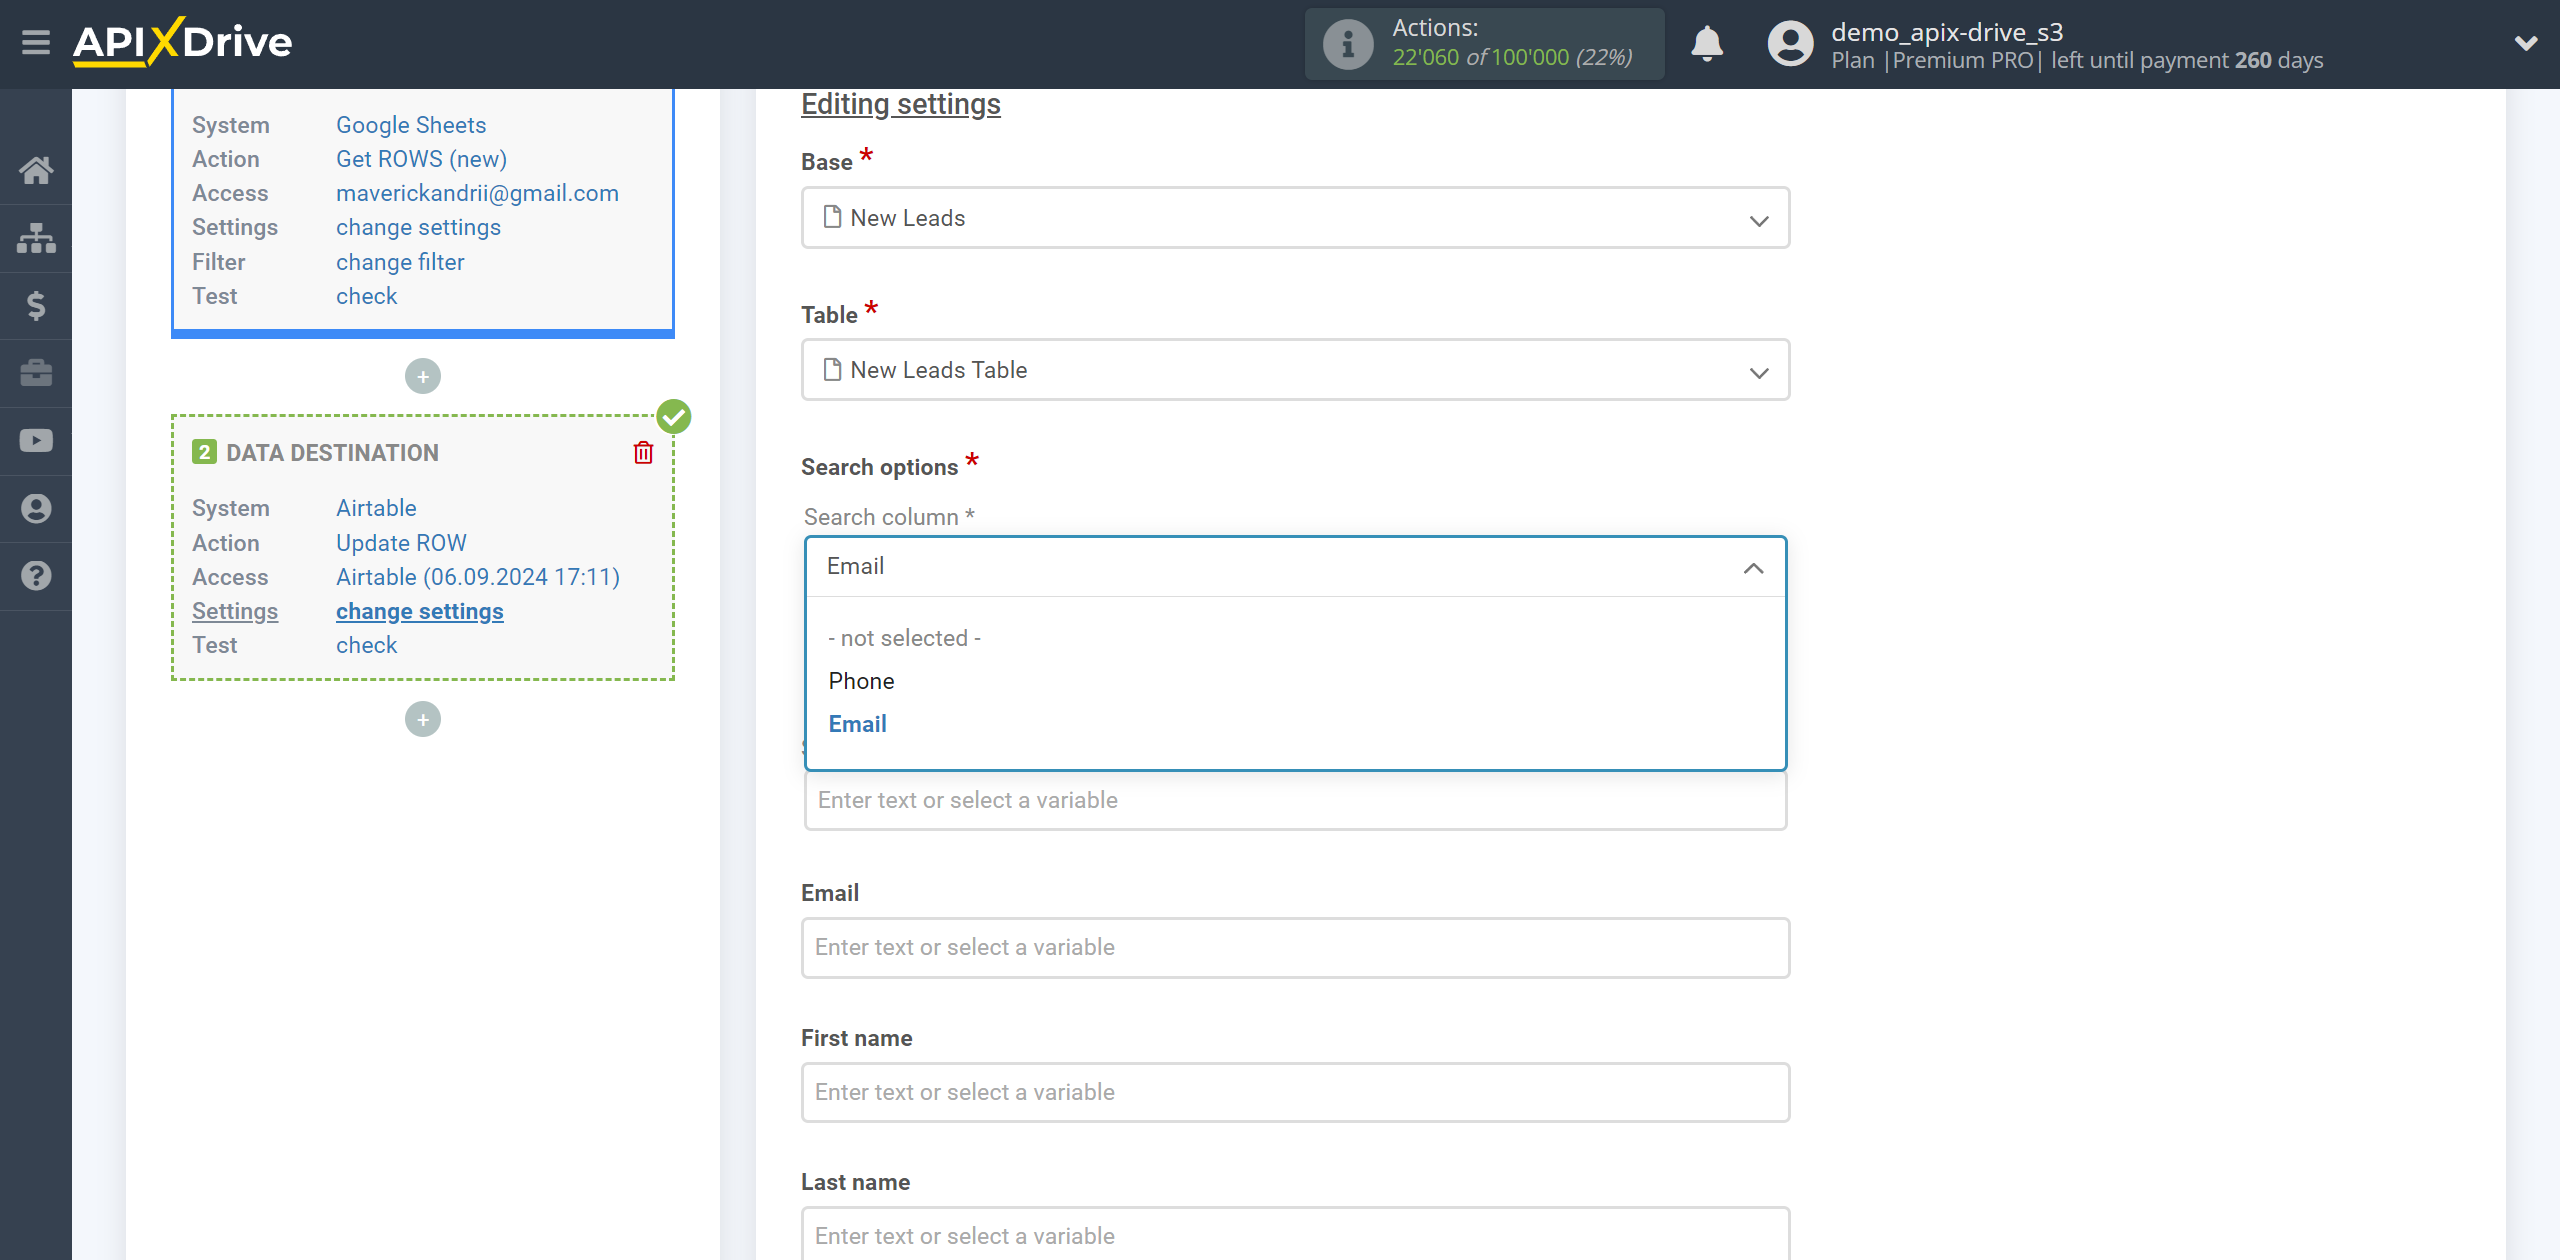
Next, you need to specify the column to search. This is the column that will be used to search for an existing row in AirTable to update. If a match is found, the row will be updated.
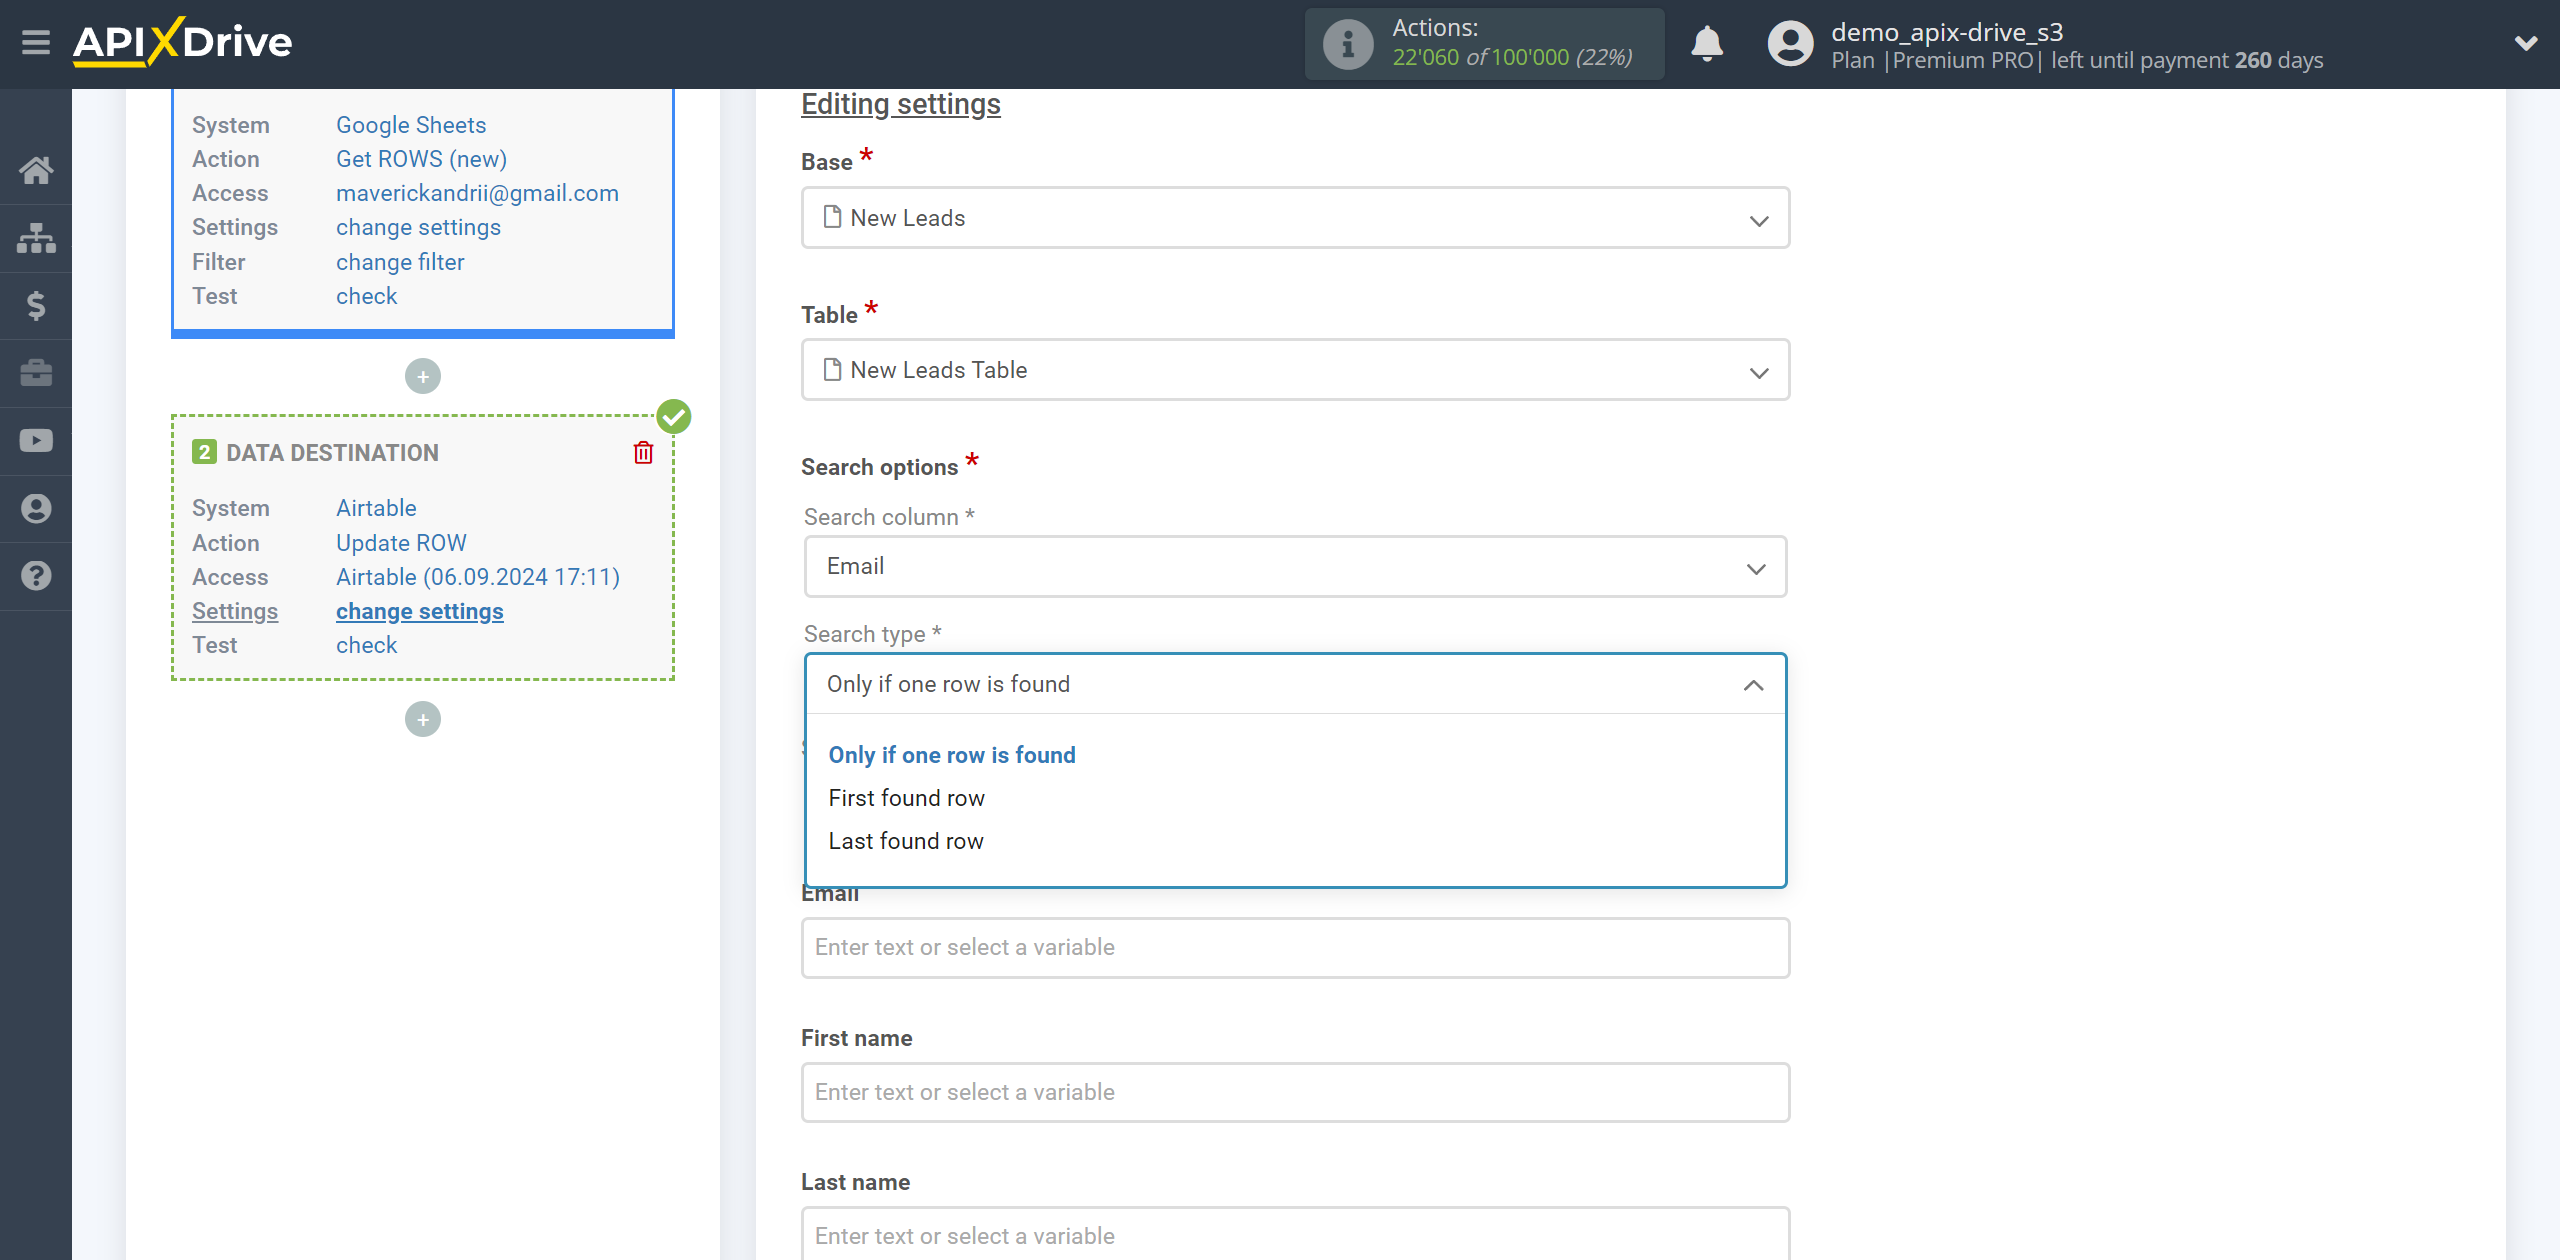
Next, you need to specify the "Search Type" in case the search results will find more than one row with the same values.
In the "Search" field, you must specify the variable from the Data Source that contains the data to search for, i.e. the variable with which the column in Data Destination will be compared. If a match is found, the row will be updated.
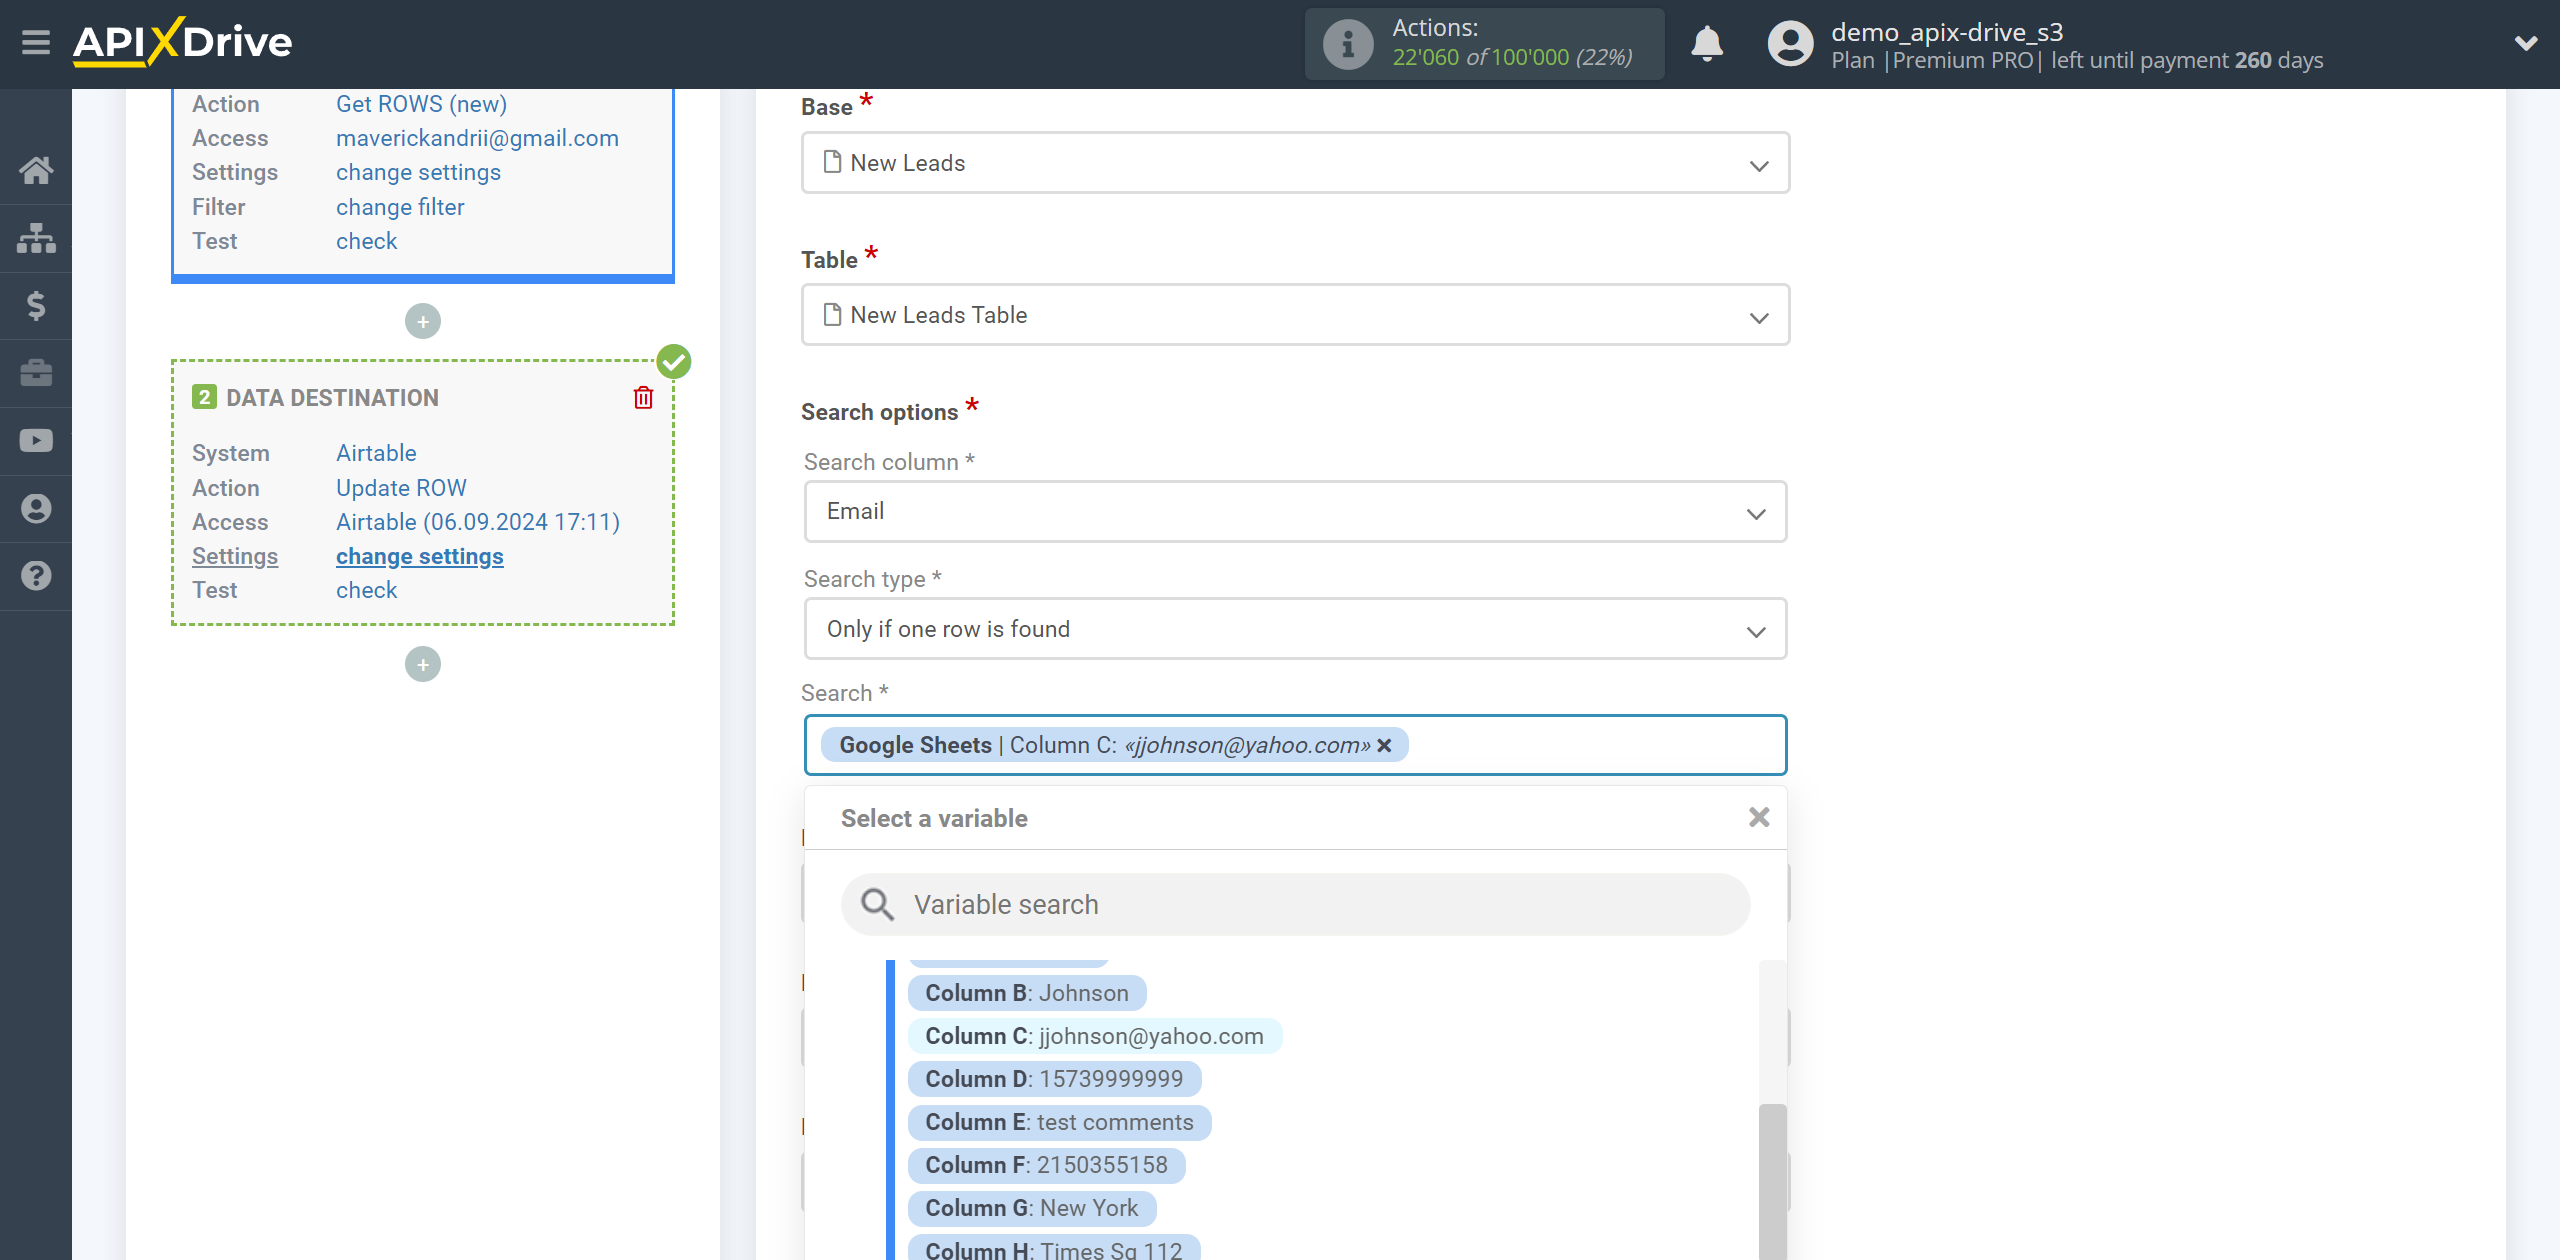
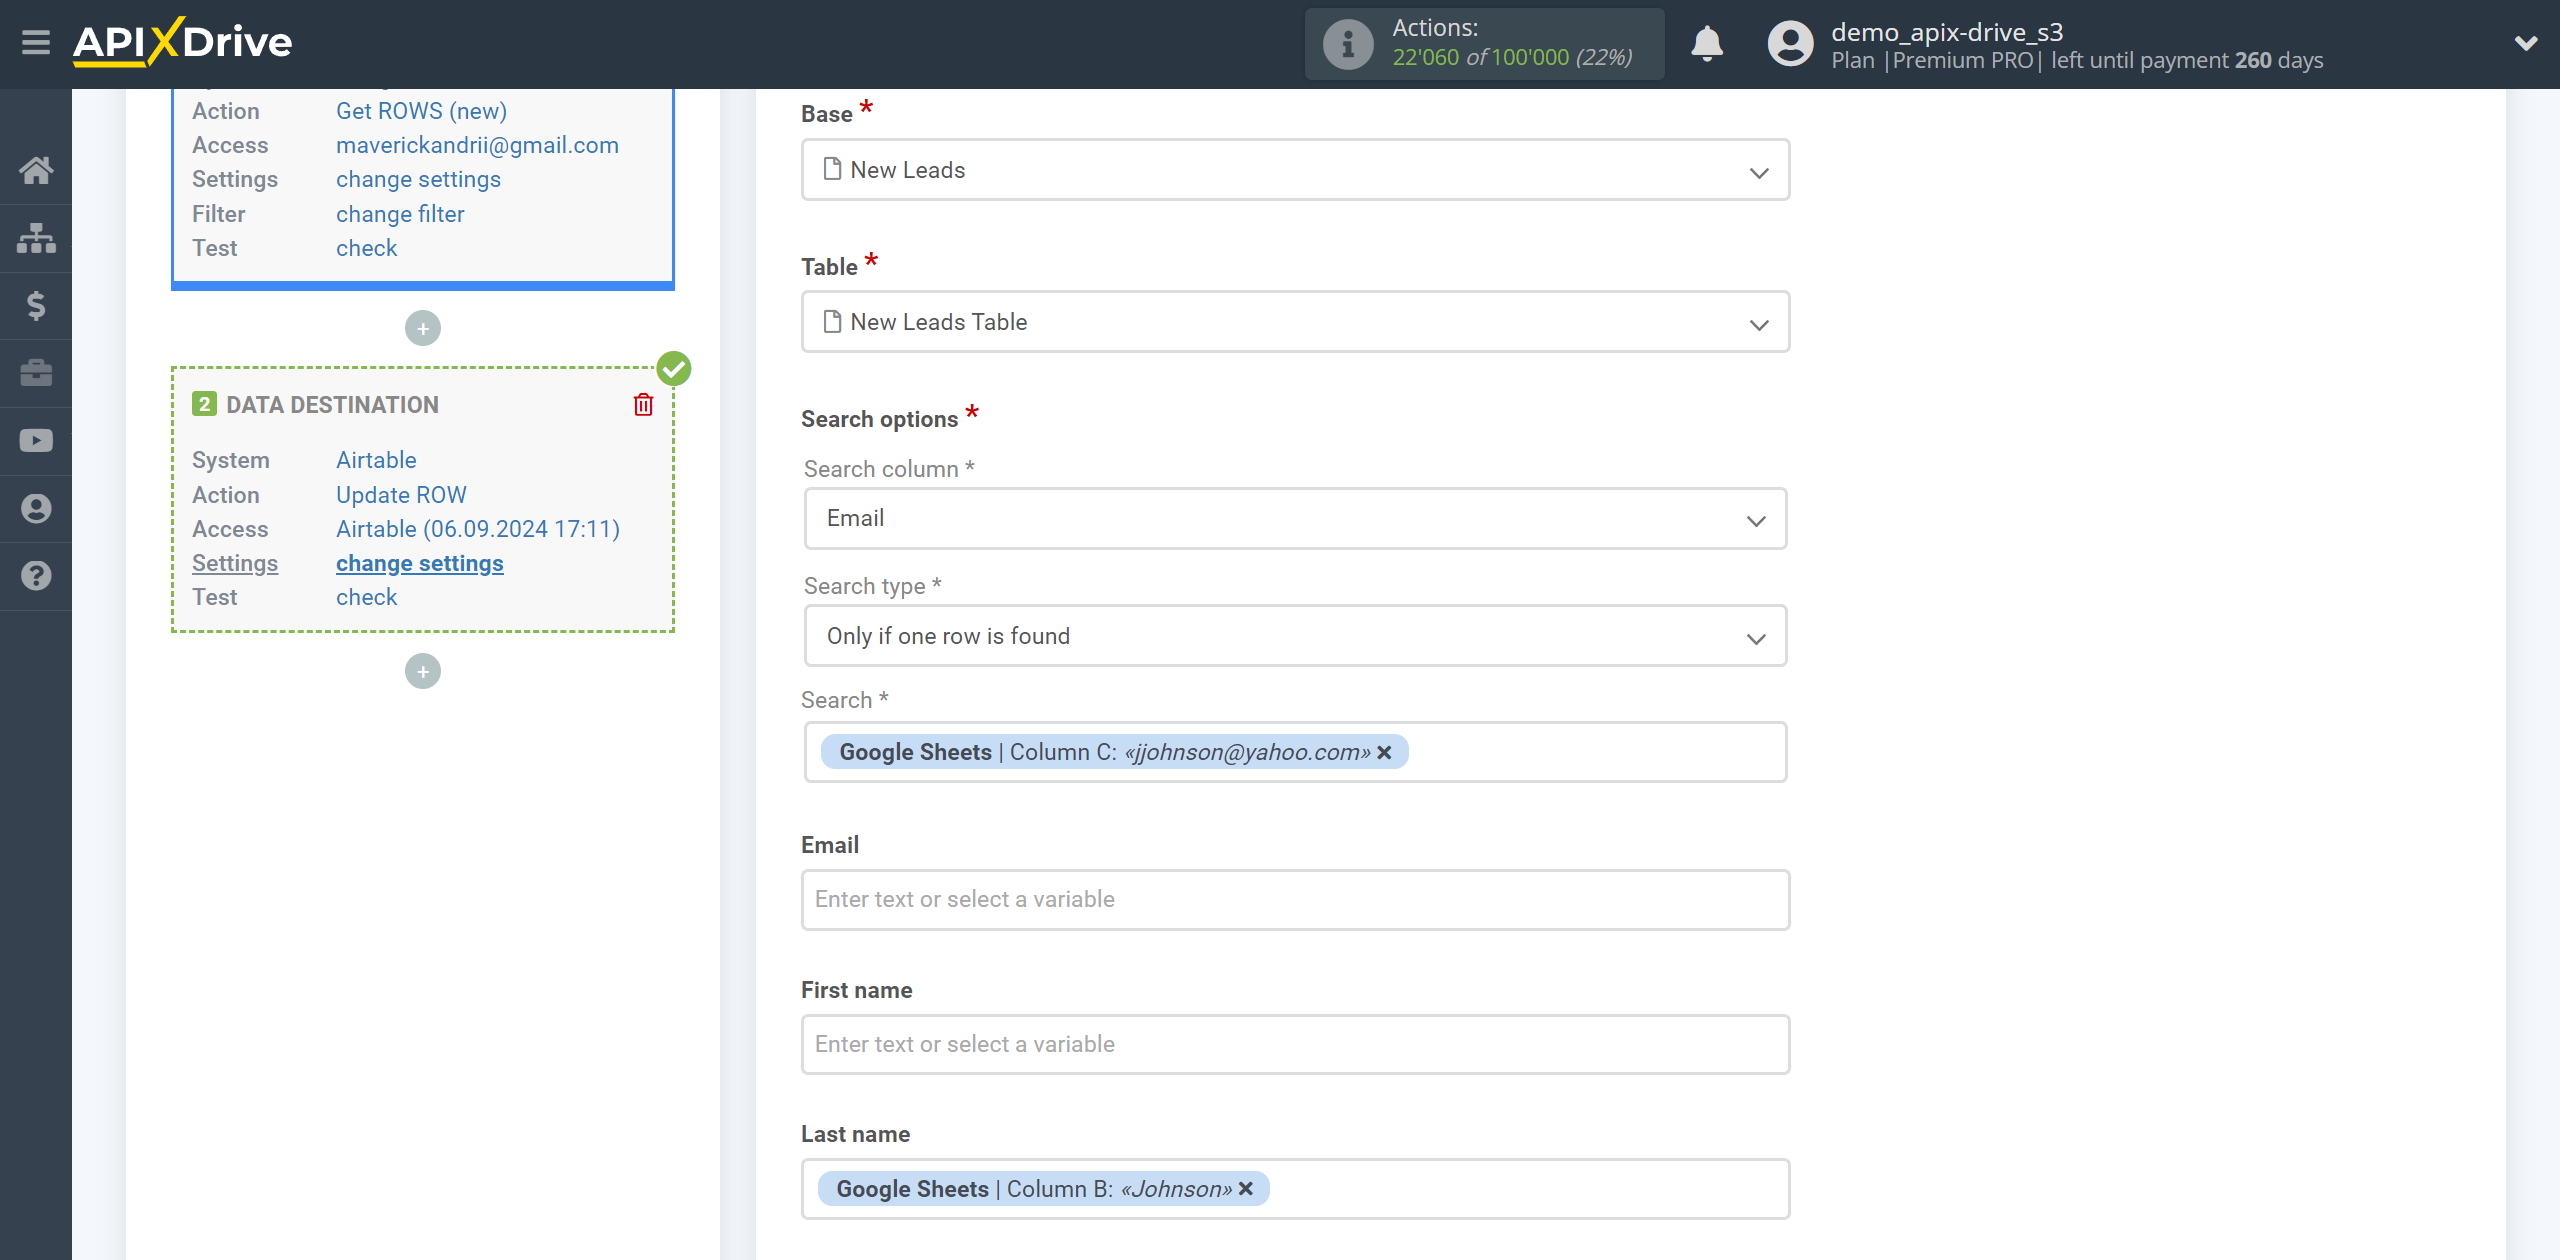
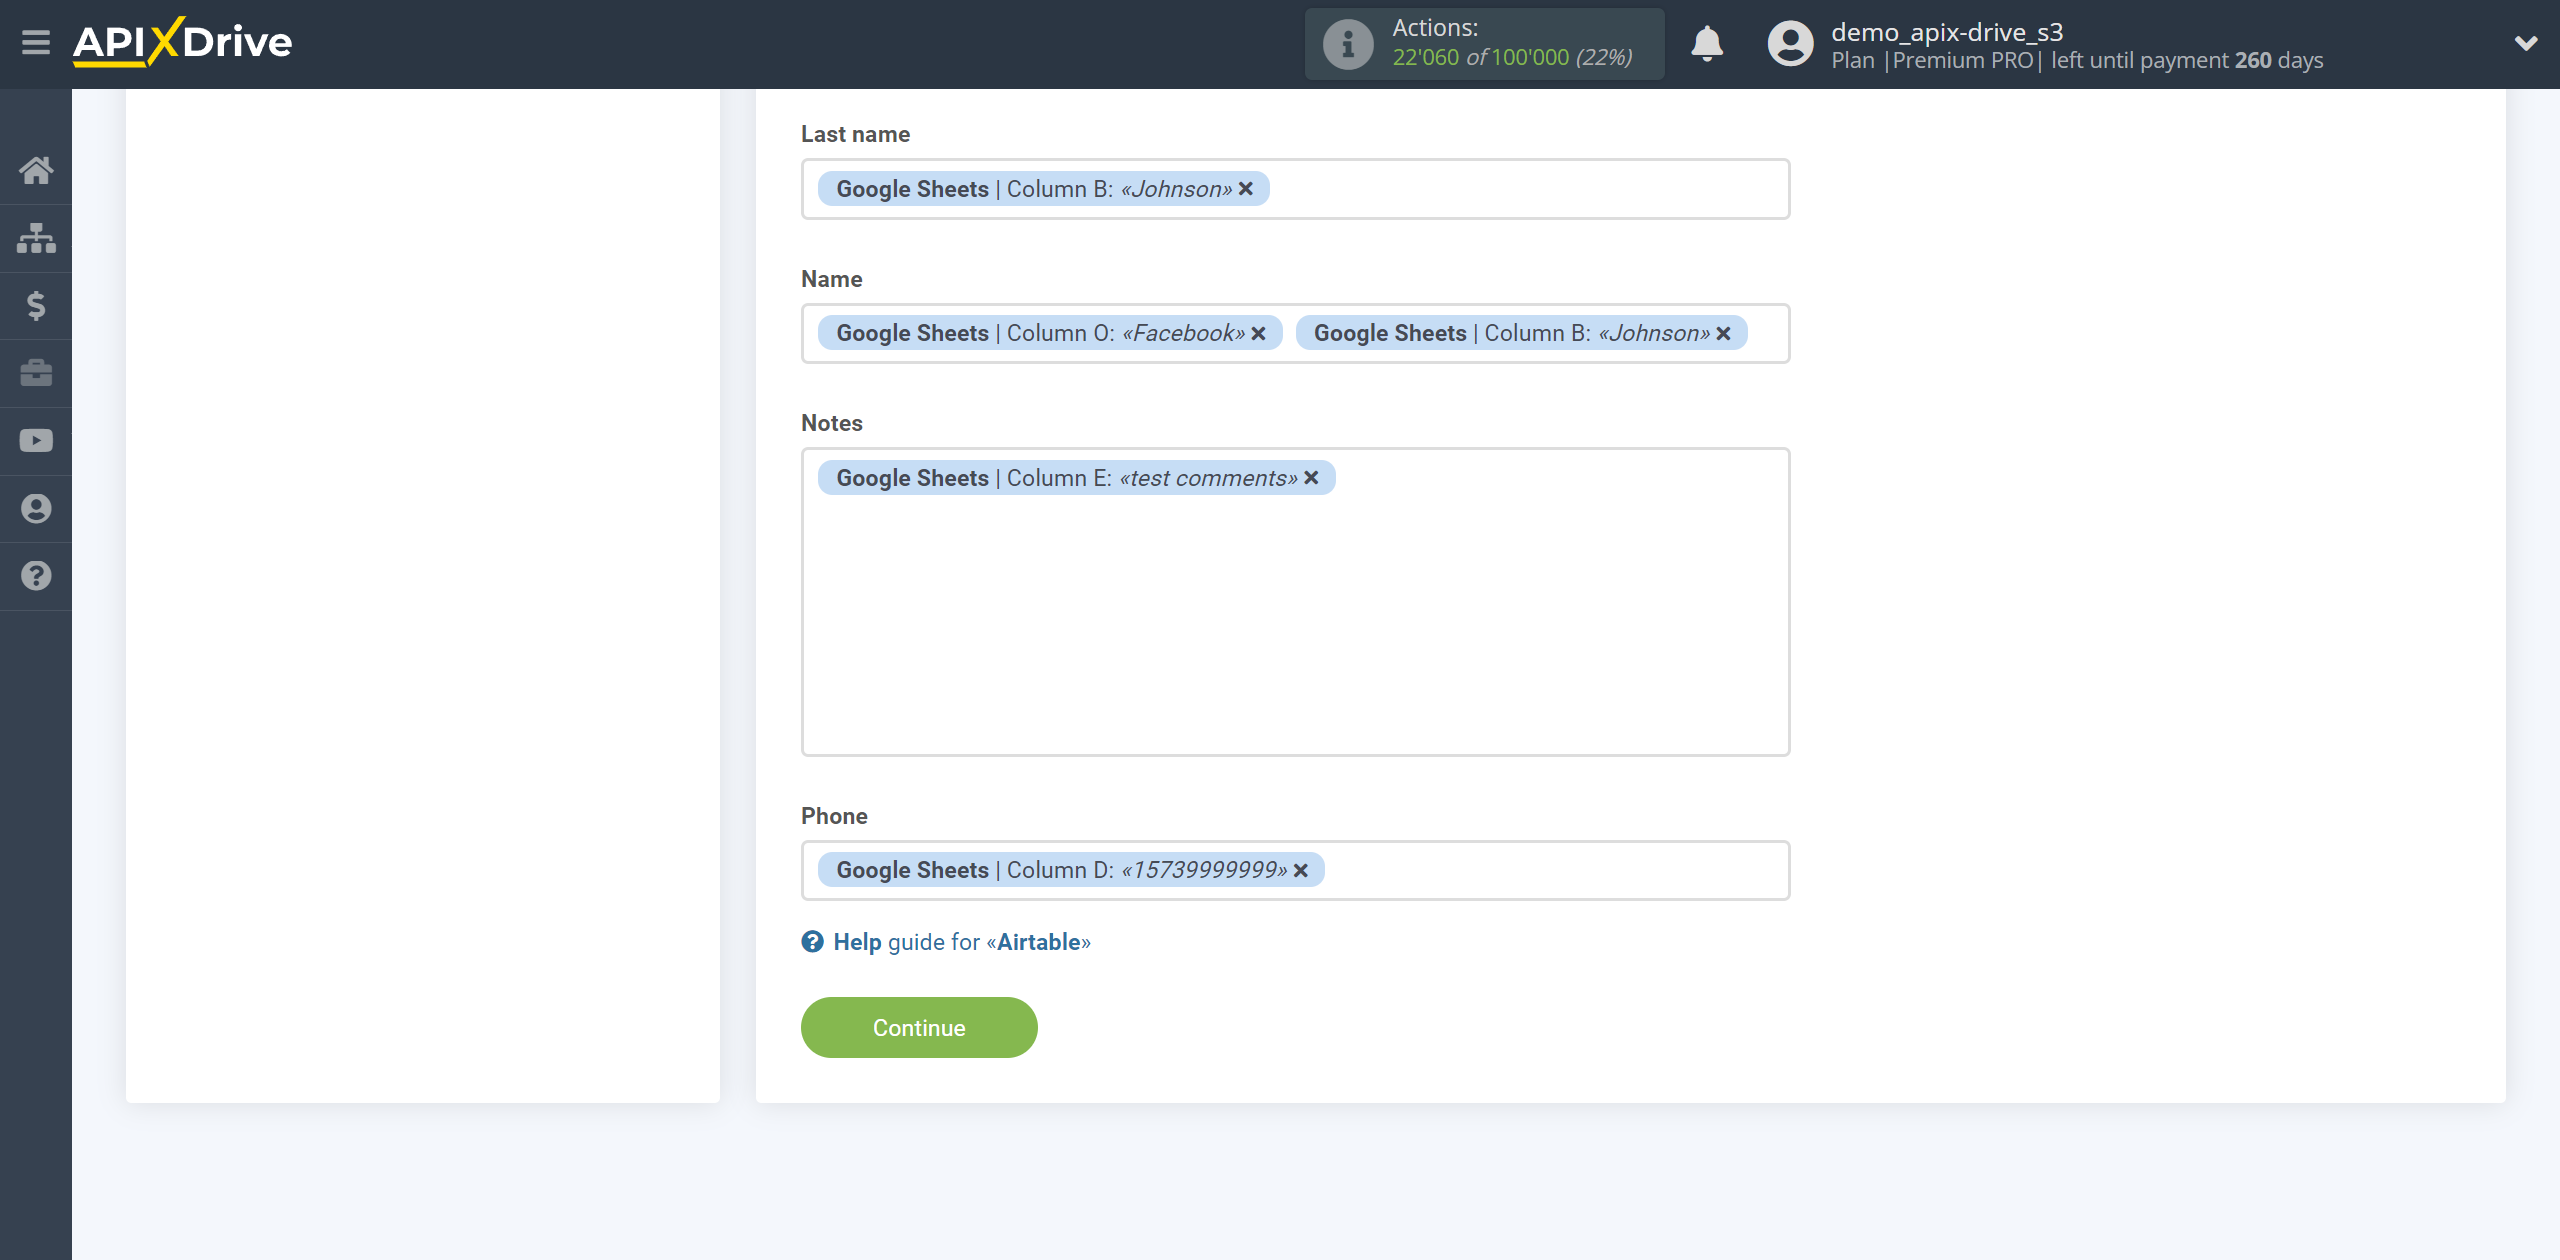
Next, you need to specify which table columns and what data you want to add when updating.
To update the row data, you need to assign variables that are in the Google Sheets cells with AirTable fields, to do this, click on the parameter and it will be assigned to the selected AirTable field. When selecting variables, you will be able to see what data is in the Google Sheets fields.
Please note that you can use not only Data Source variables, but also manually entered data.
Click "Continue" when you are done with assigning fields.
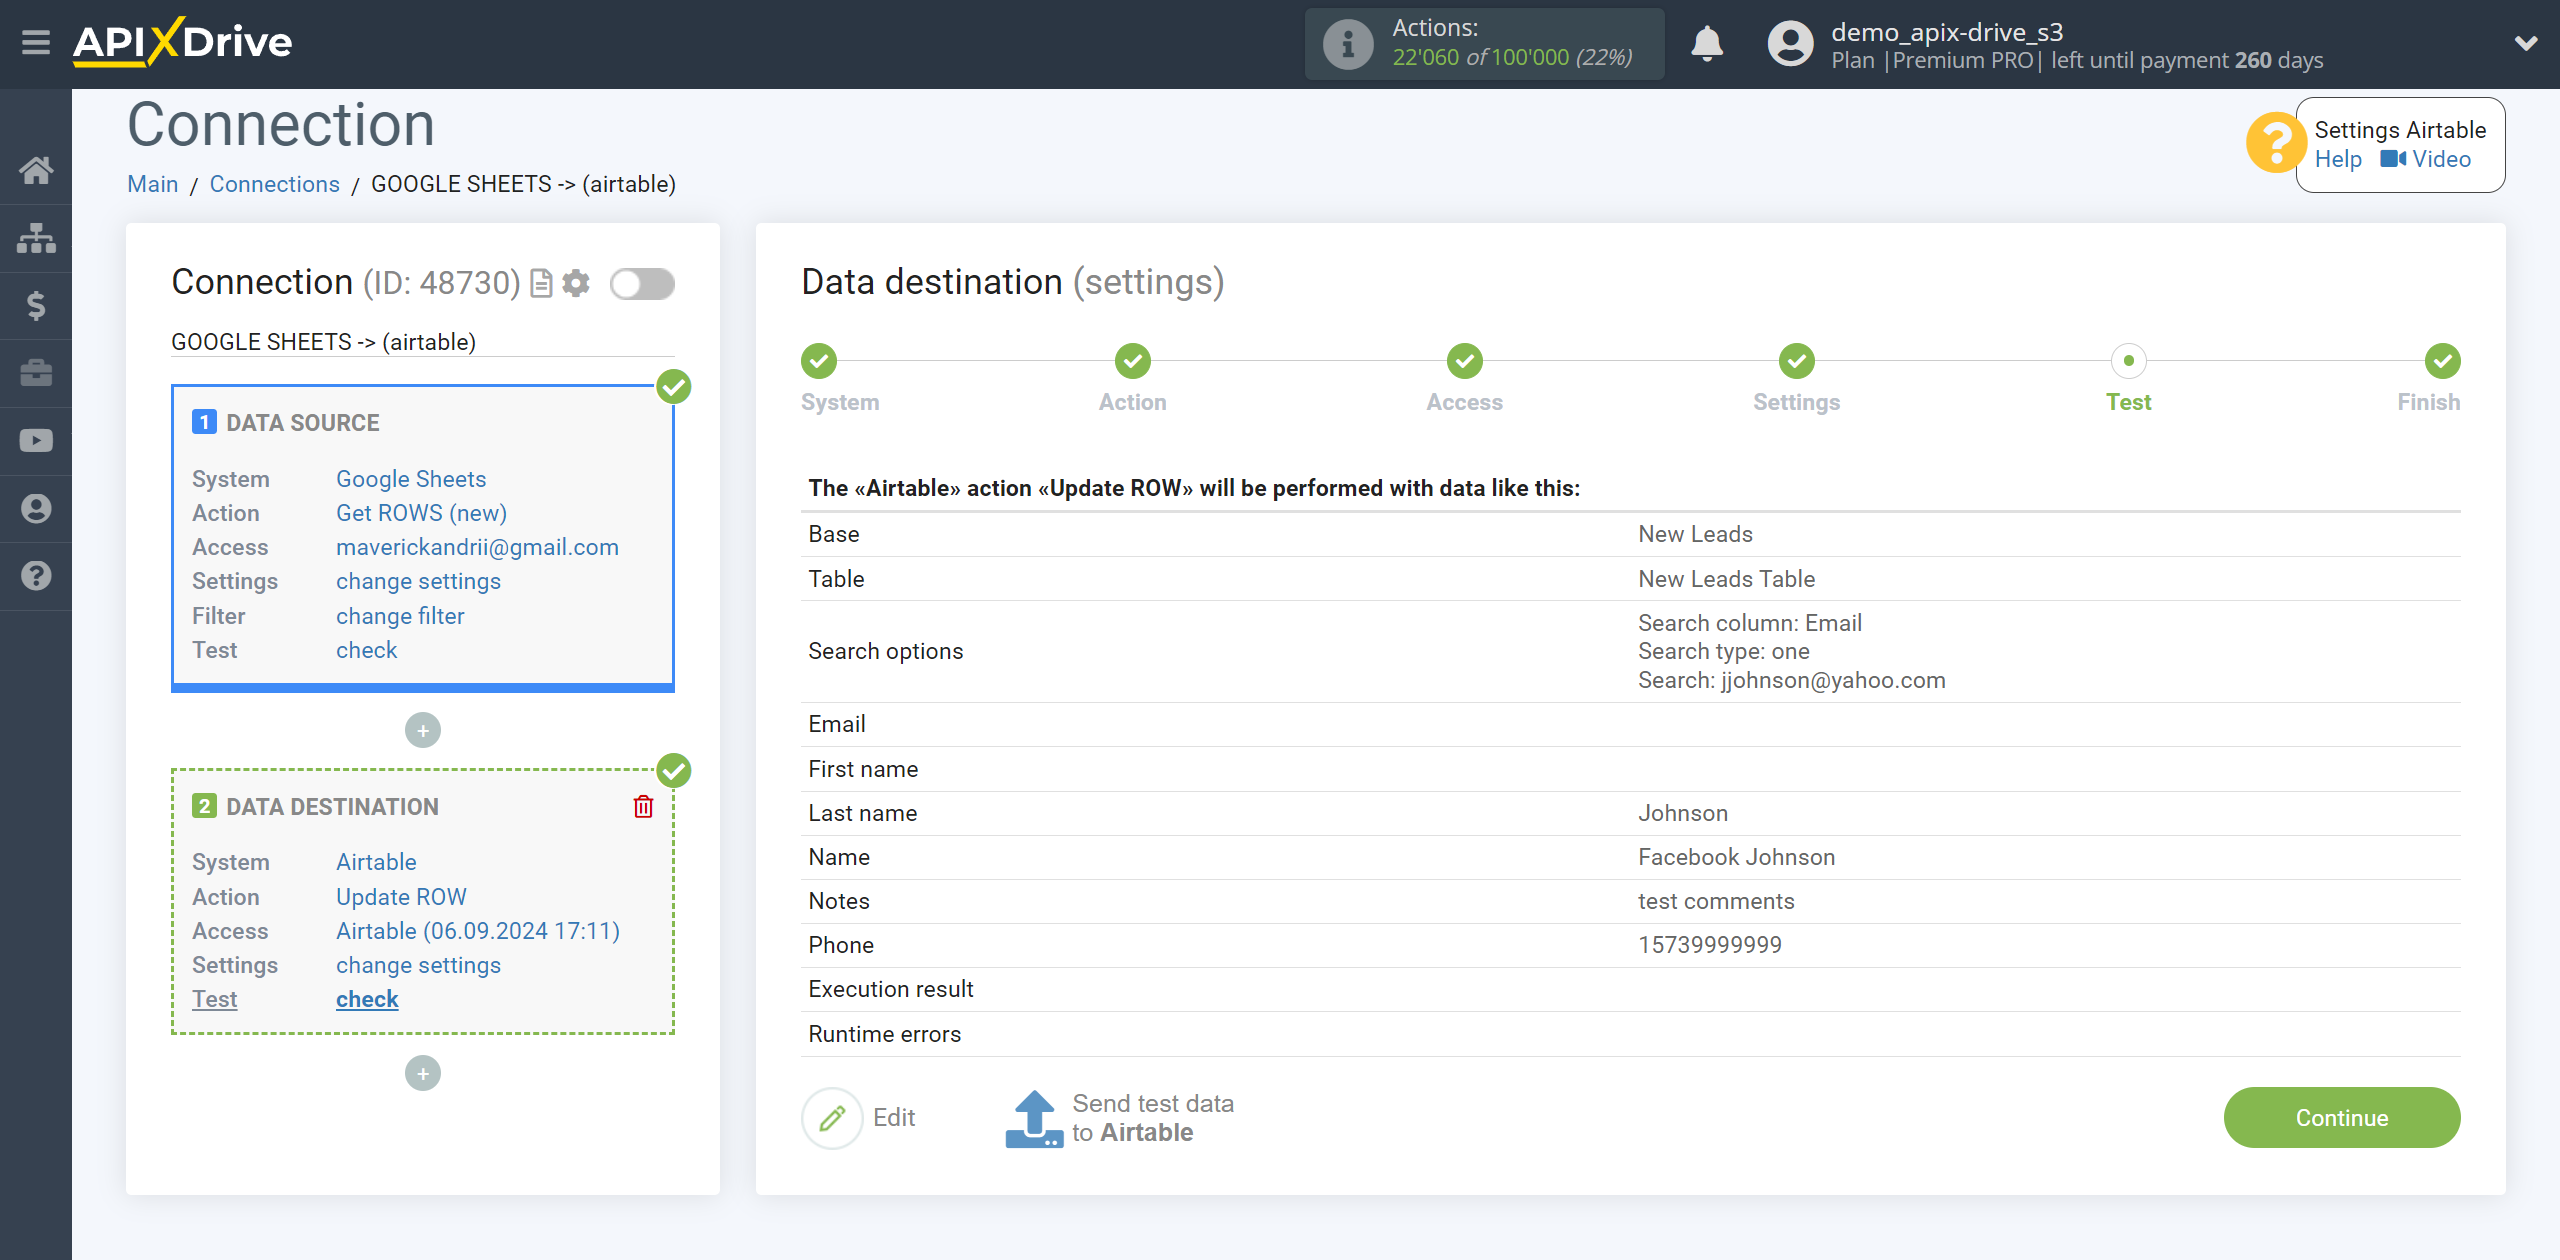
You can now see the test data that will be sent to AirTable to update row.
Click "Send test data to AirTable" and test the database and table in AirTable.
If you are not satisfied with something, click “Edit” and go back a step.
Note! In Data Destination systems, two additional fields have been added: “Runtime errors” and “Execution result”, which can be used in the Logic section for conditions. In the example we will use these fields.
- Runtime errors - when assigning this field, the field will contain information about an error if it occurs in the Data Destination system. If there is no error and the data transfer is successful, this field will remain empty.
- Execution result - if the conditions are met, this field will return a logical value, 1 or 0, where:
1 - means that the data transfer in the Data Destination section was Successful (for example: successfully added a new rows in Google Sheets, created or updated a lead/contact/deal in the CRM system, or sent a message to Slack)
0 - means that the data transfer in the Data Destination section was not completed, that is, it was Unsuccessful (for example: an error occurred, a contact for update was not found, a lead/deal/contact was not created in the CRM system, a message/letter was not sent)
This completes the setup for Data Destination AirTable updating rows!
Now we connect the Logic section. To do this, click on “+” and select “LOGIC If/Else” from the list.
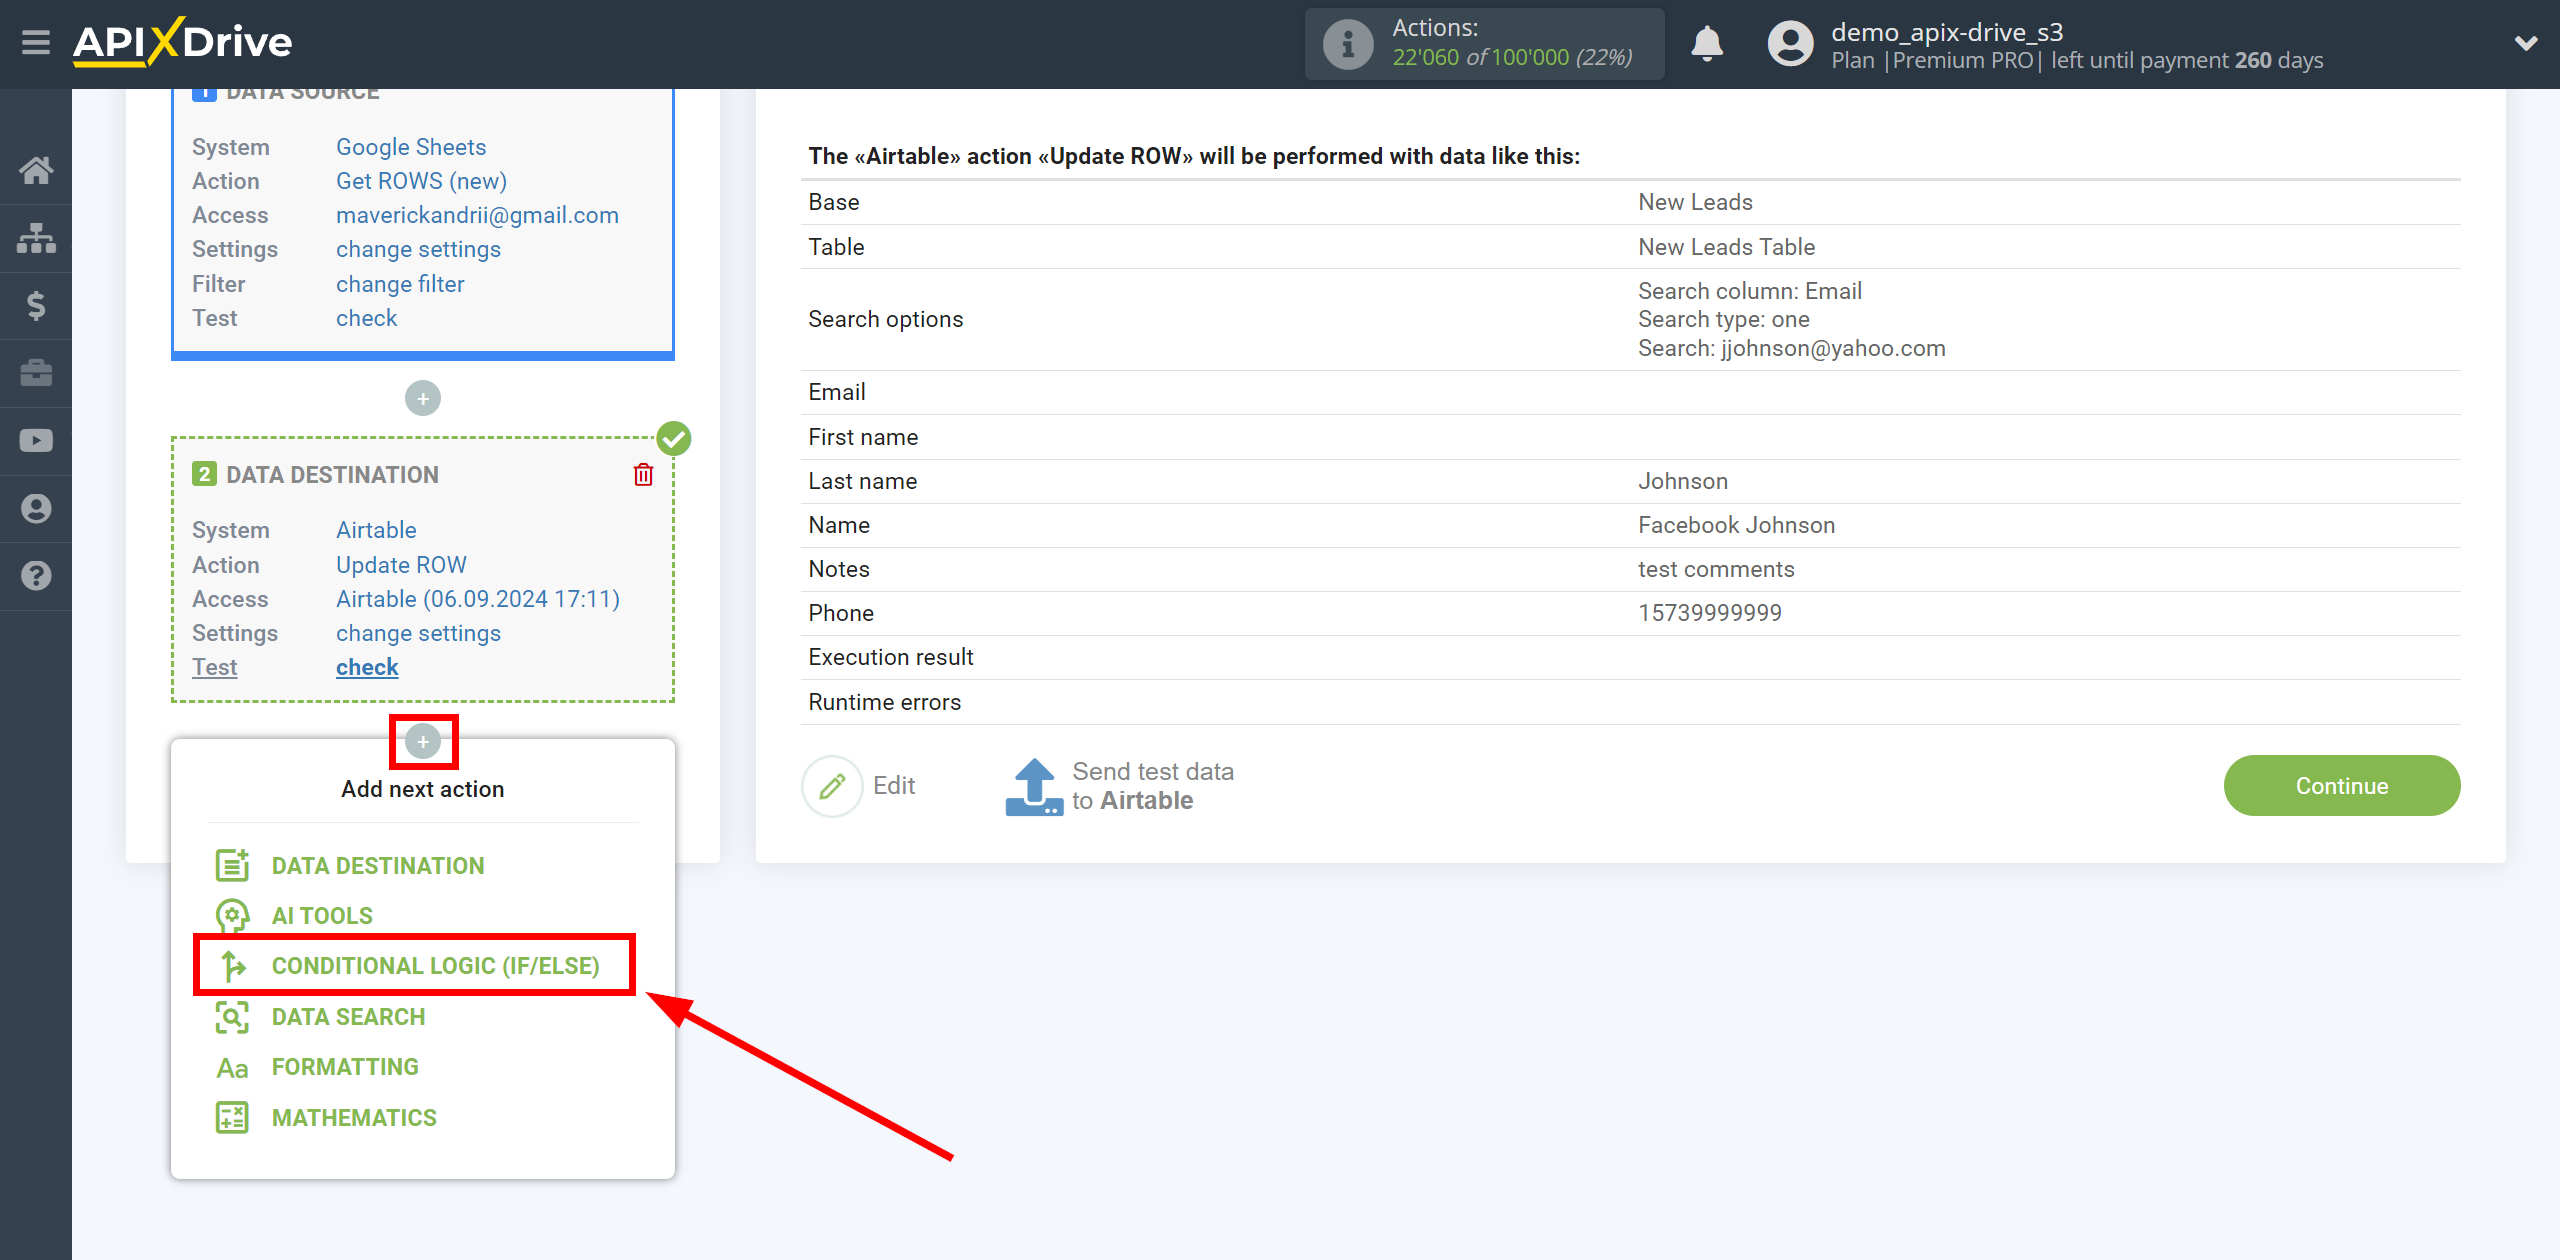
Setting LOGIC IF/ELSE section
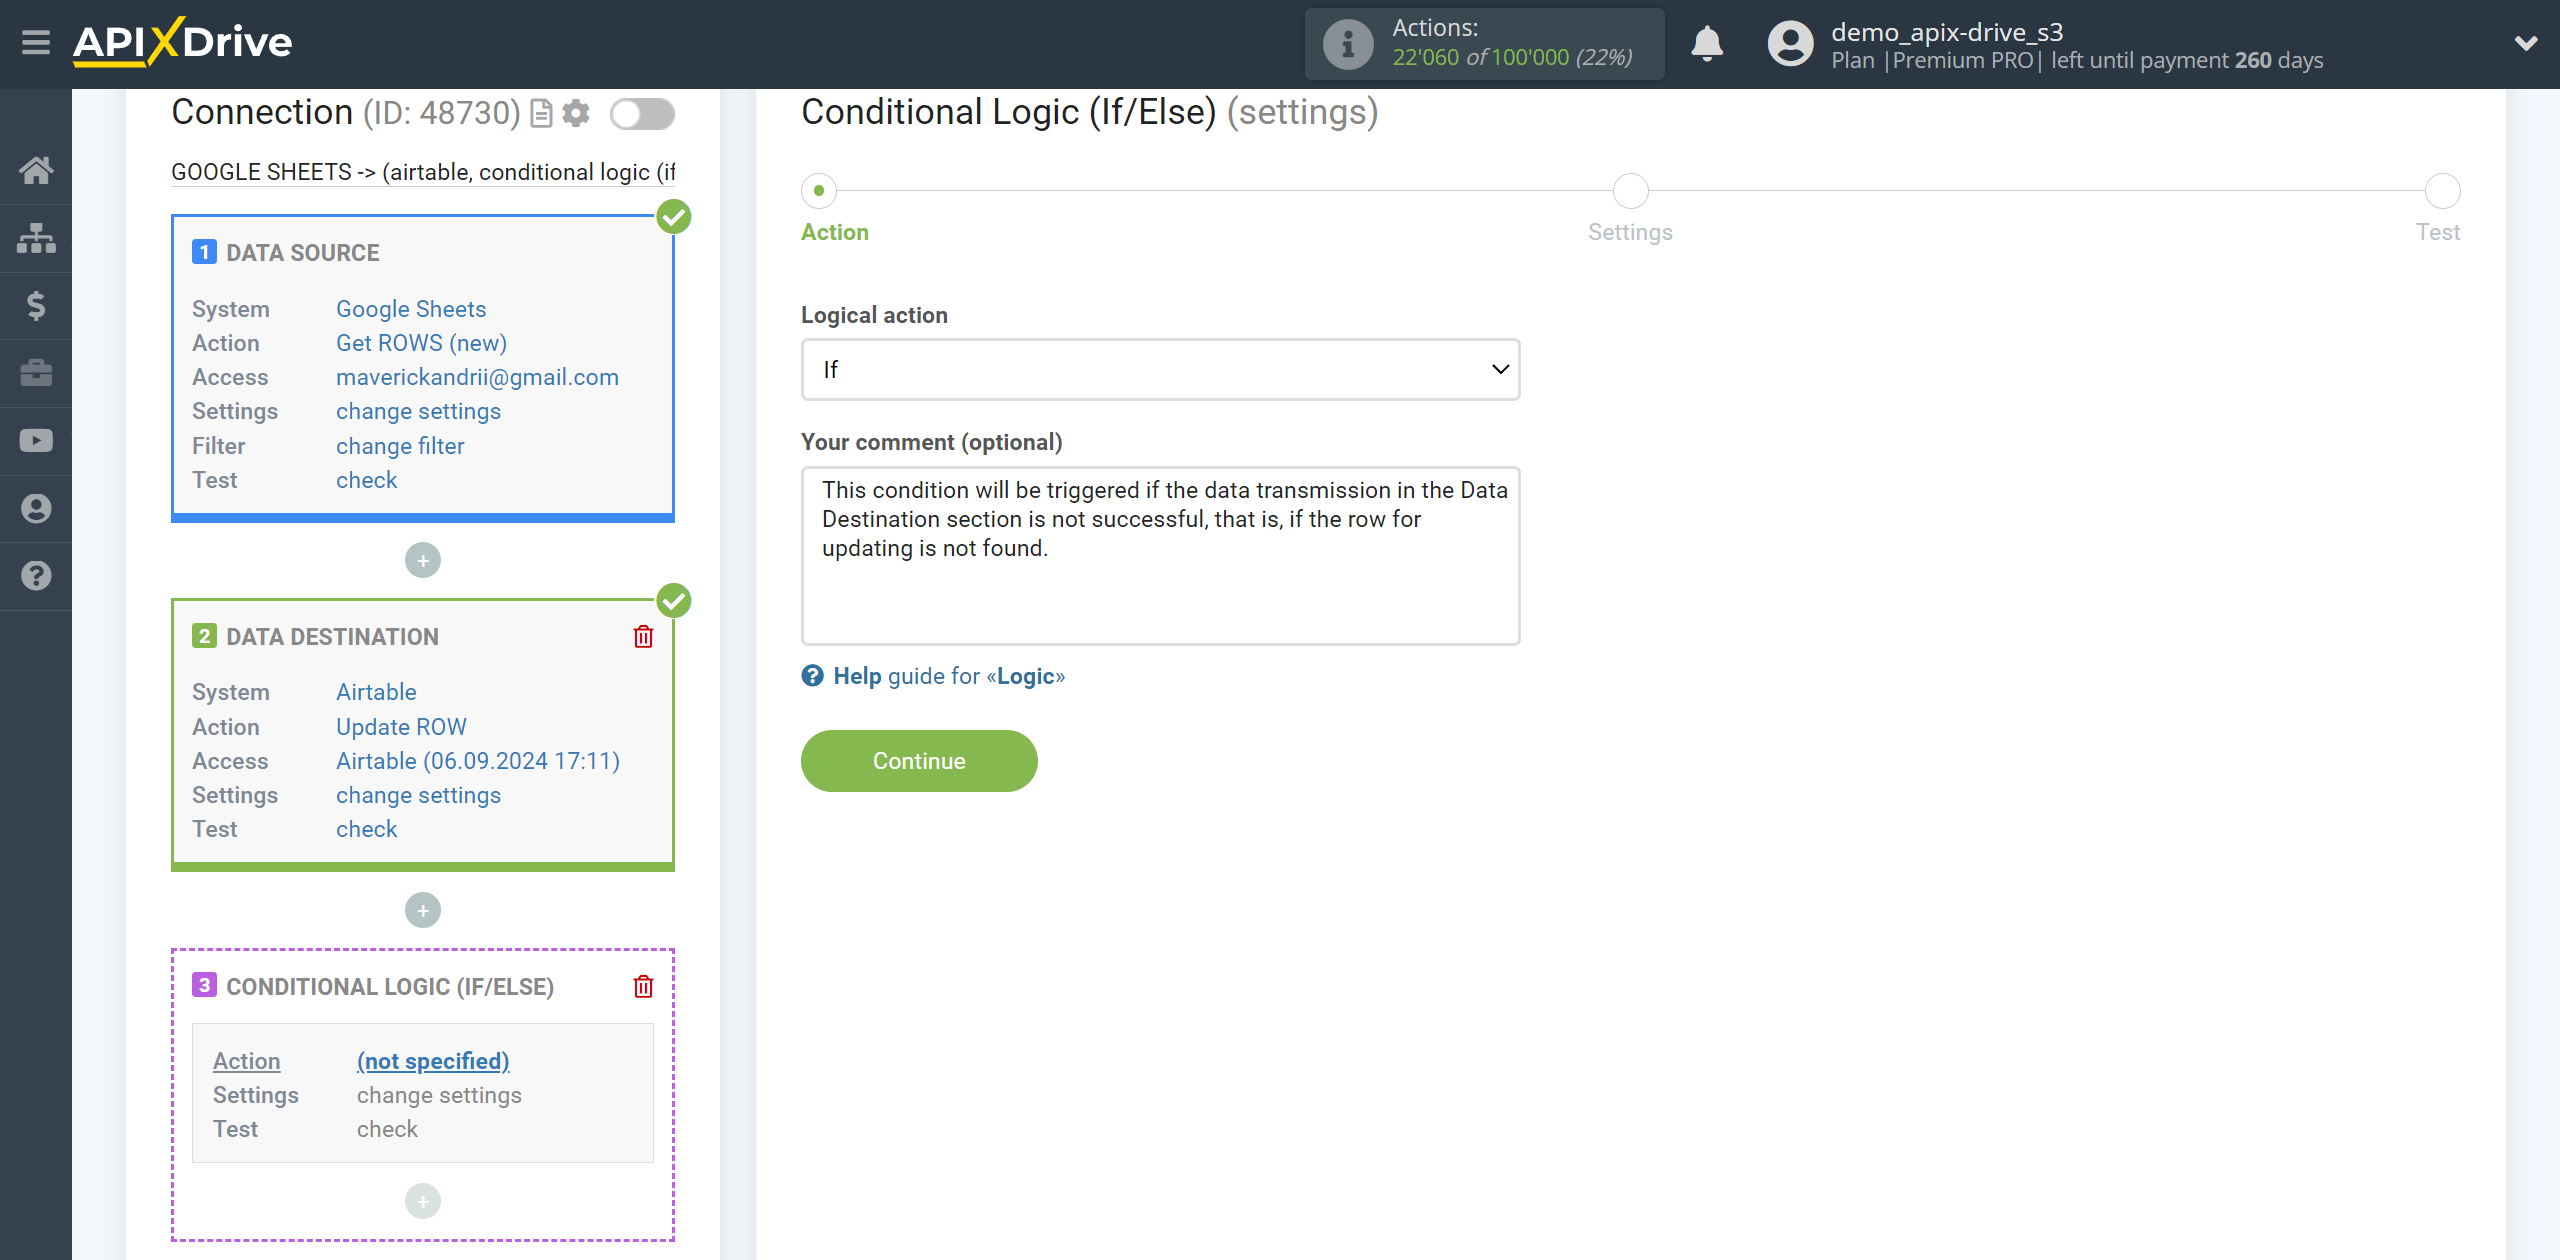
In the "Logical action" field, select the "If" action.
In the "Your comment" field, you can provide additional information or an explanation for a specific condition for the If action.
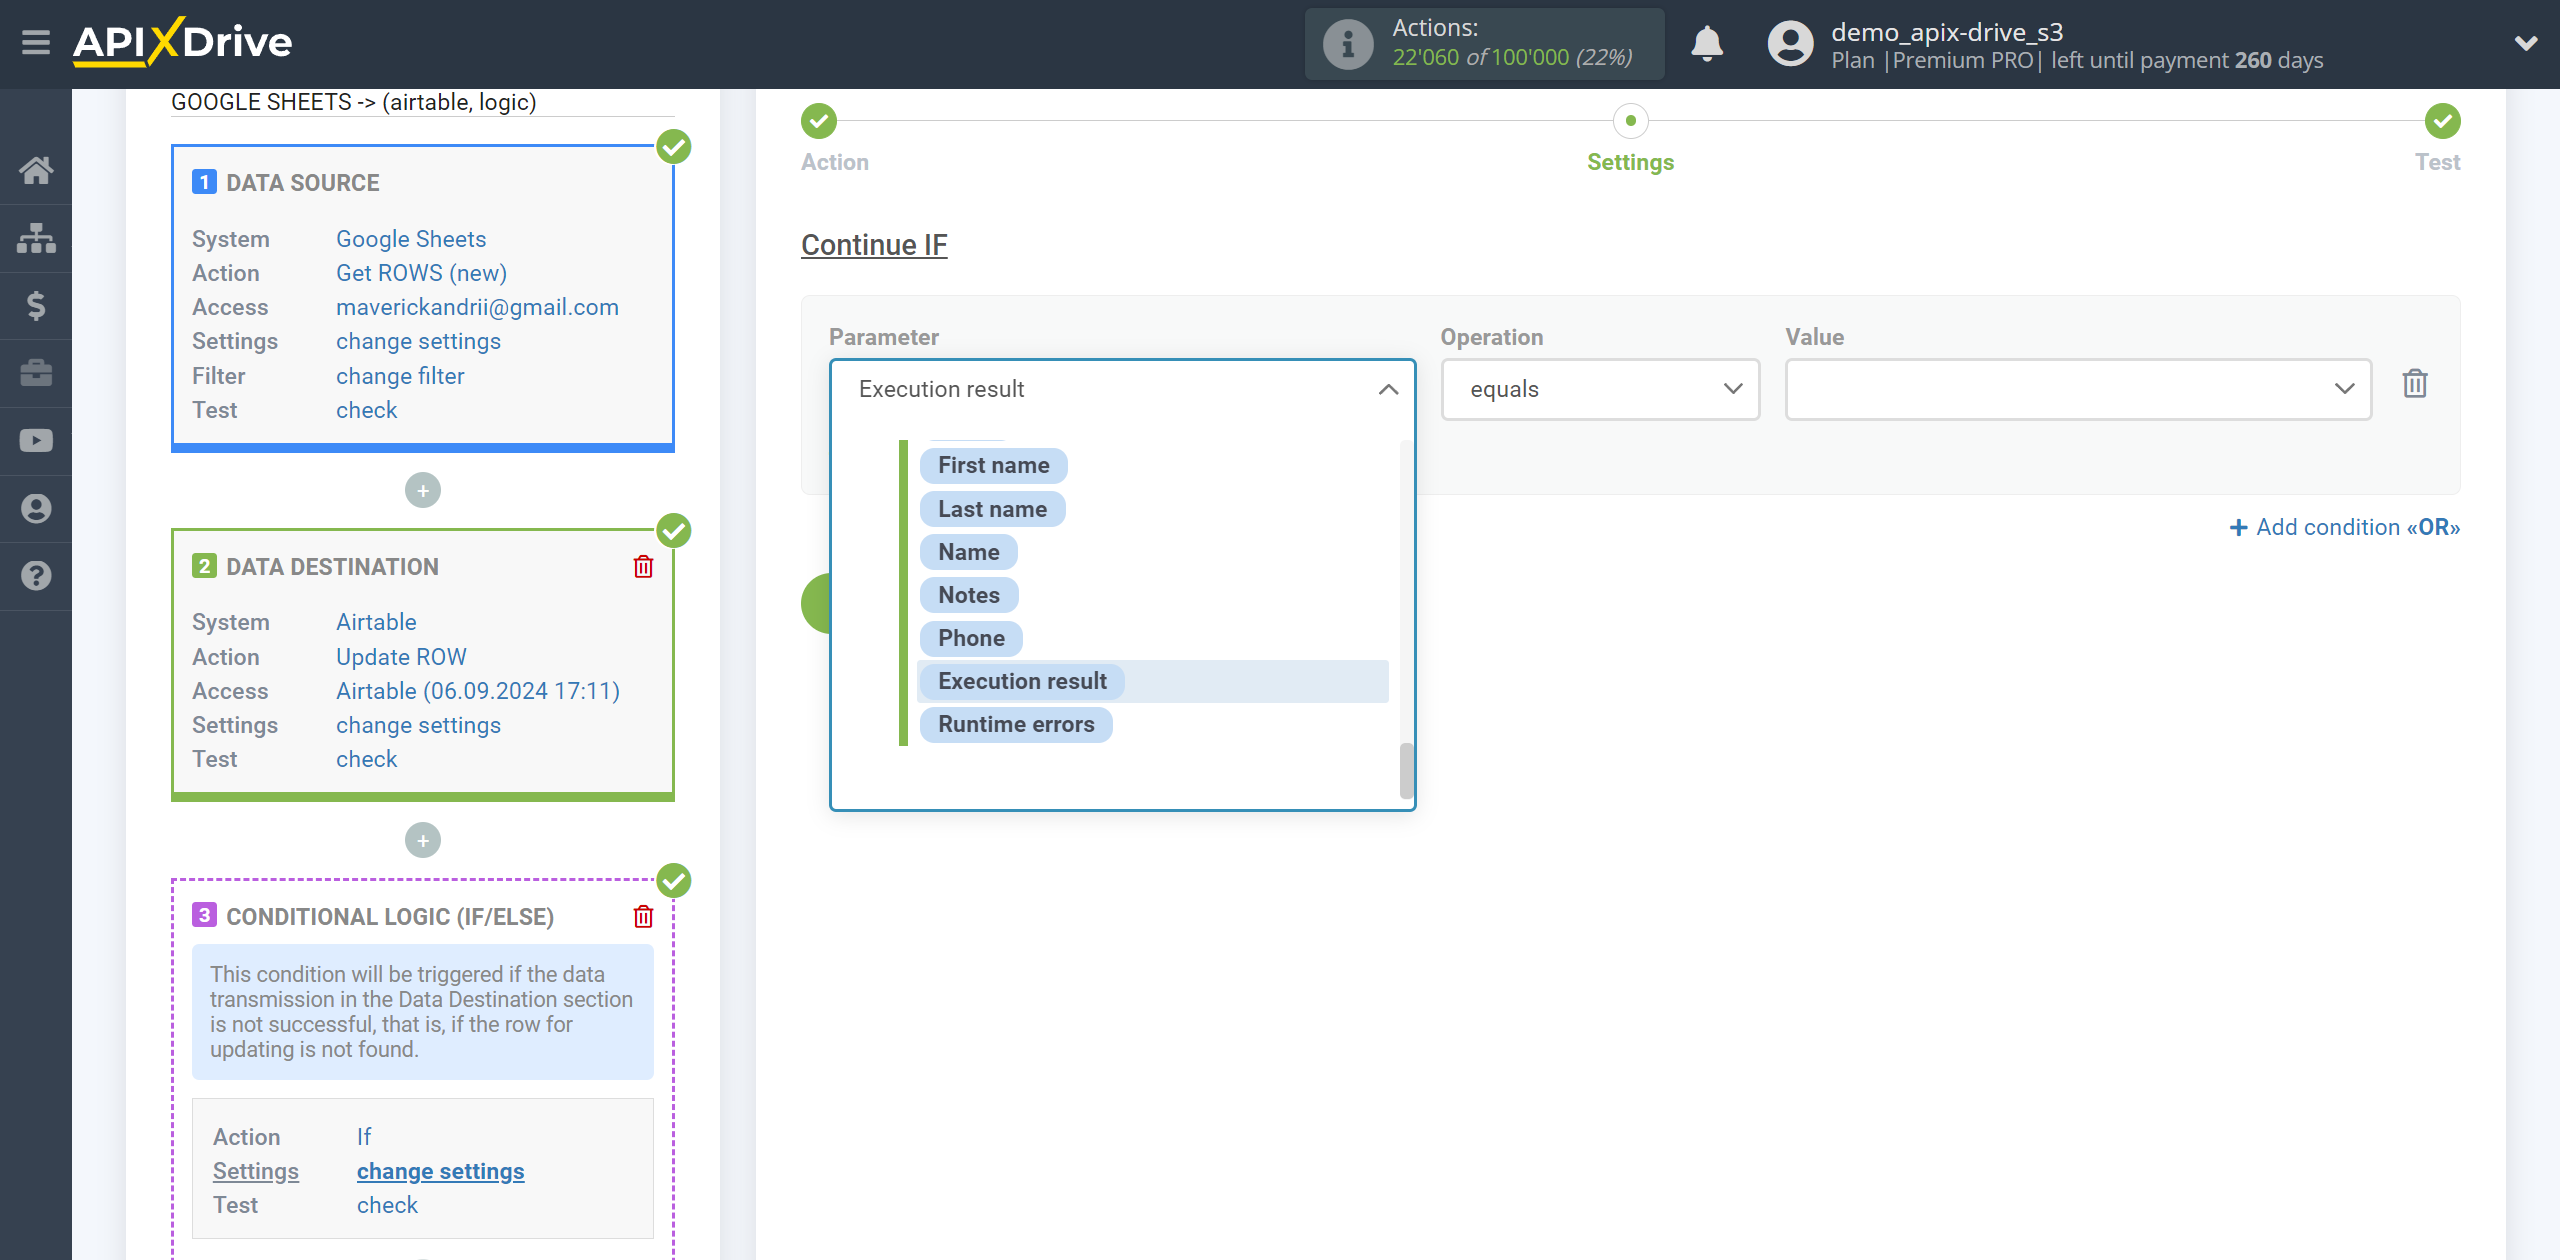
Next, you need to configure a specific condition, when fulfilled, data will be transferred in the Logic section.
- Parameter - this field contains all the fields from the previous Data Source and Data Destination sections that can be used to configure conditions. In our example, we use the field from the Data Destination "Execution Result".
- Operation - in this field you must select the action that will be applied for a specific condition. In this example, we select "Equals".
- Value - in this field you must select “Successfully” if you want the condition to be met when the Data Destination section is successfully triggered, or select “Unsuccessful” if an error occurs in the Data Destination section or for some other reason the data is not transmitted. In this case we select "Unsuccessful".
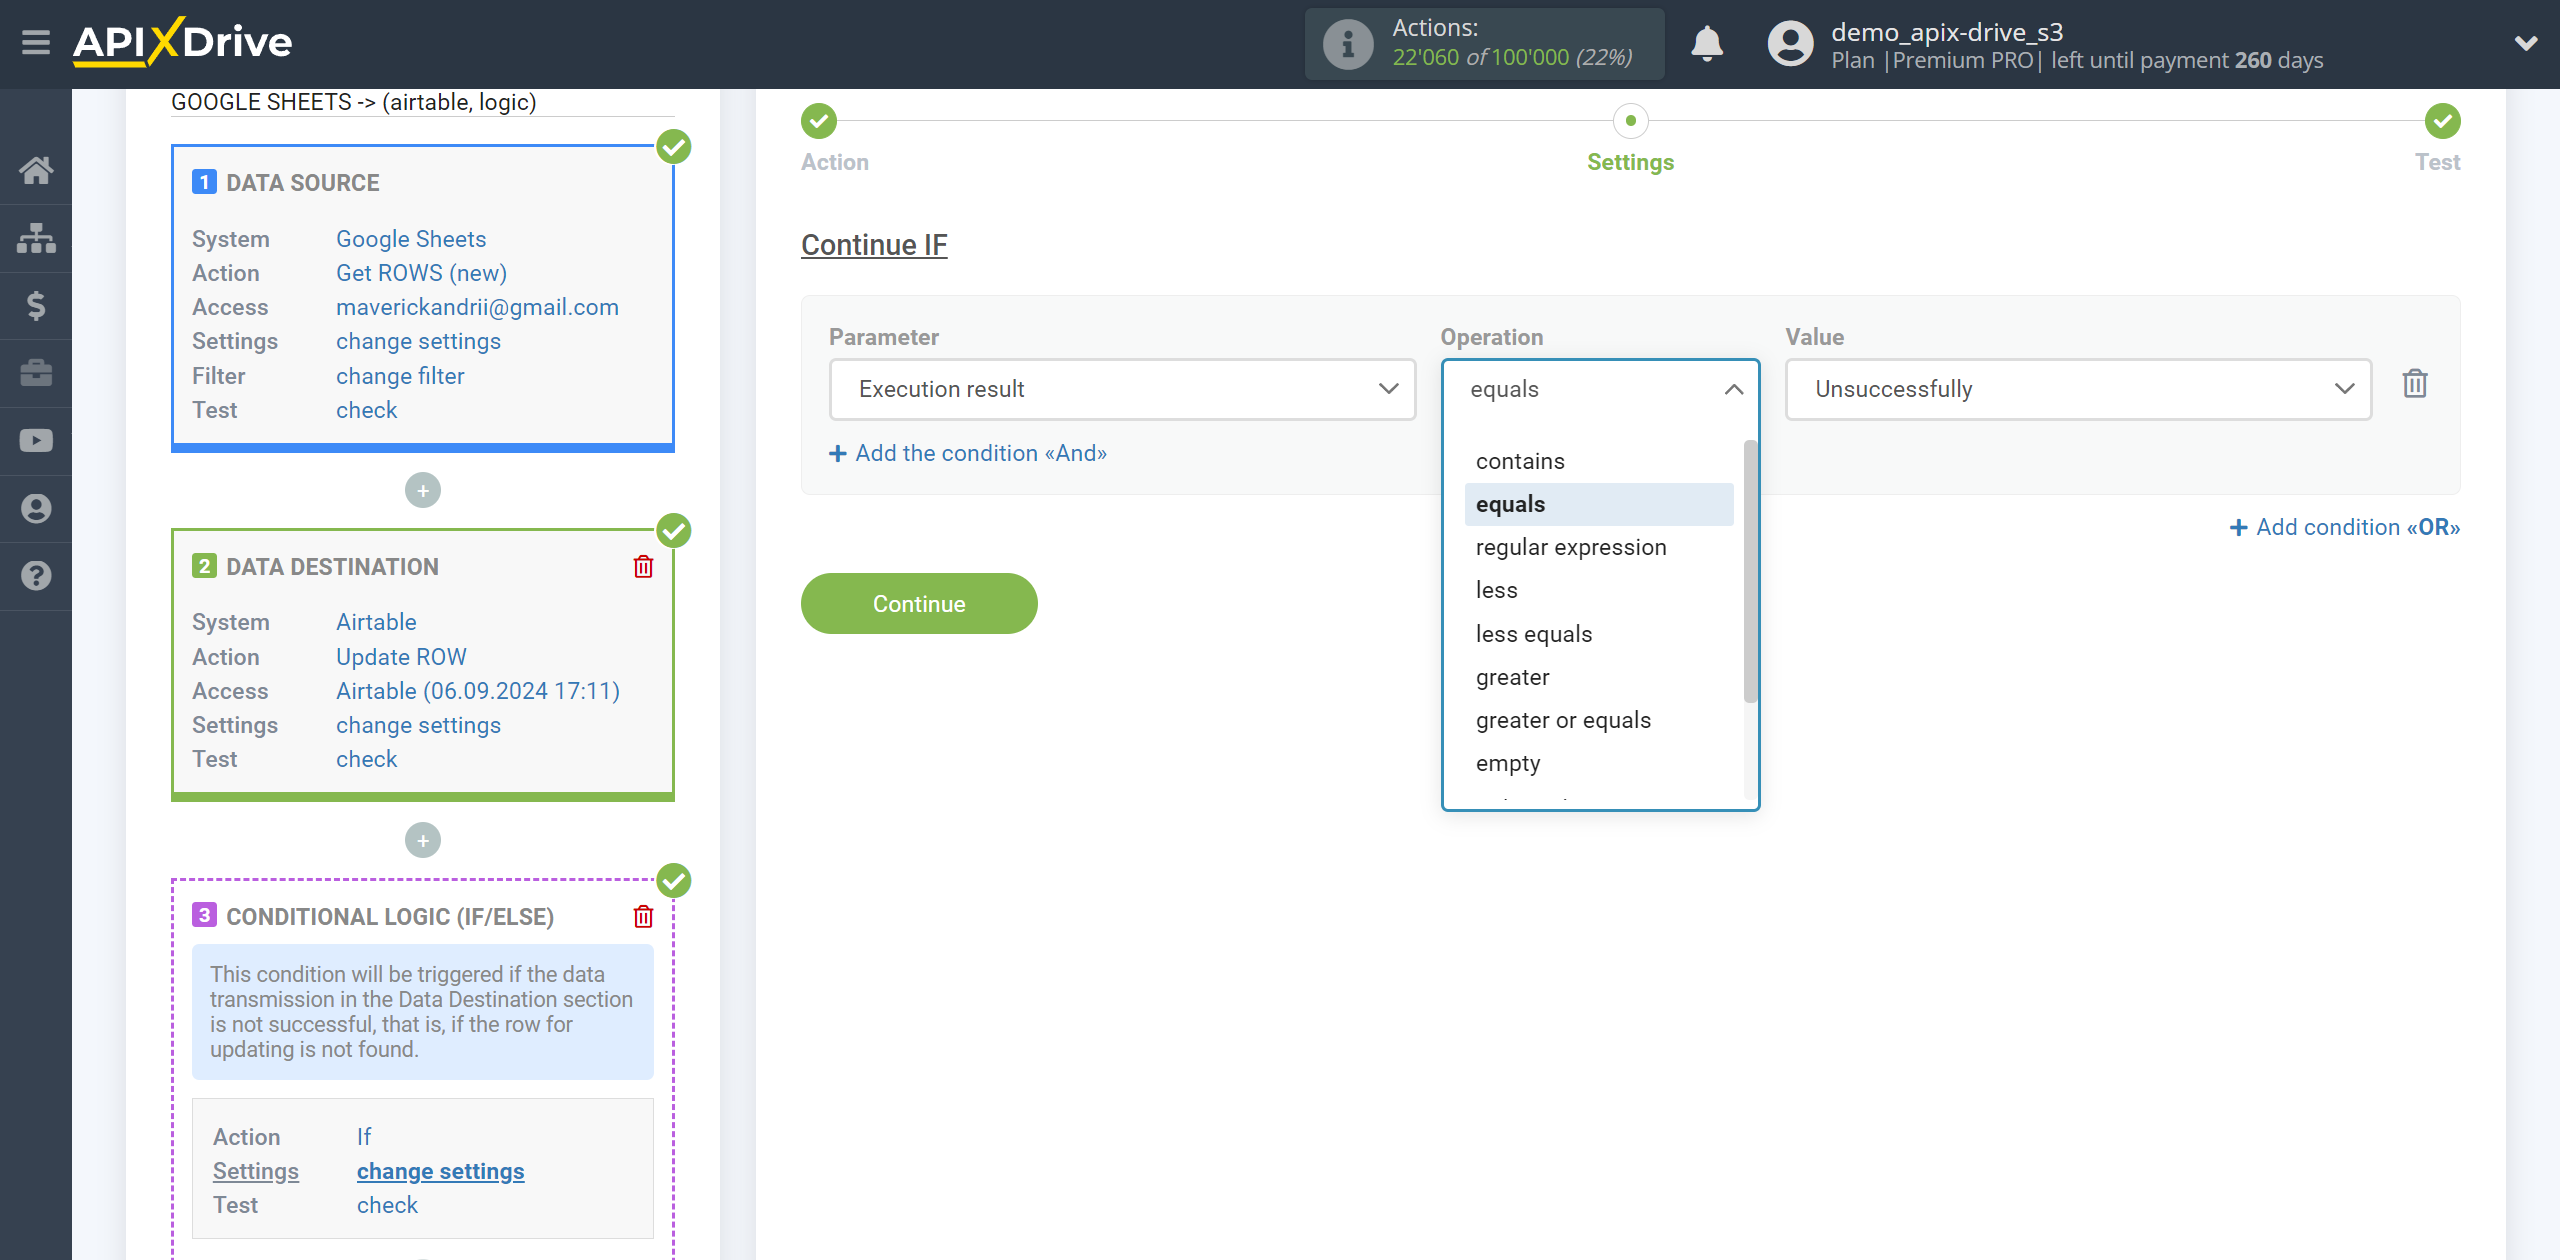
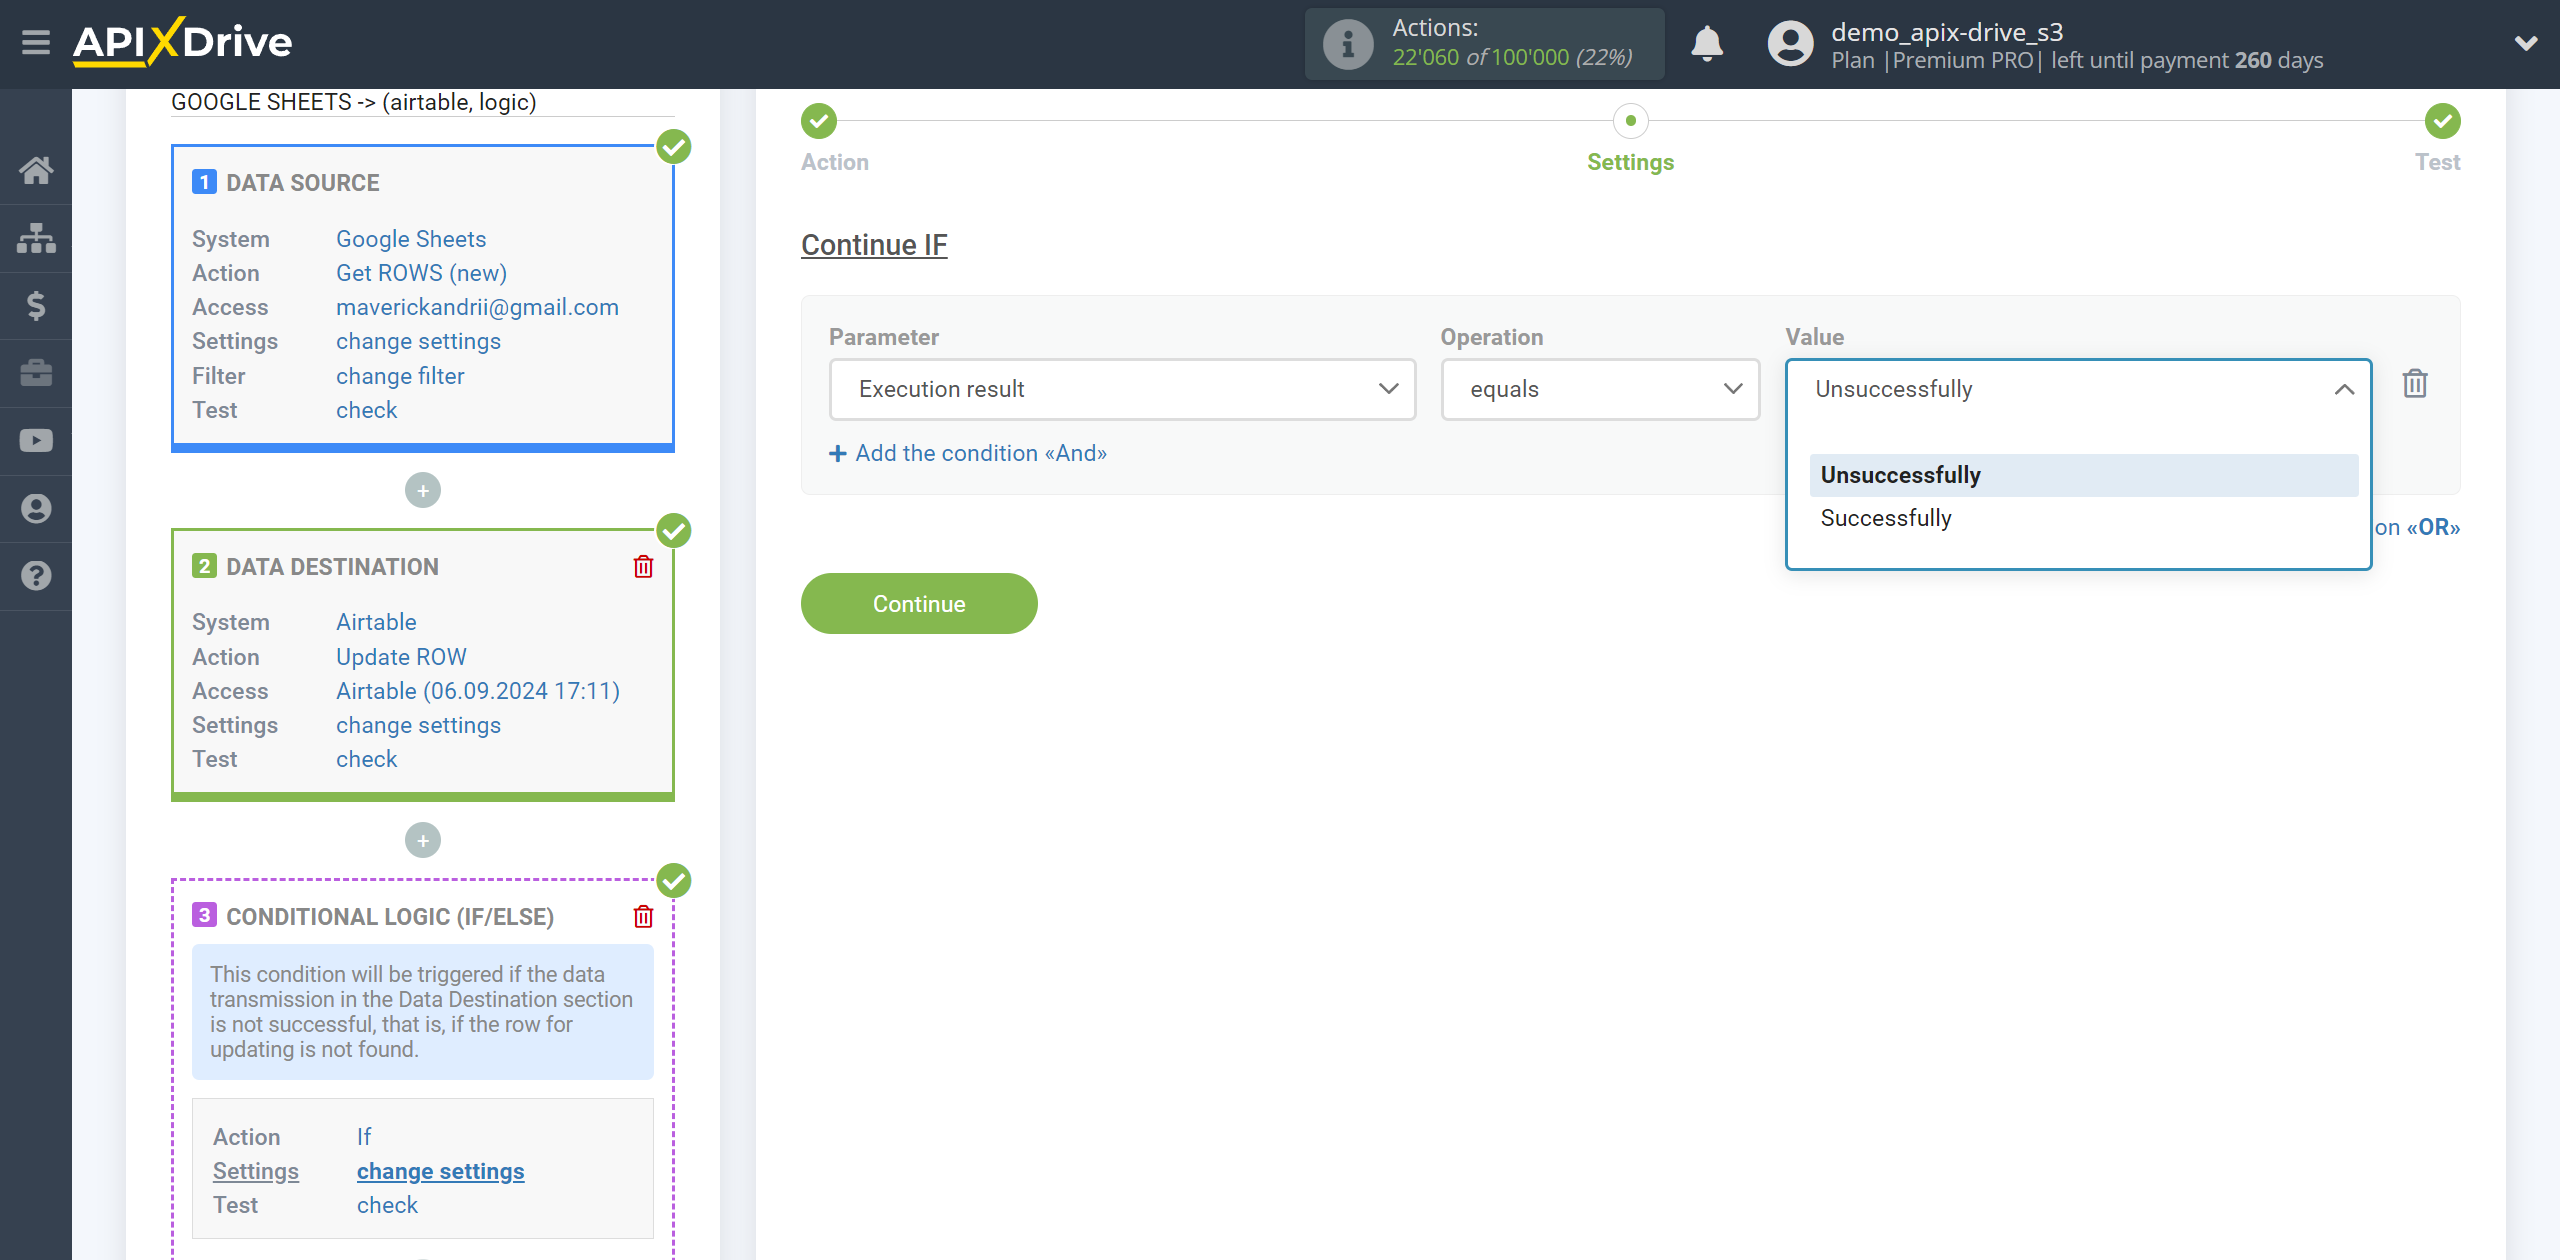
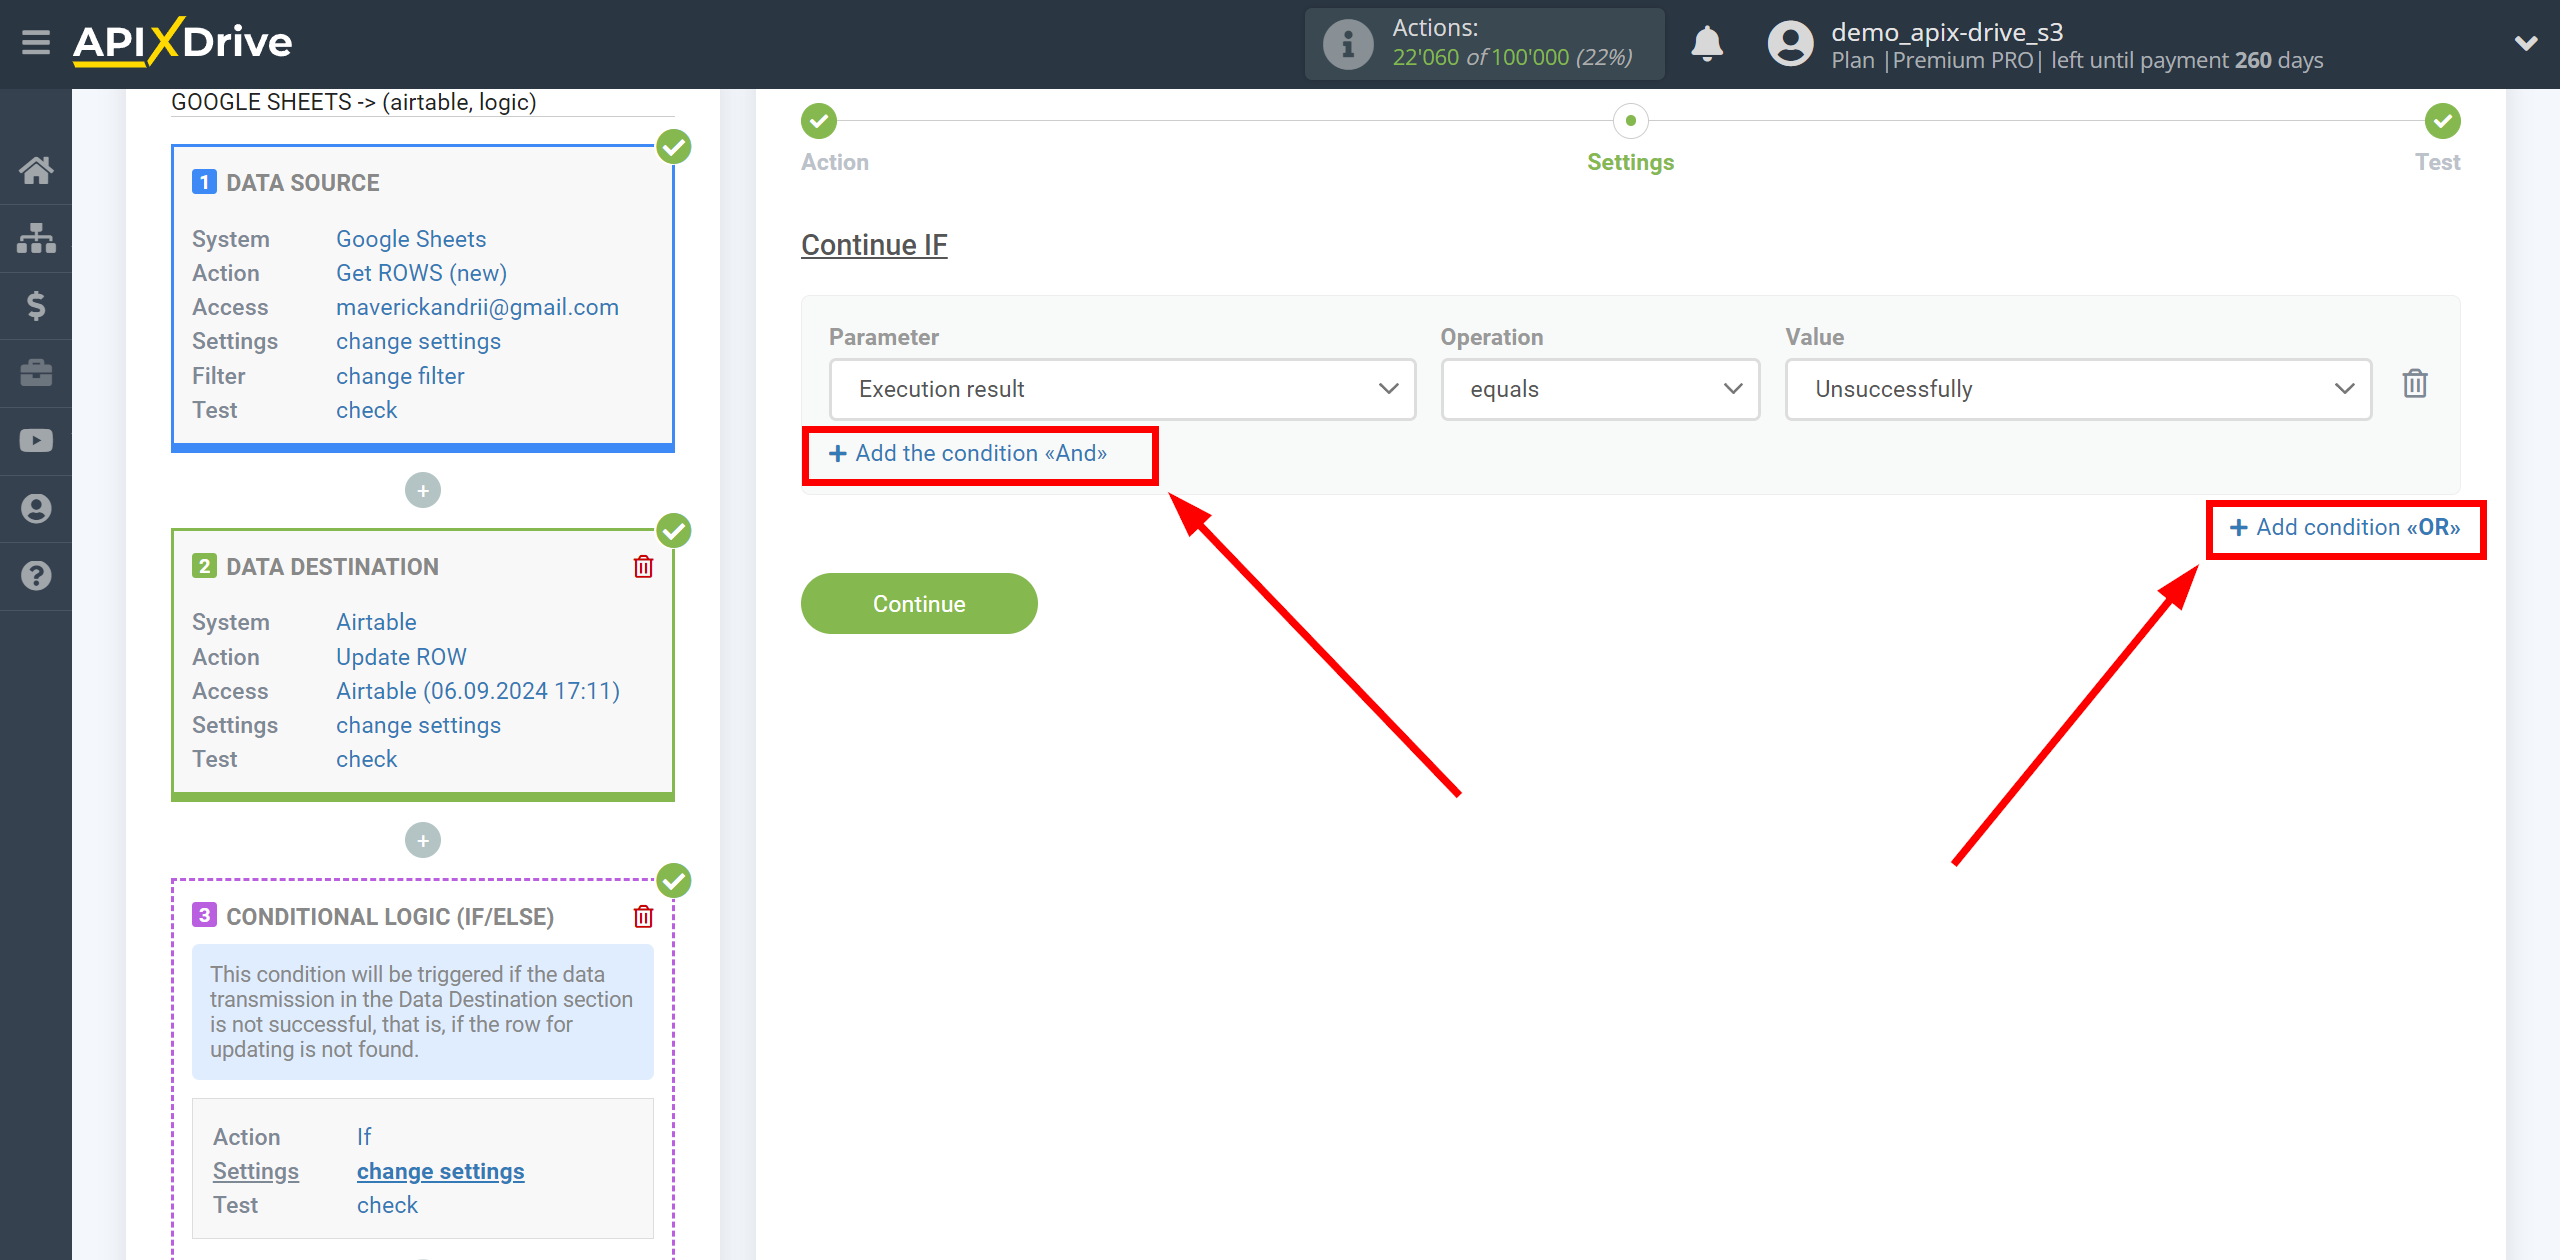
Also, you can add additional conditions using the operators "AND", "OR", if you need to specify several parameters in one condition. In this case, this is not necessary, so click “Continue”.
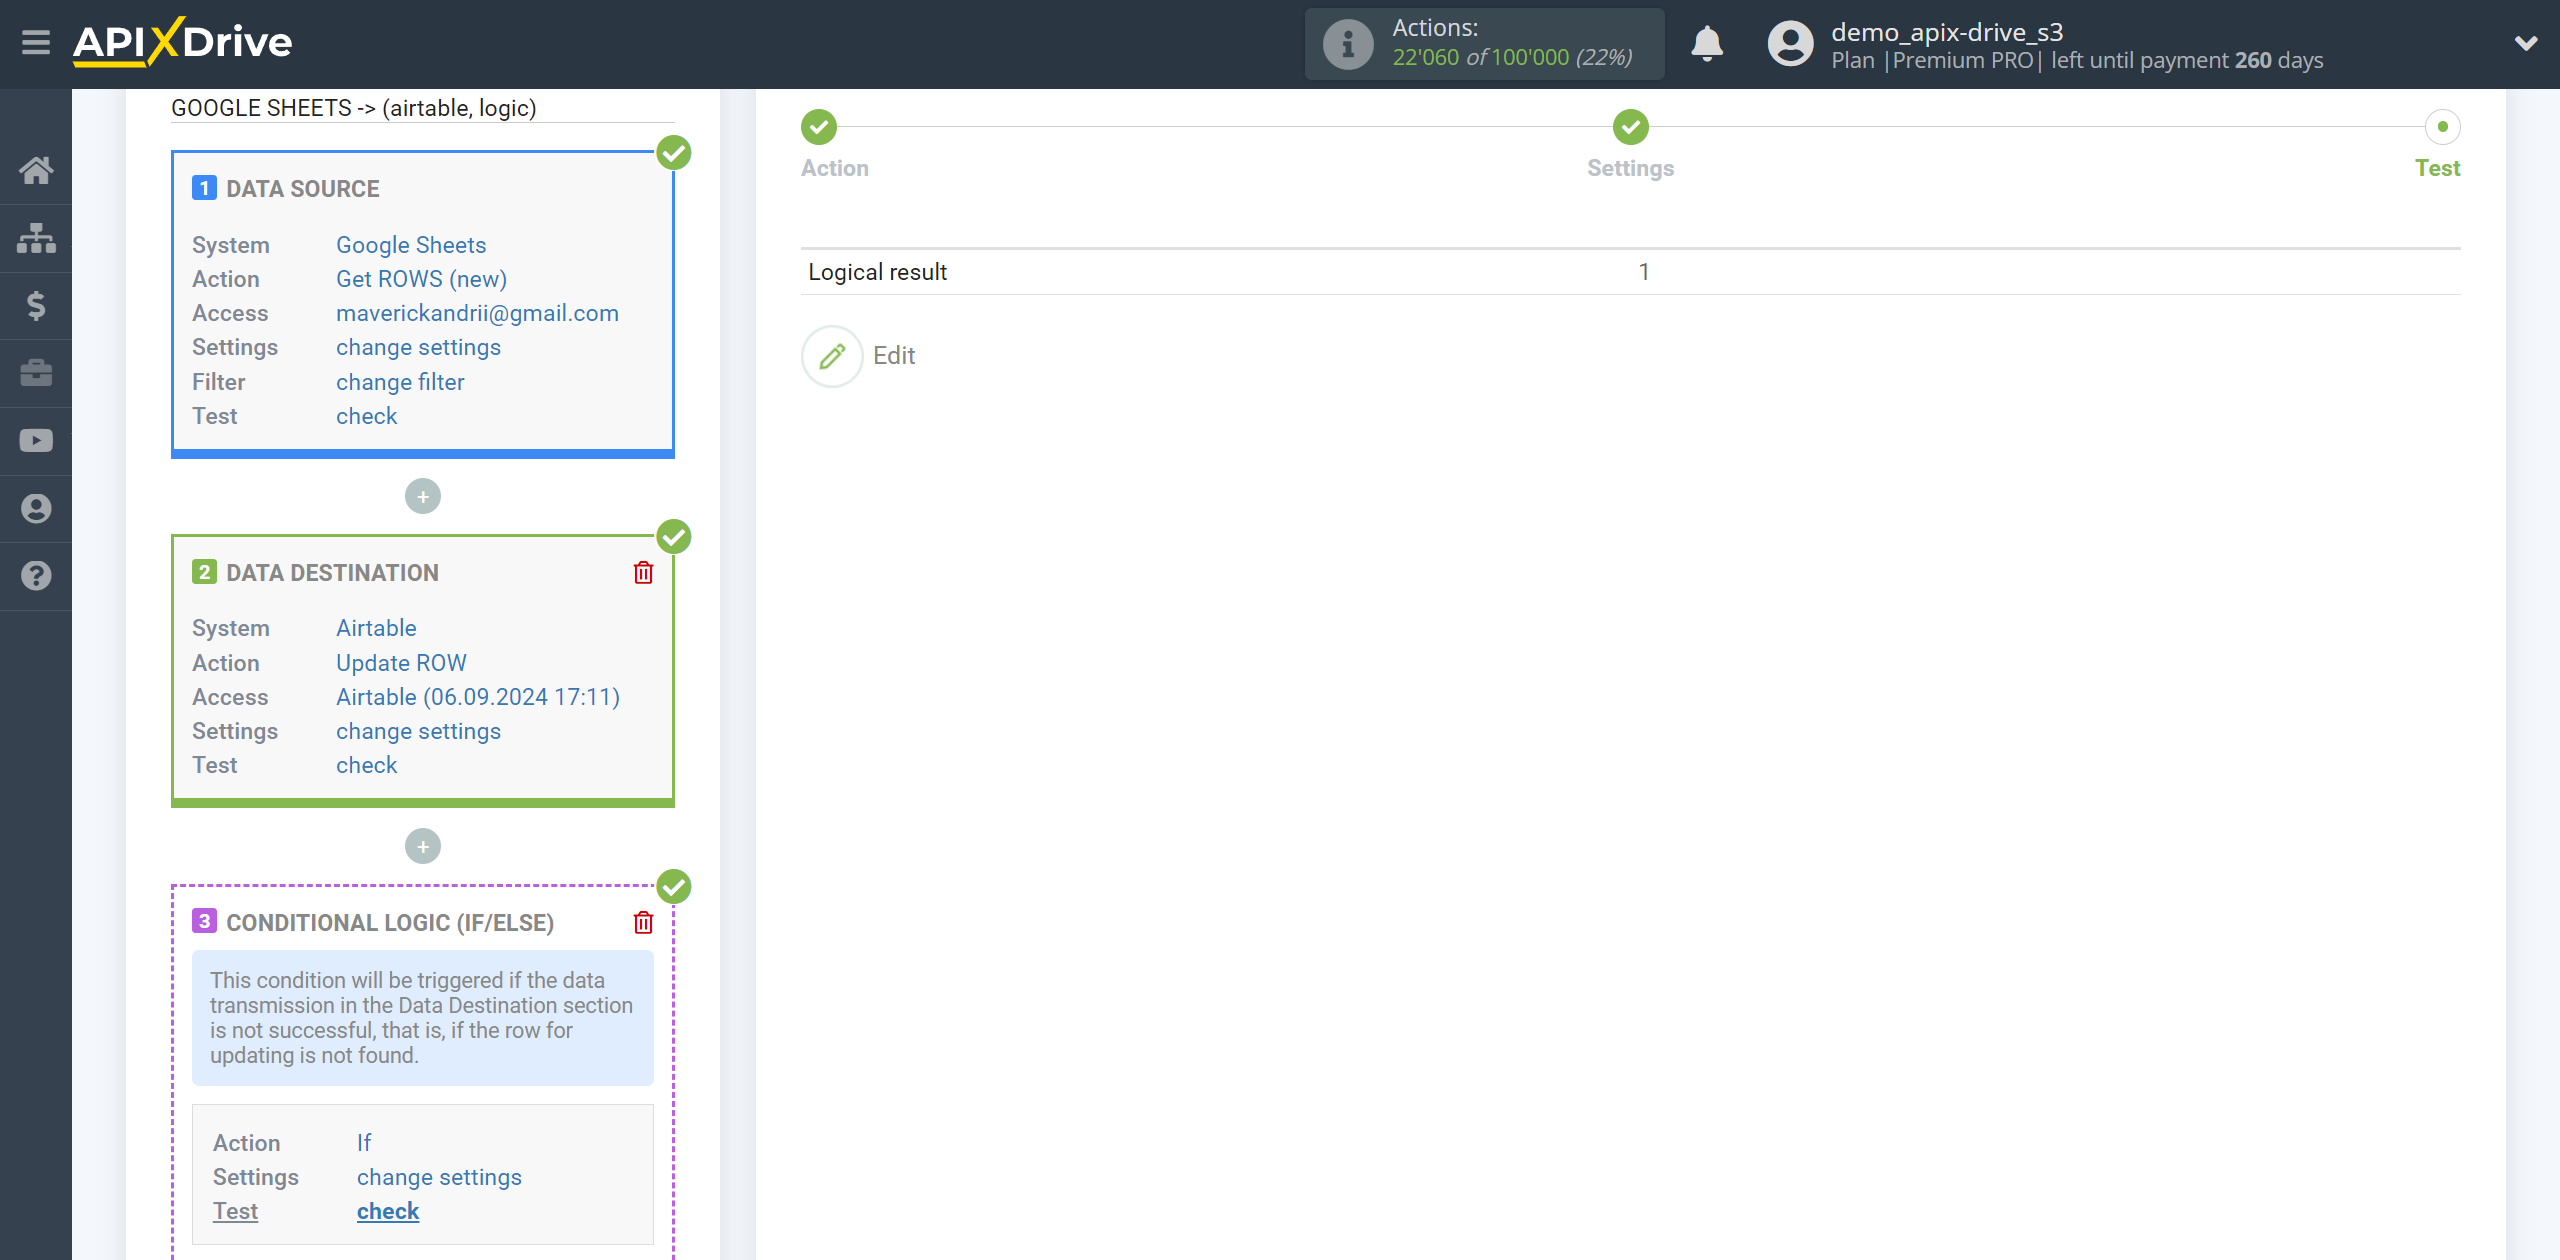
At the Test stage, you will see Logical result = 1 - this means that the setting of the action If for a specific condition is satisfied.
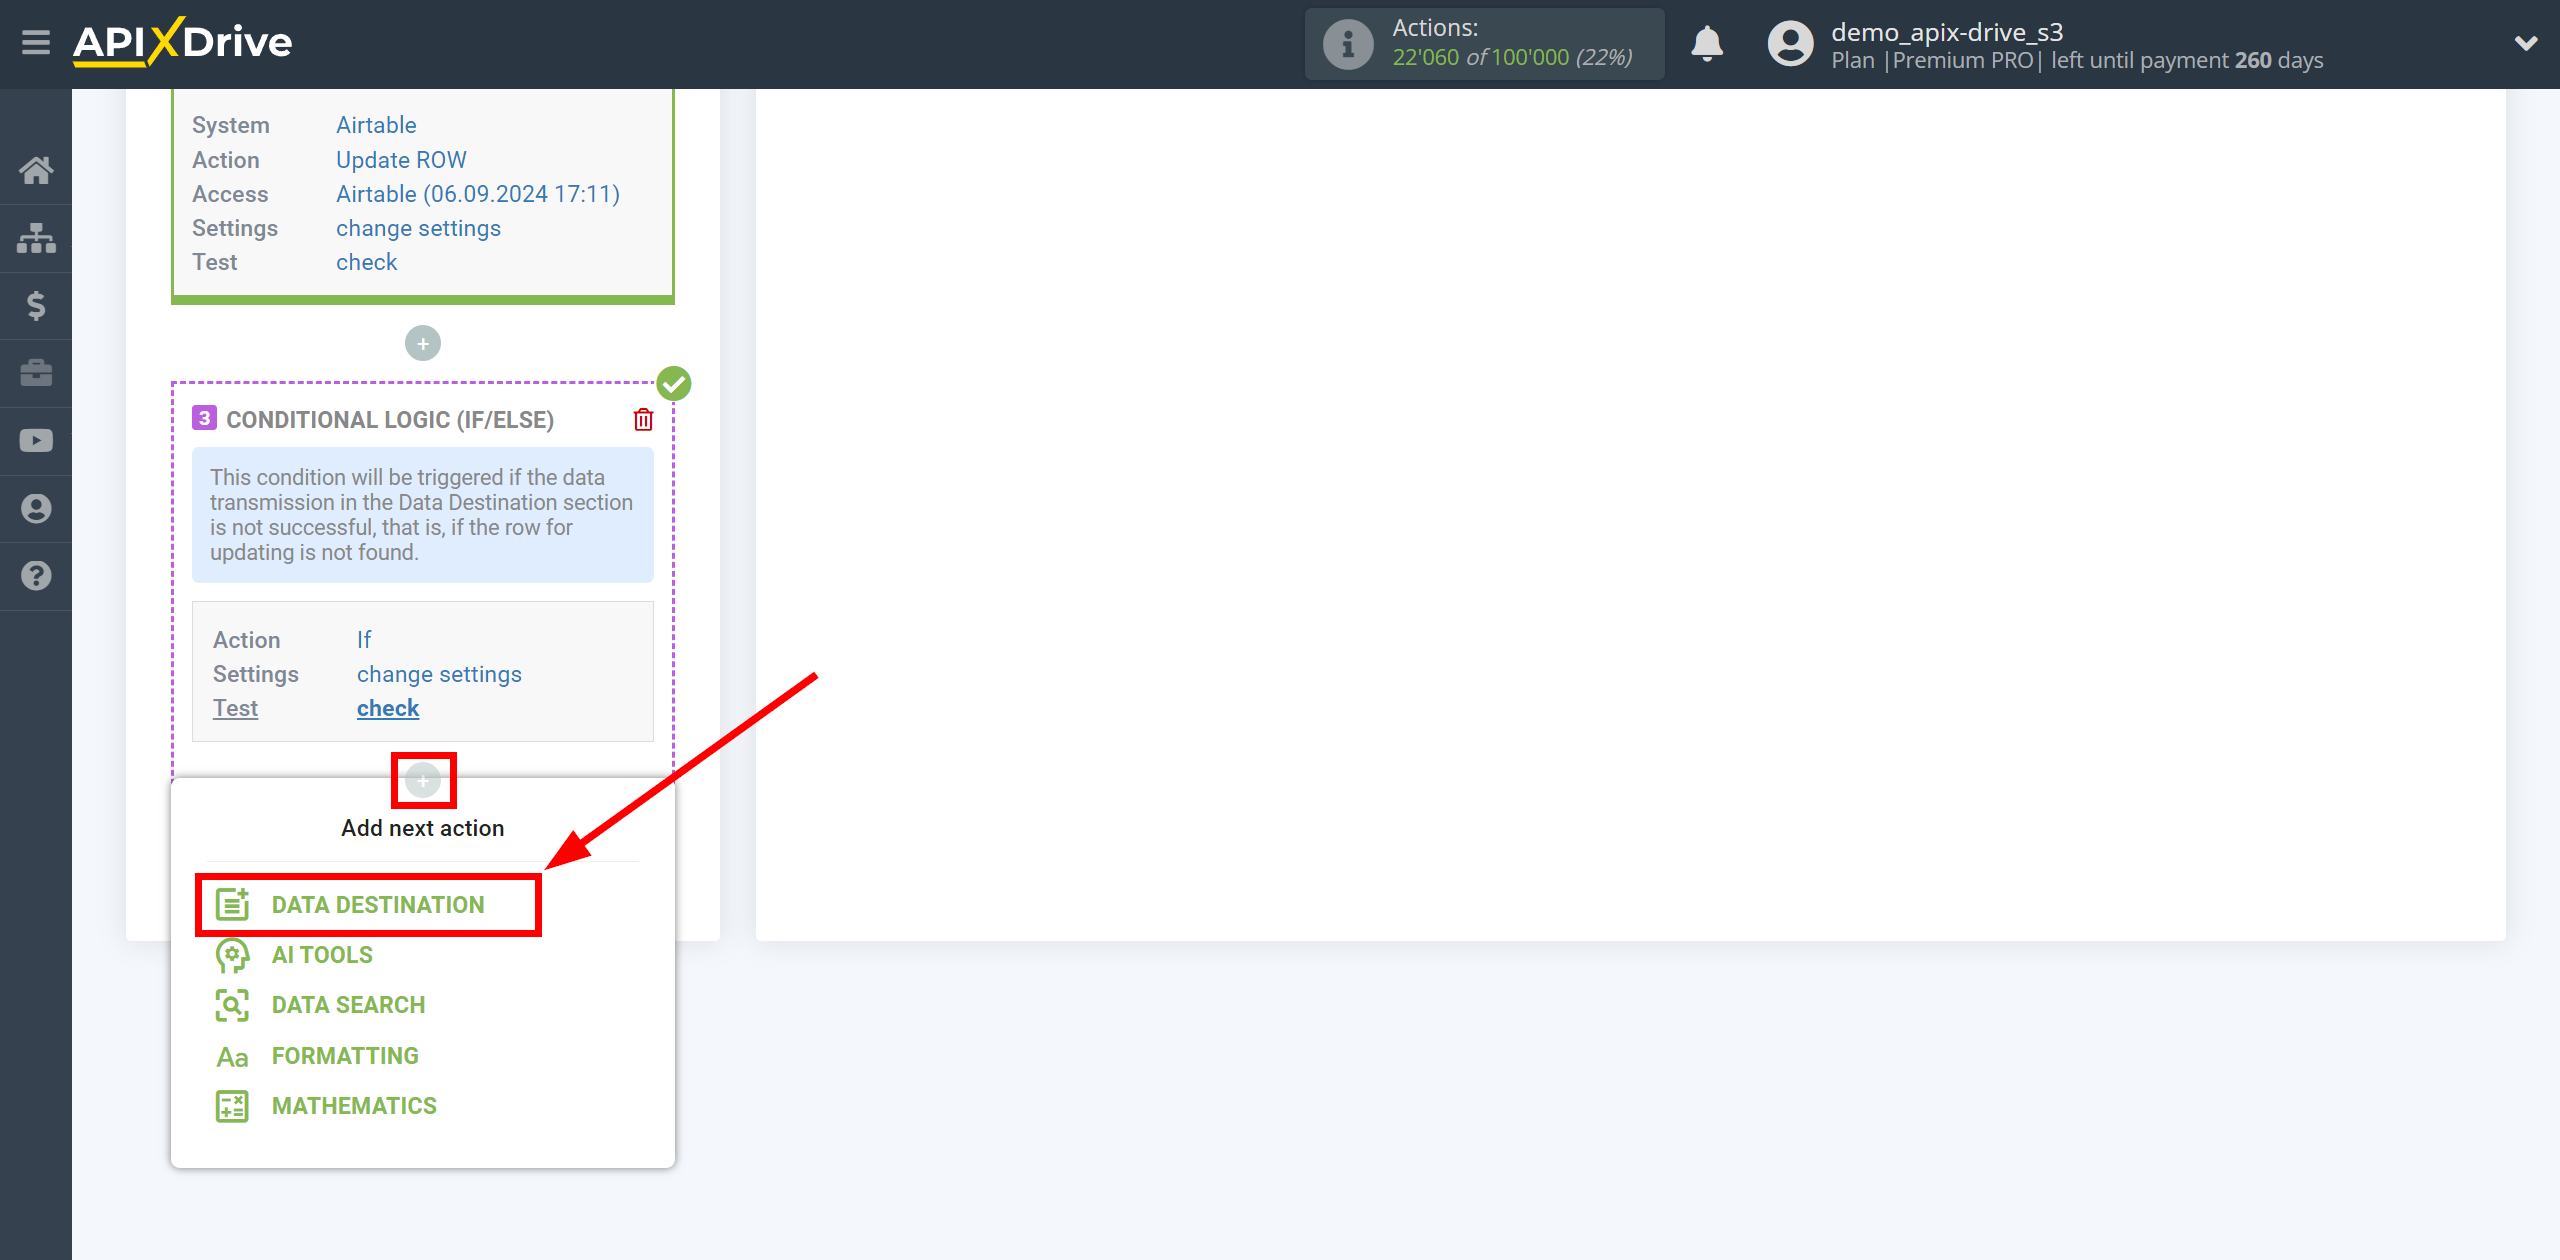
Next, you need to indicate what action the Logic section will perform,
when certain conditions are met, that is, what is the next data transfer algorithm and to which system.
In this example we use the DATA DESTINATION section.
Inside the Logic section we connect the Data Destination system. To do this, click on “+” and select “DATA DESTINATION” from the list.
Setting up Data DESTINATION inside the LOGIC IF/ELSE section: AirTable adding rows
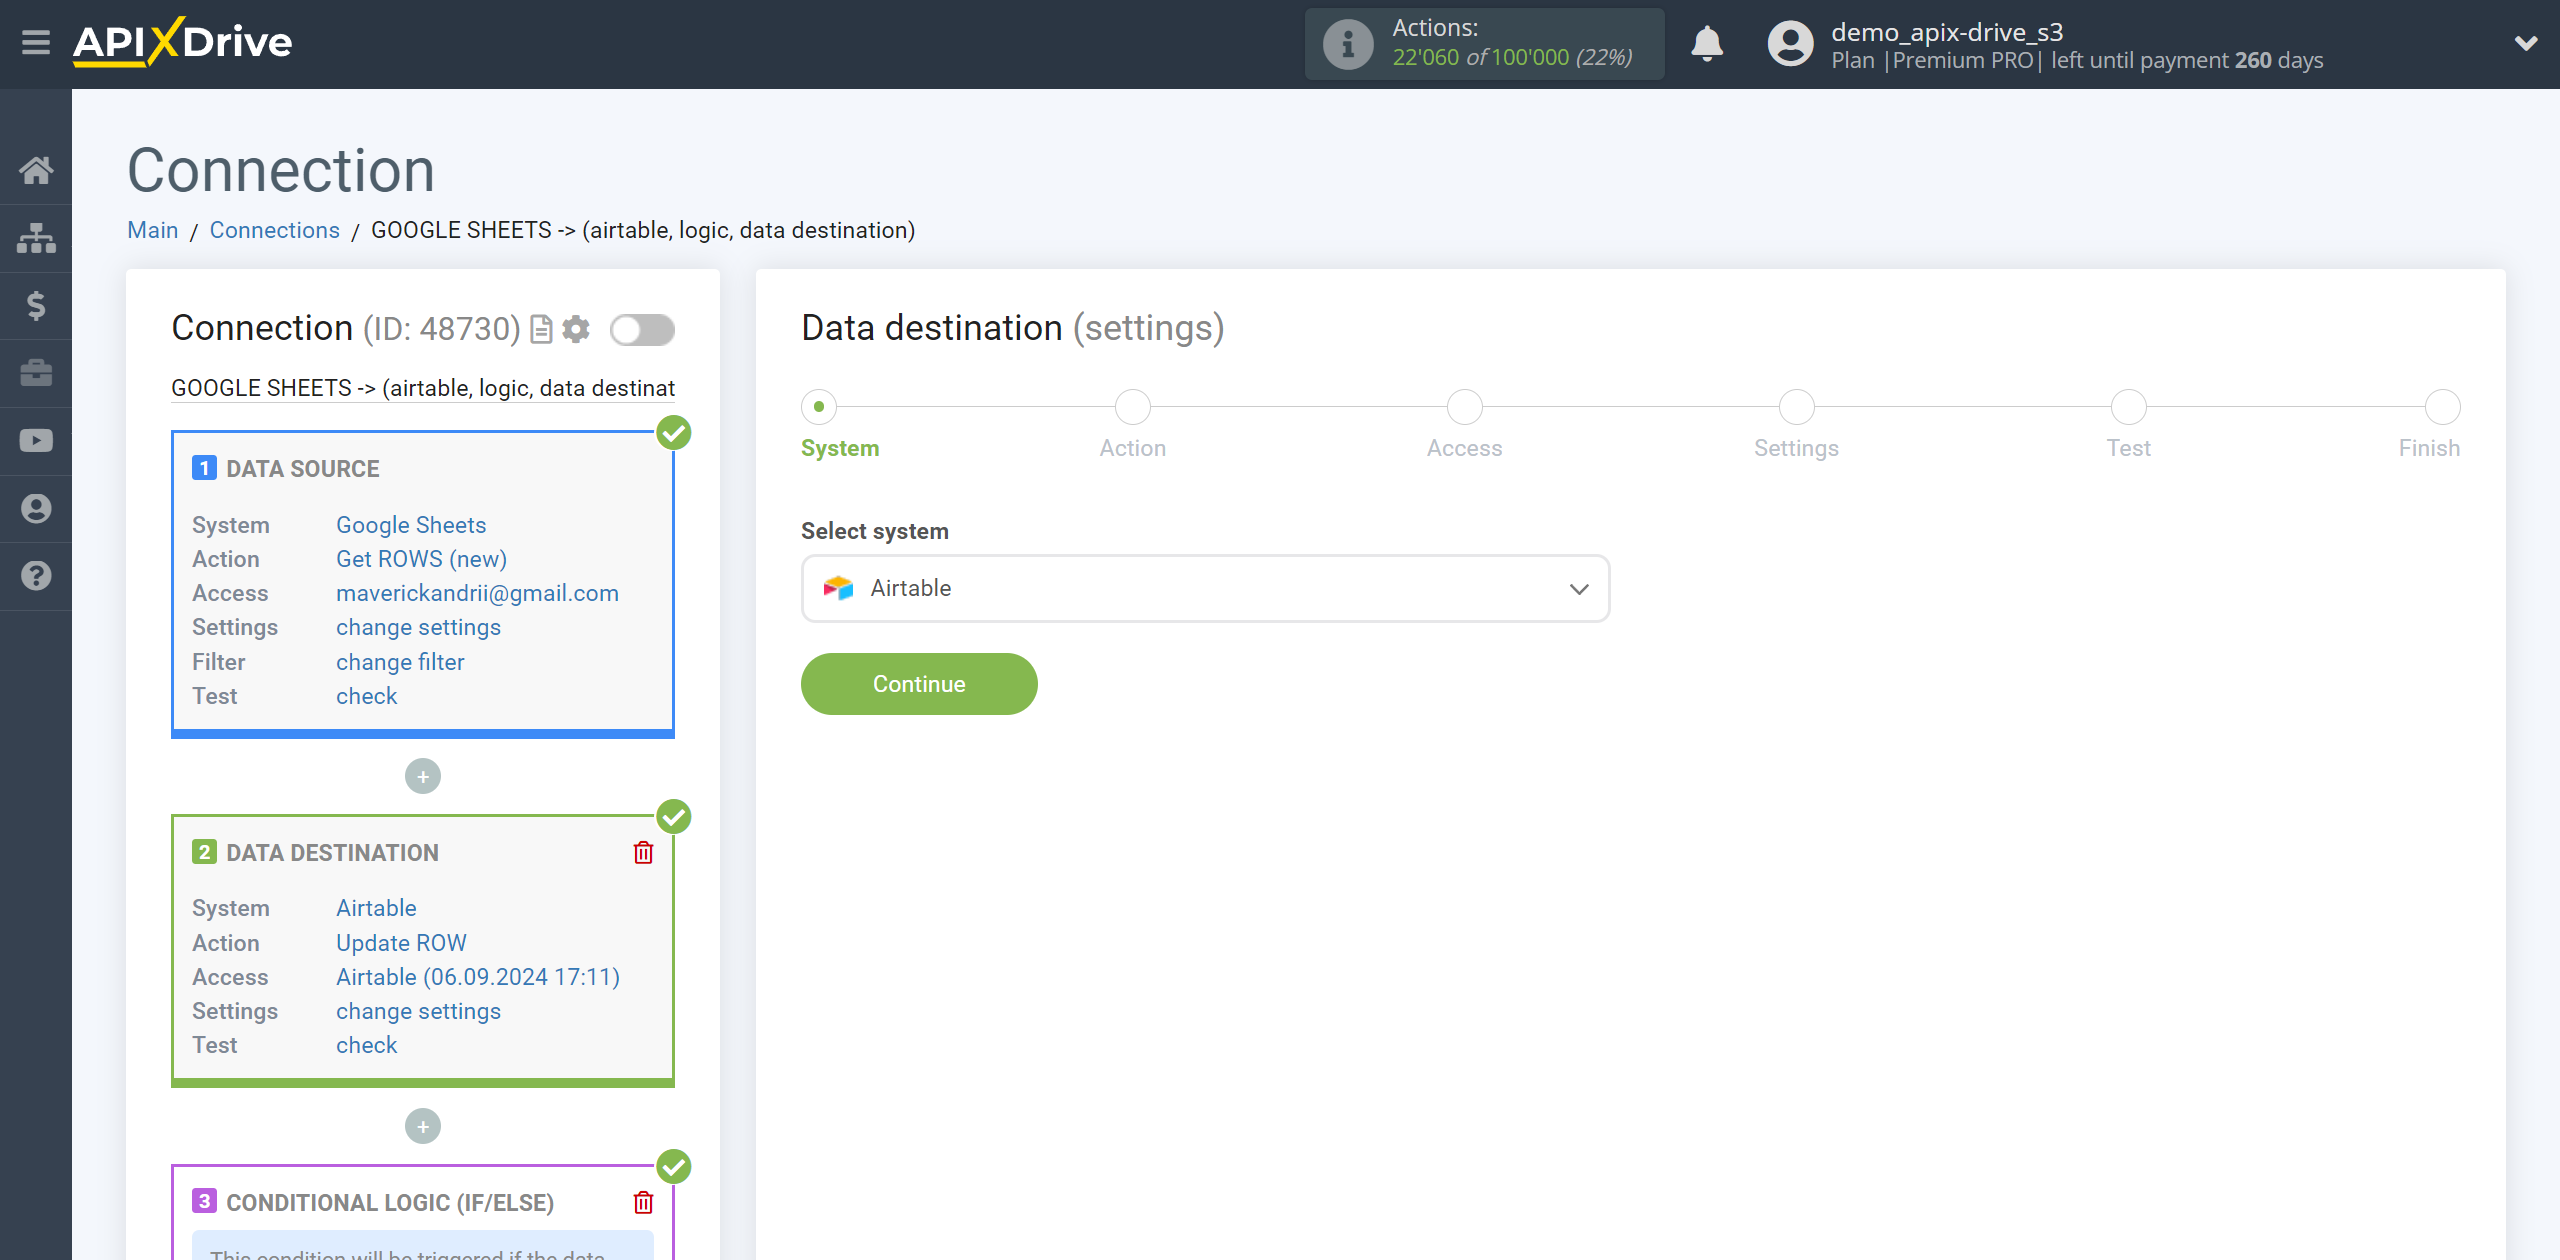
Select the system as Data Destination. In this example, we are using AirTable.
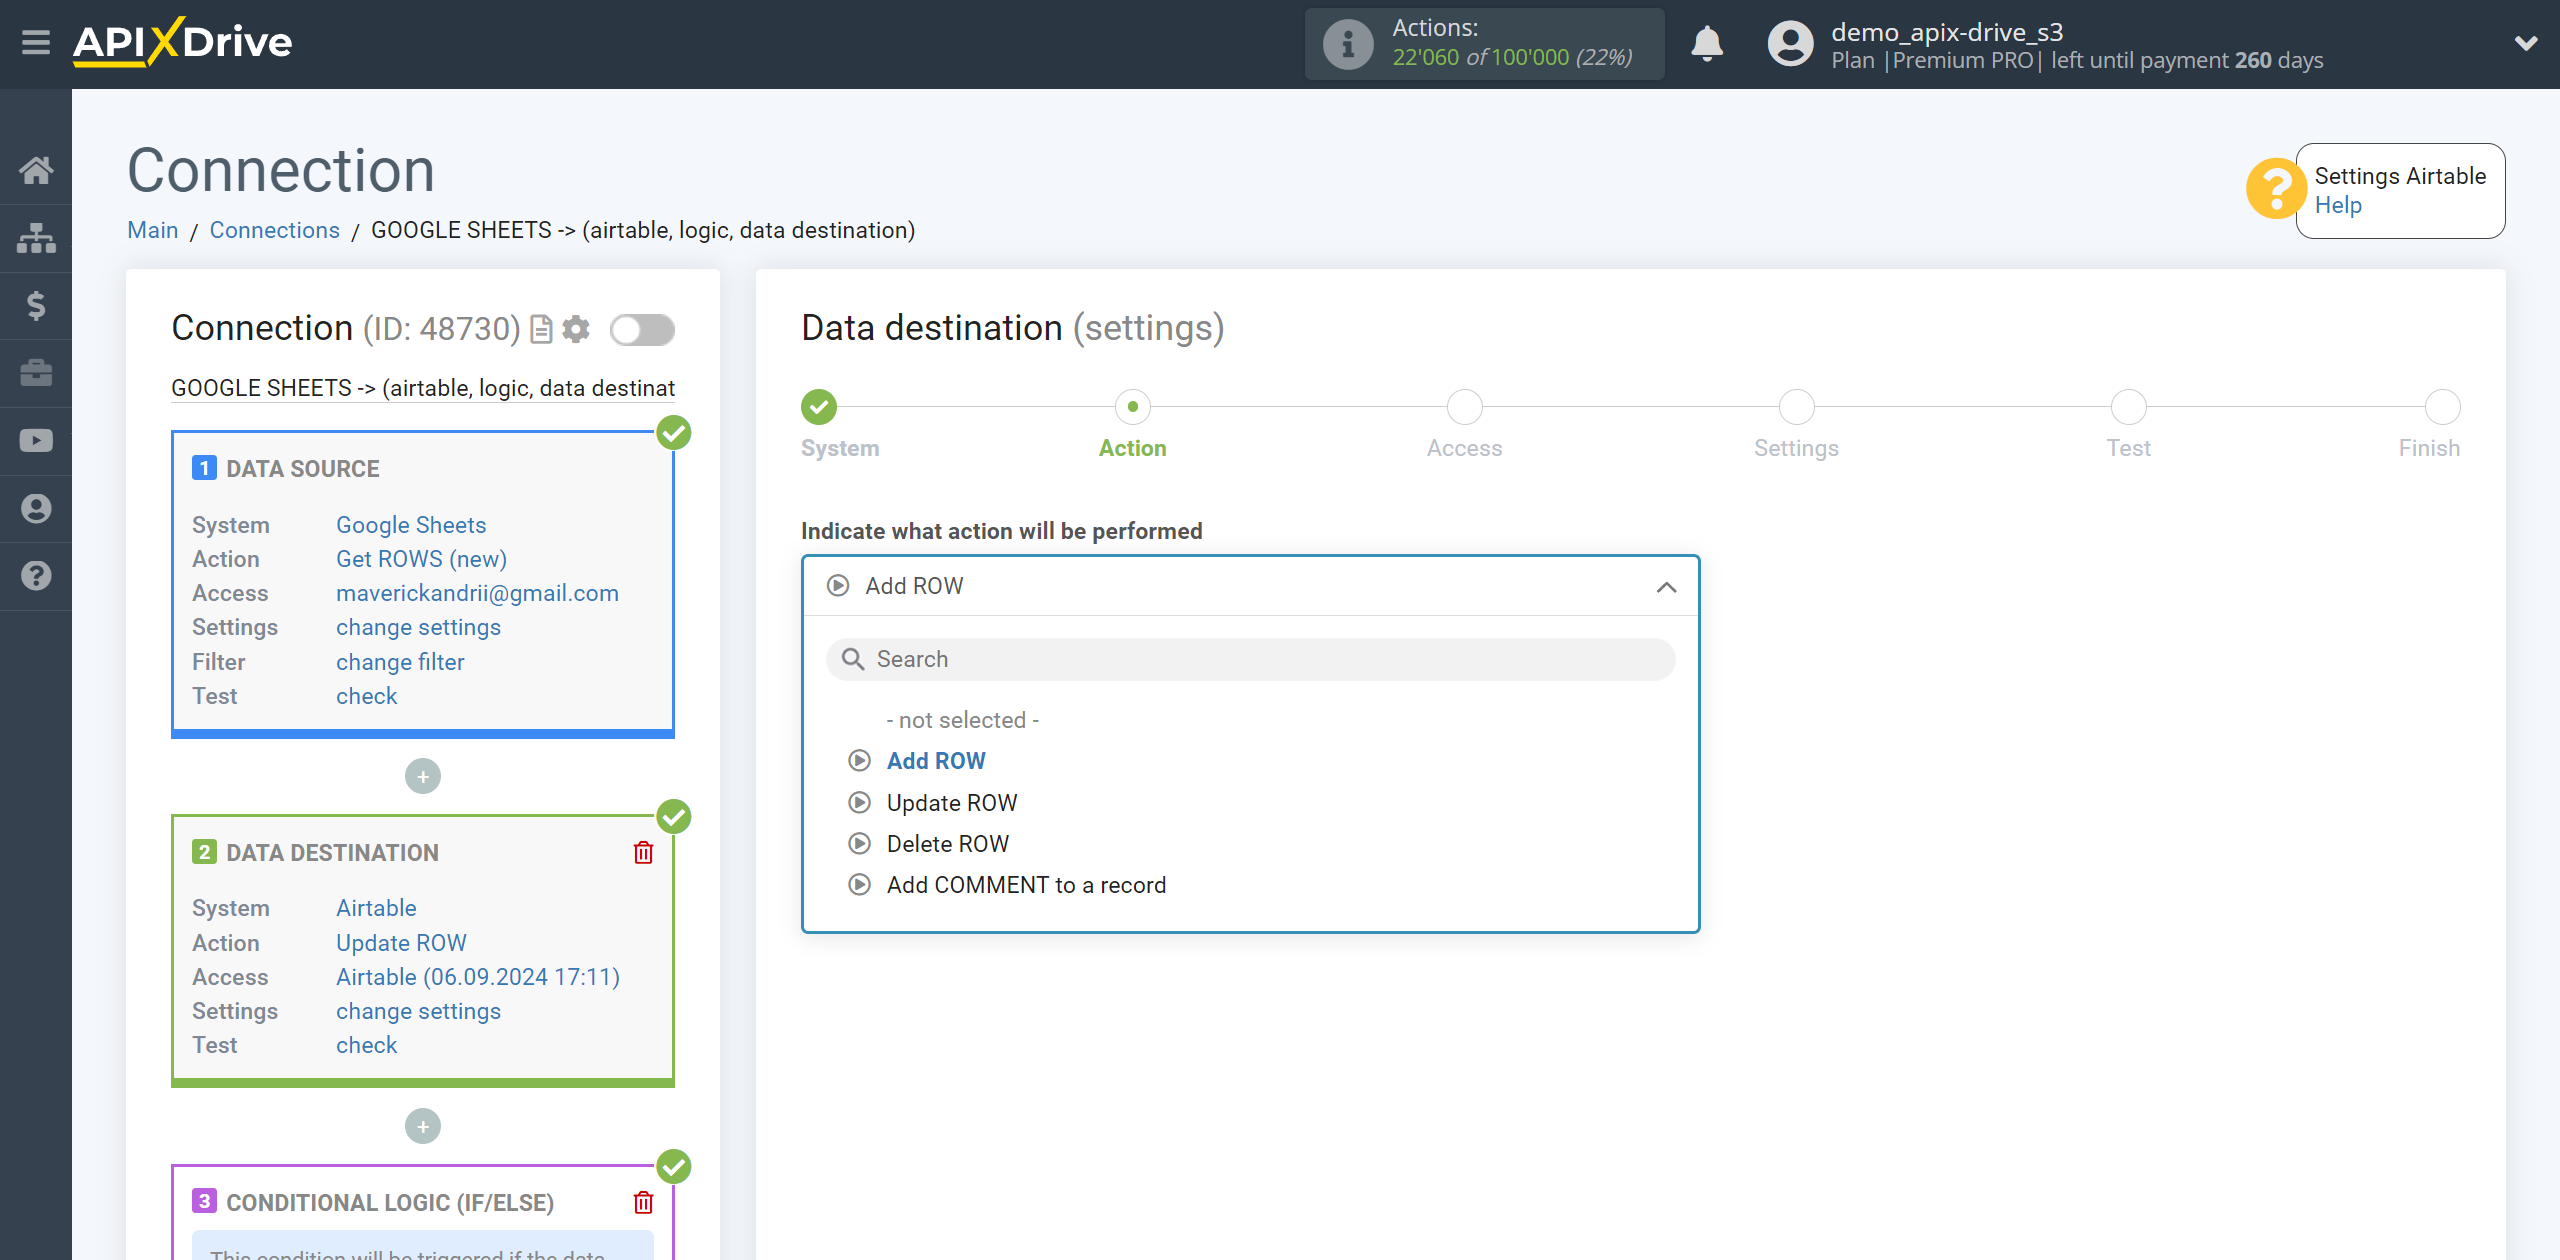
Next, you need to specify the action "Add ROW".
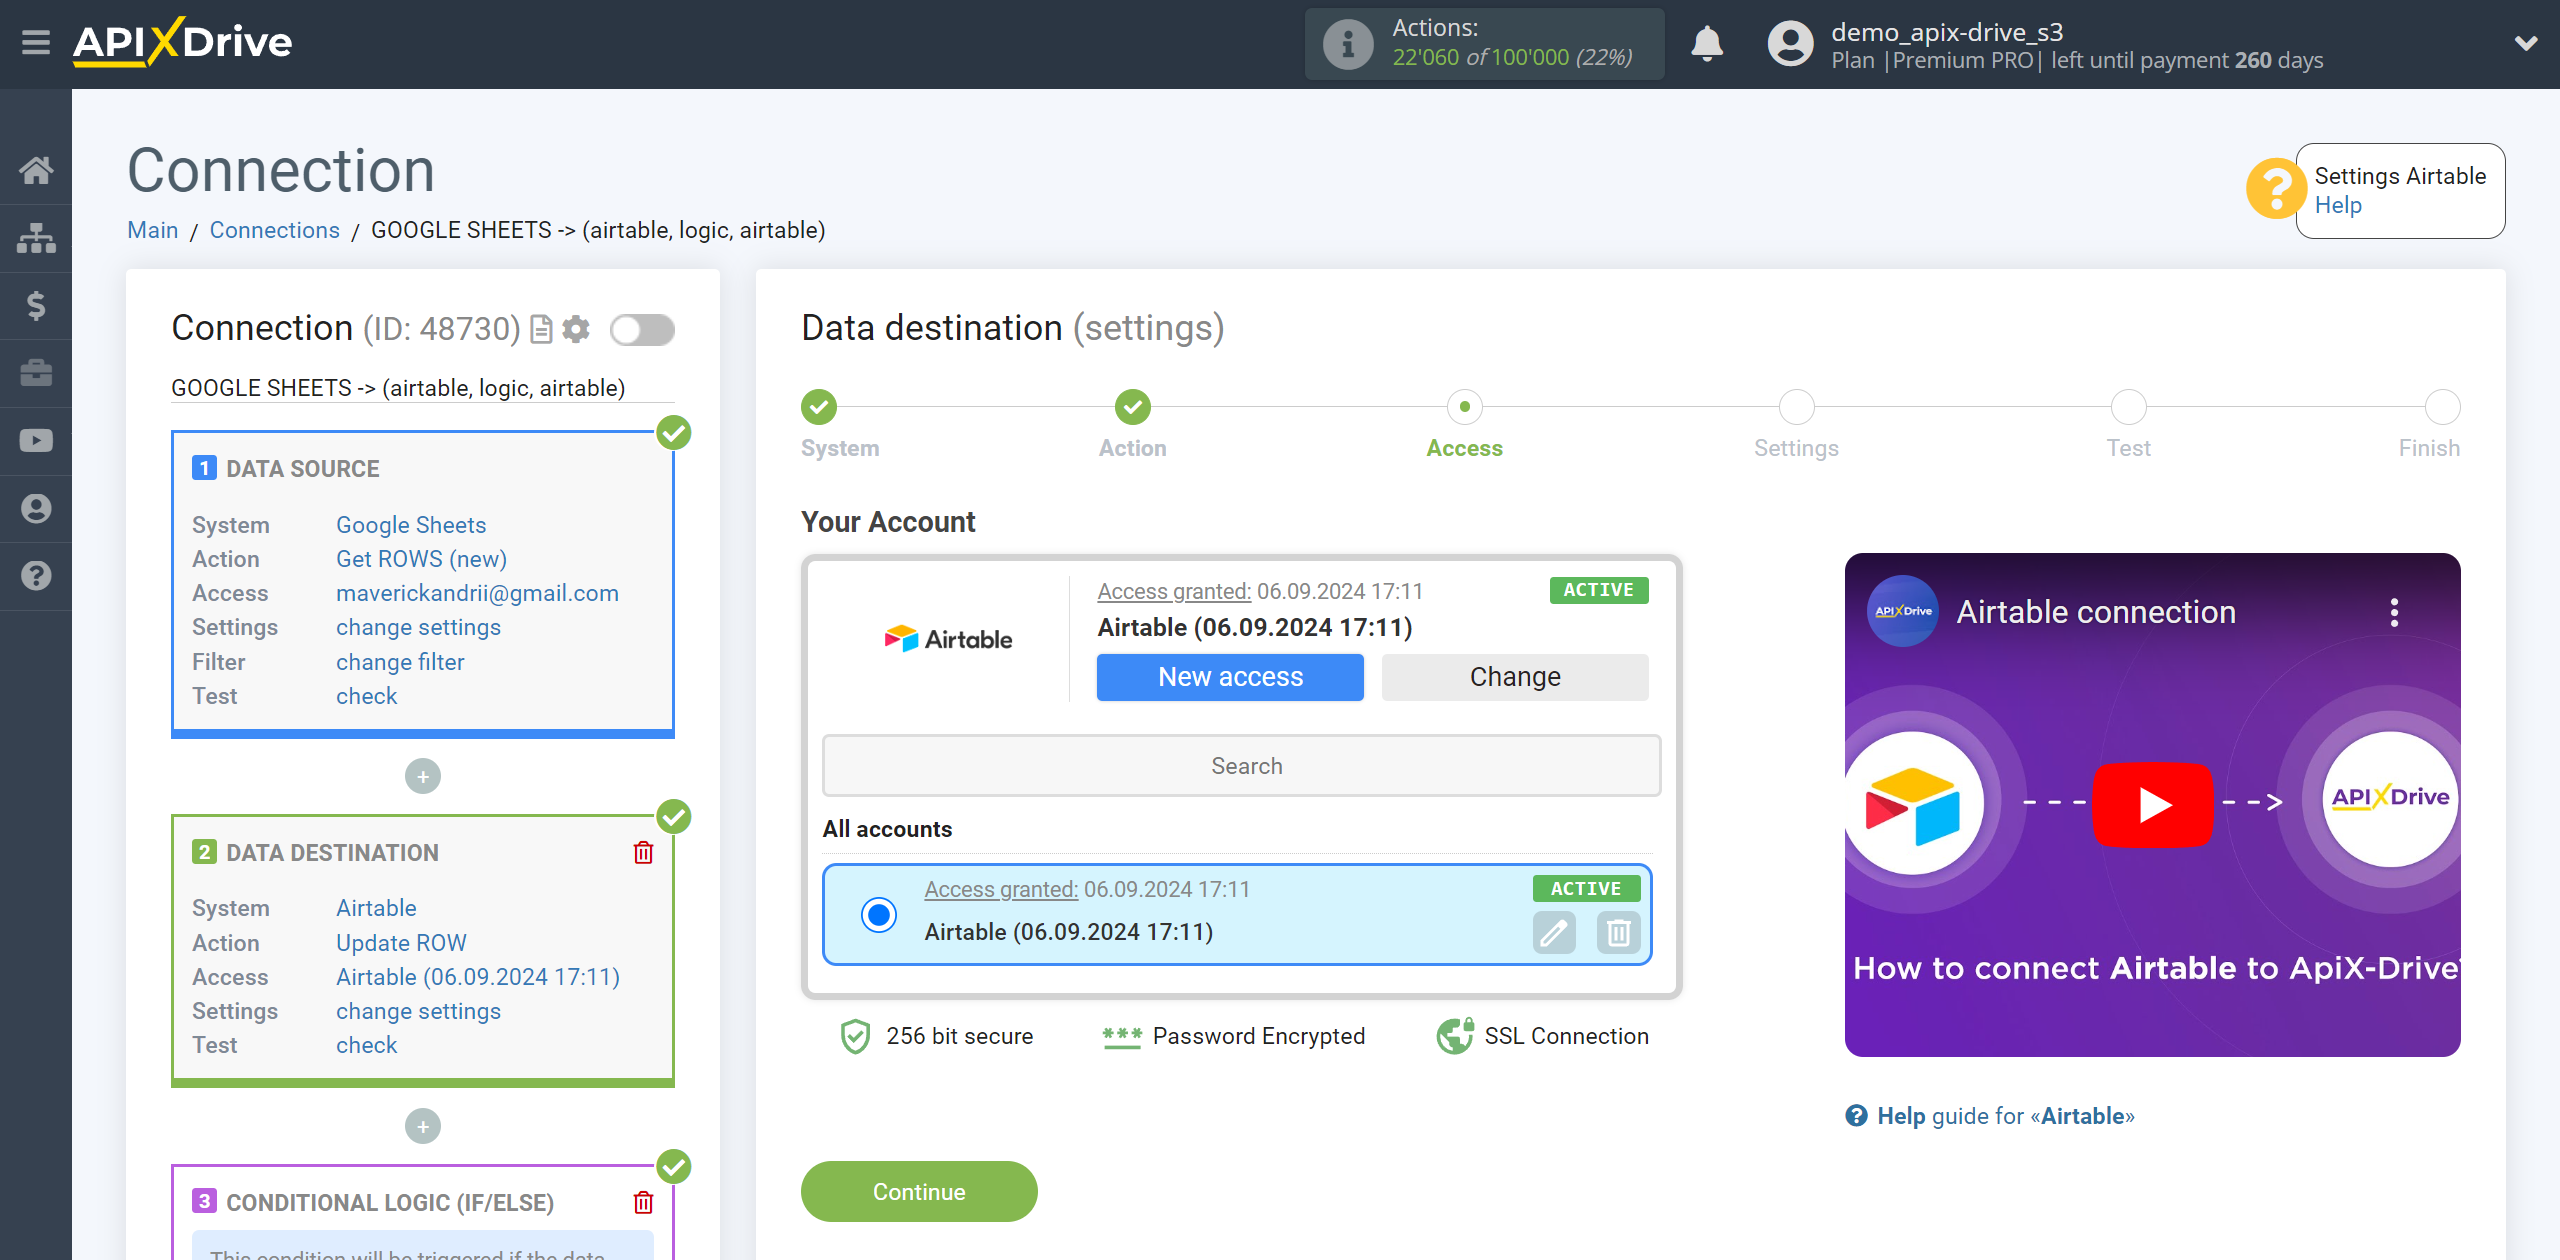
The next step is to select an AirTable account to which data will be transferred to add rows if the row update is unsuccessful.
Select from the "active accounts" list the same AirTable account that was connected in the first section Data Destination to update rows.
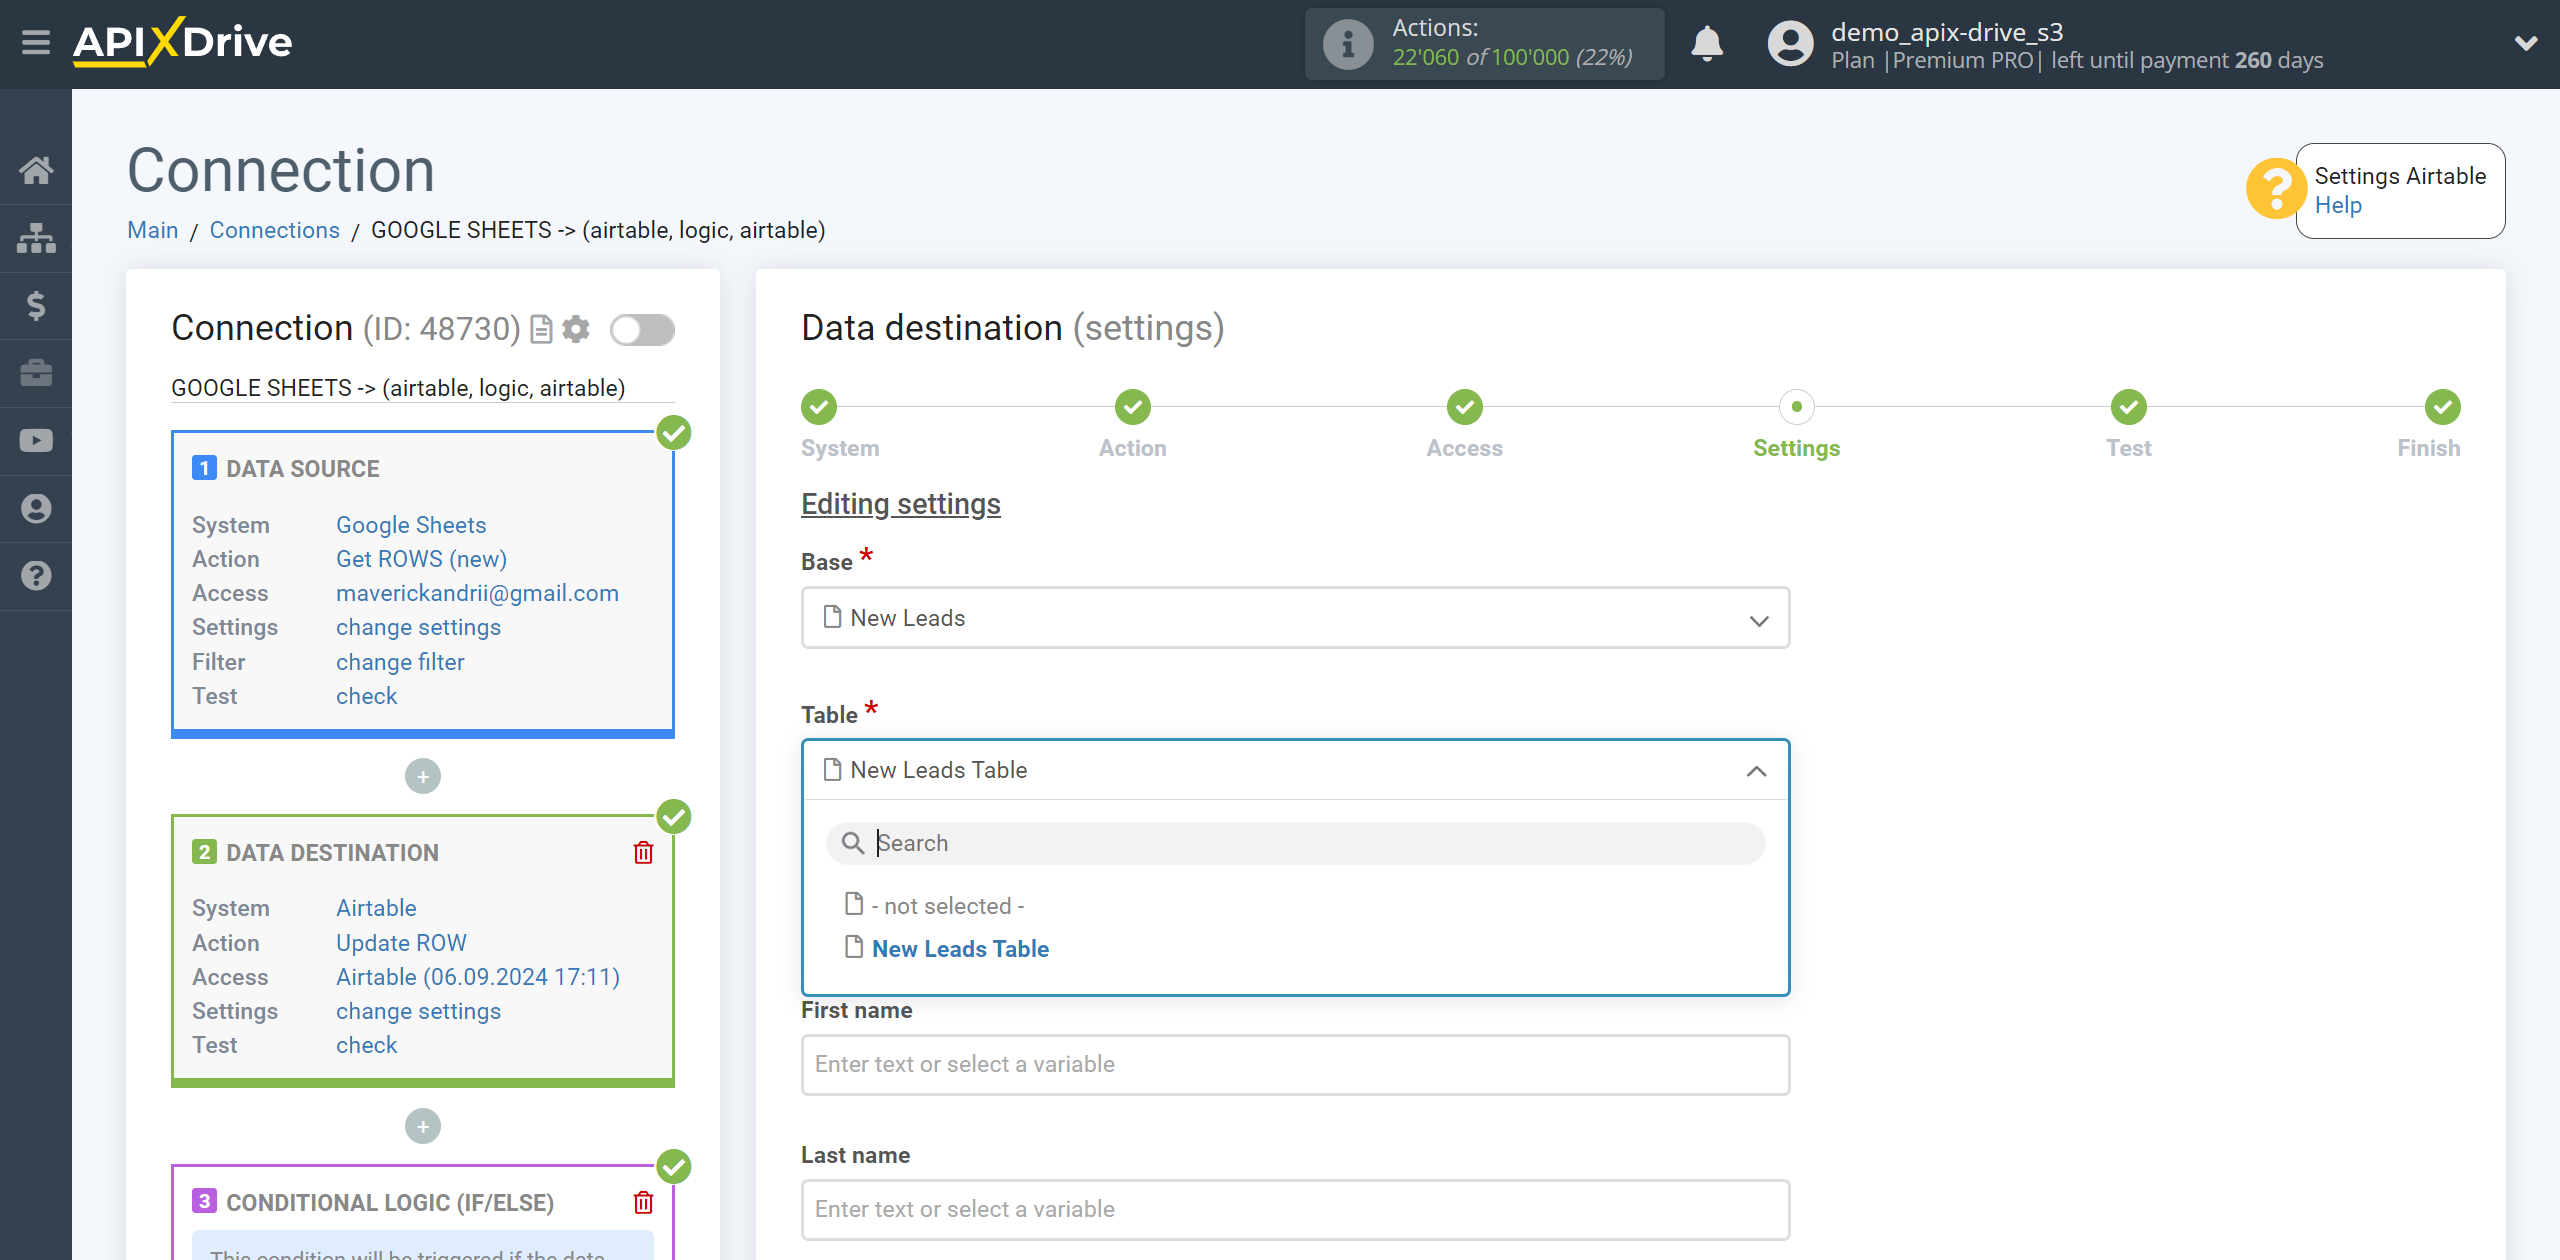
Select the base and table AirTable to which the data will be transferred.
Next, select the required data that is in the Google Sheets cells, click on the parameter and it will be assigned to the selected AirTable field to add rows. When selecting variables, you will be able to see what data is in the Google Sheets fields.
Note that you can use not only Google Sheets variables, but also manually entered data.
Click "Edit and continue" when you are done with assigning fields.
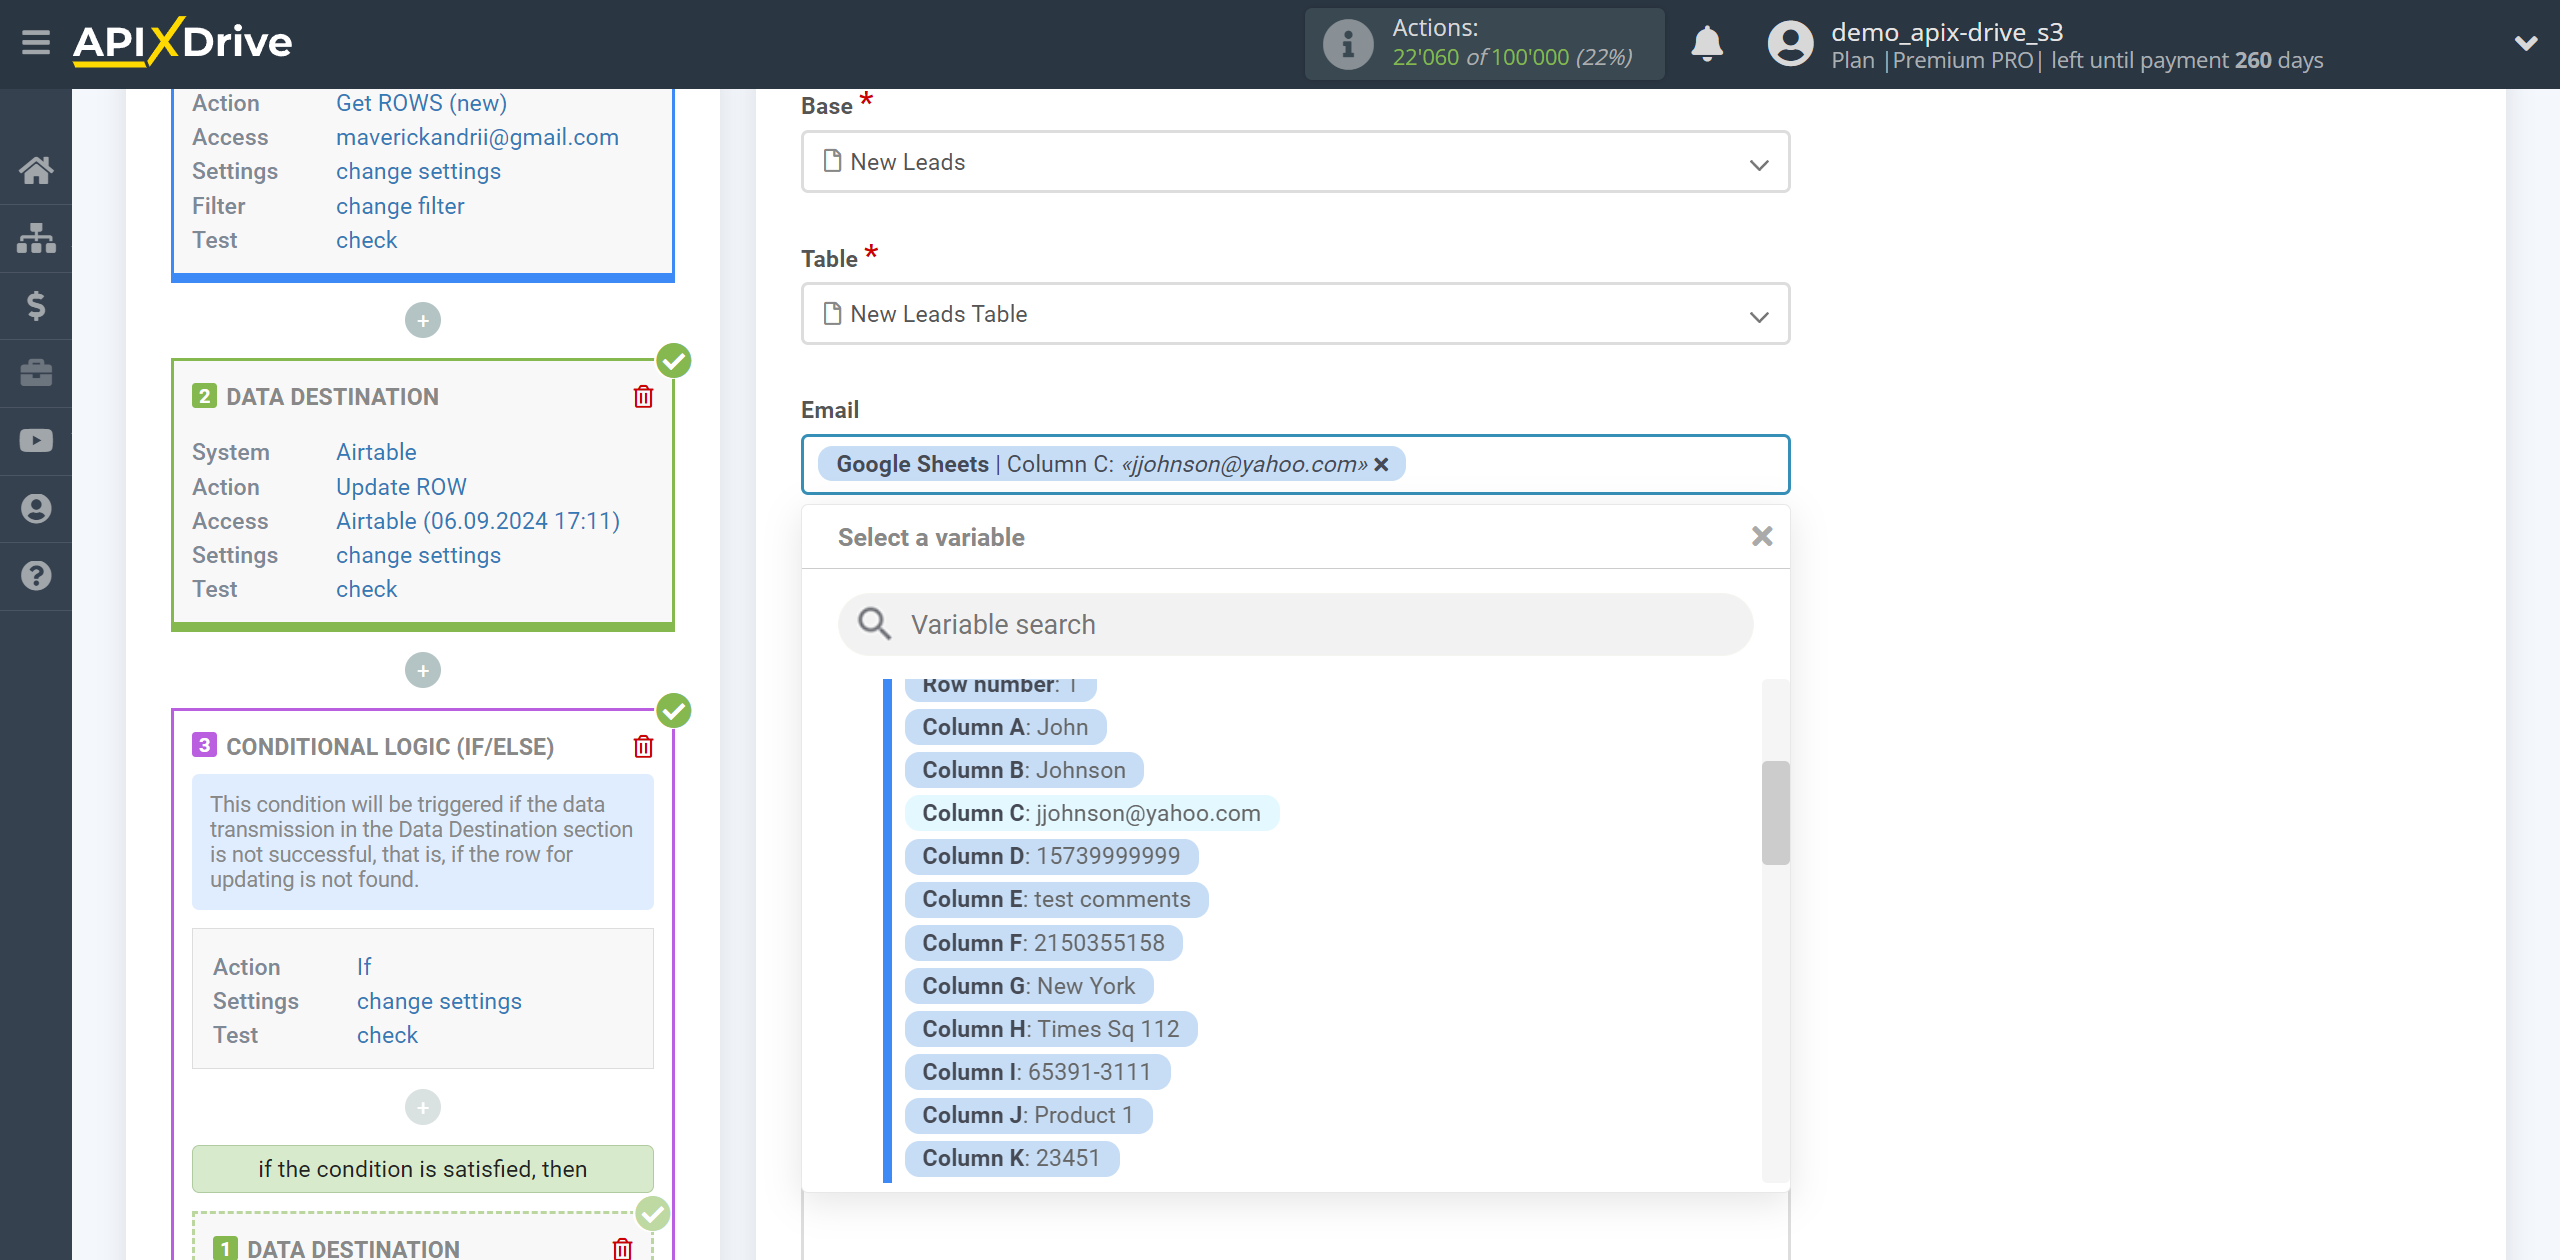
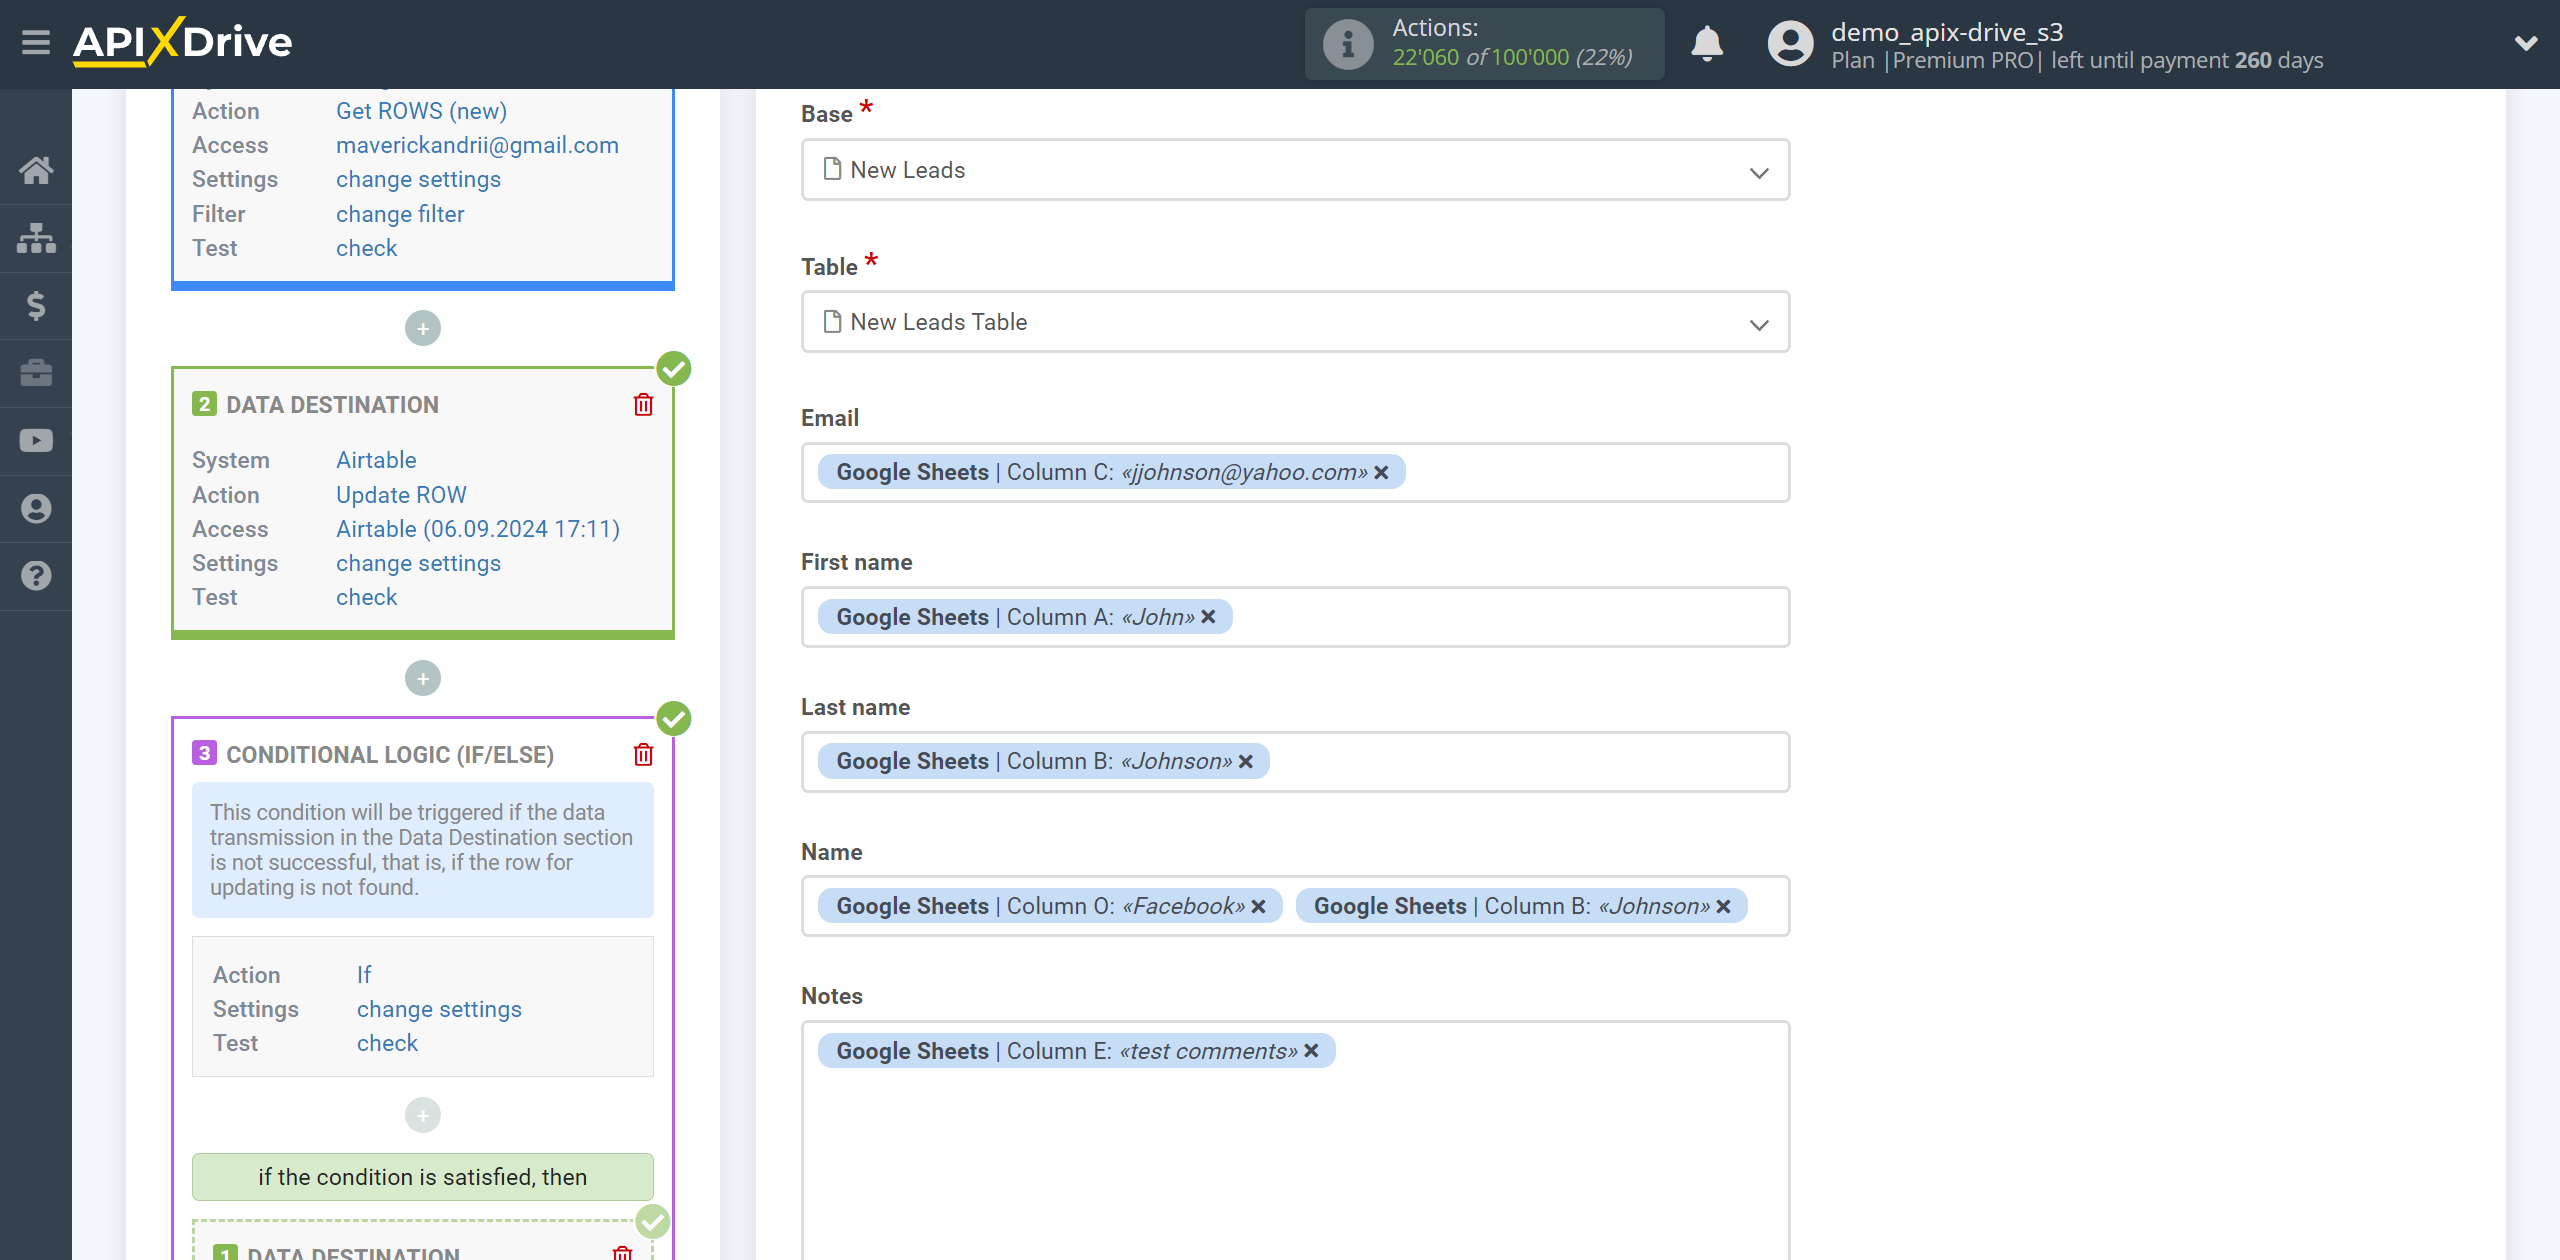
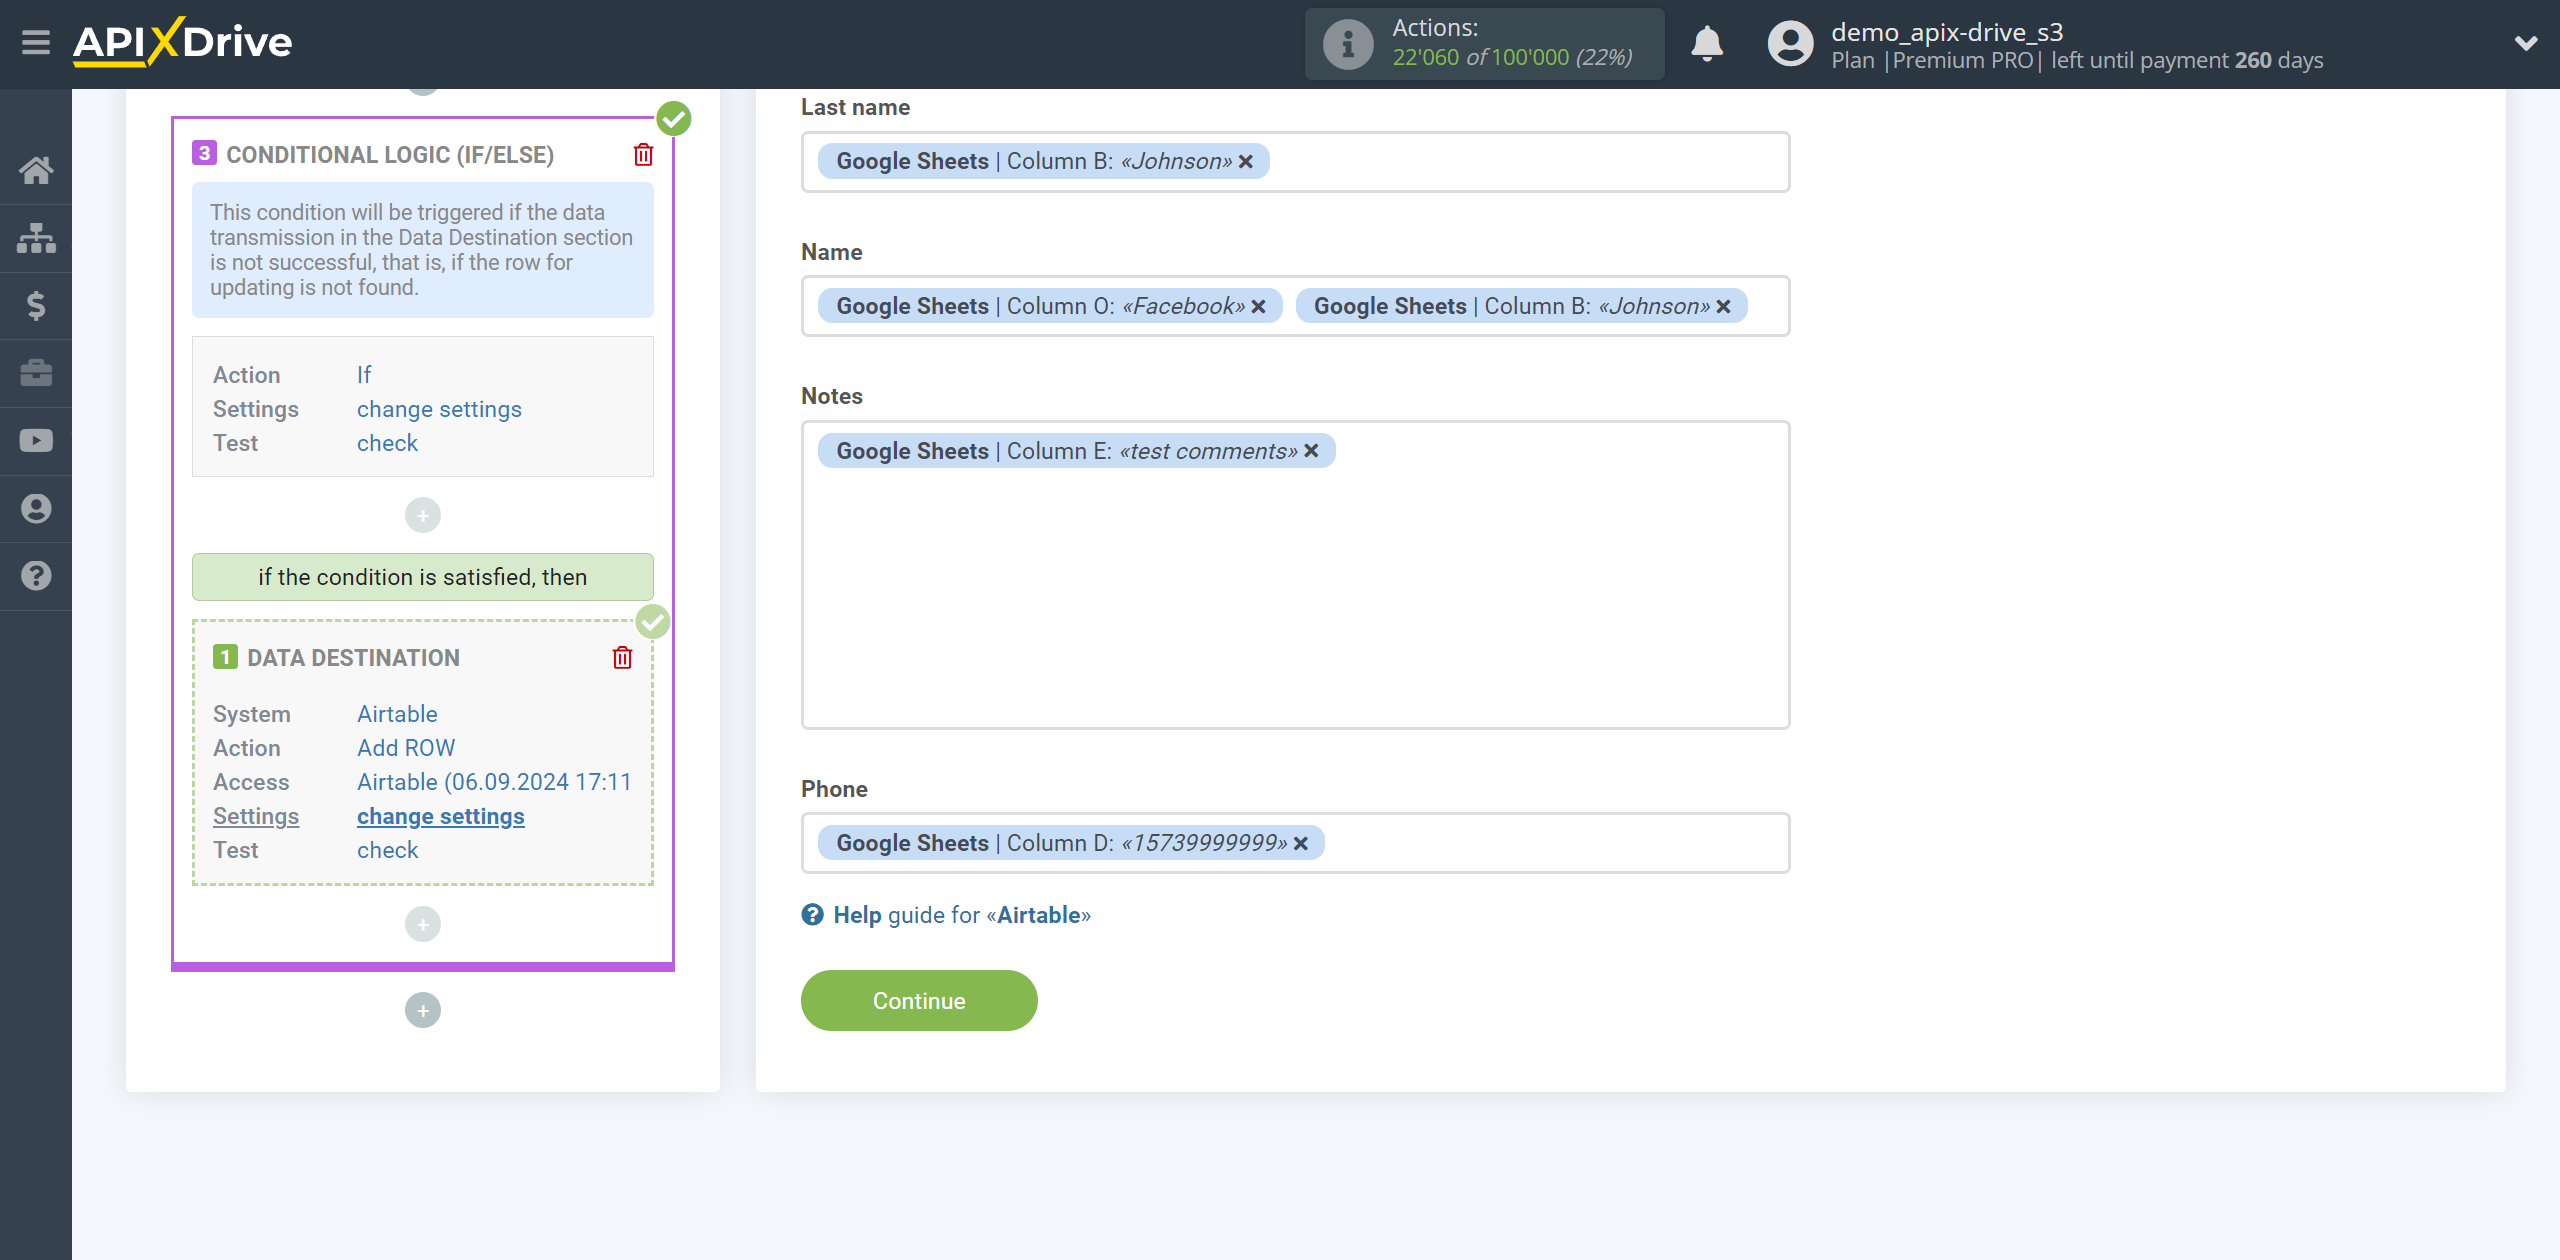
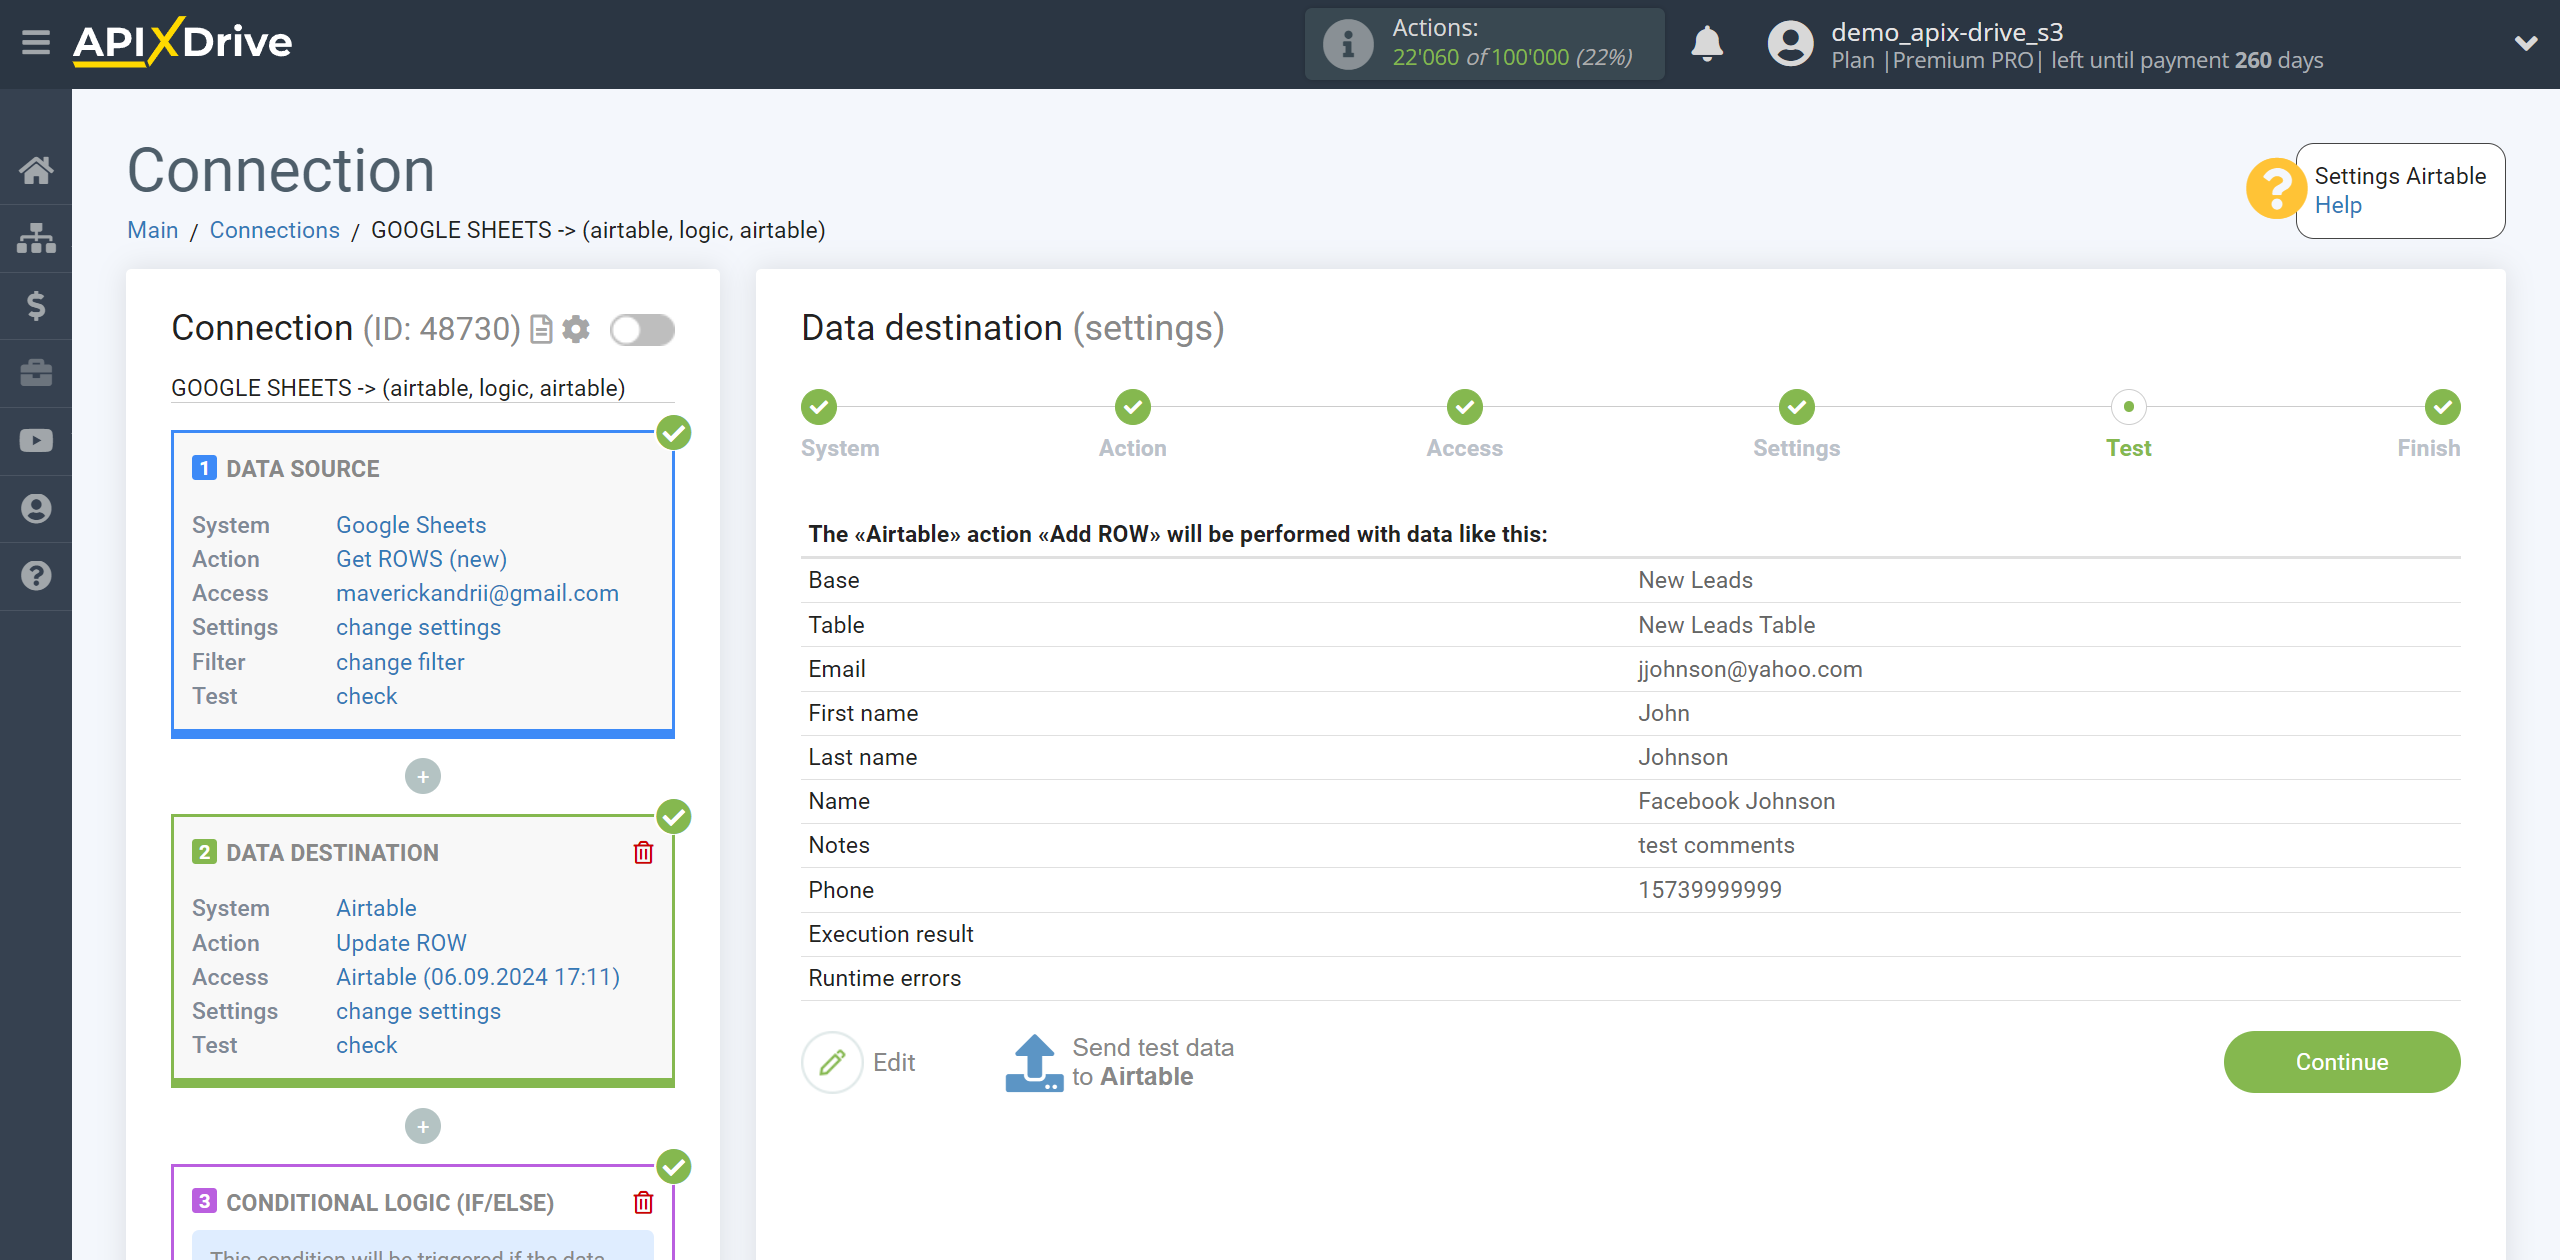
Now you can see the test data that will be sent to AirTable to add a new row.
If you want to send test data to AirTable to check the correctness of the settings, click "Send test data to AirTable" and check the result in the selected database and table.
If you are not satisfied with something, click “Edit” and go back a step.
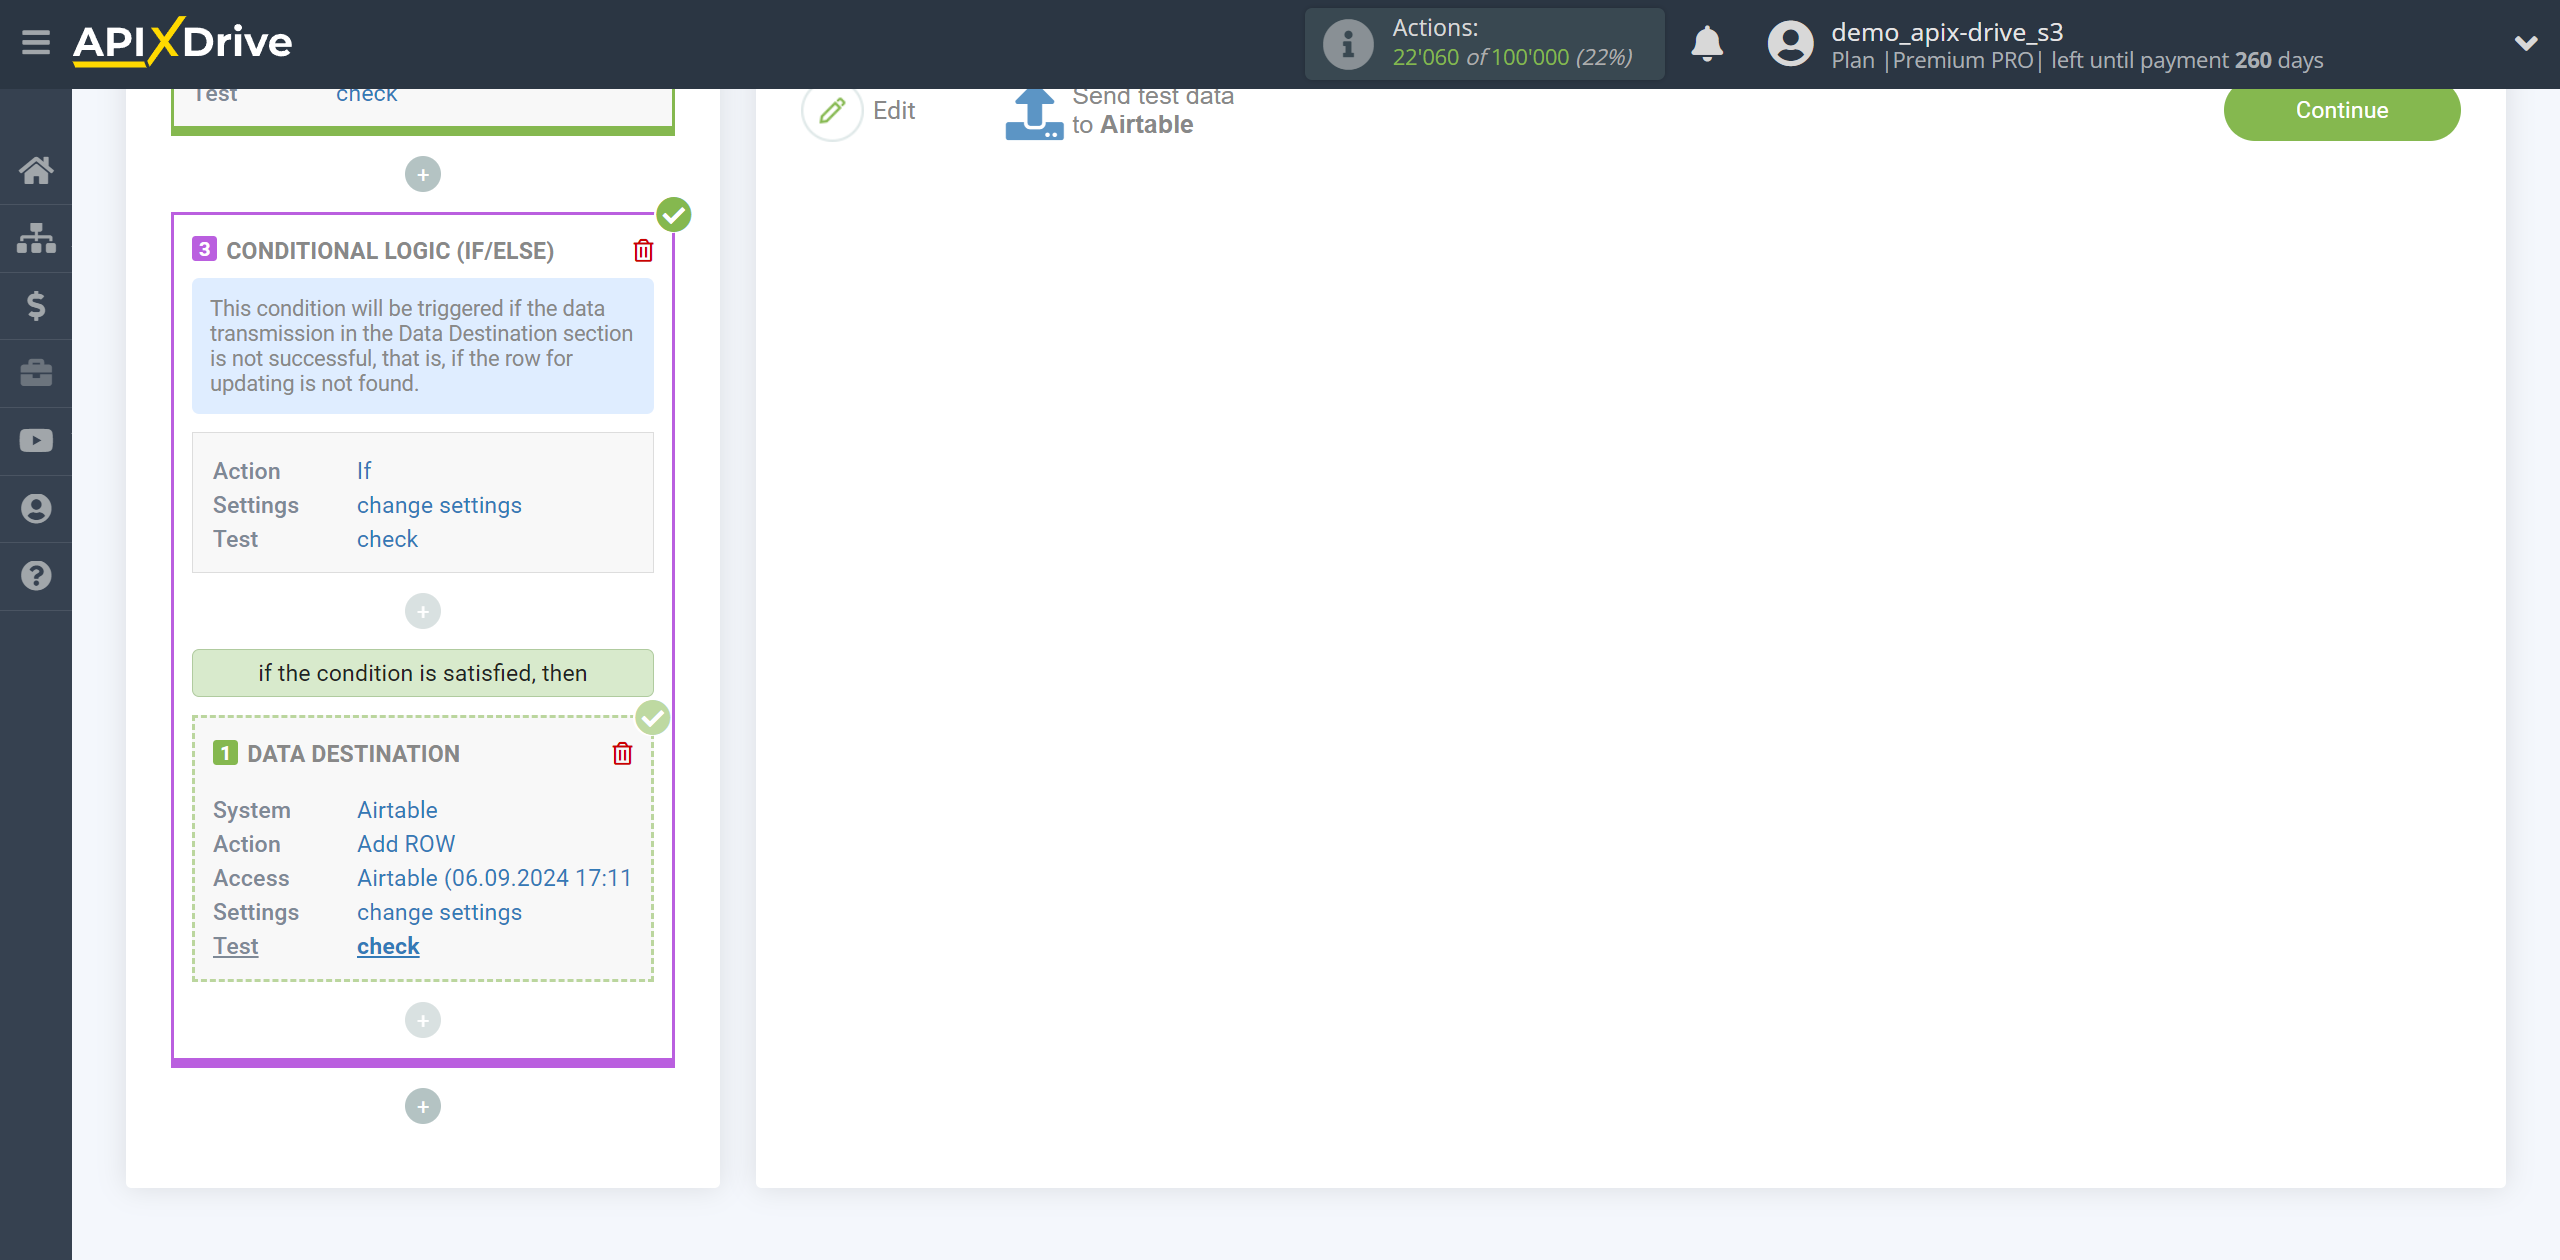
This completes the setup for Data Destination AirTable row adding!
As a result, we have the following condition: When get data from the Data Source system, we transfer the data to AirTable to update the row. If the row is not updated, that is, an error occurred or for some other reason the update failed, then we transfer the data to AirTable to add a row.
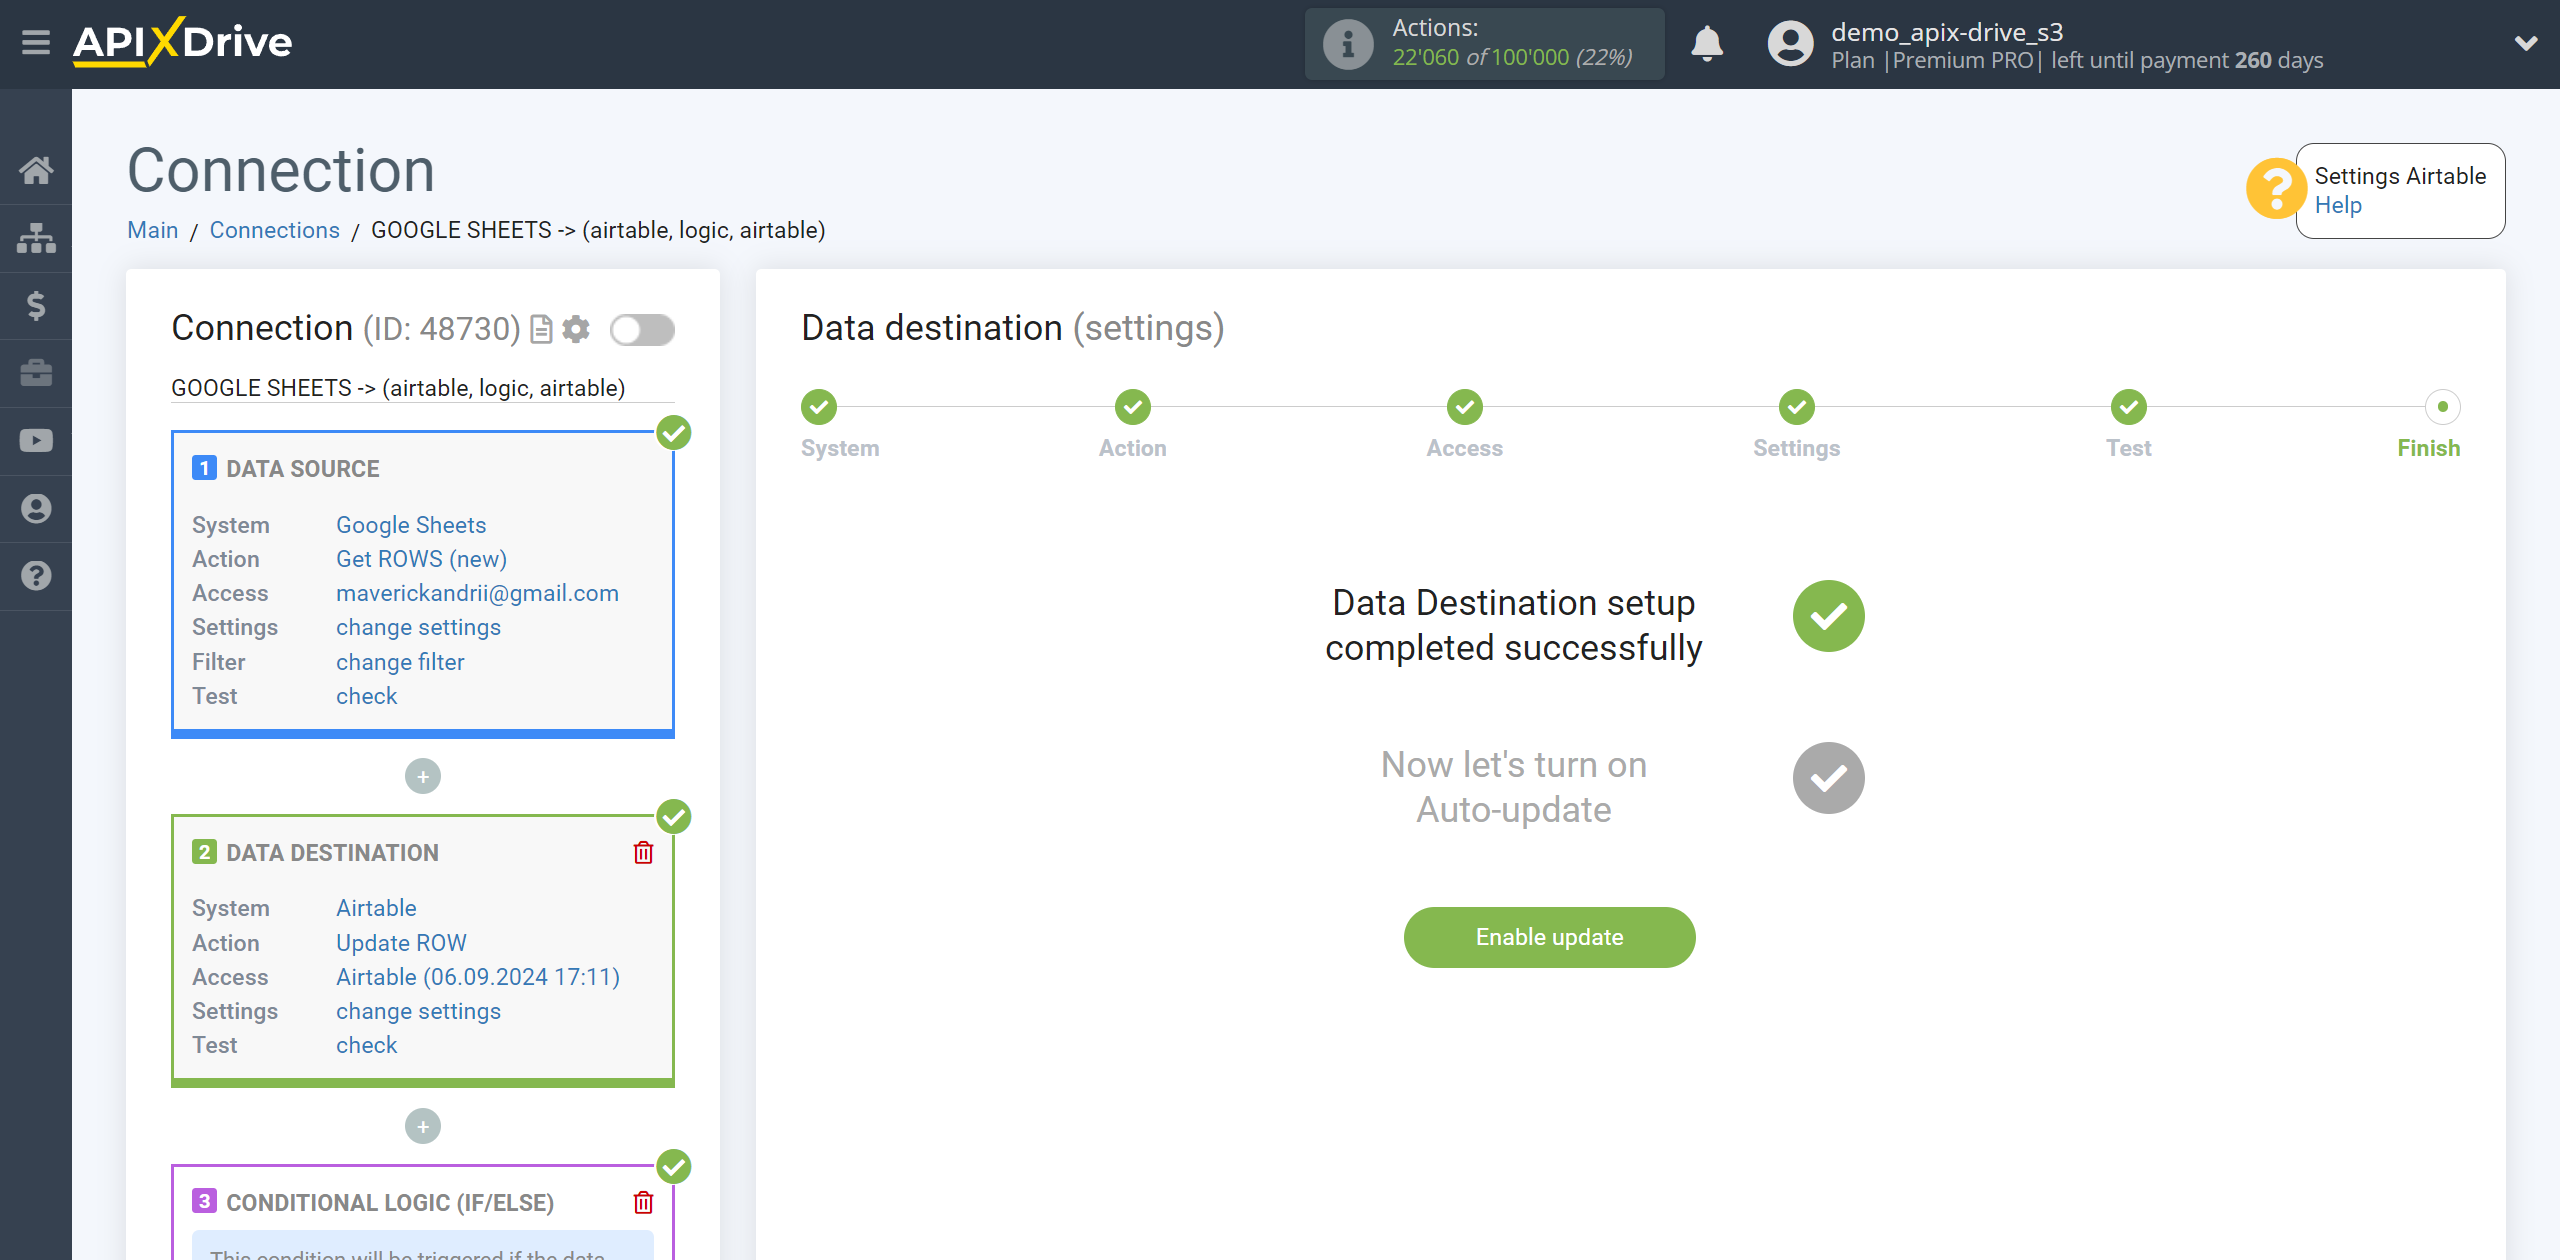
Now you can start choosing the update interval and enabling auto-update.
To do this, click "Enable update".
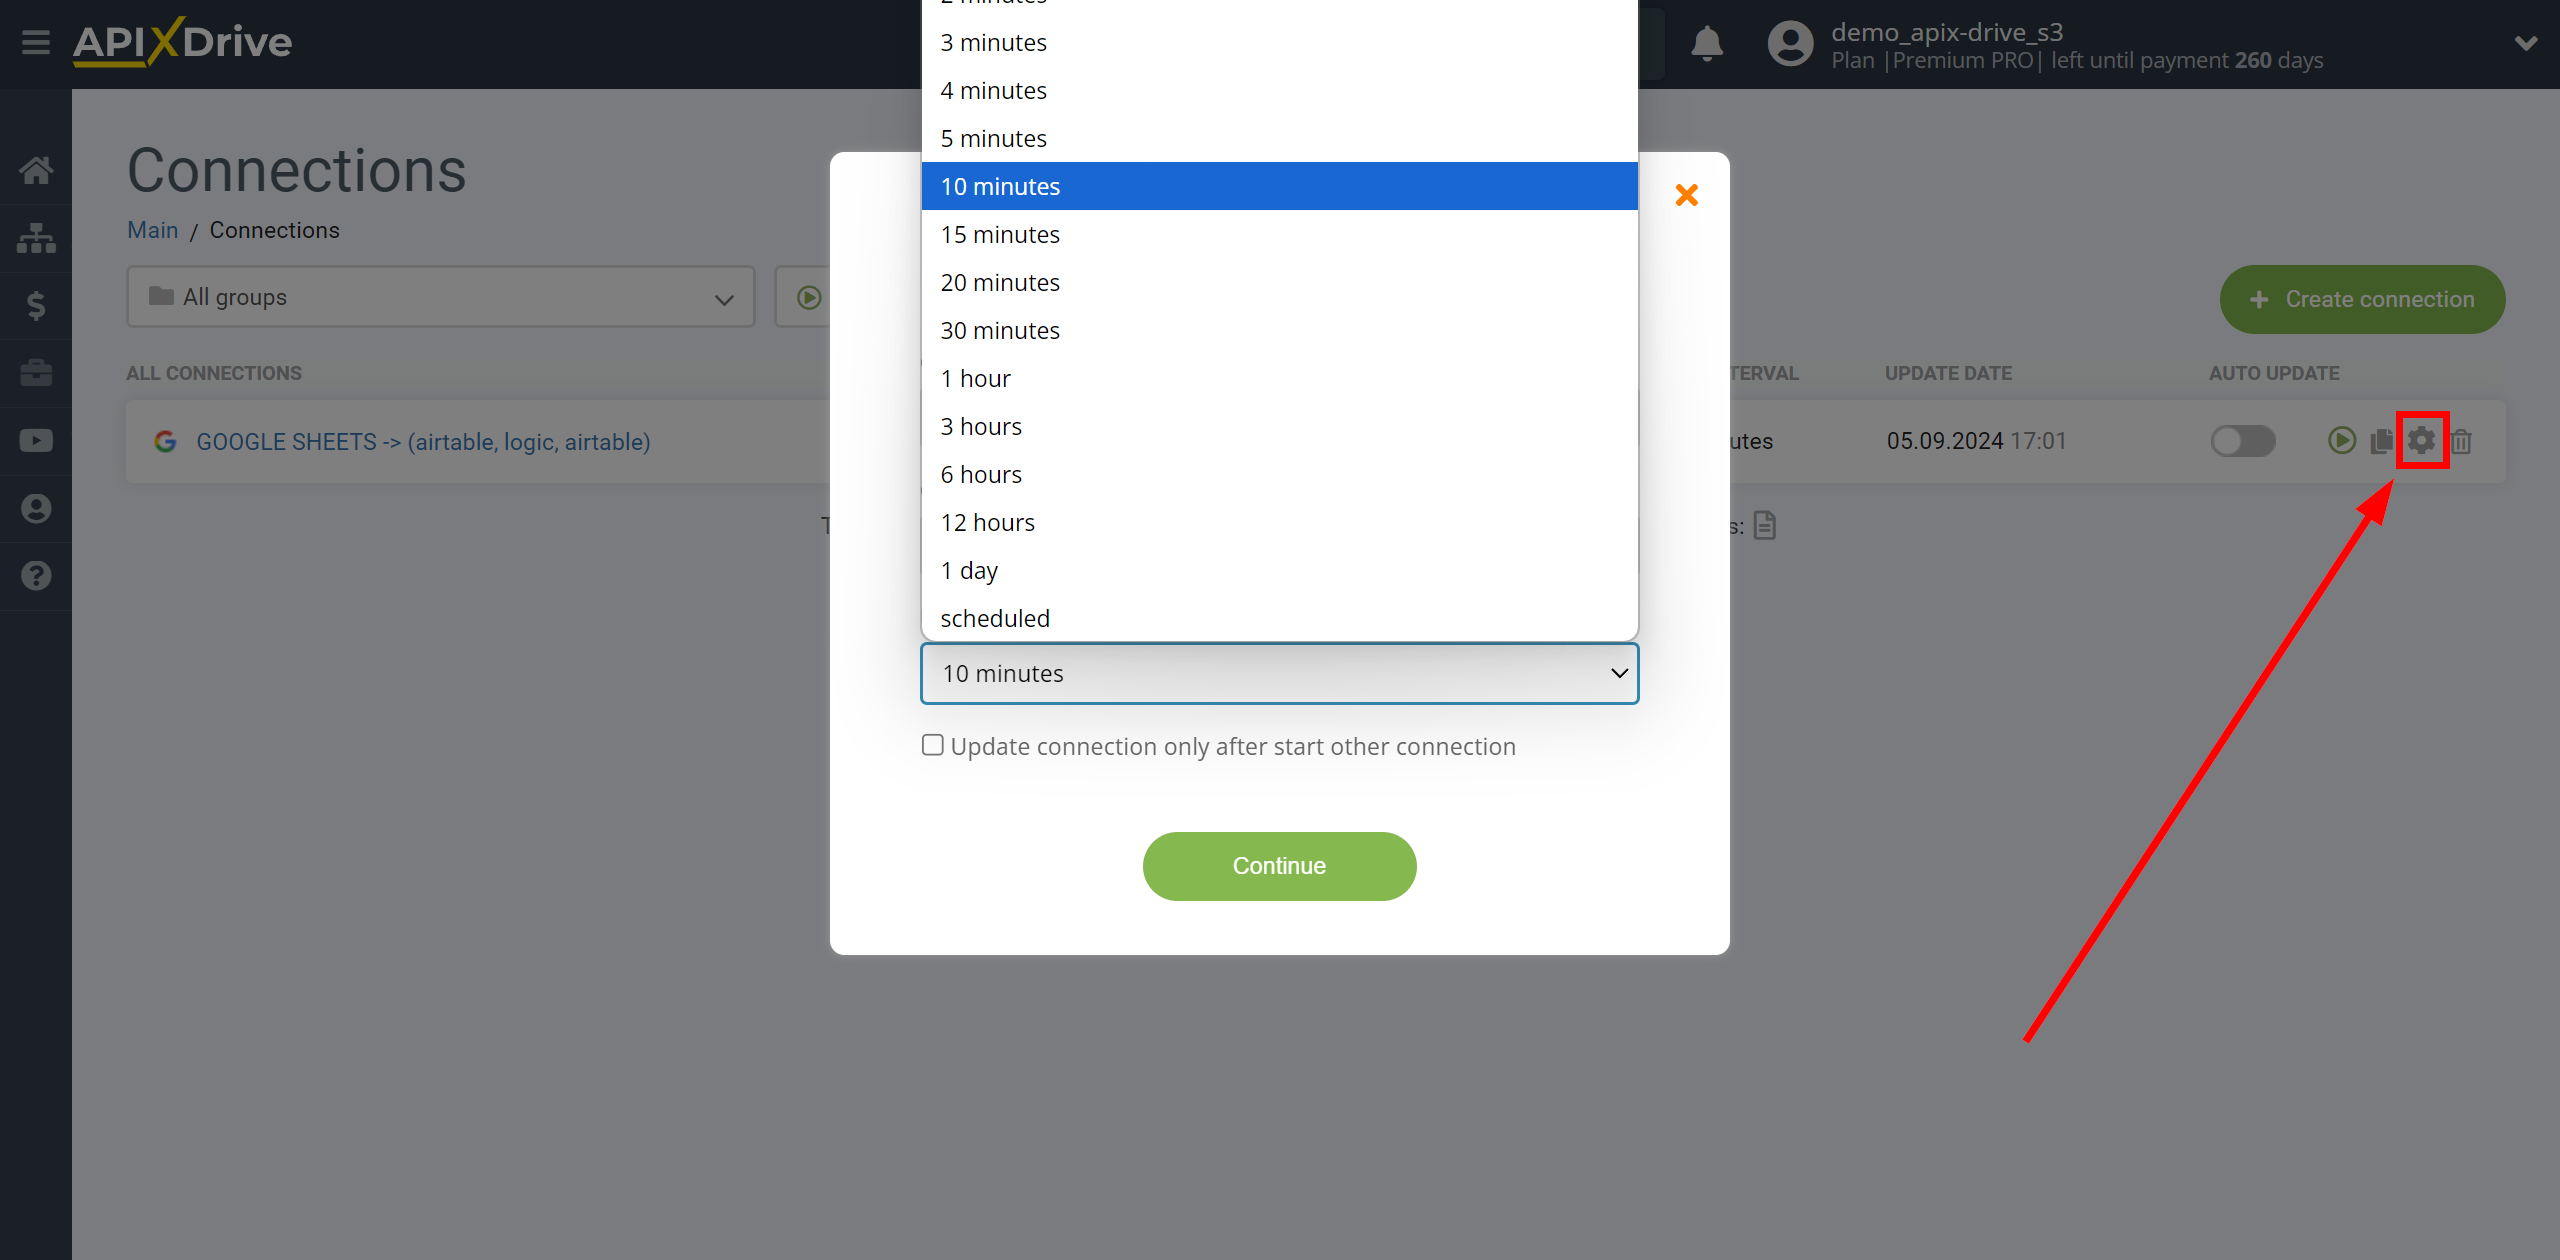
On the main screen, click on the gear icon to select the required update interval or setup scheduled launch. To start the connection by time, select scheduled start and specify the desired time for the connection update will be started, or add several options at once when you need the connection will be started.
Attention! In order for the scheduled launch to work at the specified time, the interval between the current time and the specified time must be more than 5 minutes. For example, you select the time 12:10 and the current time is 12:08 - in this case, the automatic update of the connection will occur at 12:10 the next day. If you select the time 12:20 and the current time is 12:13 - the auto-update of the connection will work today and then every day at 12:20.
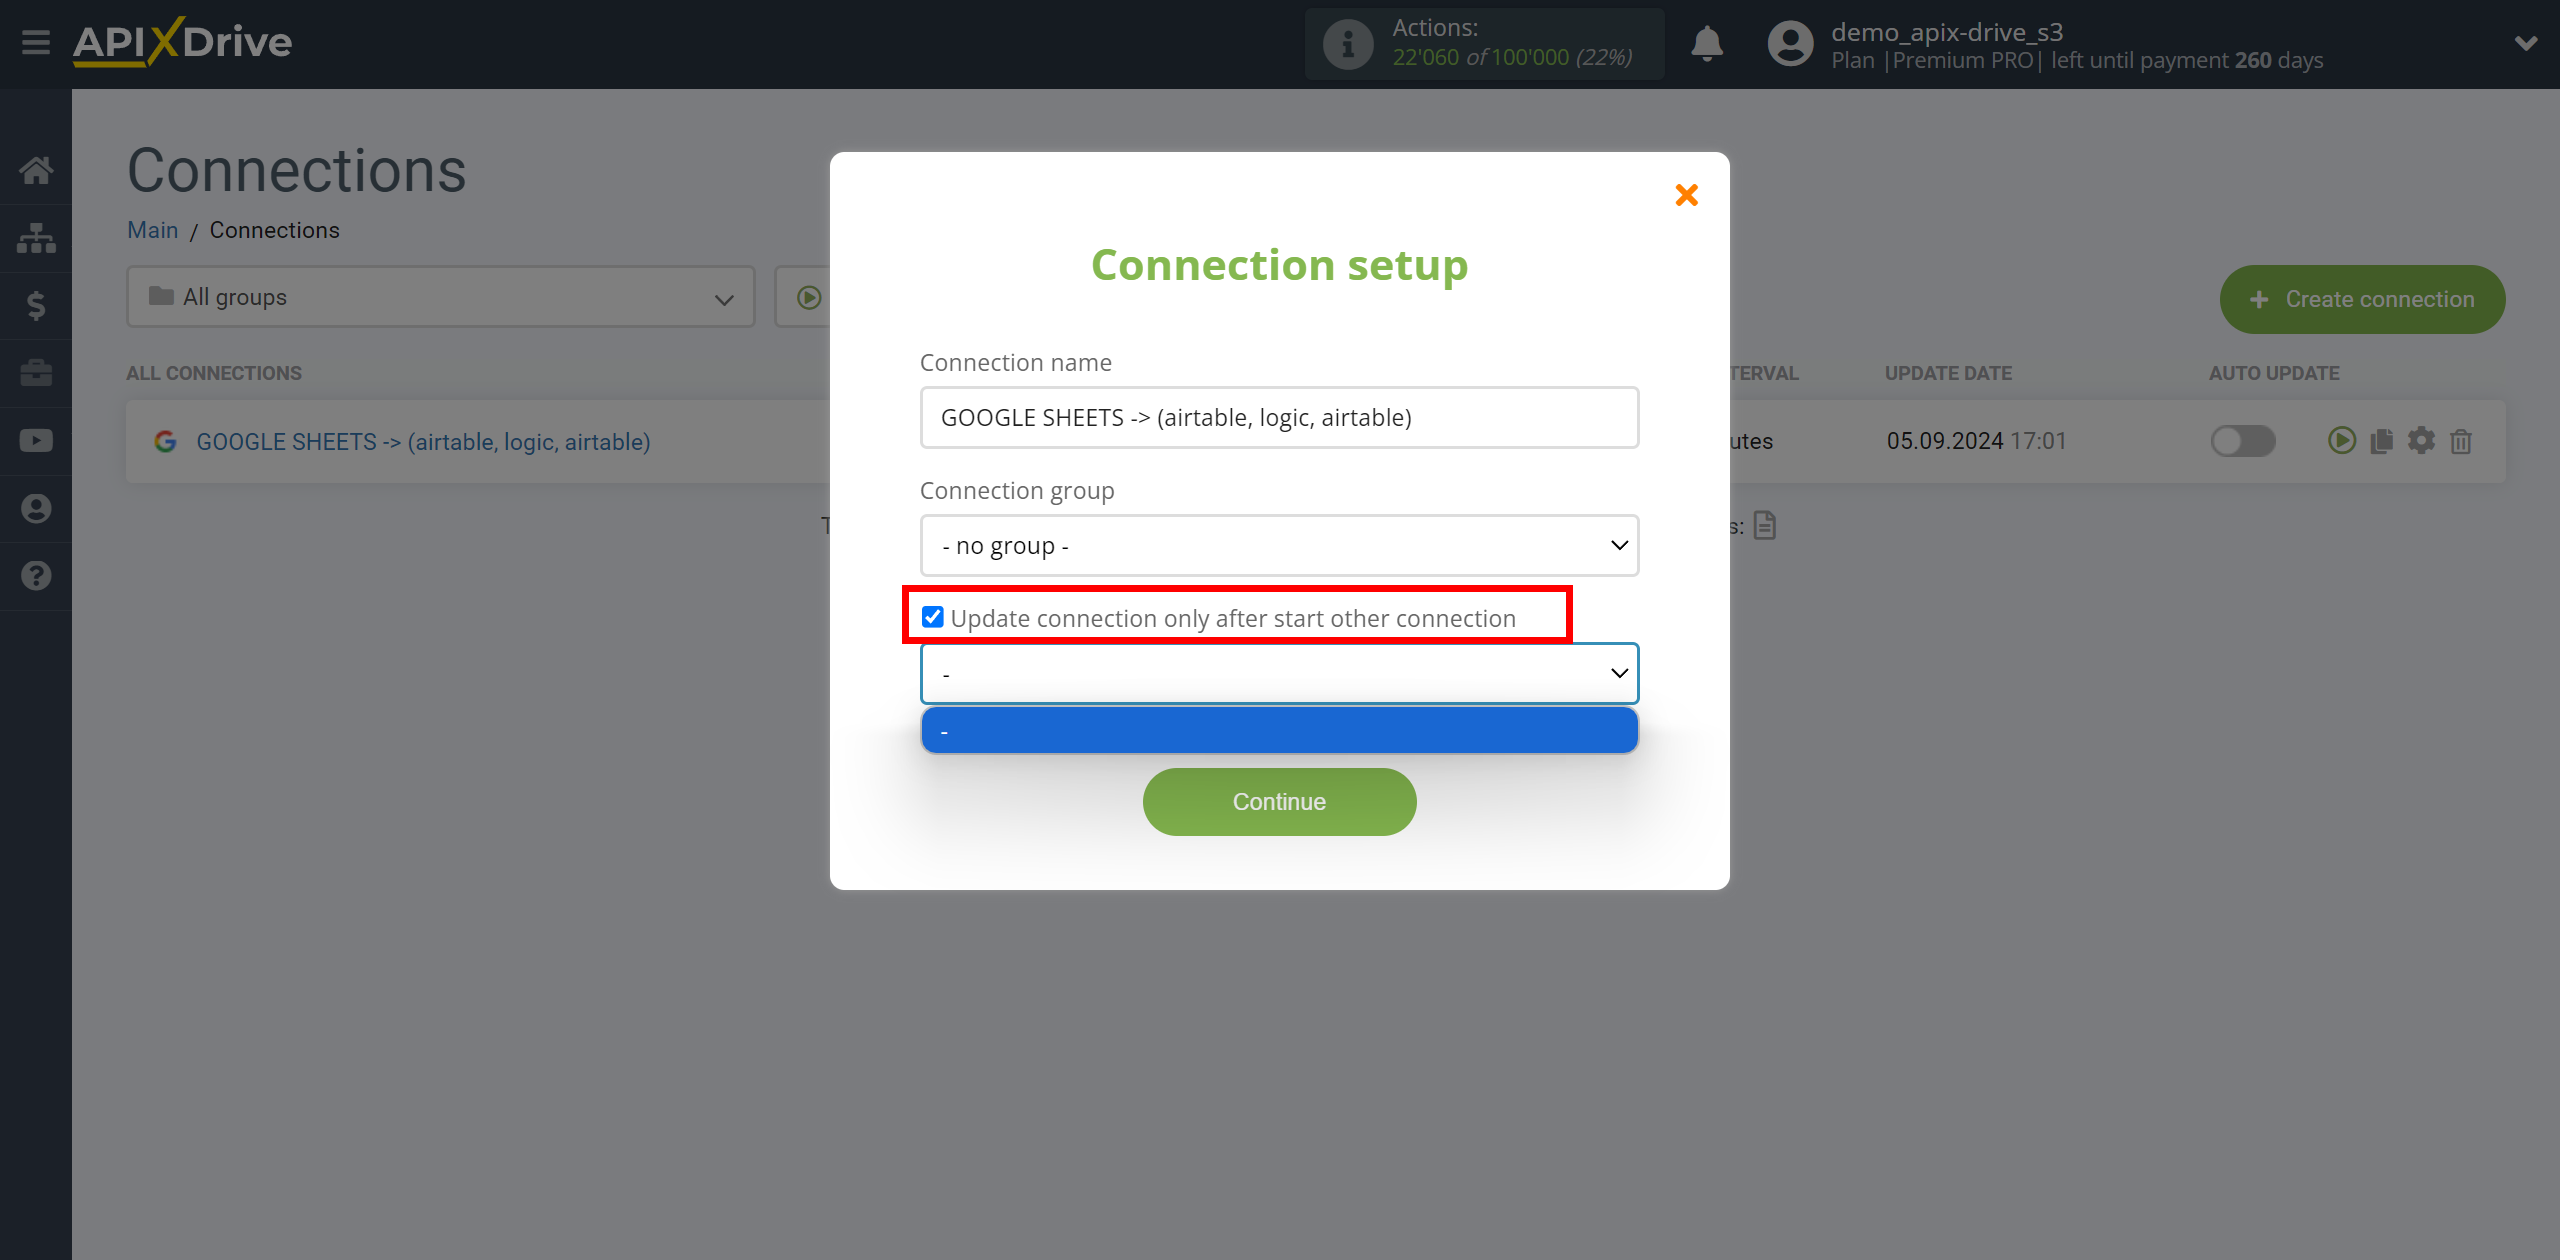
To make the current connection transmit data only after another connection, check the box "Update connection only after start other connection" and specify the connection after which the current connection will be started.
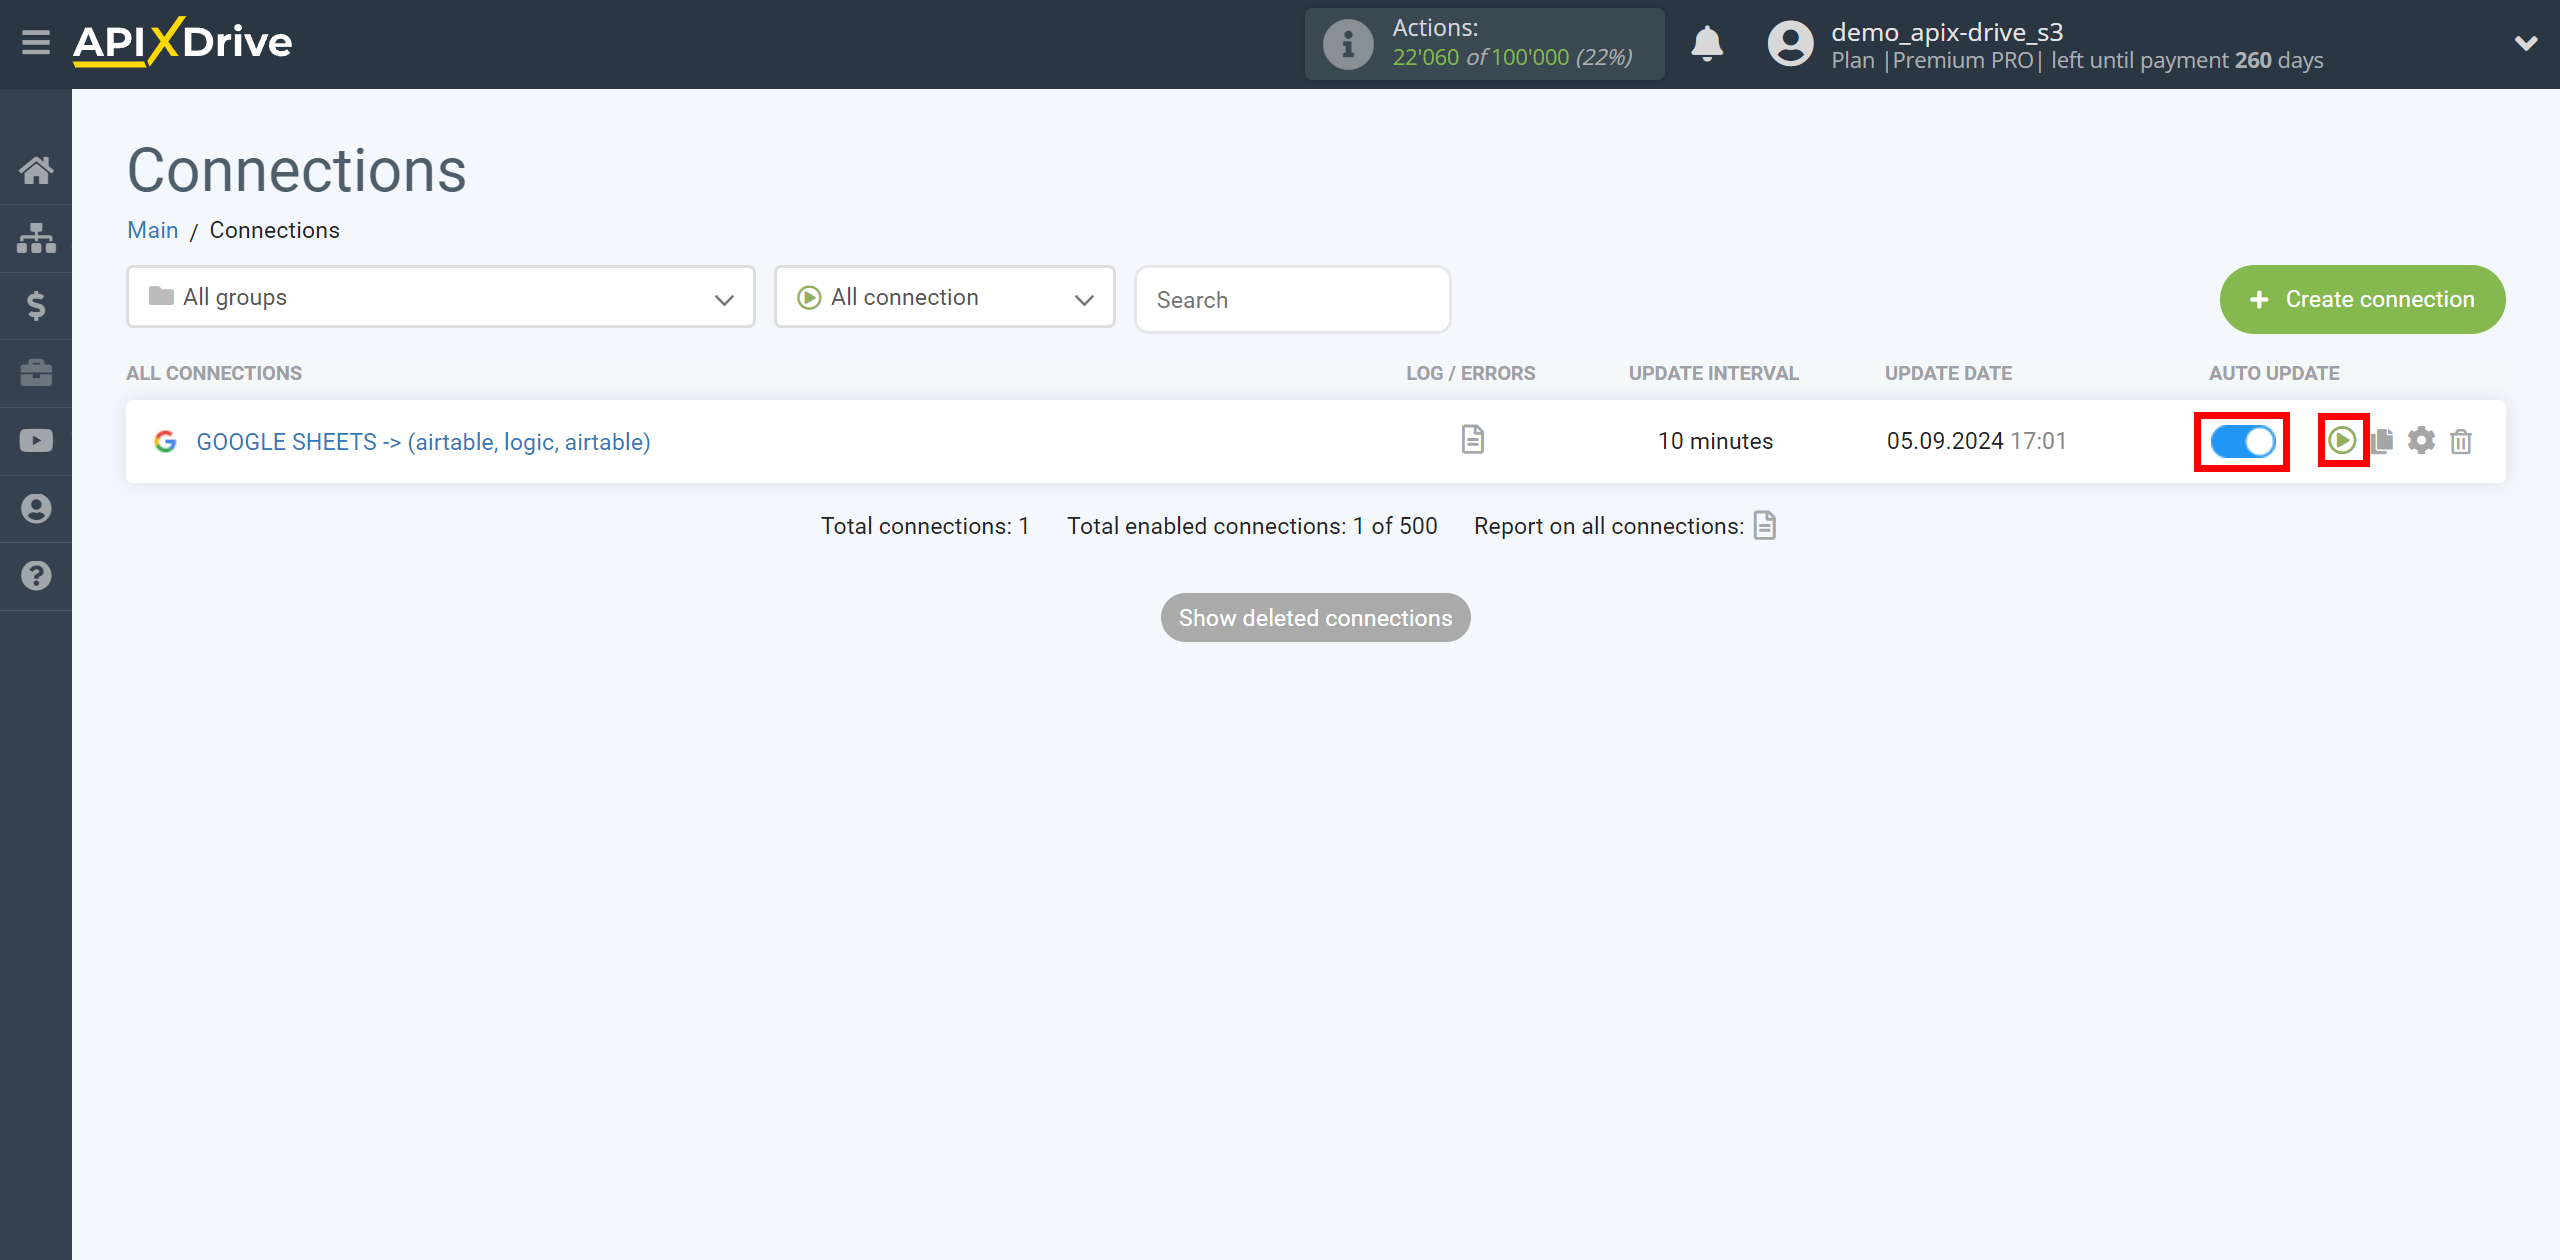
To enable auto-update, switch the slider to the position as shown in the picture.
To force a connection, click on the arrow icon.
This completes the AirTable Update Row / Add Row setup! See how simple it is!?
Now you don’t have to worry, ApiX-Drive will do everything on its own!
Note! This is not all the functionality of Logic If/Else. You can use the "Execution Result" parameter from the Logic If/Else section to send an additional notification to Slack or to a mail server, for example, in Gmail, and be aware of errors that occur in the Data Destination system if an entity has not been adding in it.
Setting an additional LOGIC IF/ELSE section
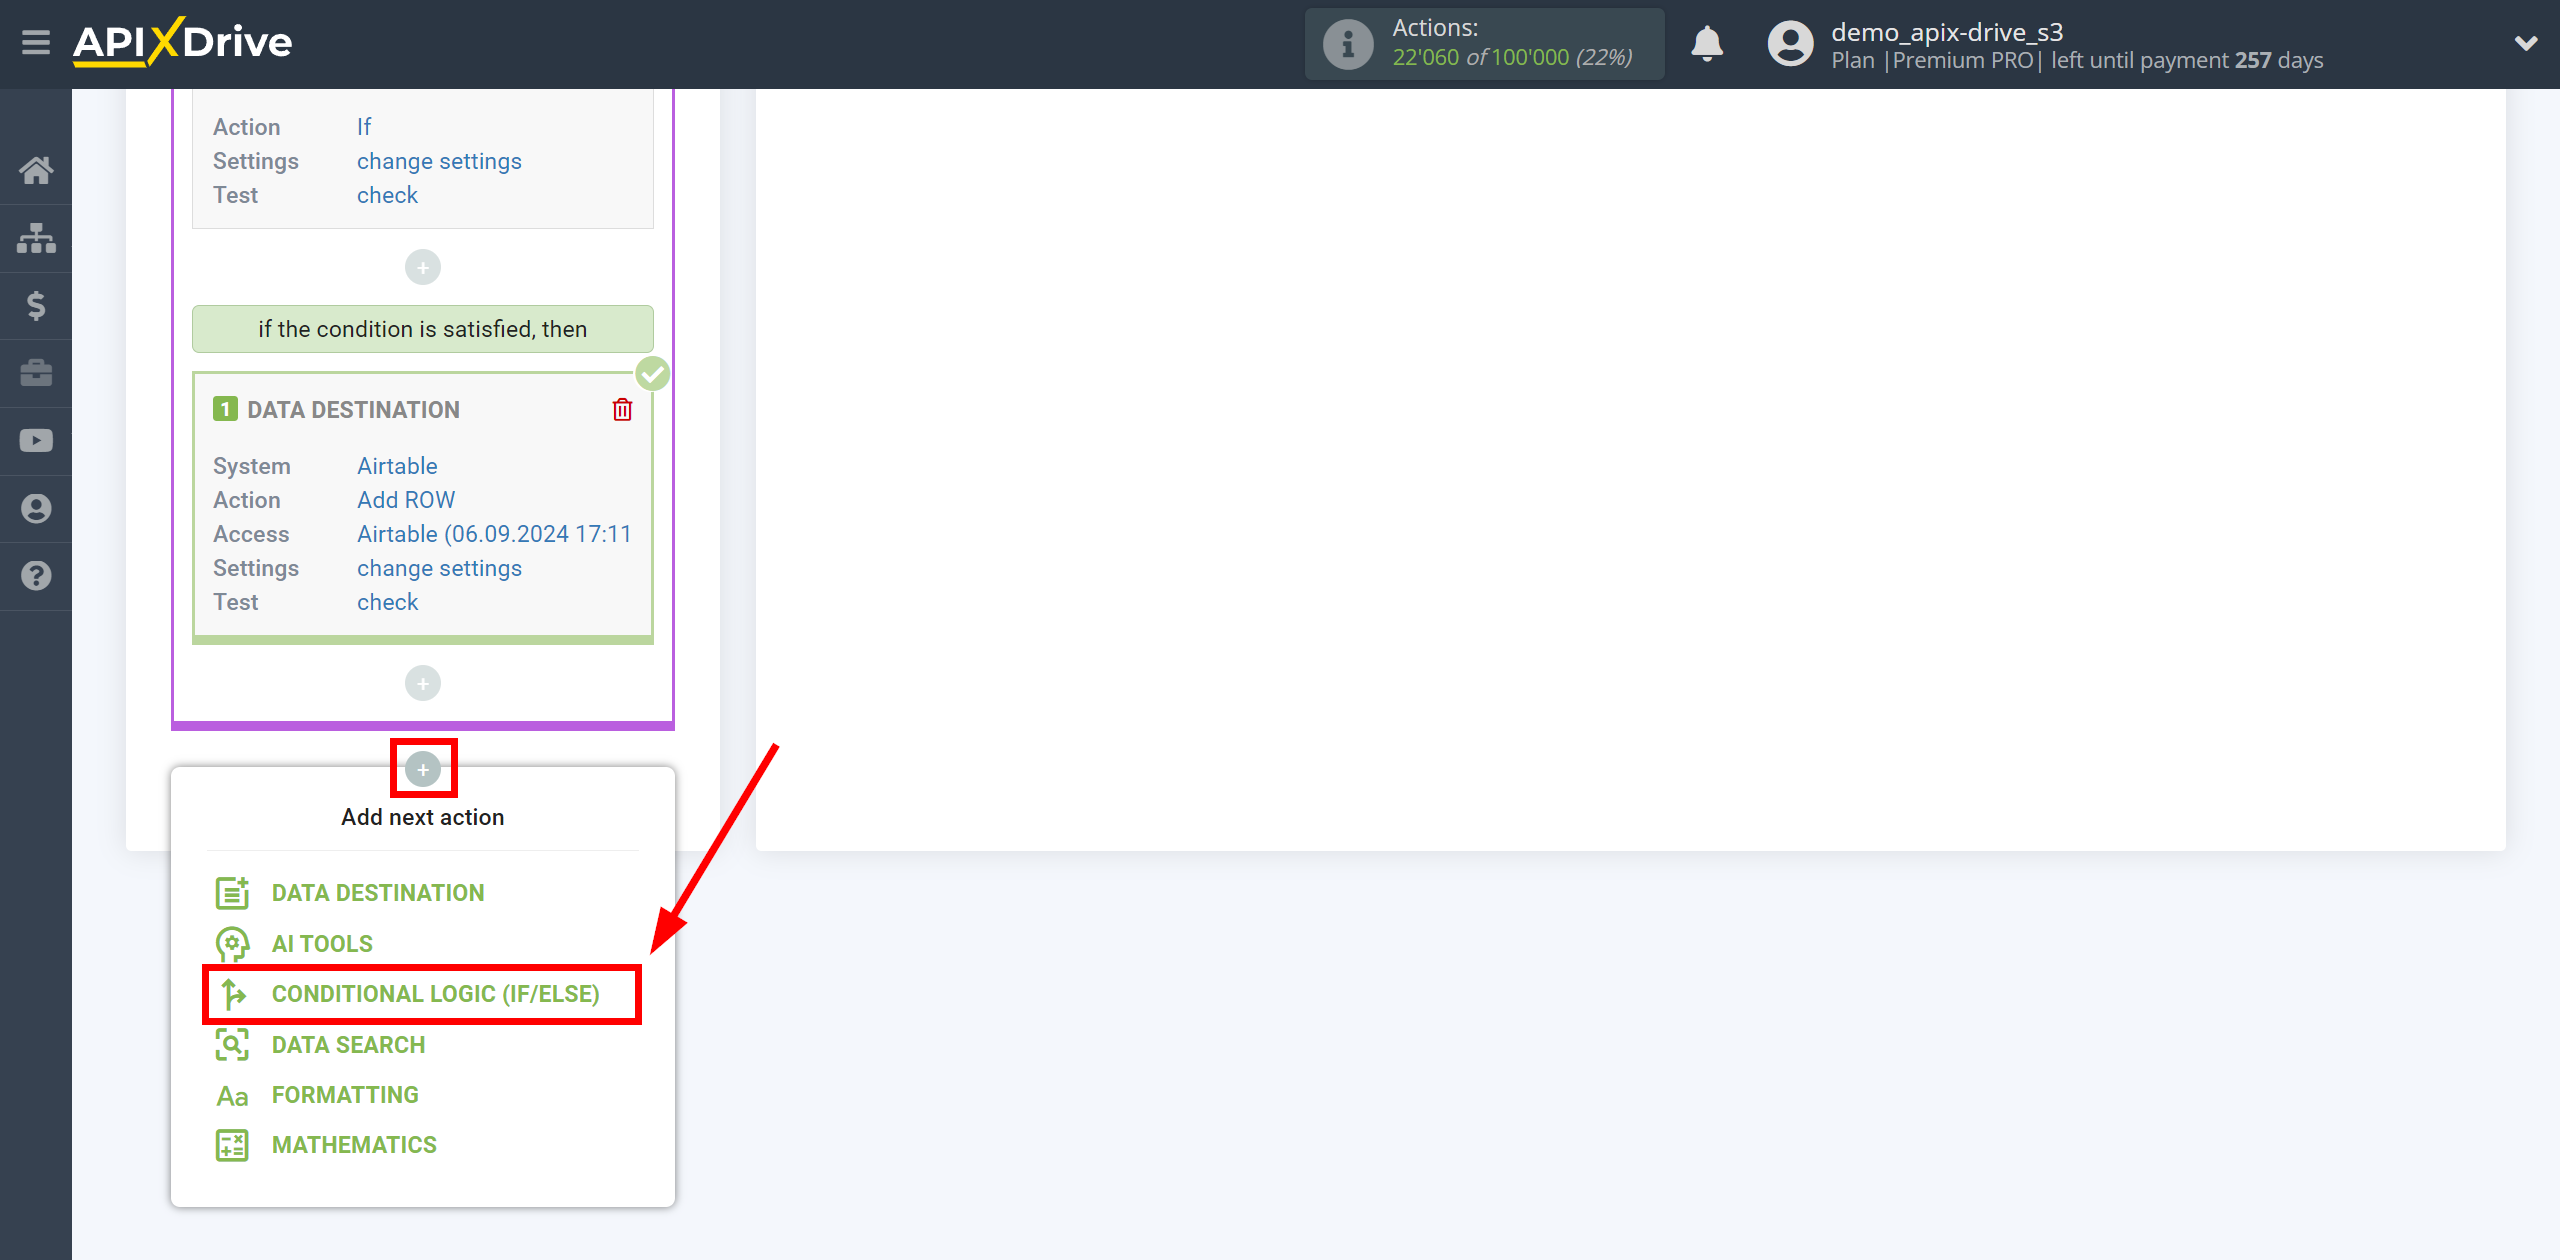
To do this, you need to add another Logic section in the connection and make another condition setting. To do this, click on “+” and select “LOGIC If\Else” from the list.
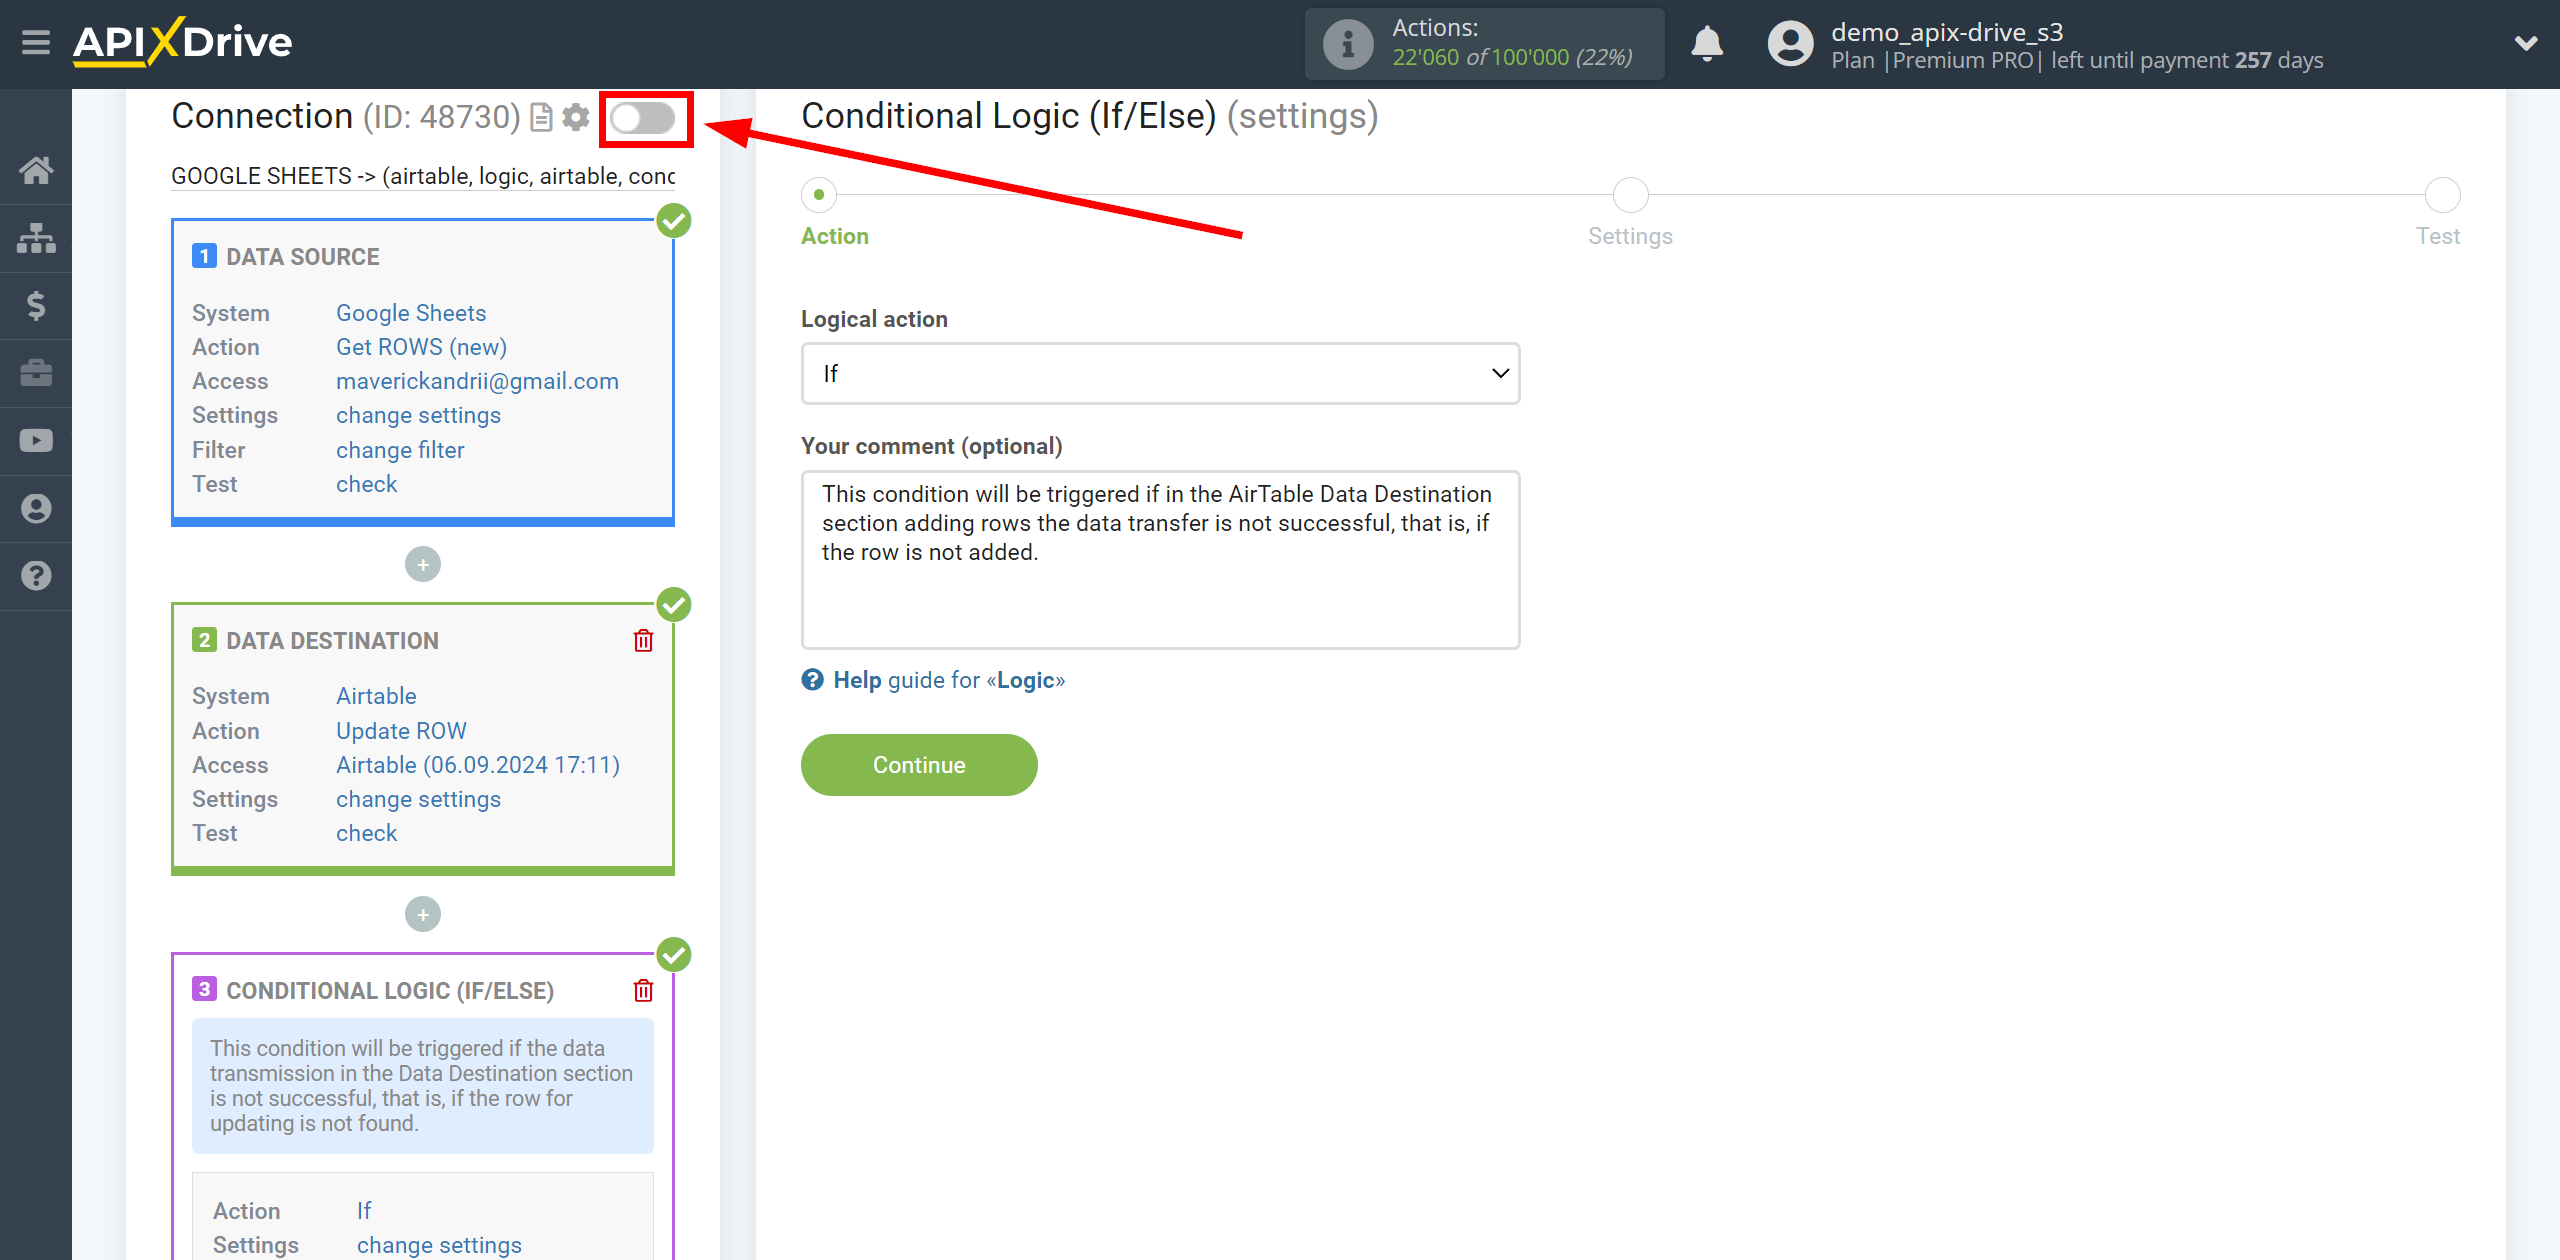
Also, to add and configure new sections, you must turn off automatic connection updates, the slider must be in the gray position.
In the "Logical action" field, select the "If" action.
In the "Your comment" field, you can provide additional information or an explanation for a specific condition for the If action.
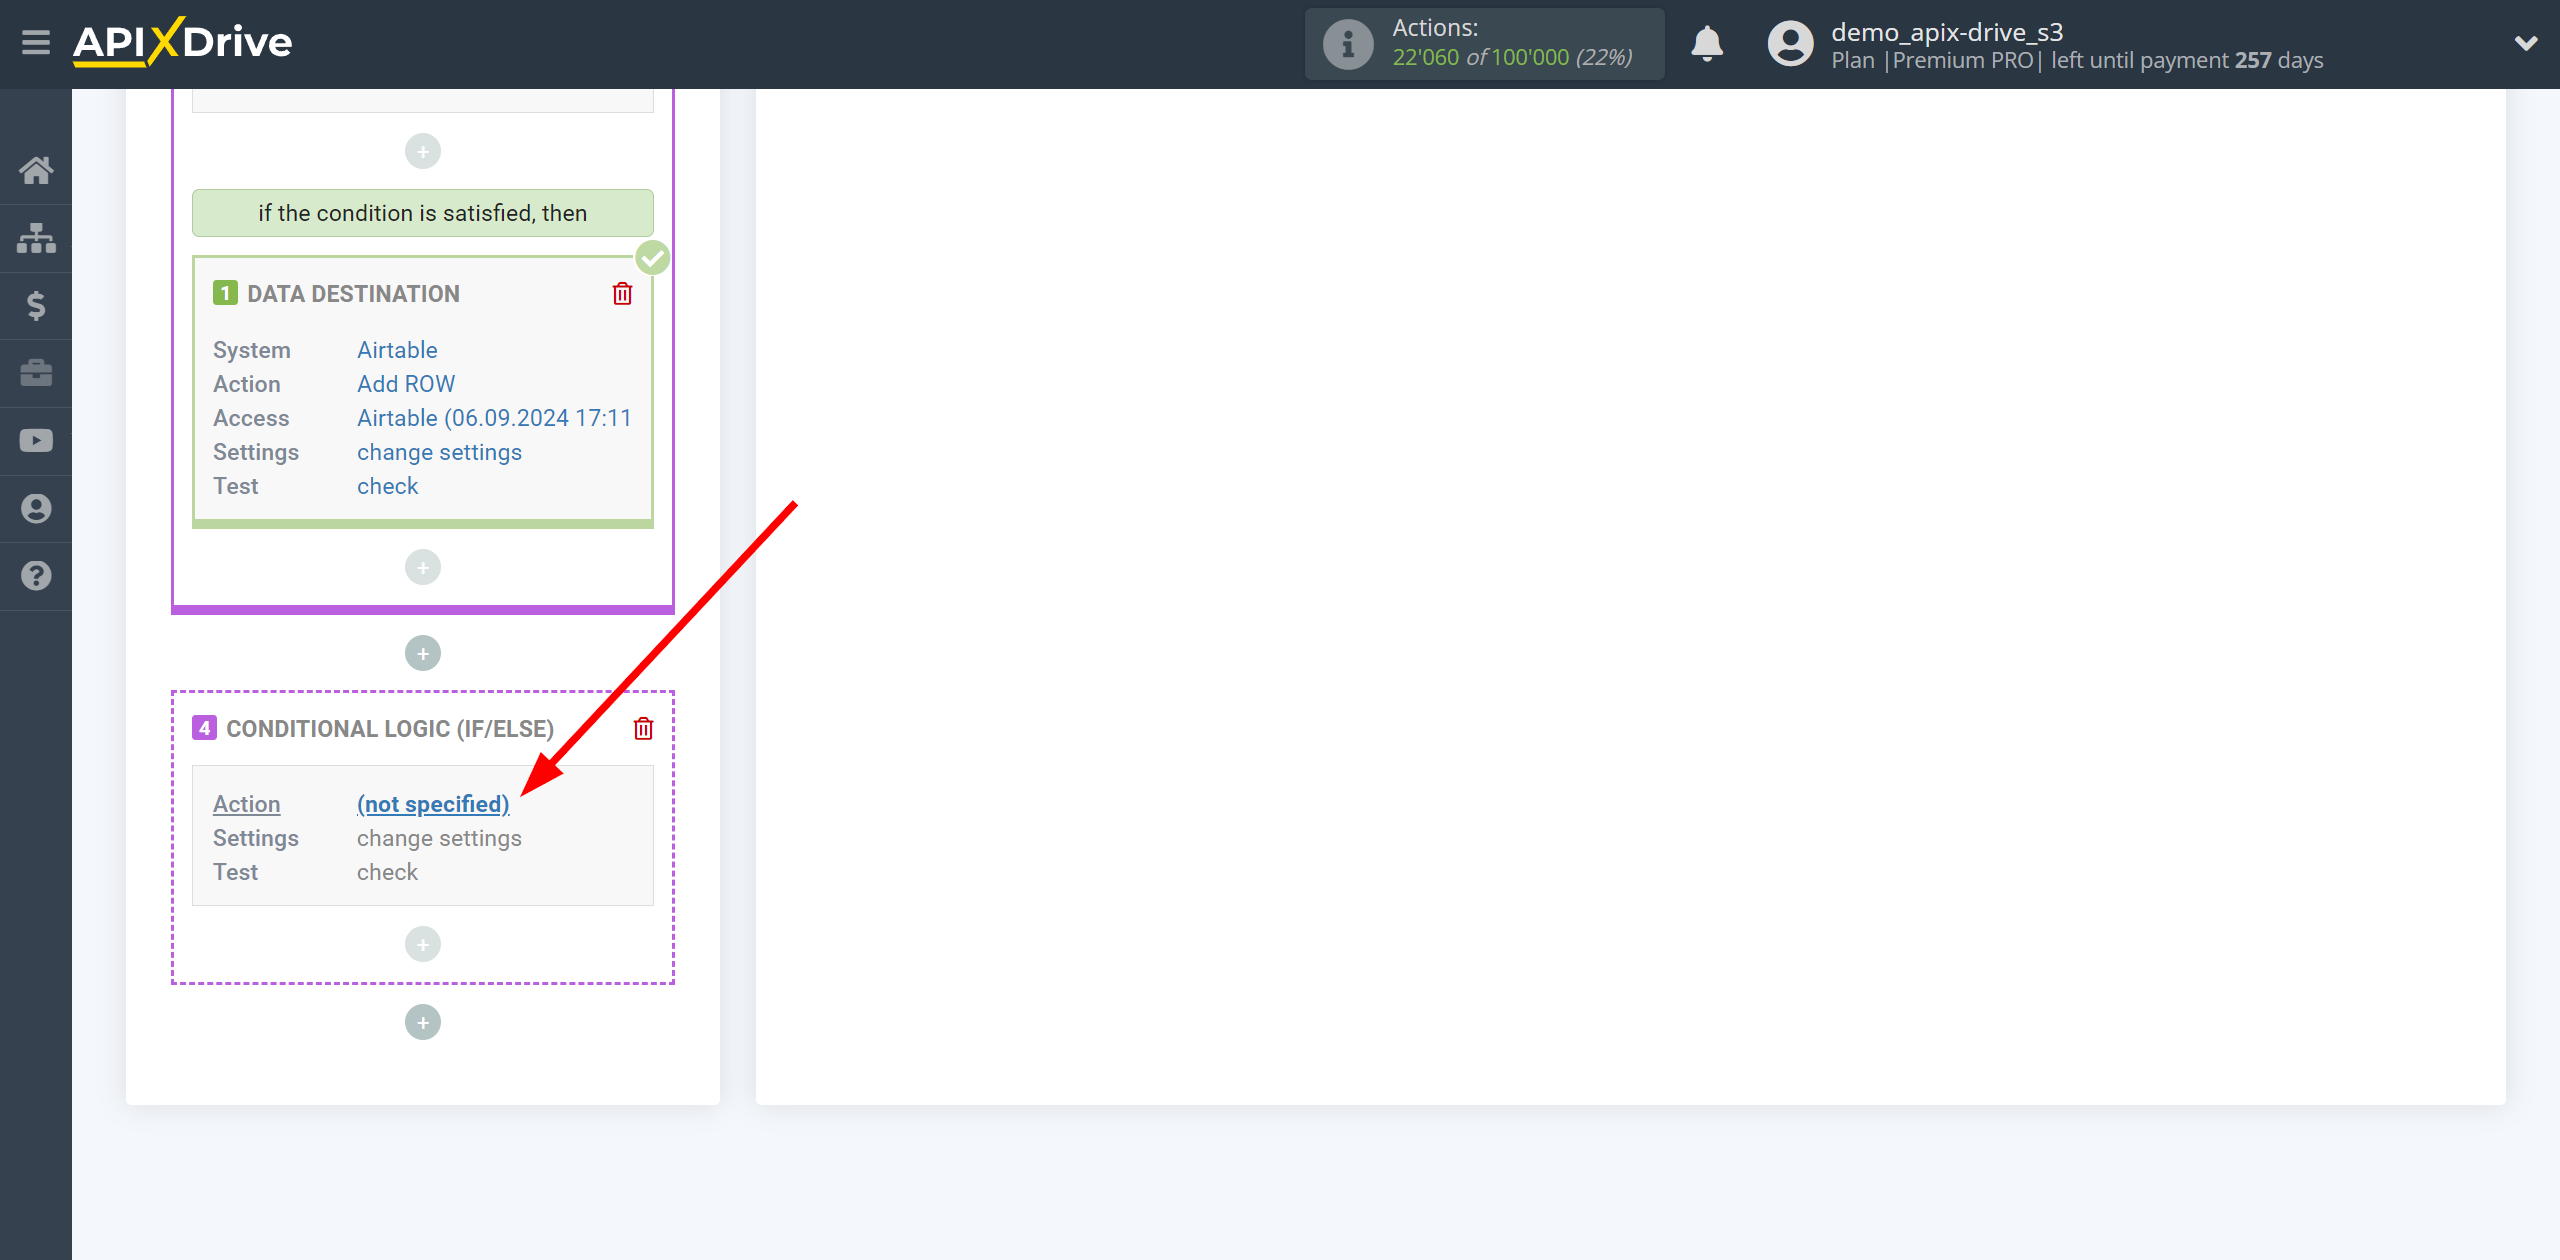
Next, you need to configure a specific condition, when fulfilled, data will be transferred in the Logic section.
- Parameter - this field contains all the fields from the previous Data Source and Data Destination sections that can be used to configure conditions. In our example, we use the field from the AirTable adding row Data
Destination section - “Execution Result”.
- Operation - in this field you must select the action that will be applied for a specific condition. In this example we select "Equals".
- Value - in this field you must select “Successfully” if you want the condition to be met when the Data Destination section is successfully triggered, or select “Unsuccessful” if an error occurs in the Data Destination section or for some other reason the data is not transmitted. In this case we select "Unsuccessful".
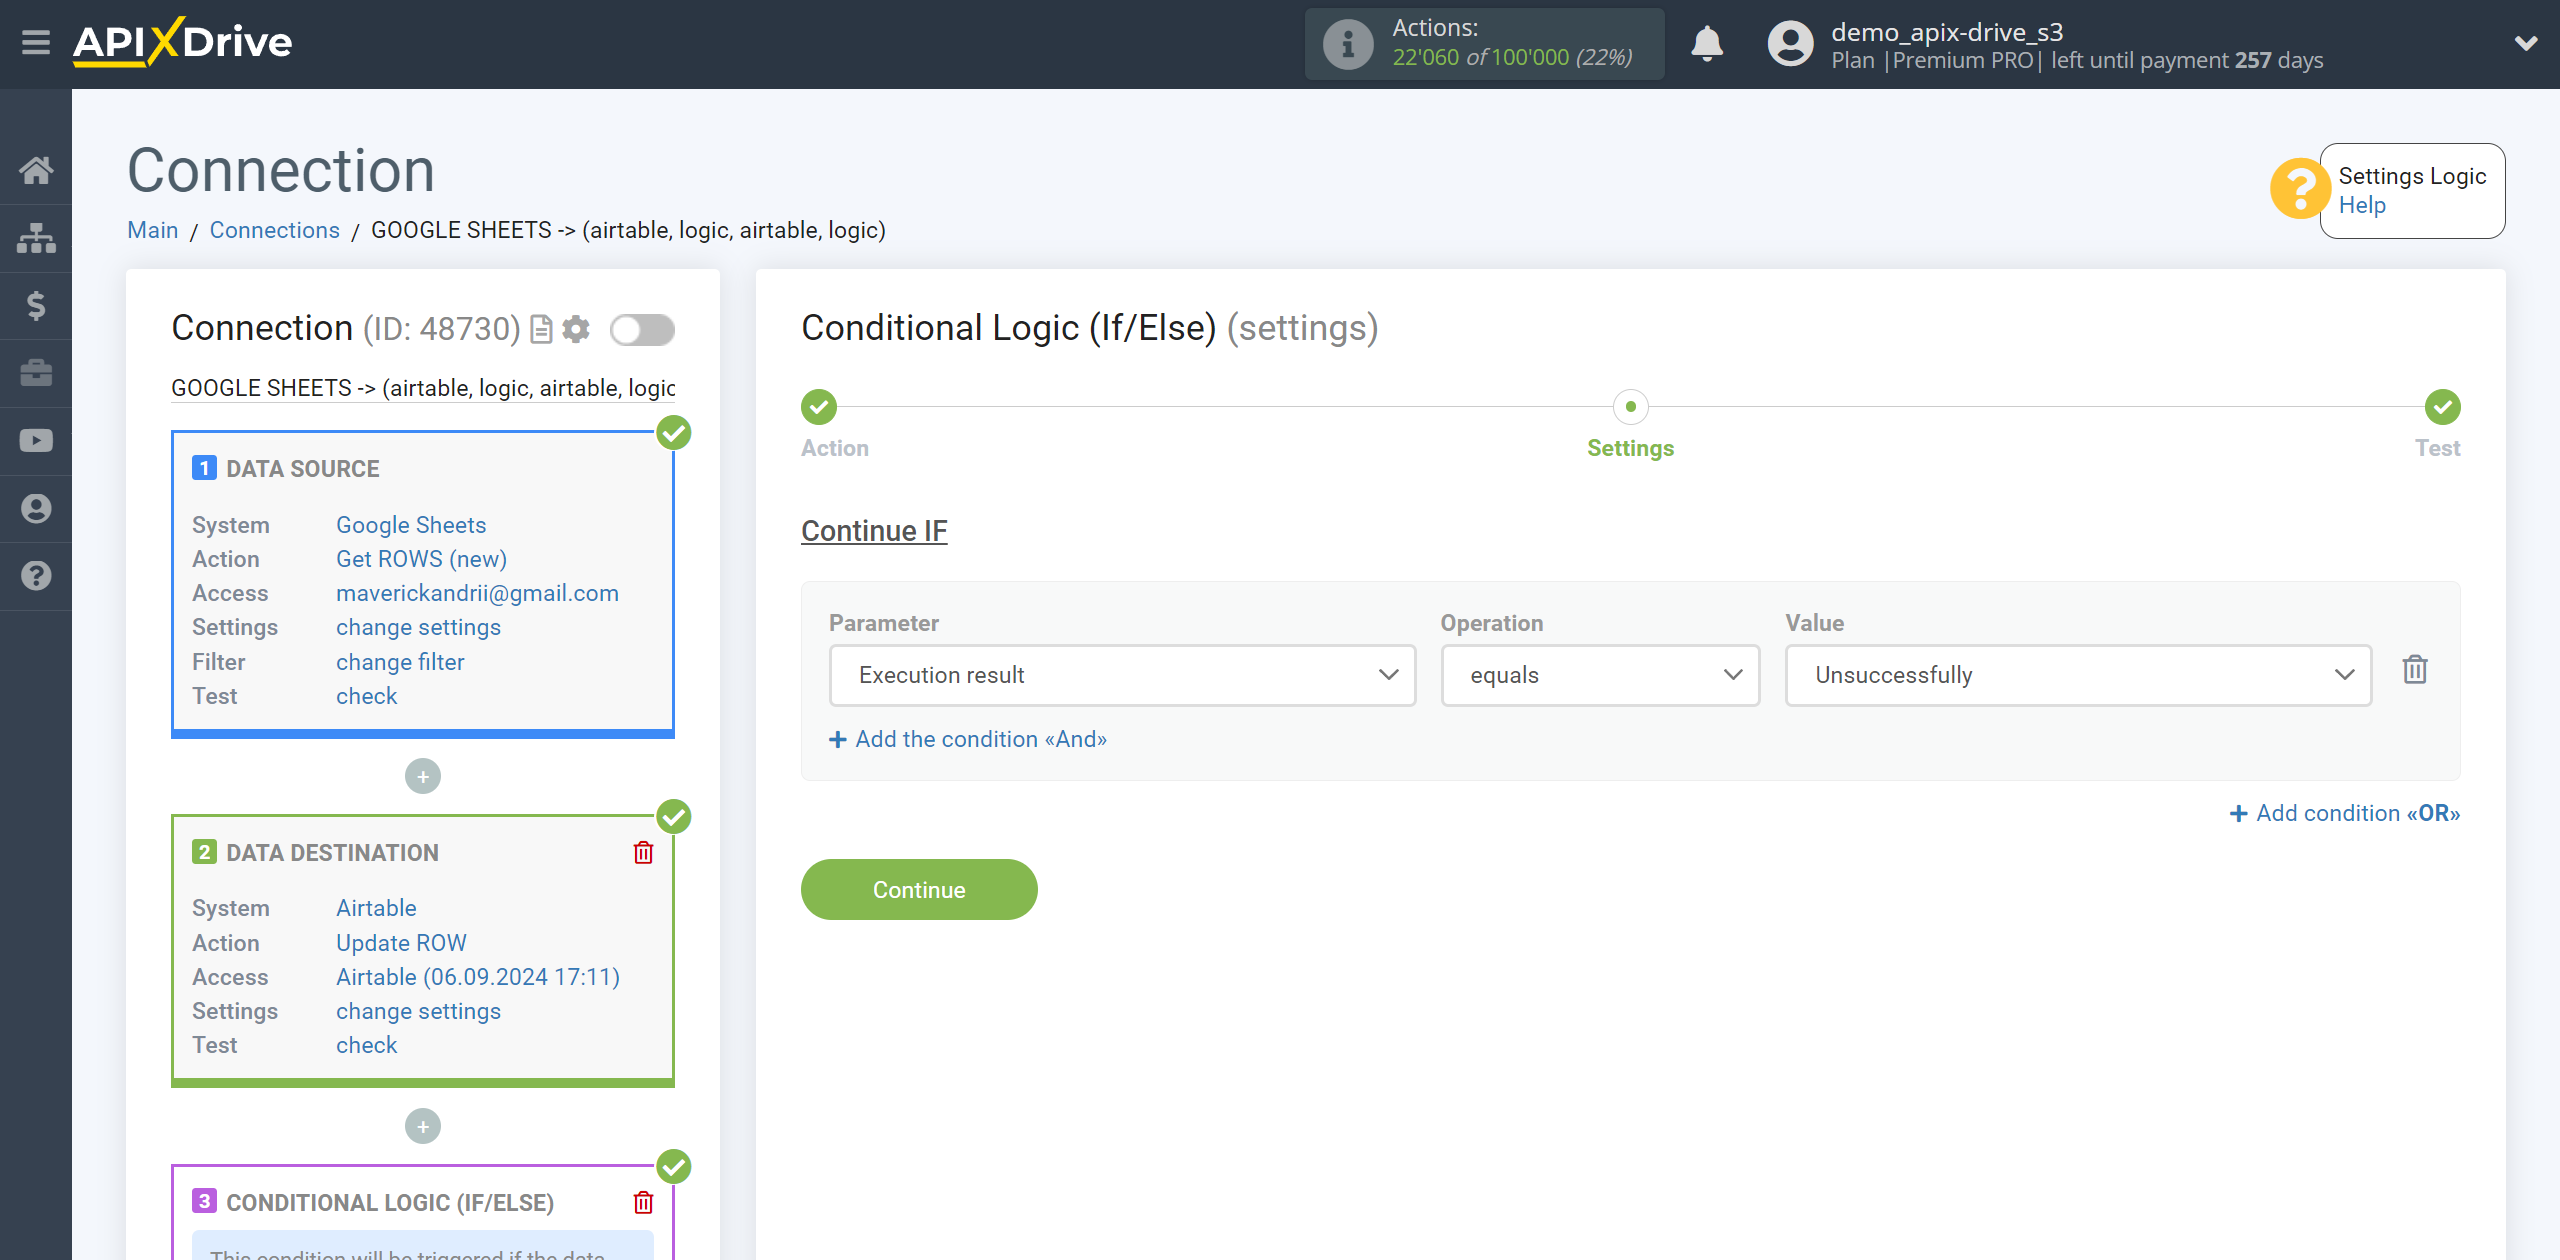
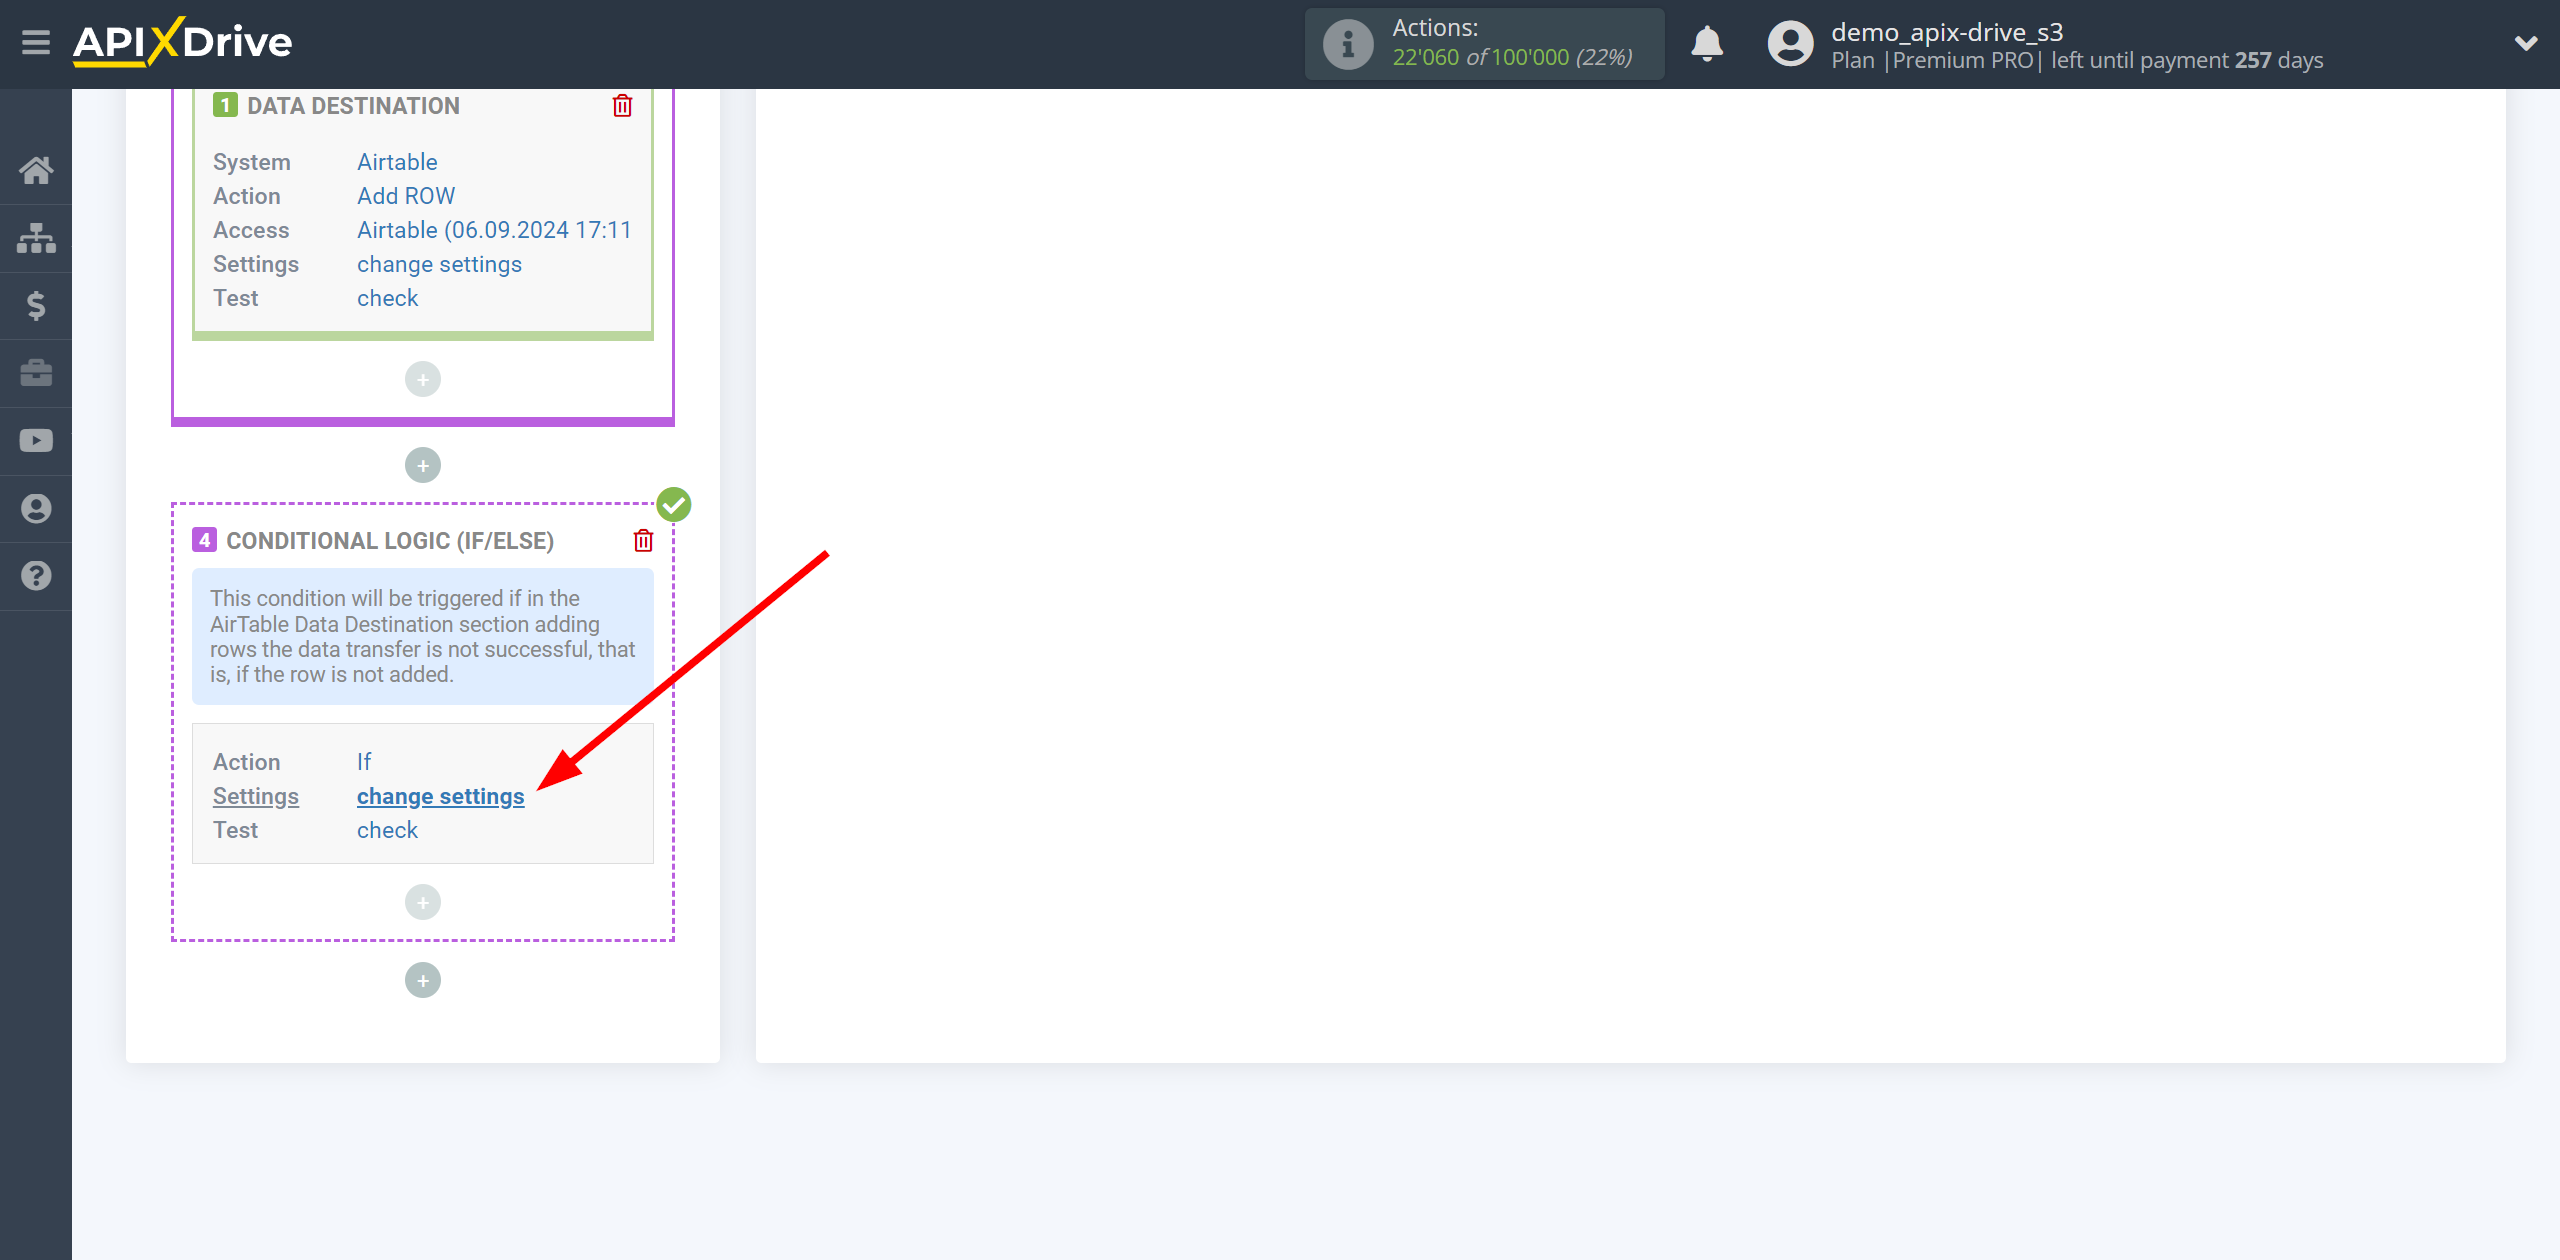
Also, you can add additional conditions using the operators "AND", "OR". In this case, this is not necessary, so click “Continue”.
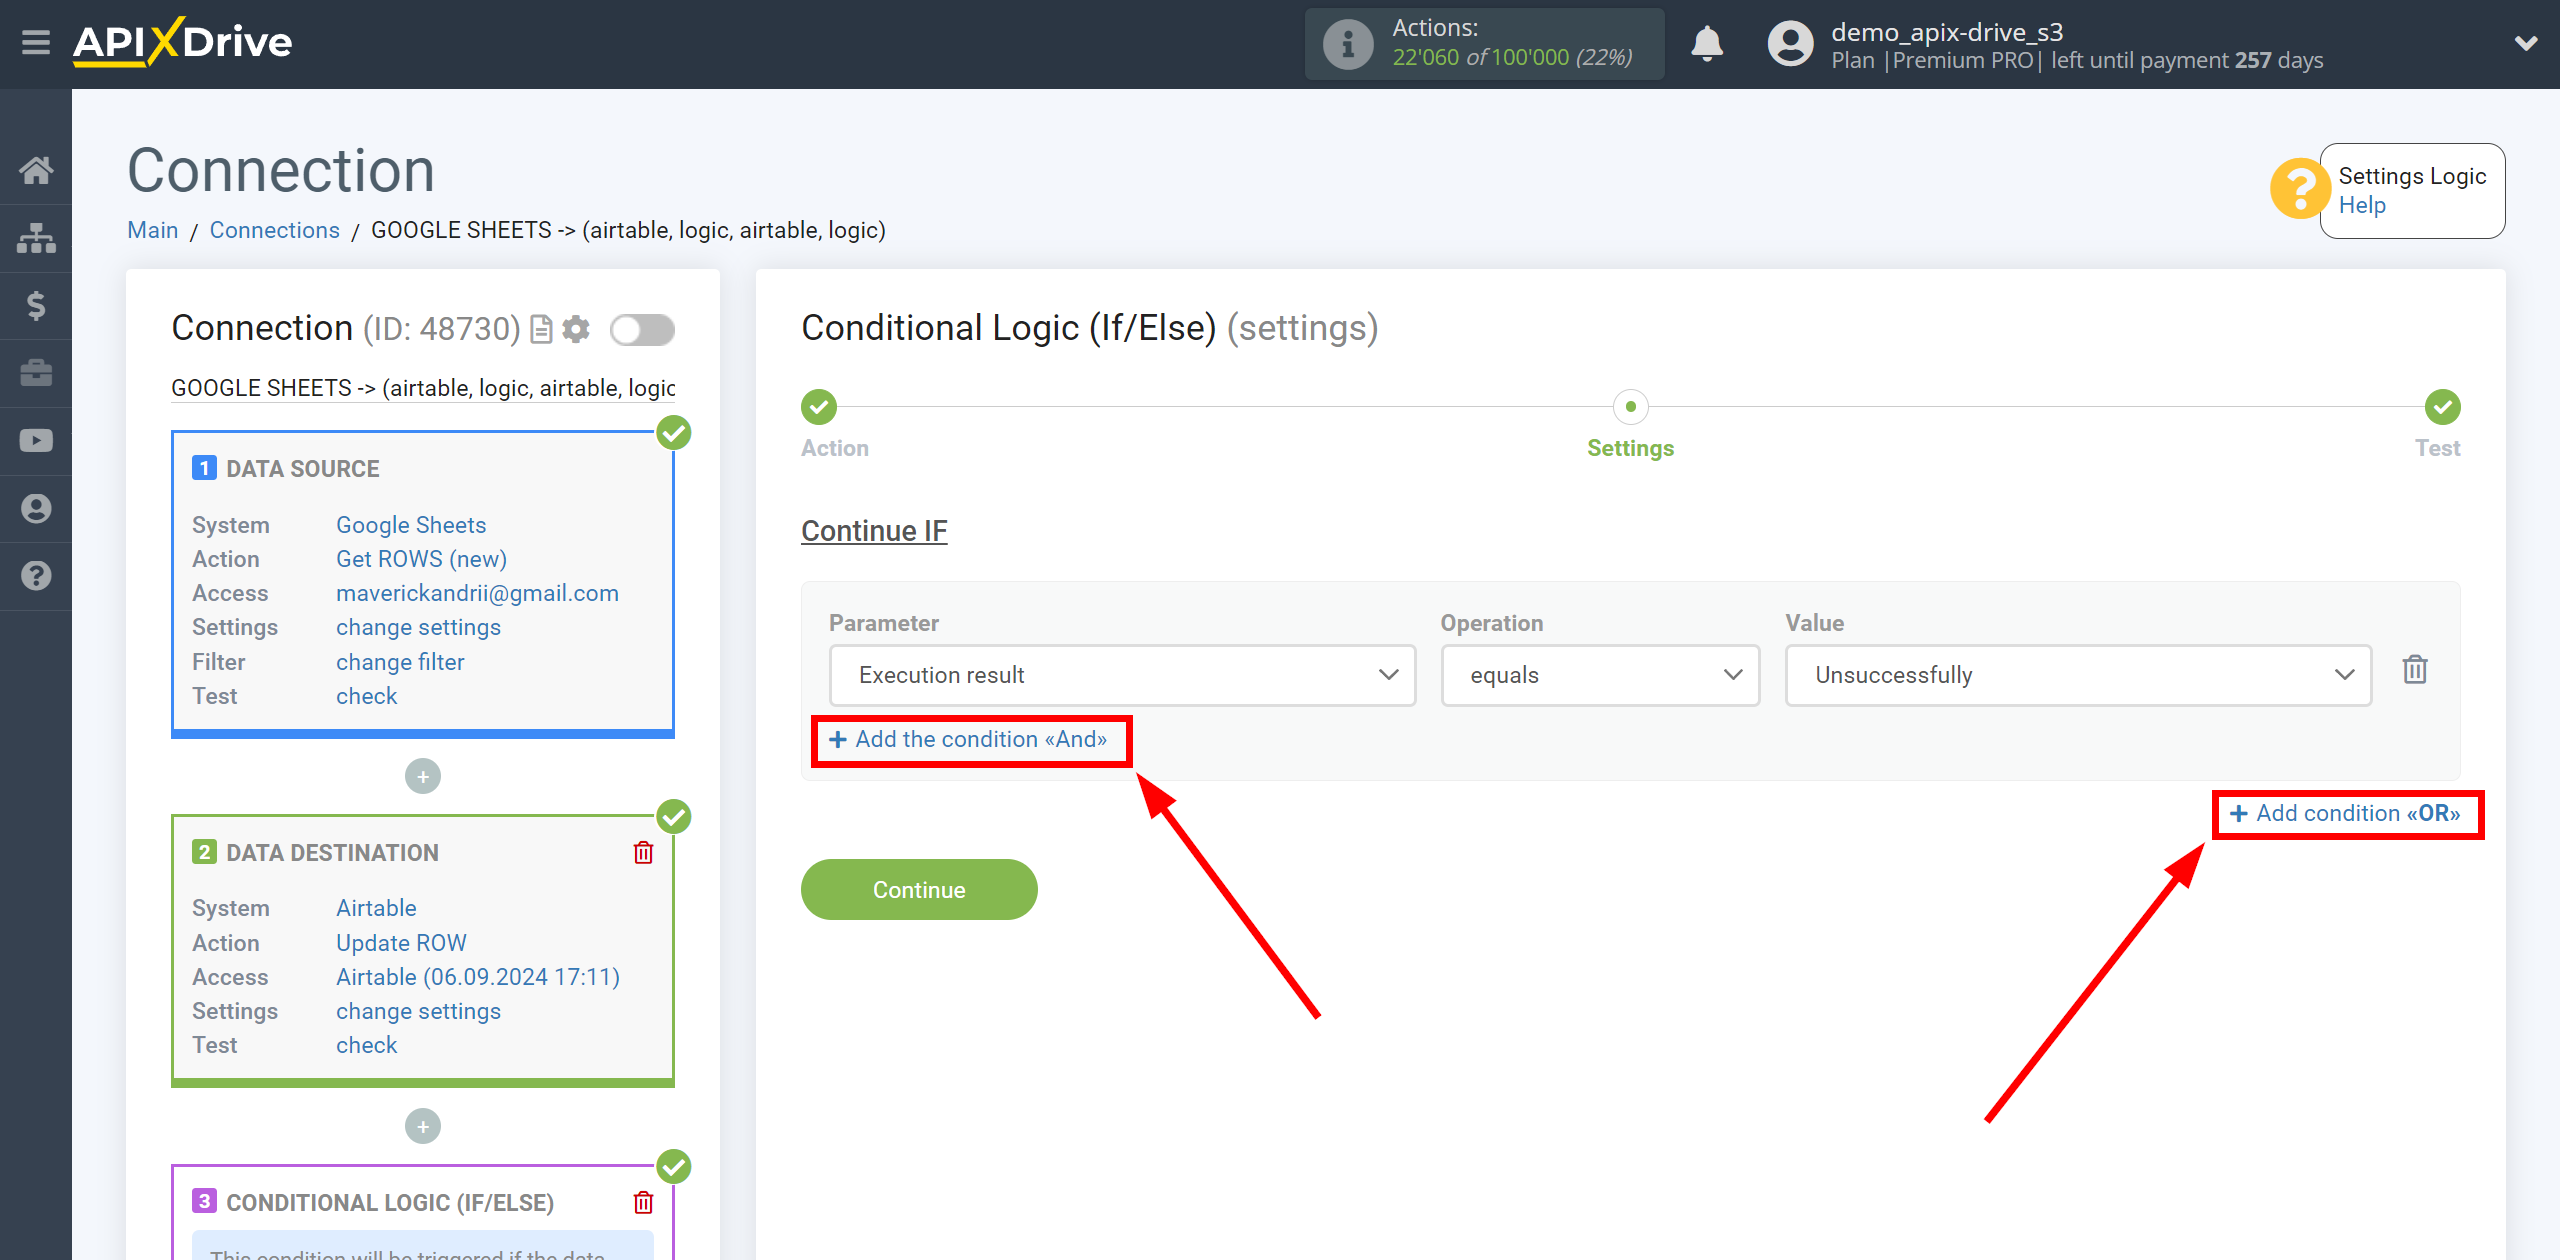
At the Test stage, you will see Logical result = 1 - this means that the setting of the action If for a specific condition is satisfied.
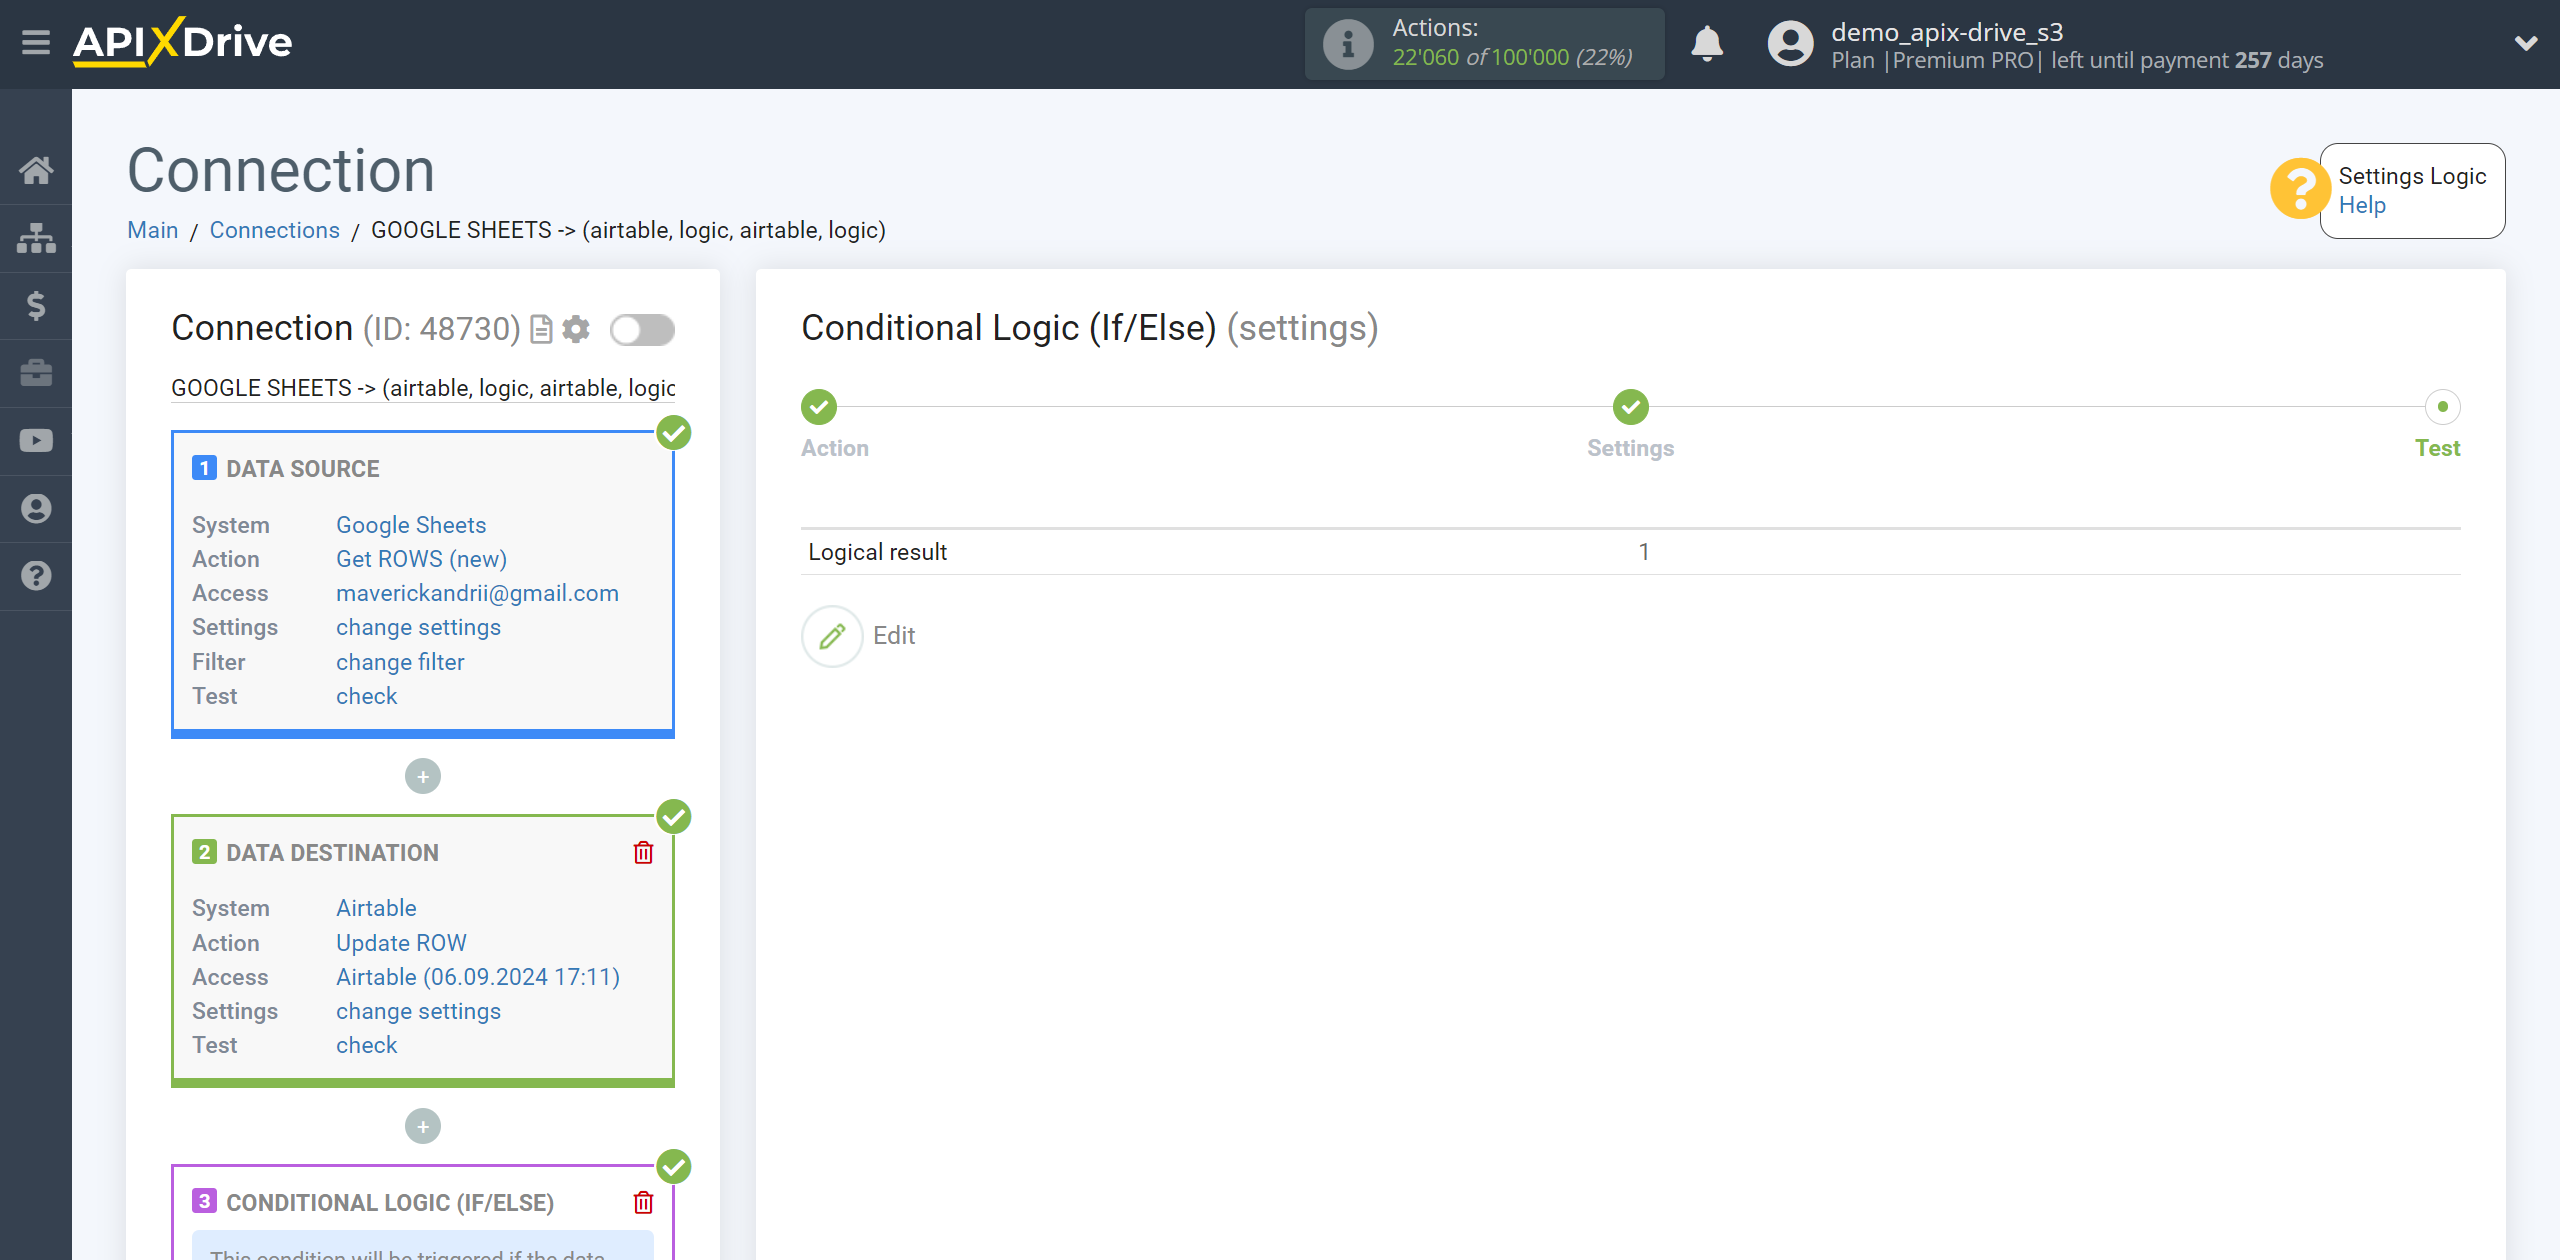
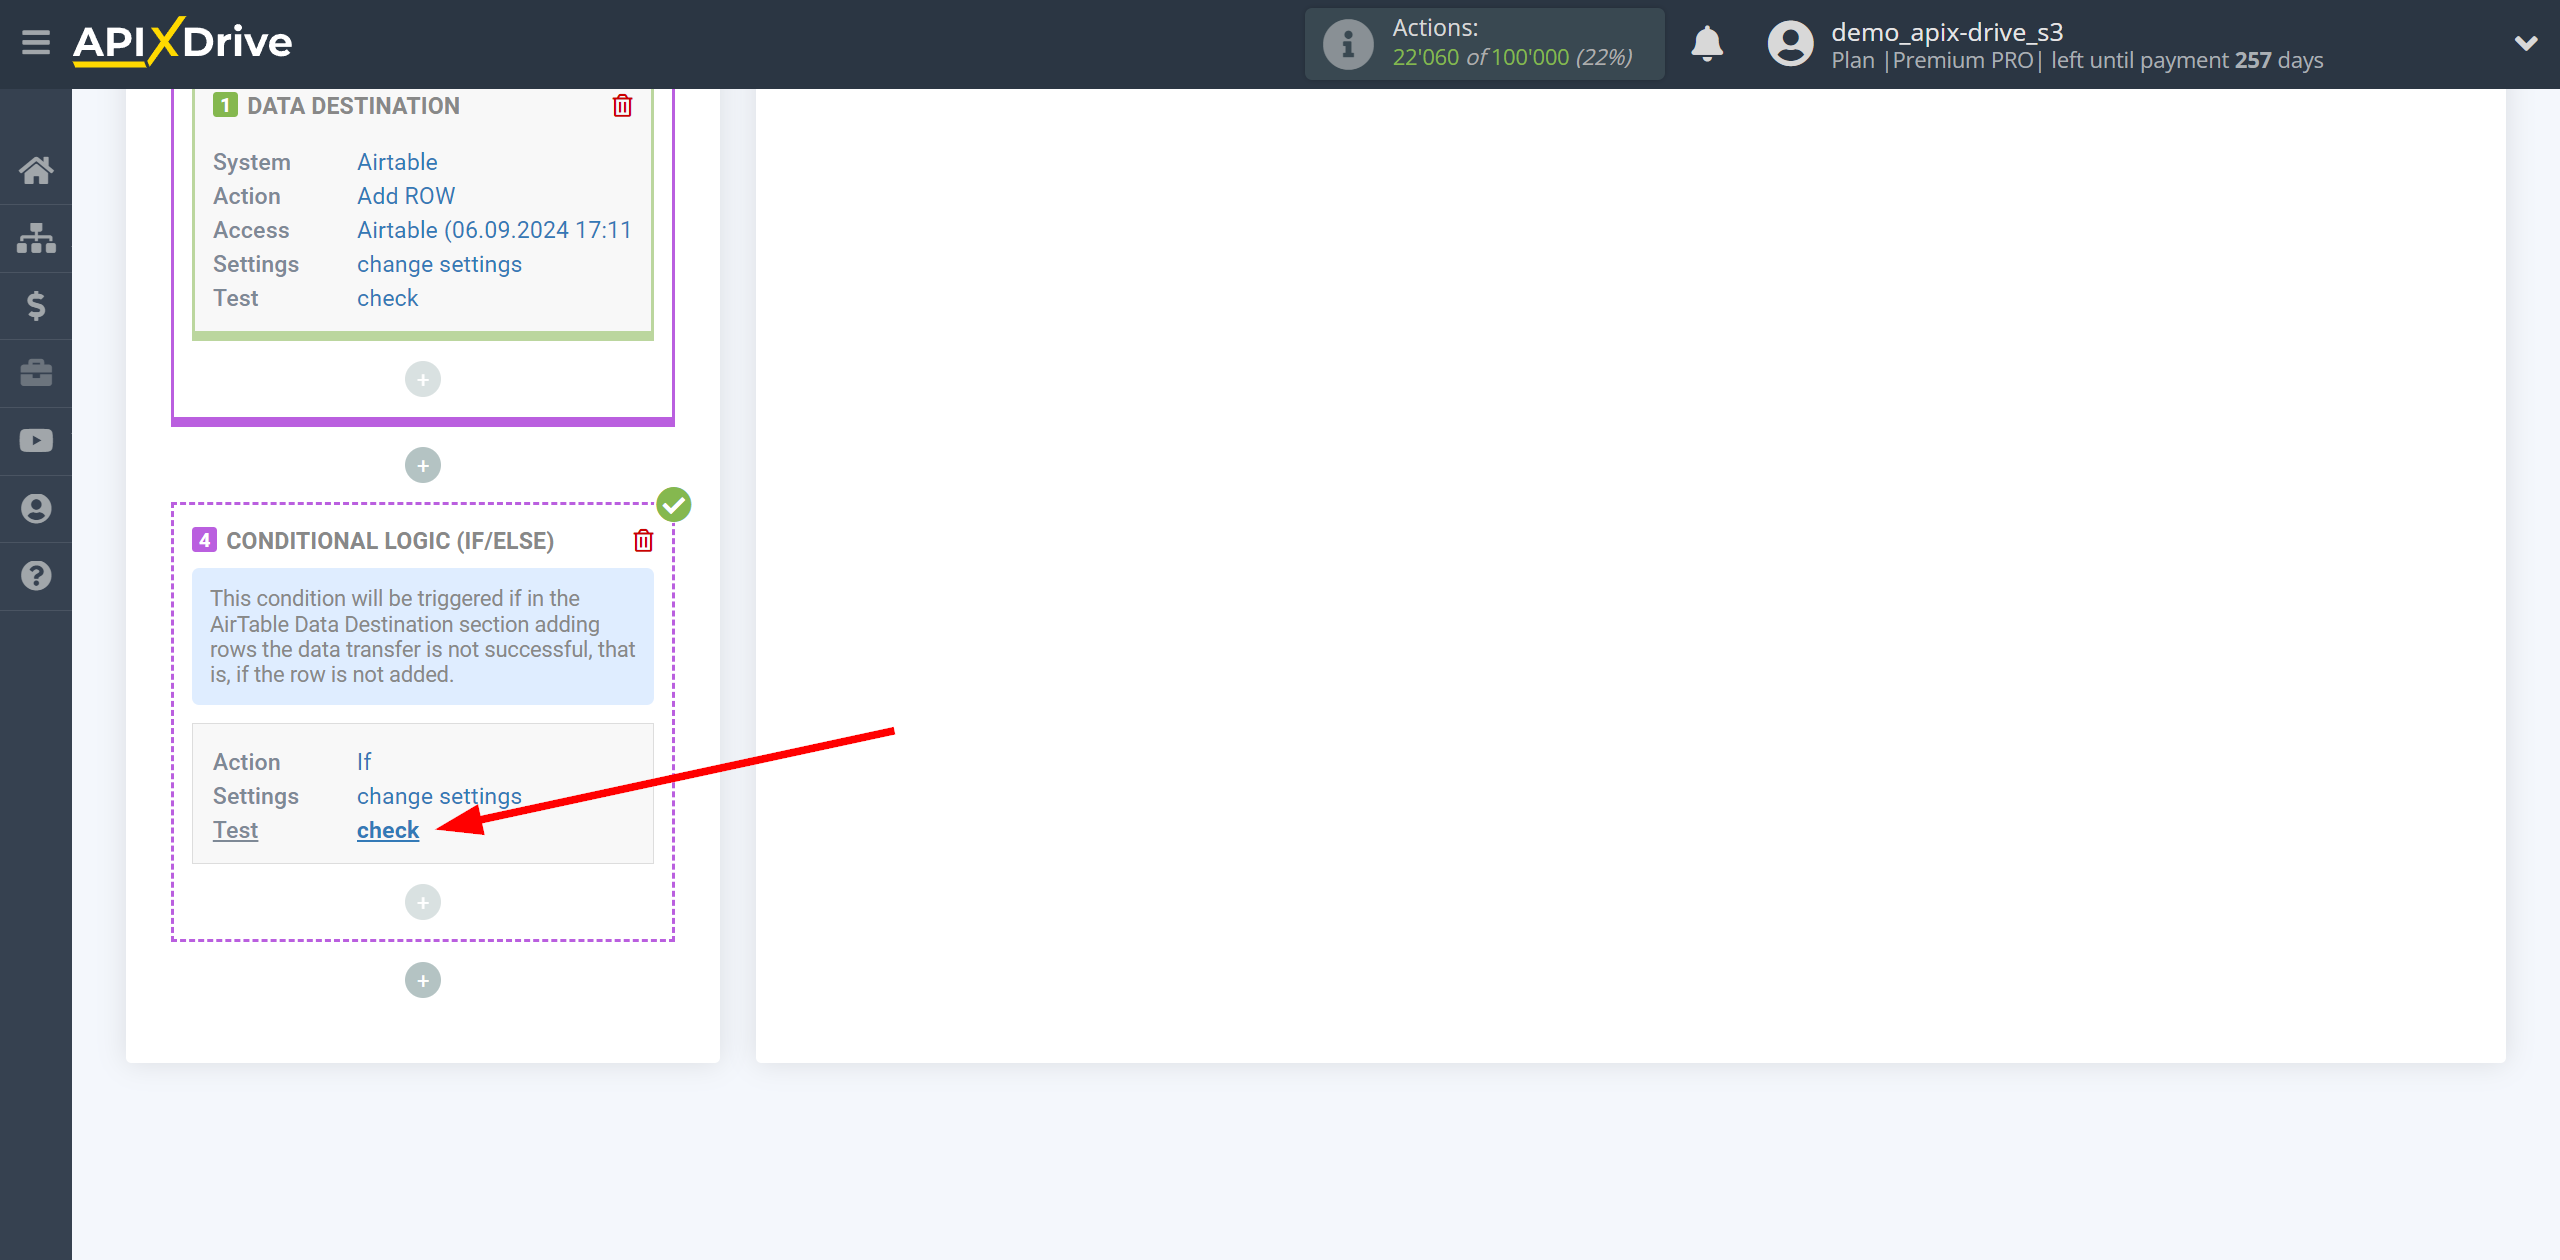
Next, you need to indicate what action the Logic section will perform,
when certain conditions are met, that is, what is the next data transfer algorithm and to which system.
In this example we use the DATA DESTINATION section.
Inside the Logic section we connect the Data Destination system. To do this, click on “+” and select “DATA DESTINATION” from the list.
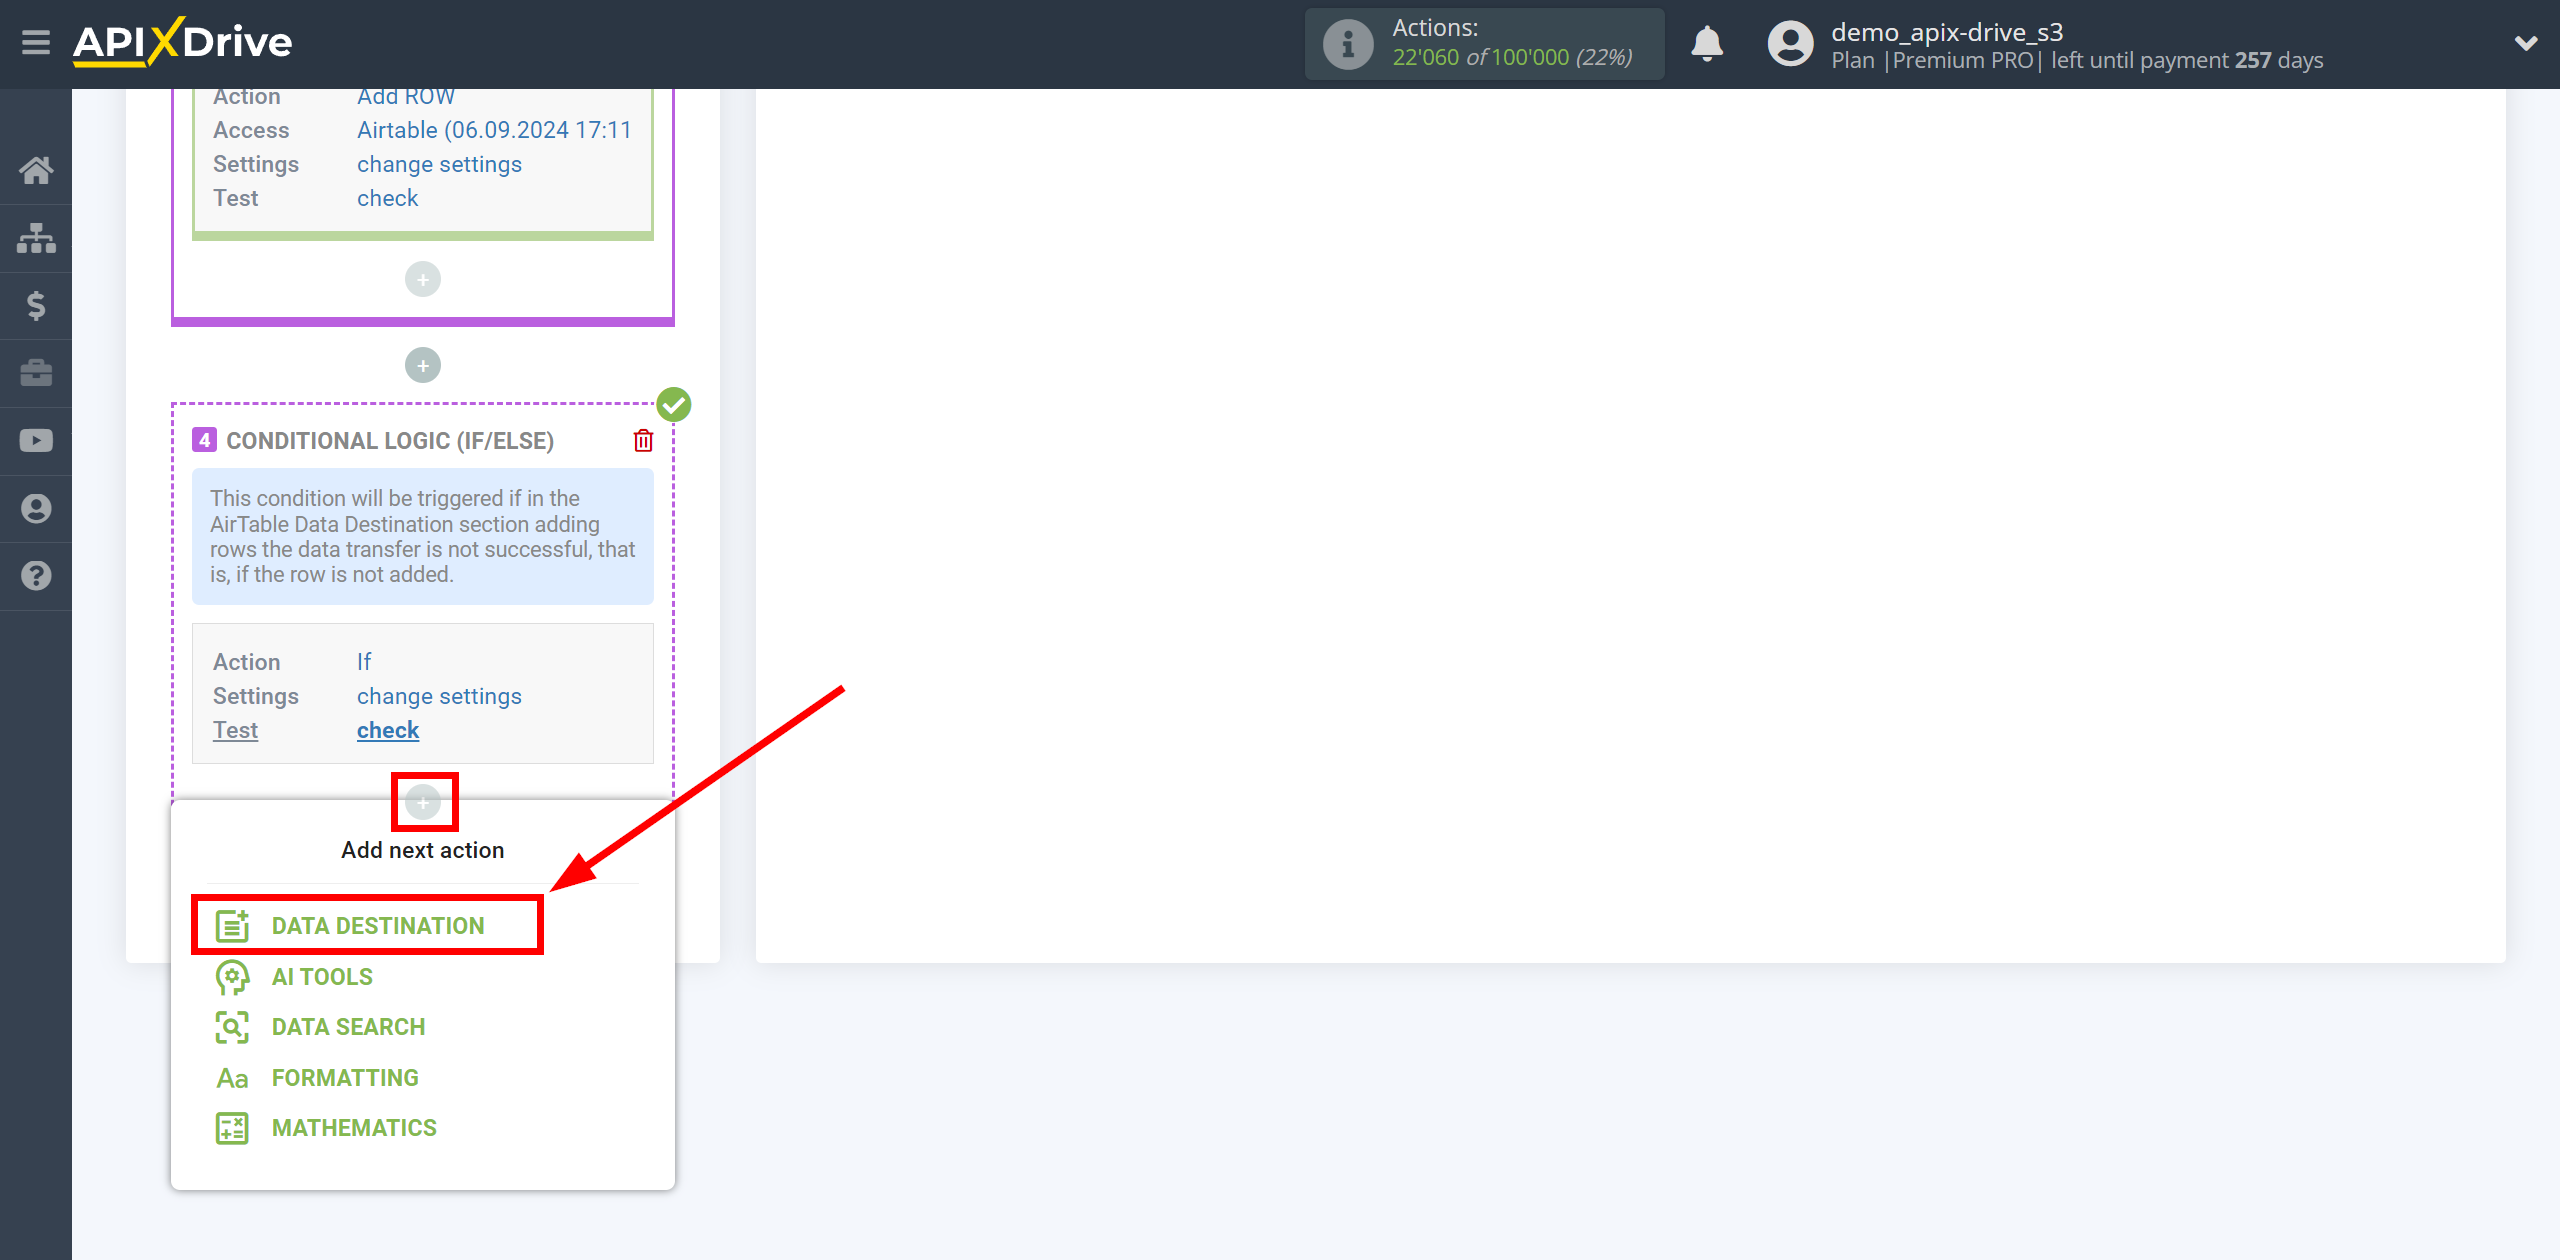
Setting Data DESTINATION inside the additional LOGIC IF/Else section: Slack
Select the system as Data Destination. In this example, we select Slack.
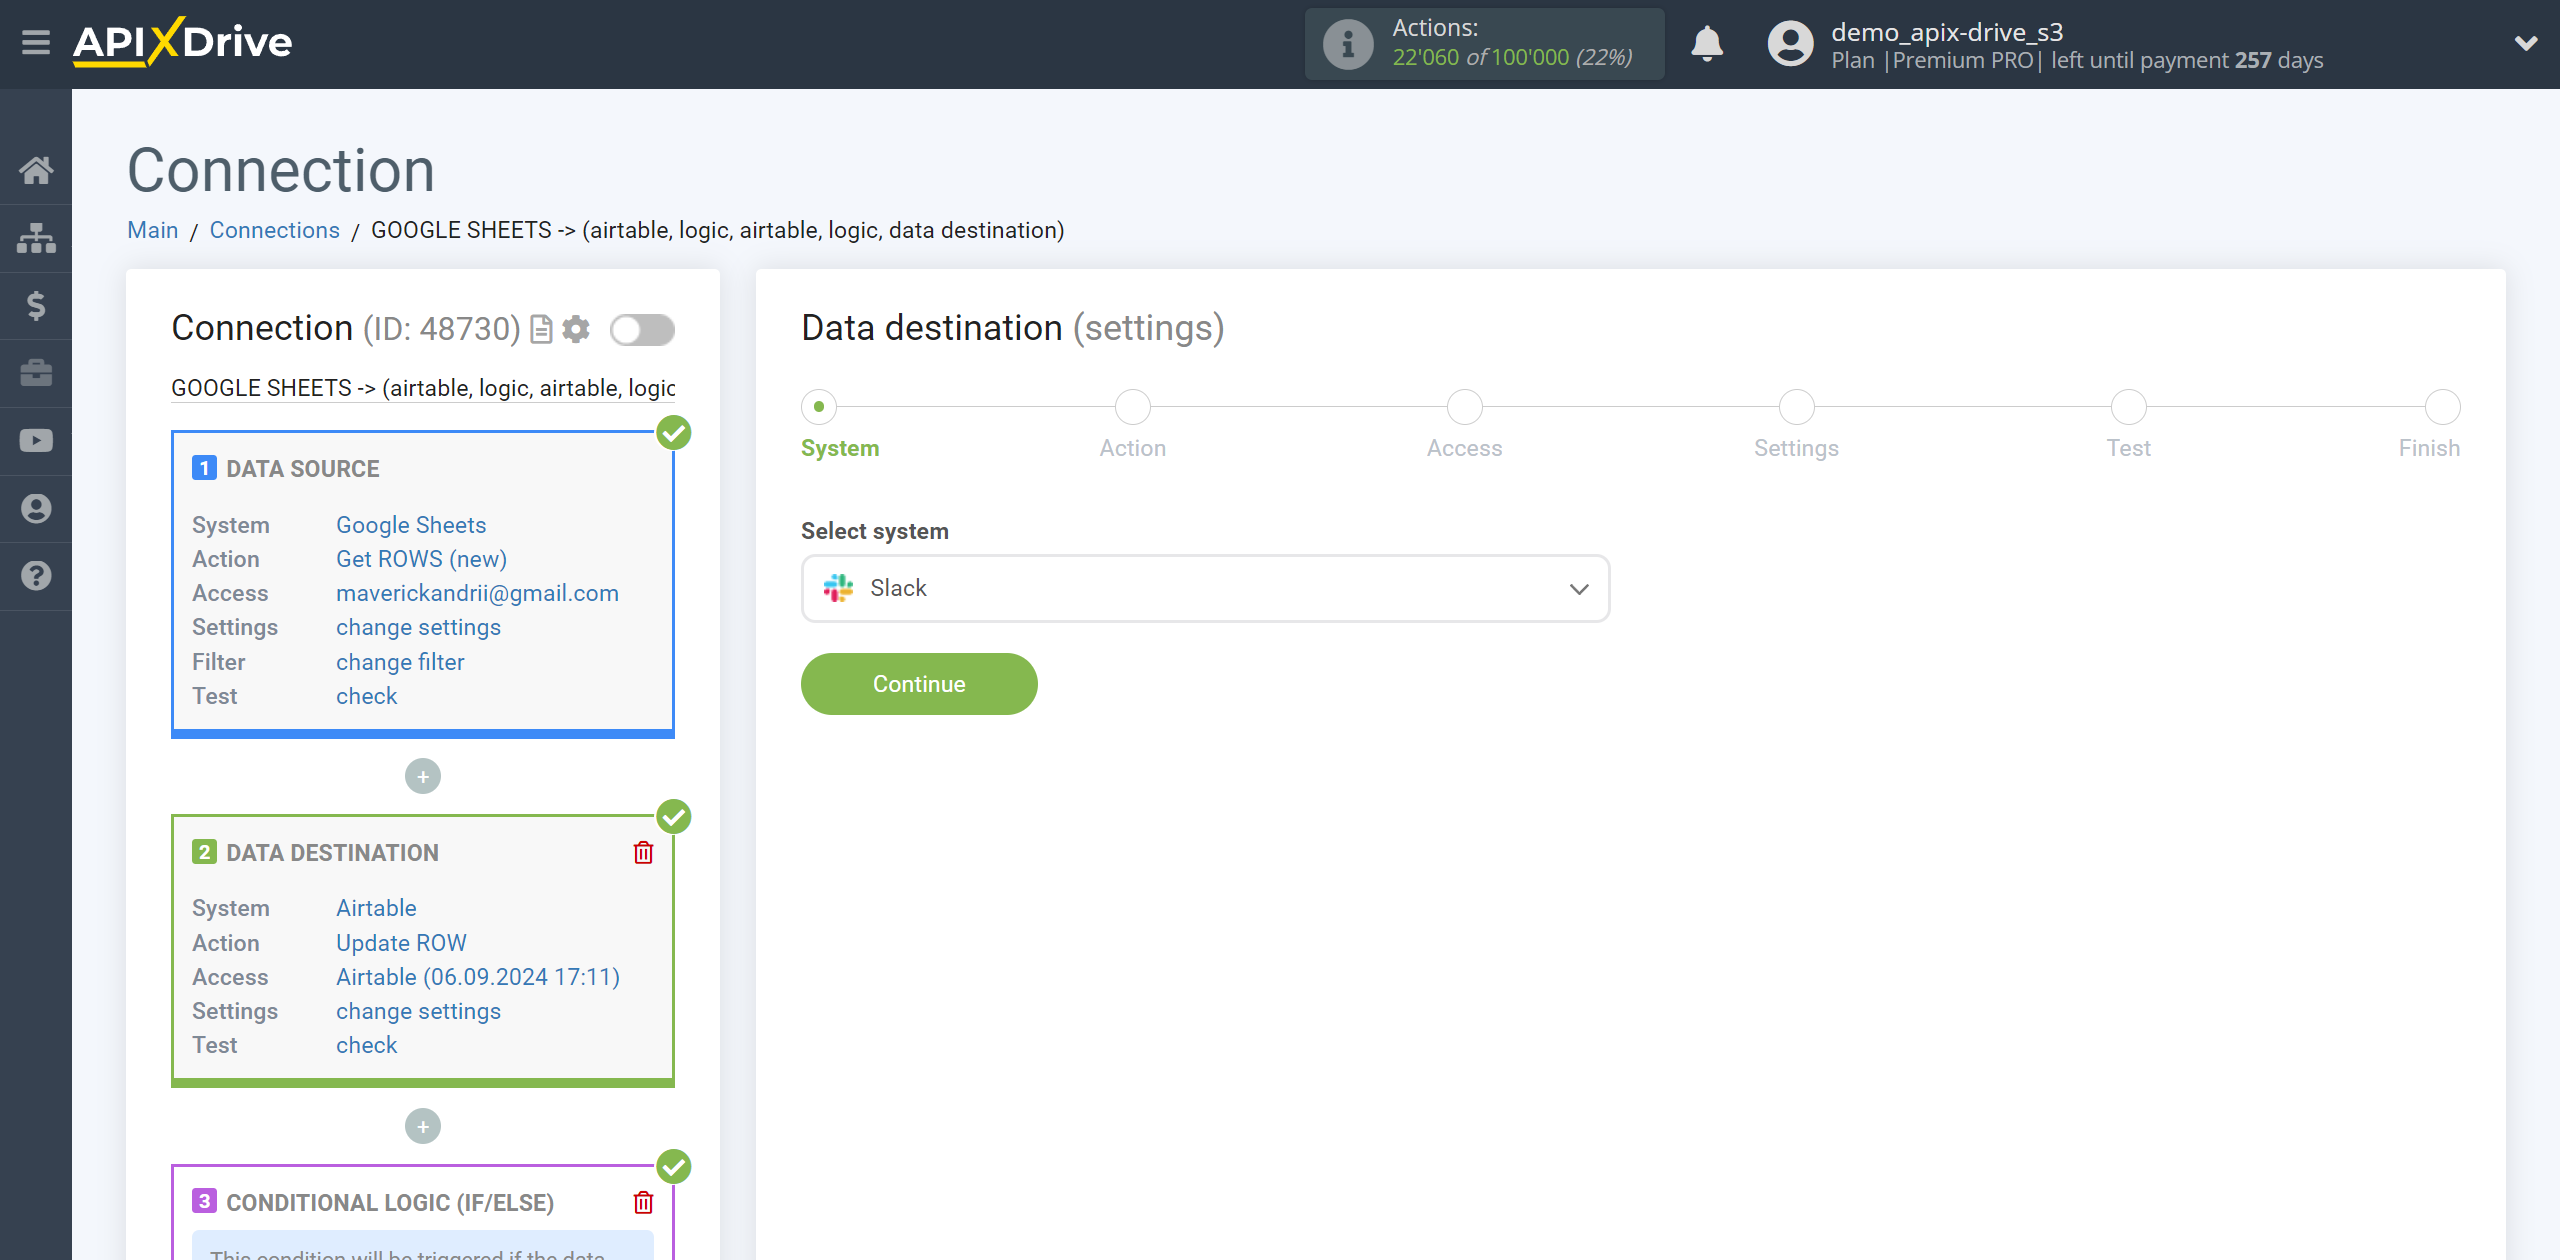
Next, you need to specify an action, for example, "Send MASSAGES (channel)".
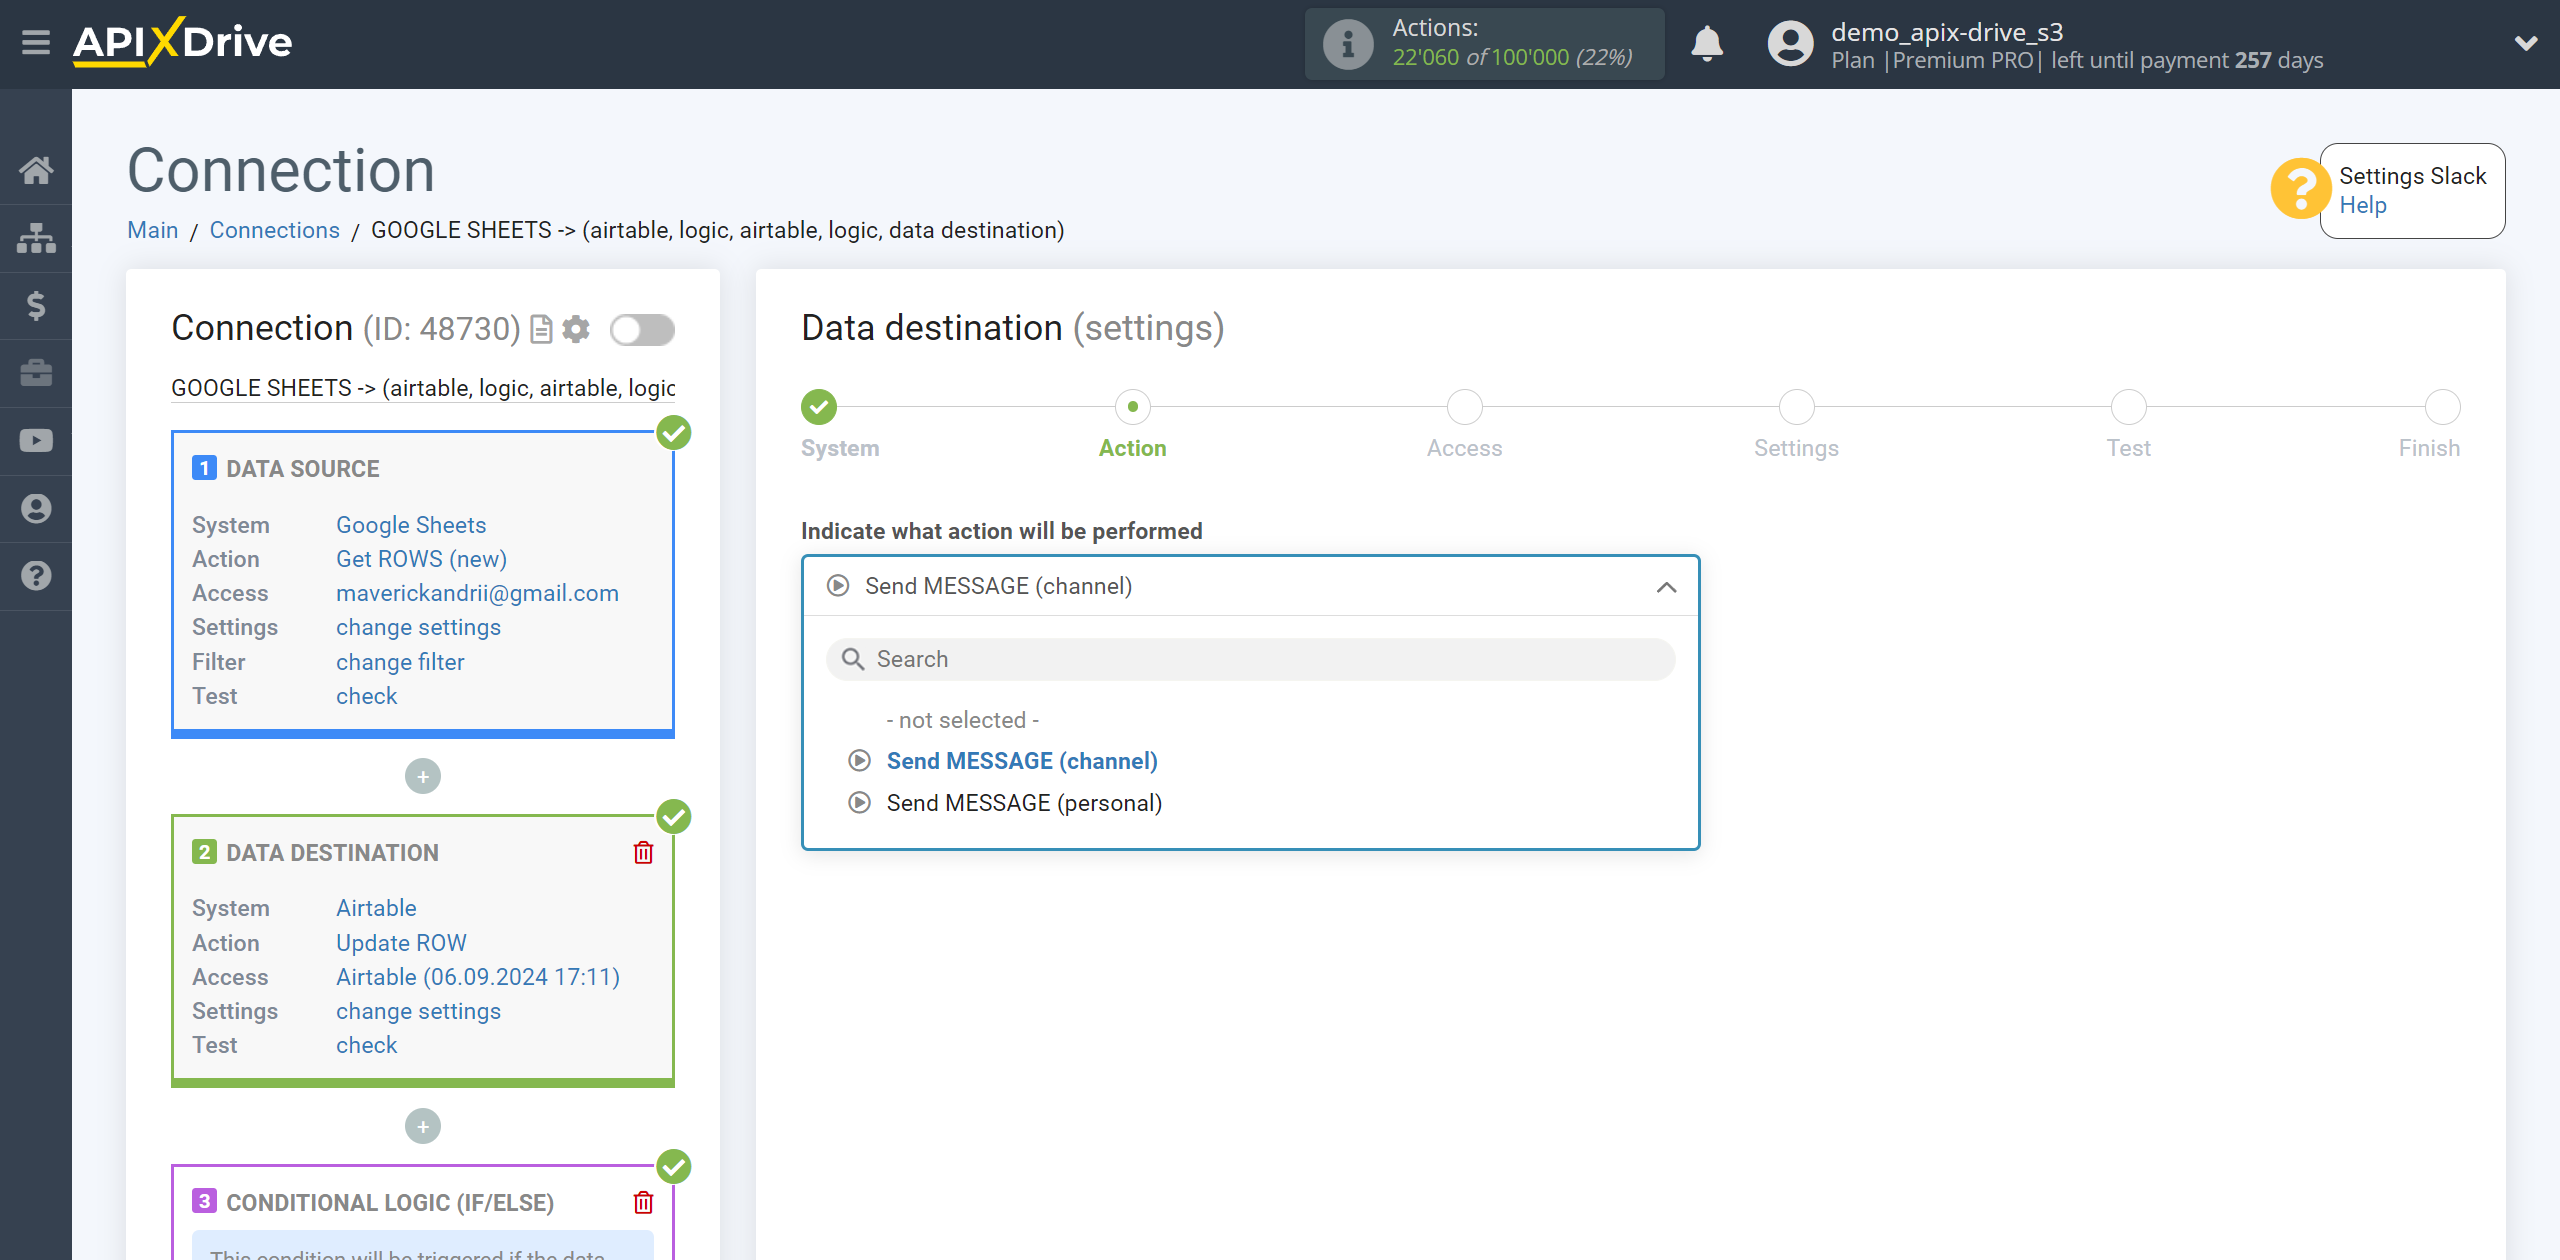
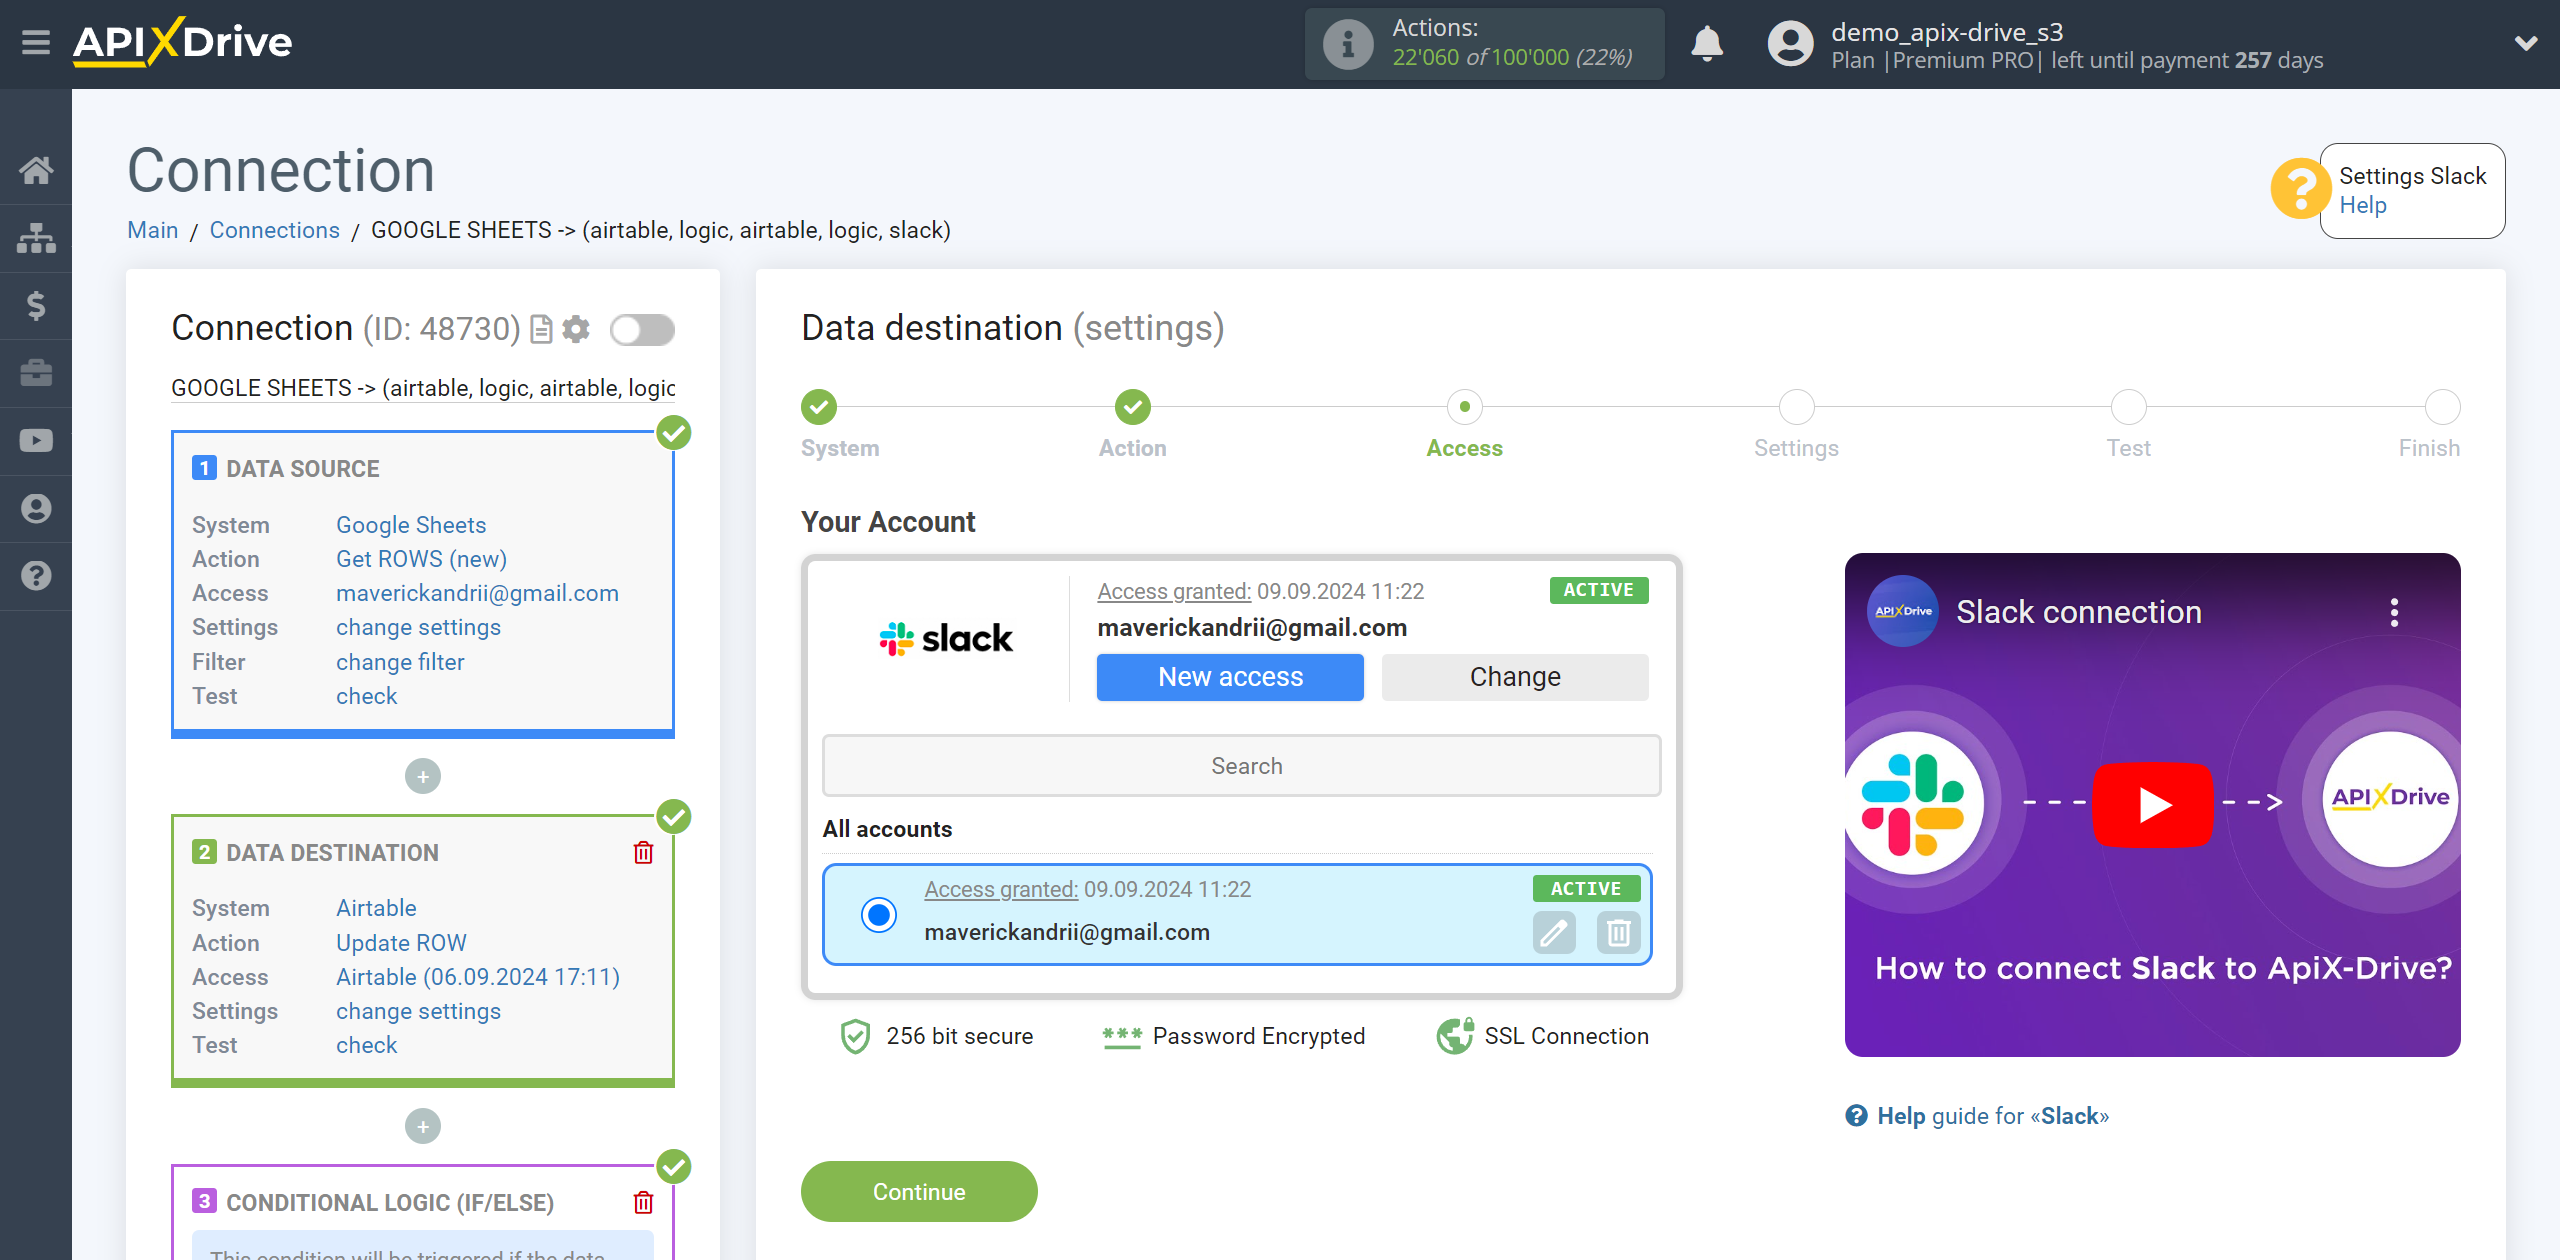
The next step is to select the Slack account to which messages will be sent.
If there are no accounts connected to the ApiX-Drive system, click “Connect account”.
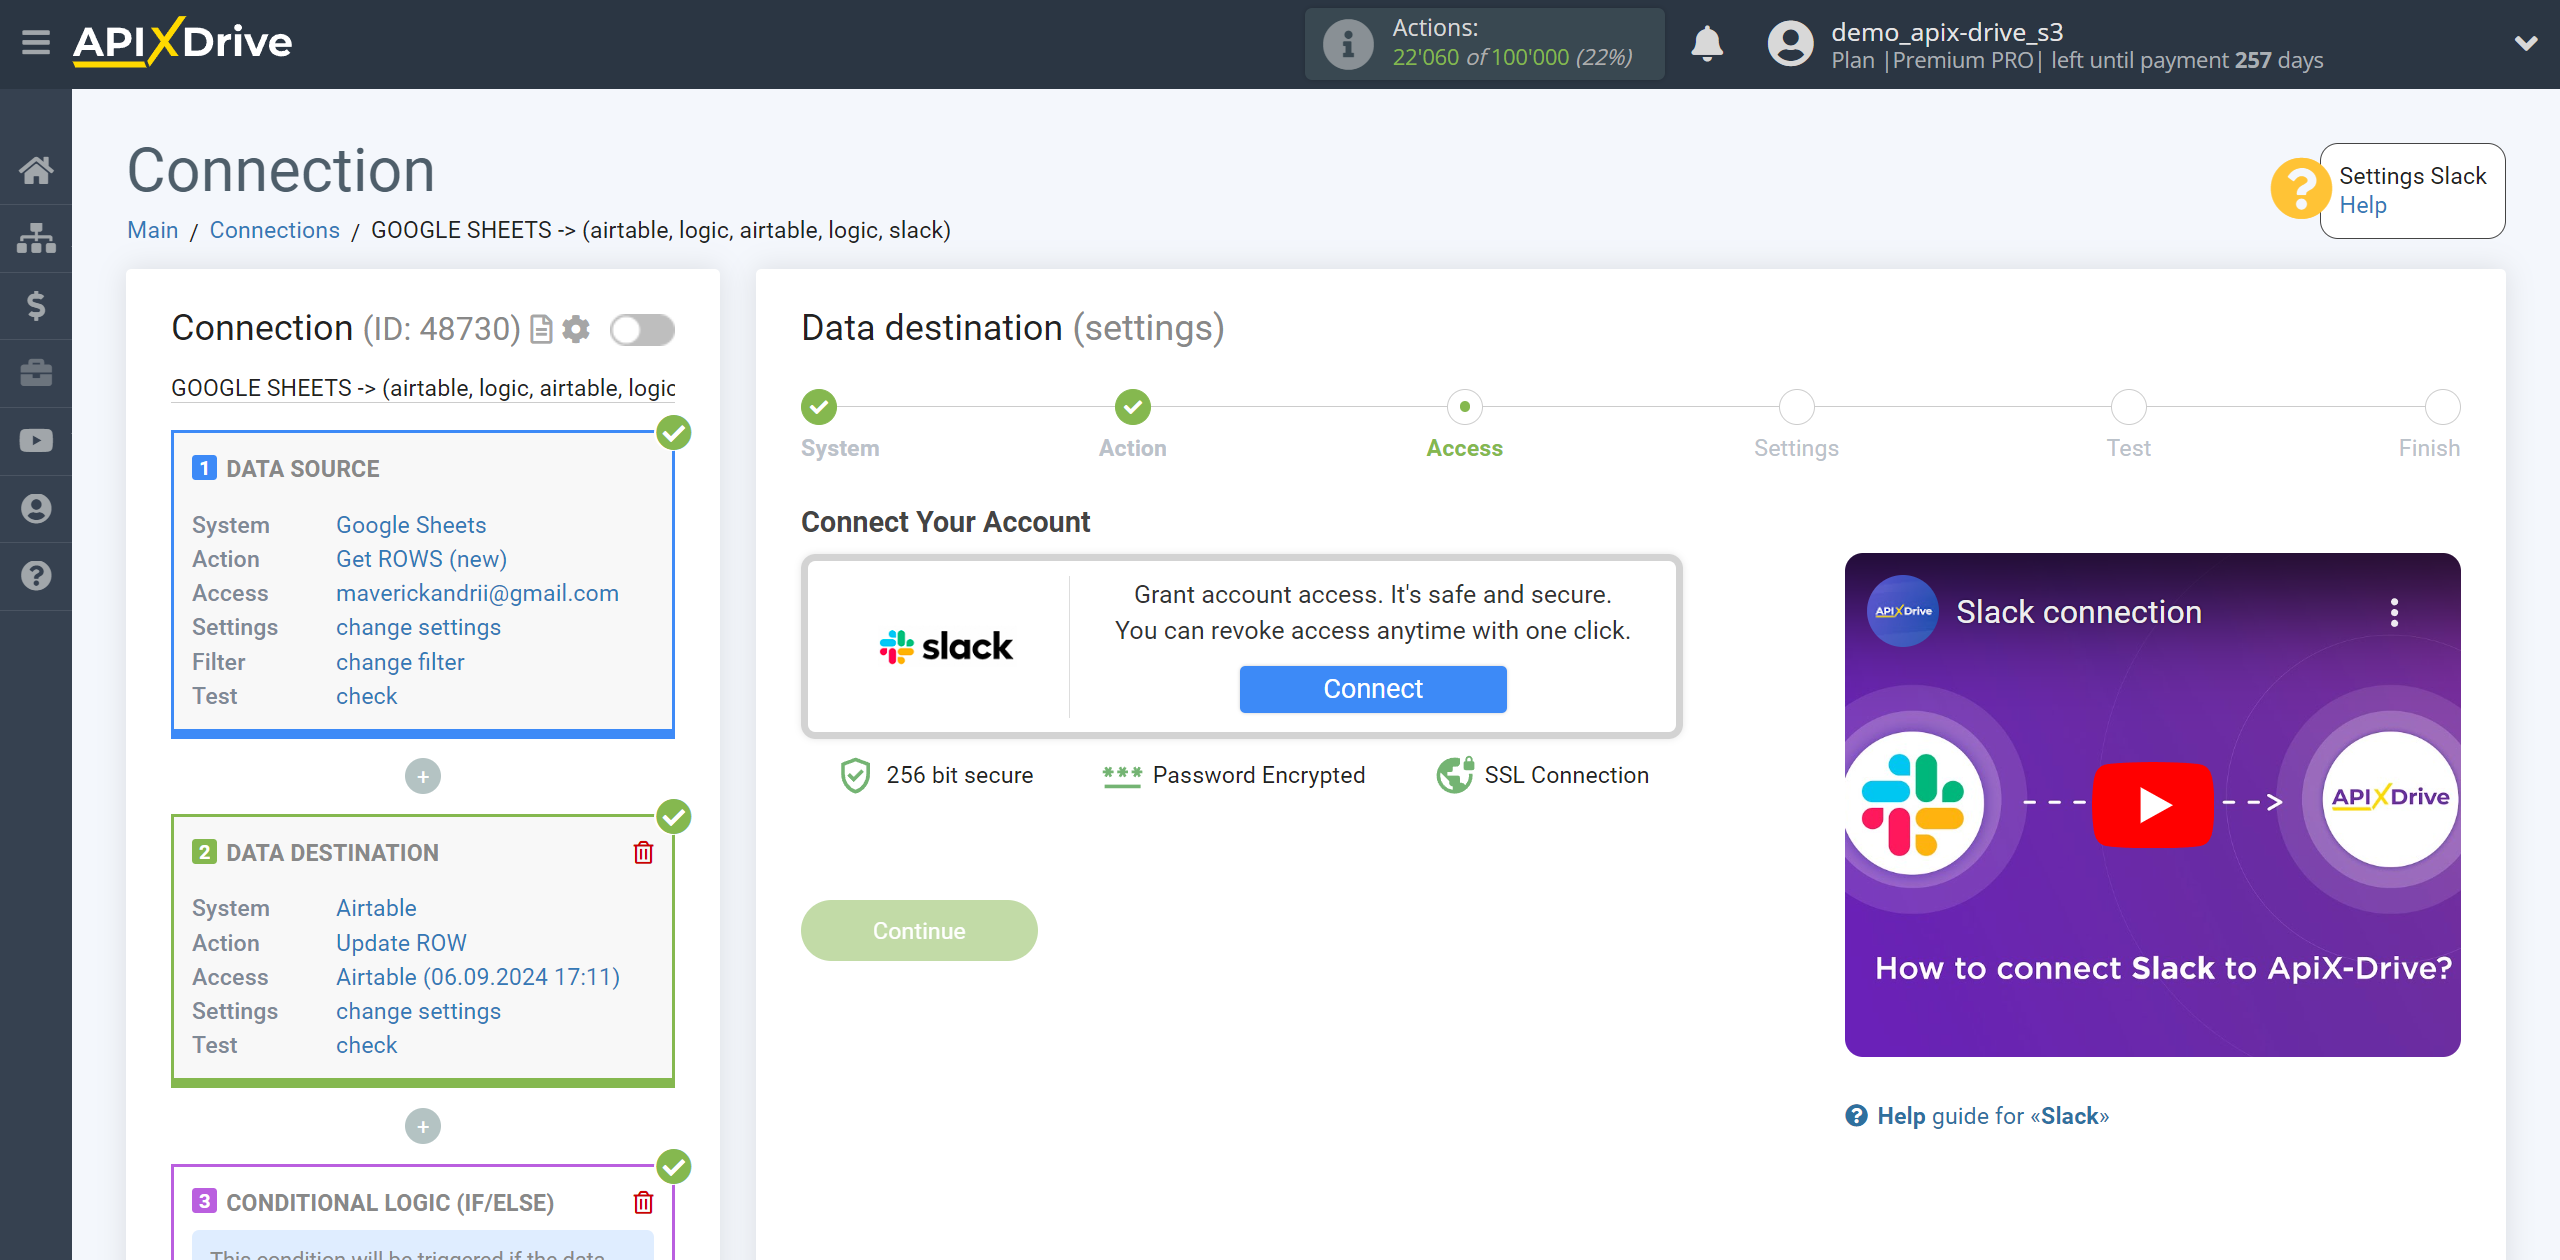
To connect your Slack account, follow the sequence:
1. Sign in to your Slack workspace
2. Enter your Slack username and password
3. Click "Allow" to grant ApiX-Drive permission to work with your Slack
4. After authorization, select the connected Slack account and click "Continue"
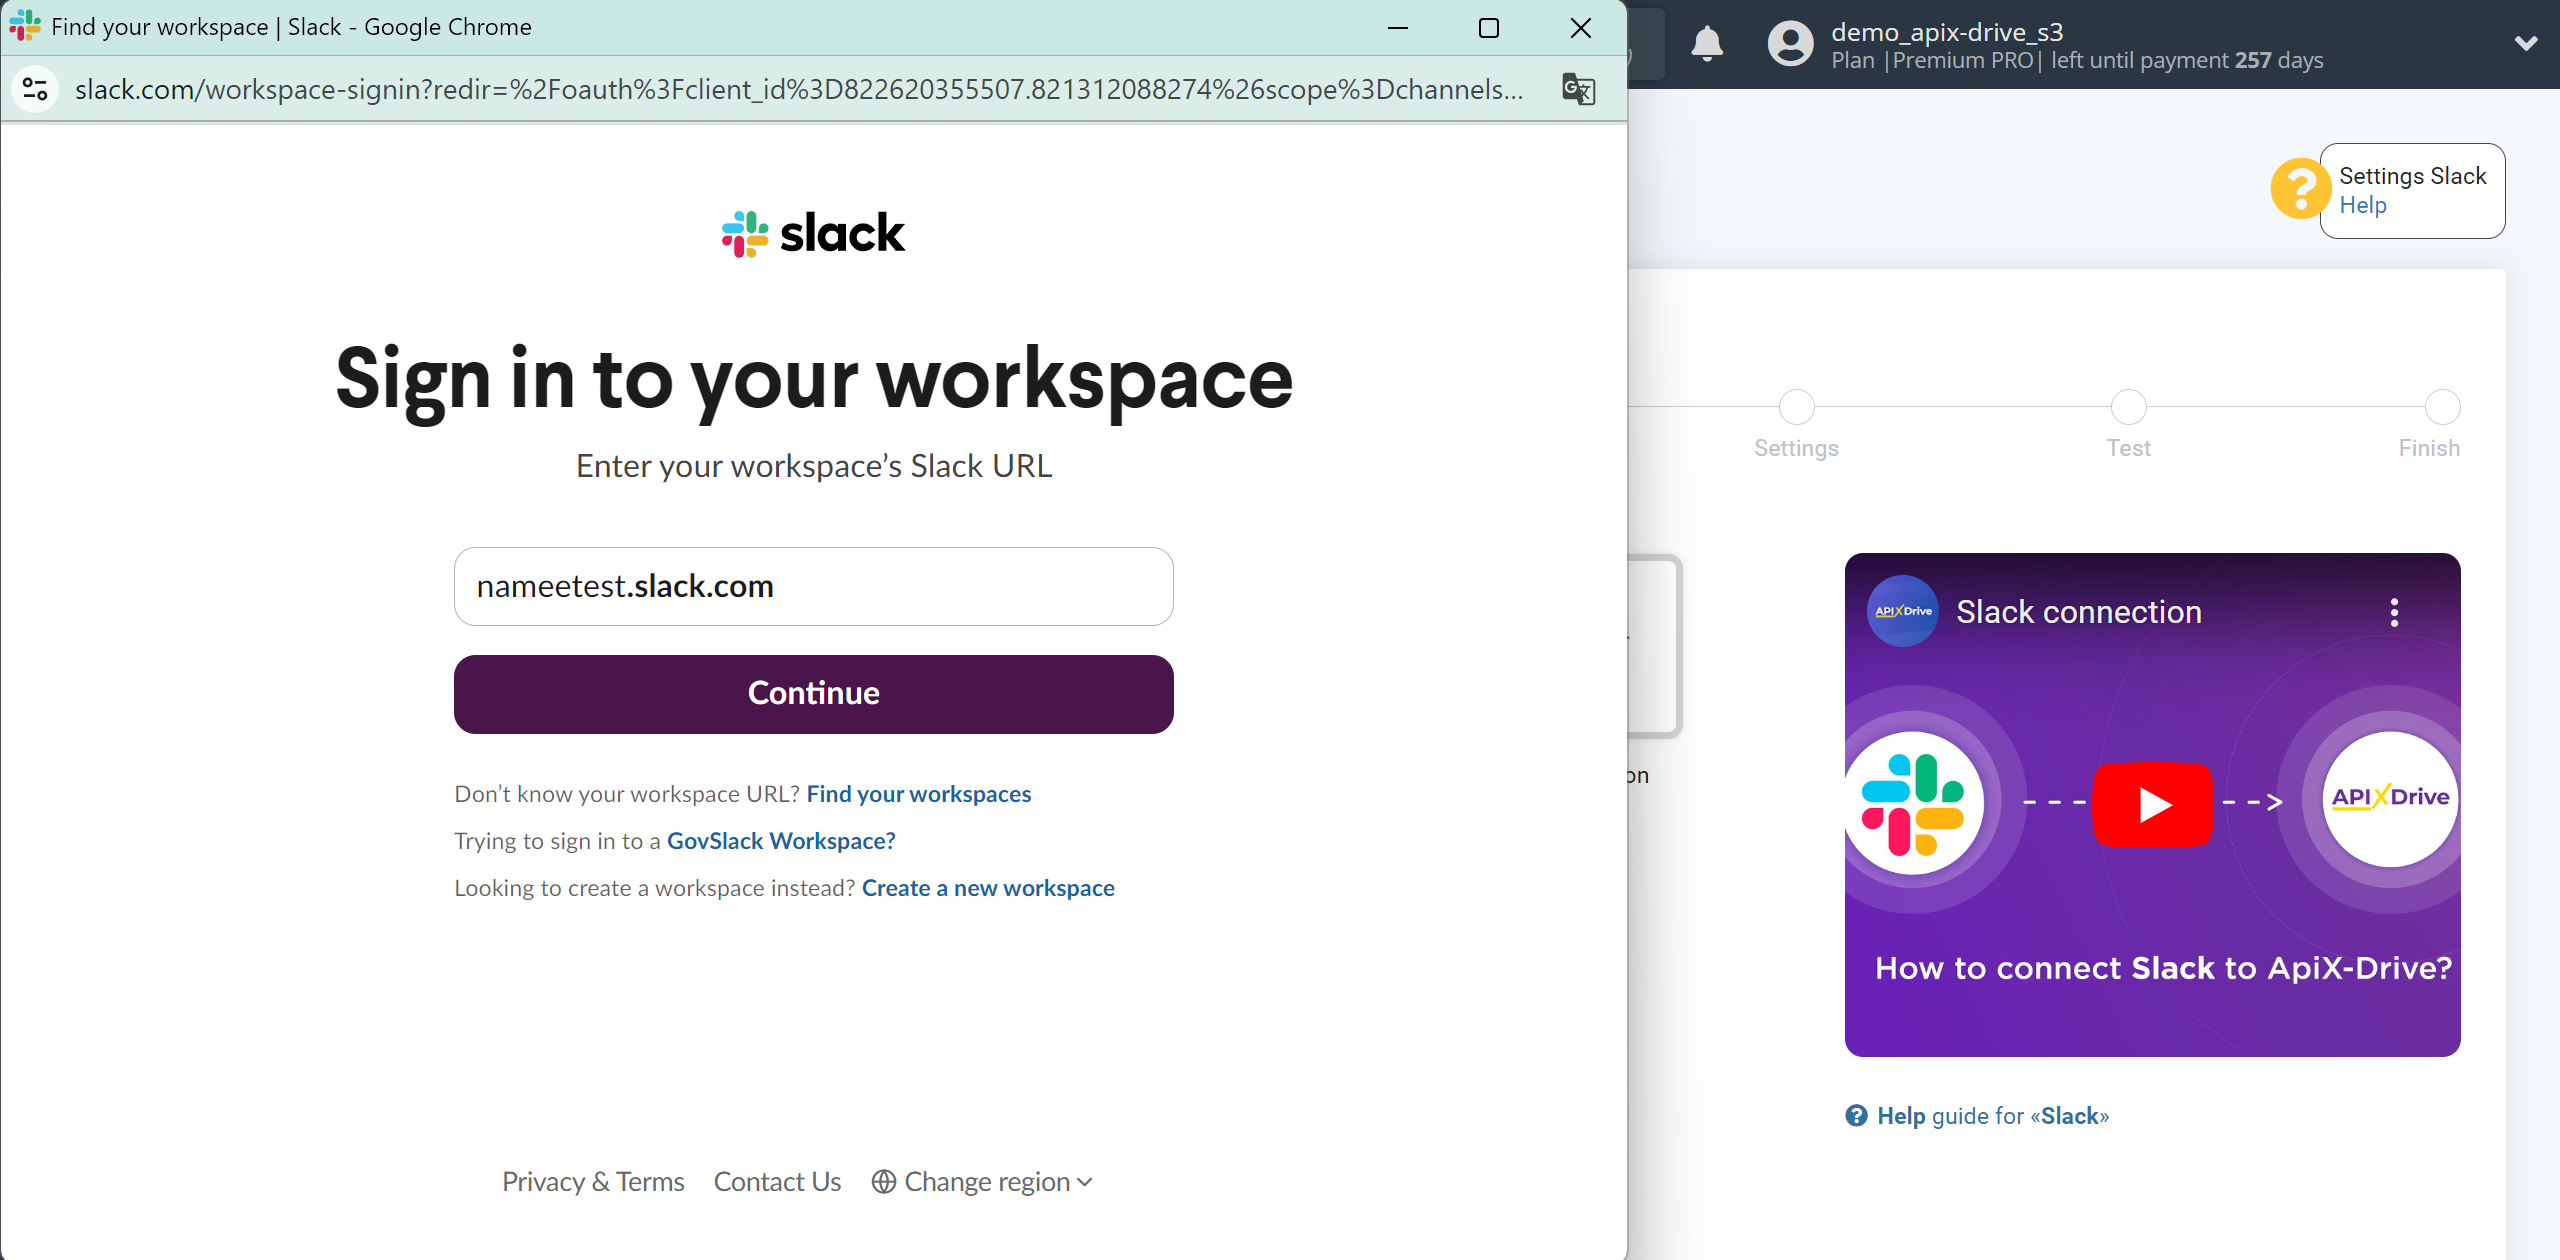
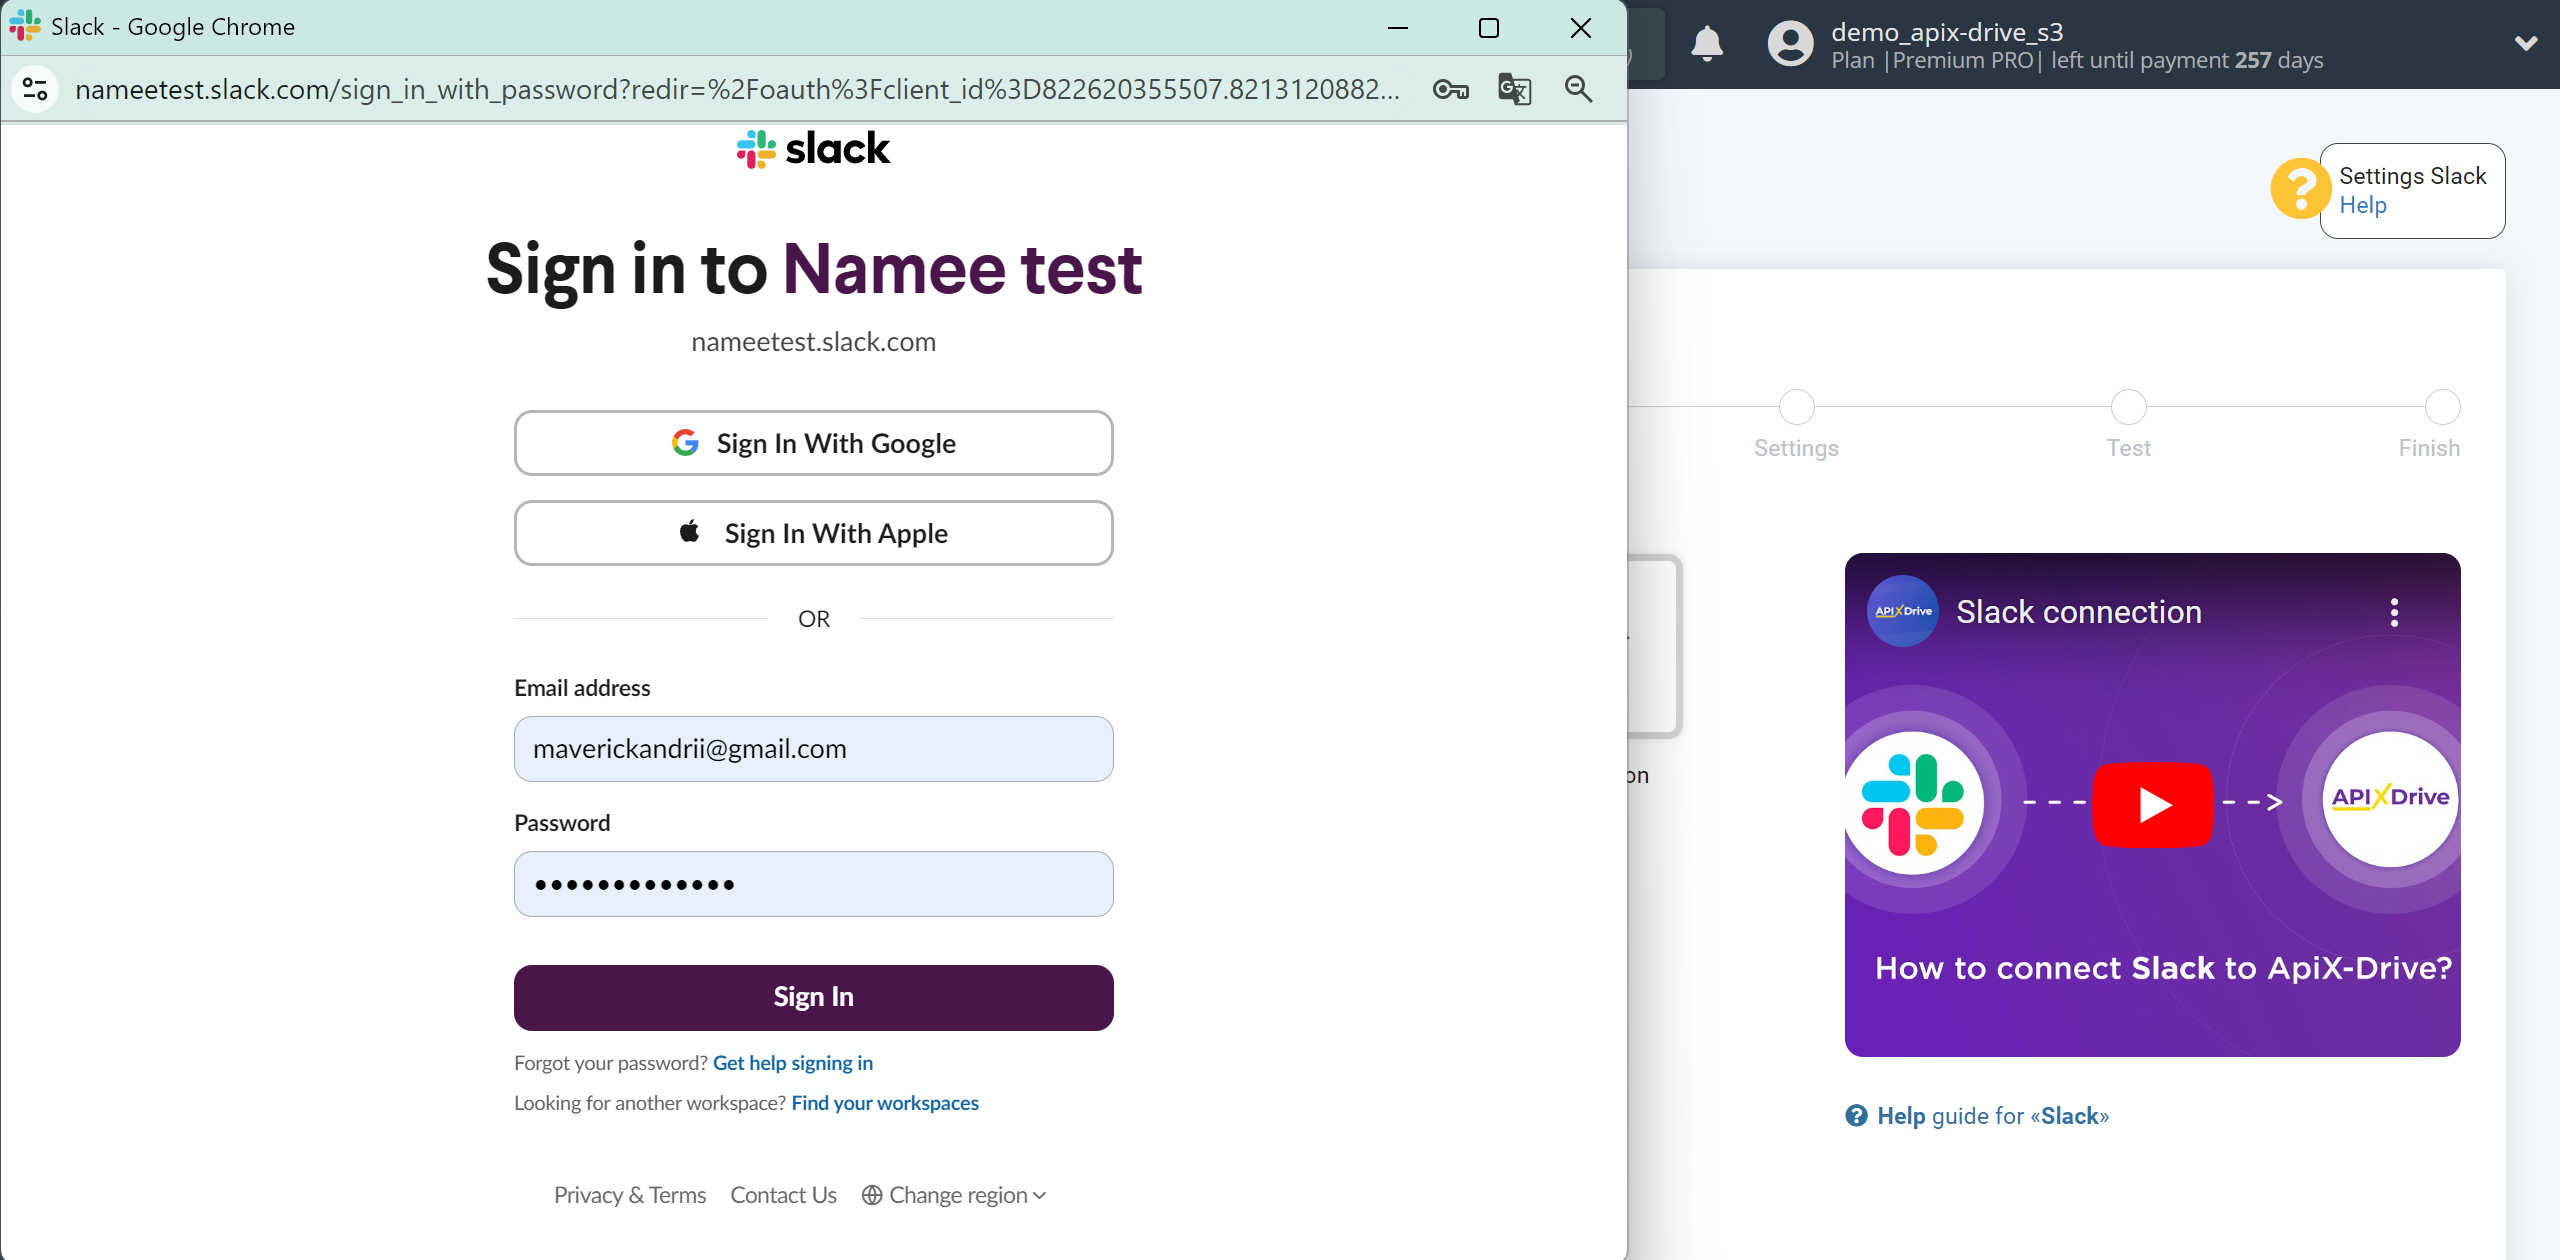
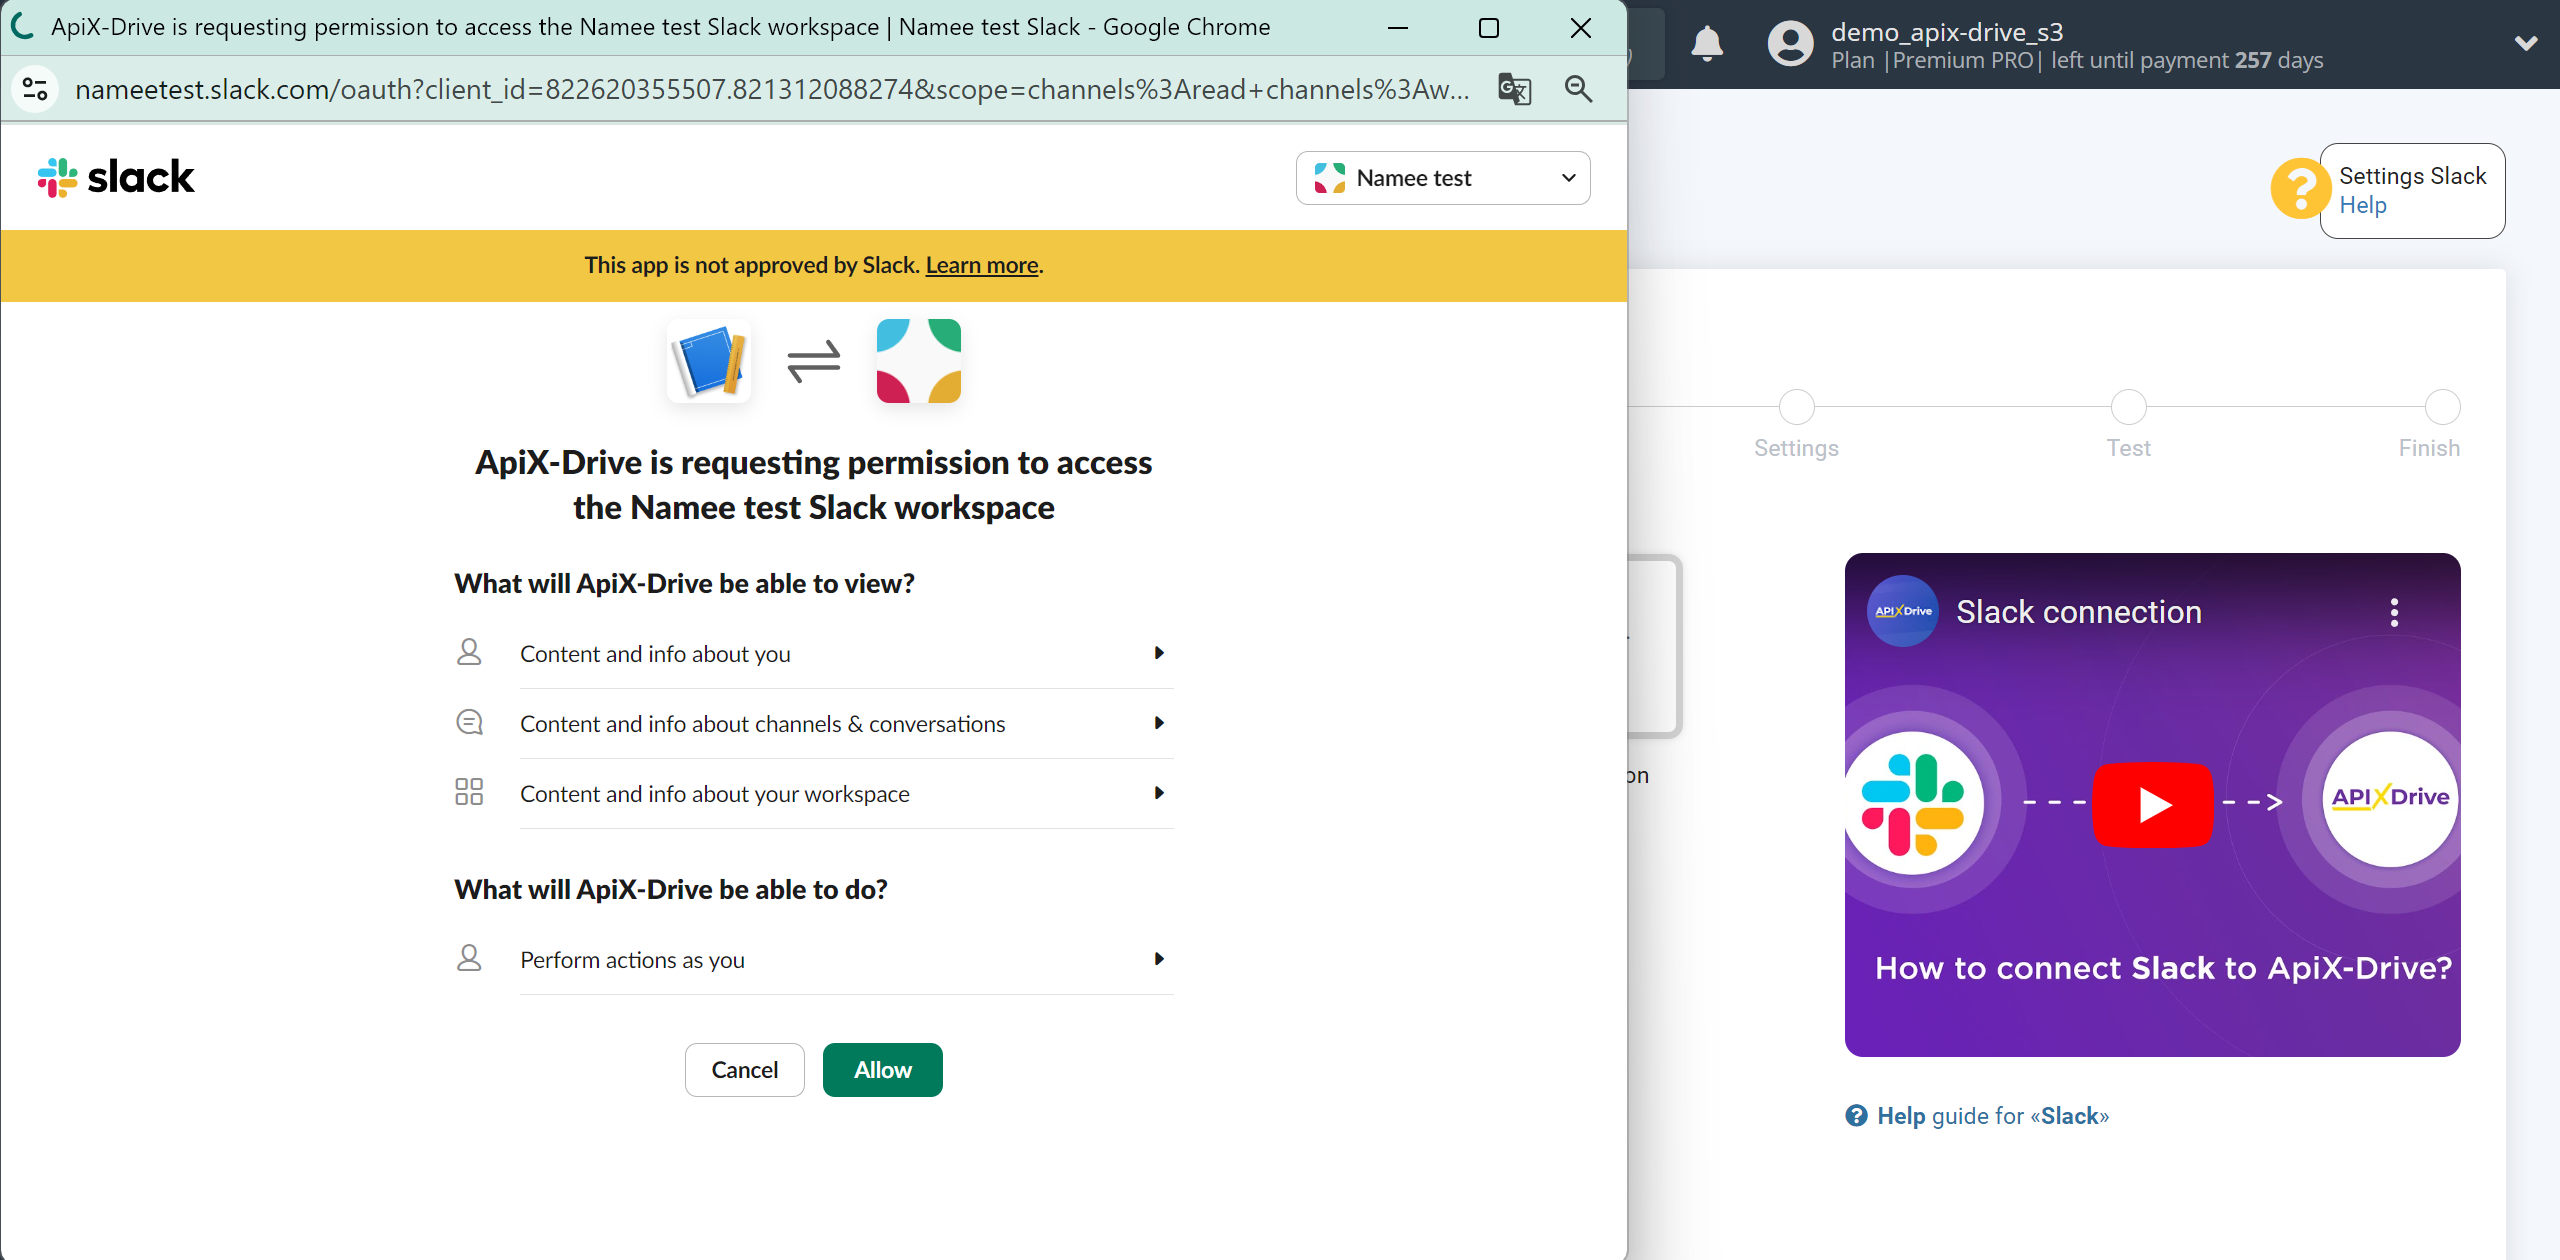
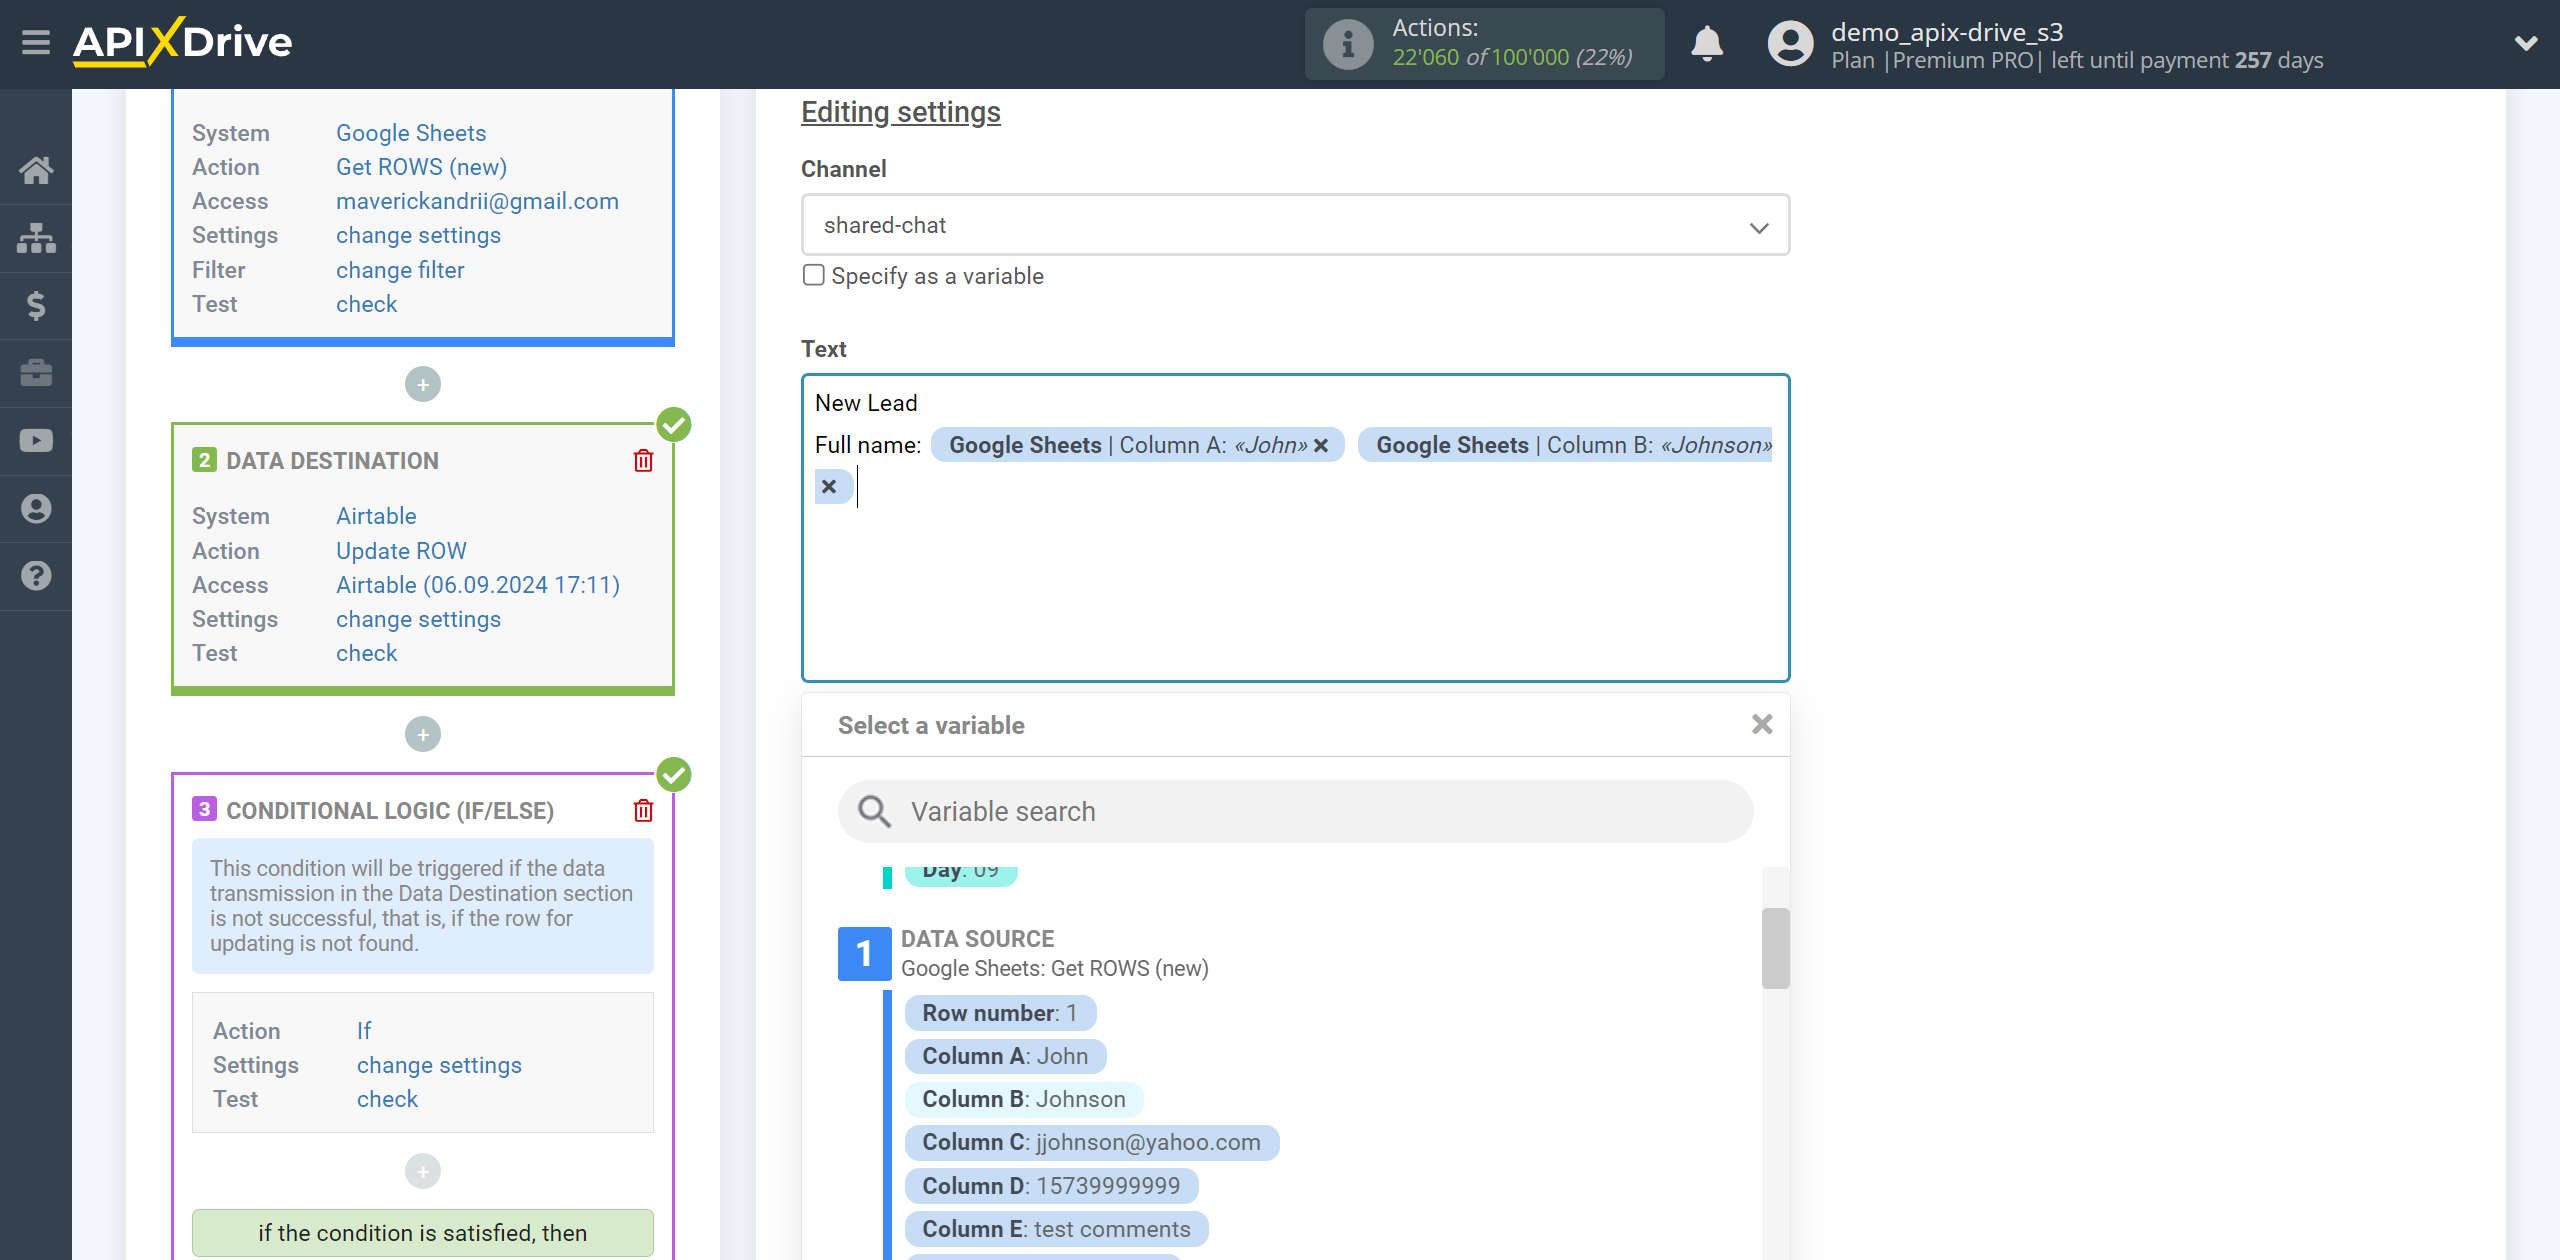
Now, you need to select a channel and create a message from the data that will be sent to Slack.
Expand the drop-down list and select the required indicators.
If necessary, write any constant variables in a field, or select the desired variable from the drop-down list to build a message, as shown in the example.
If you need to send messages to multiple channels, then create another connection and select a different channel.
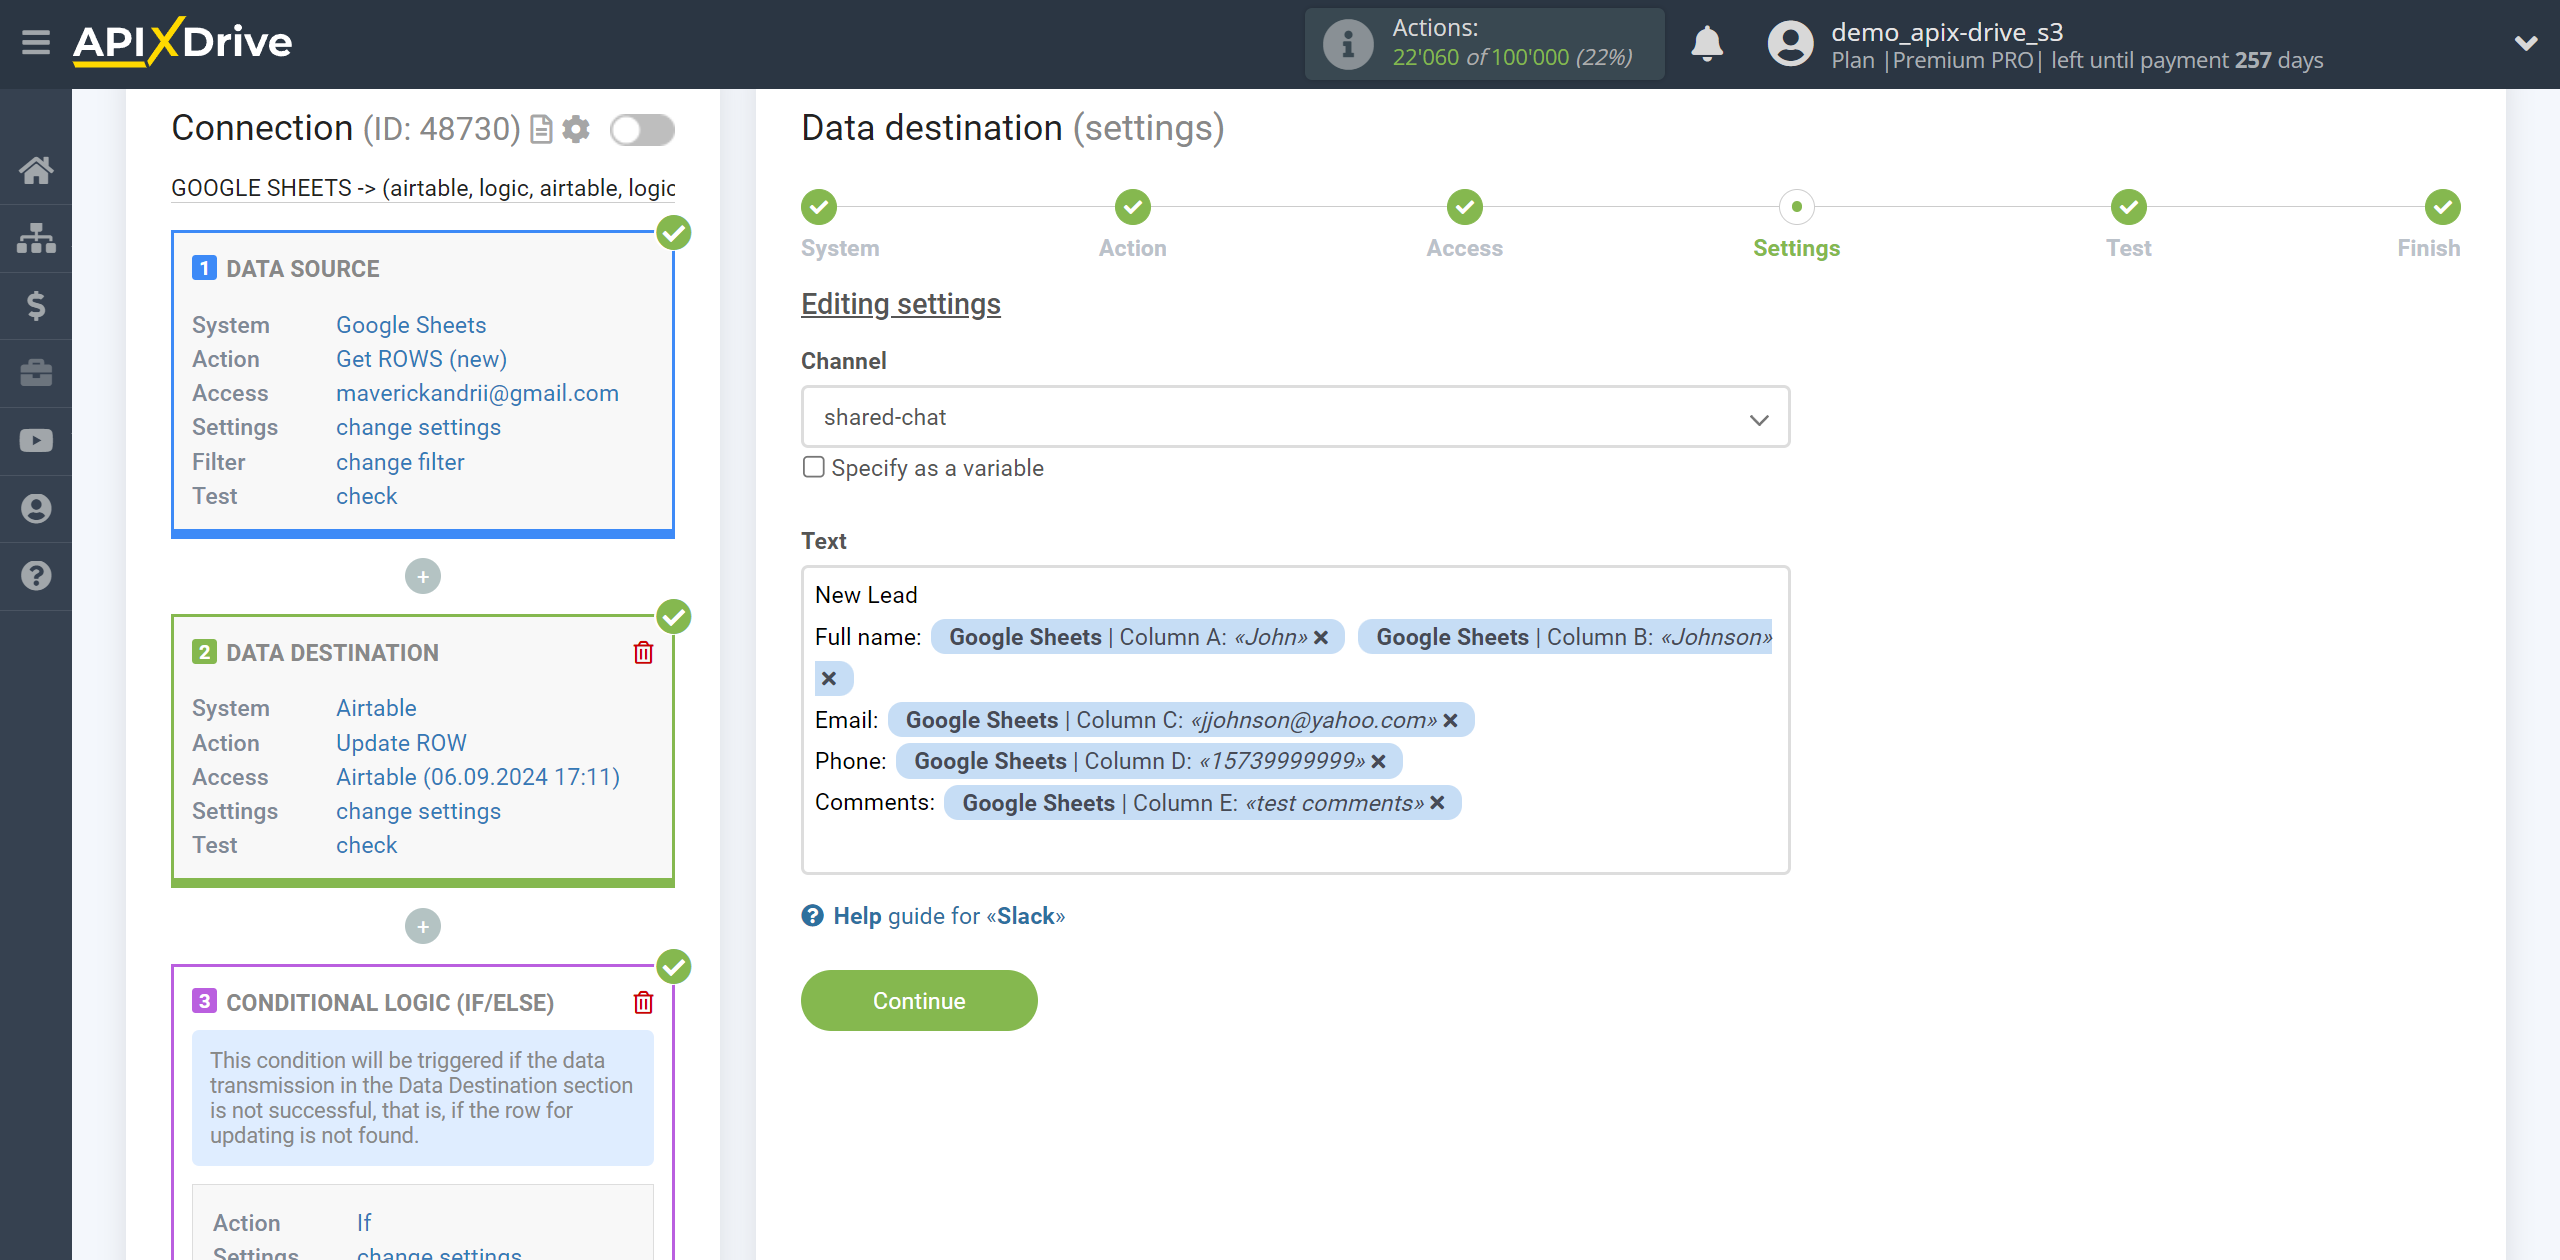
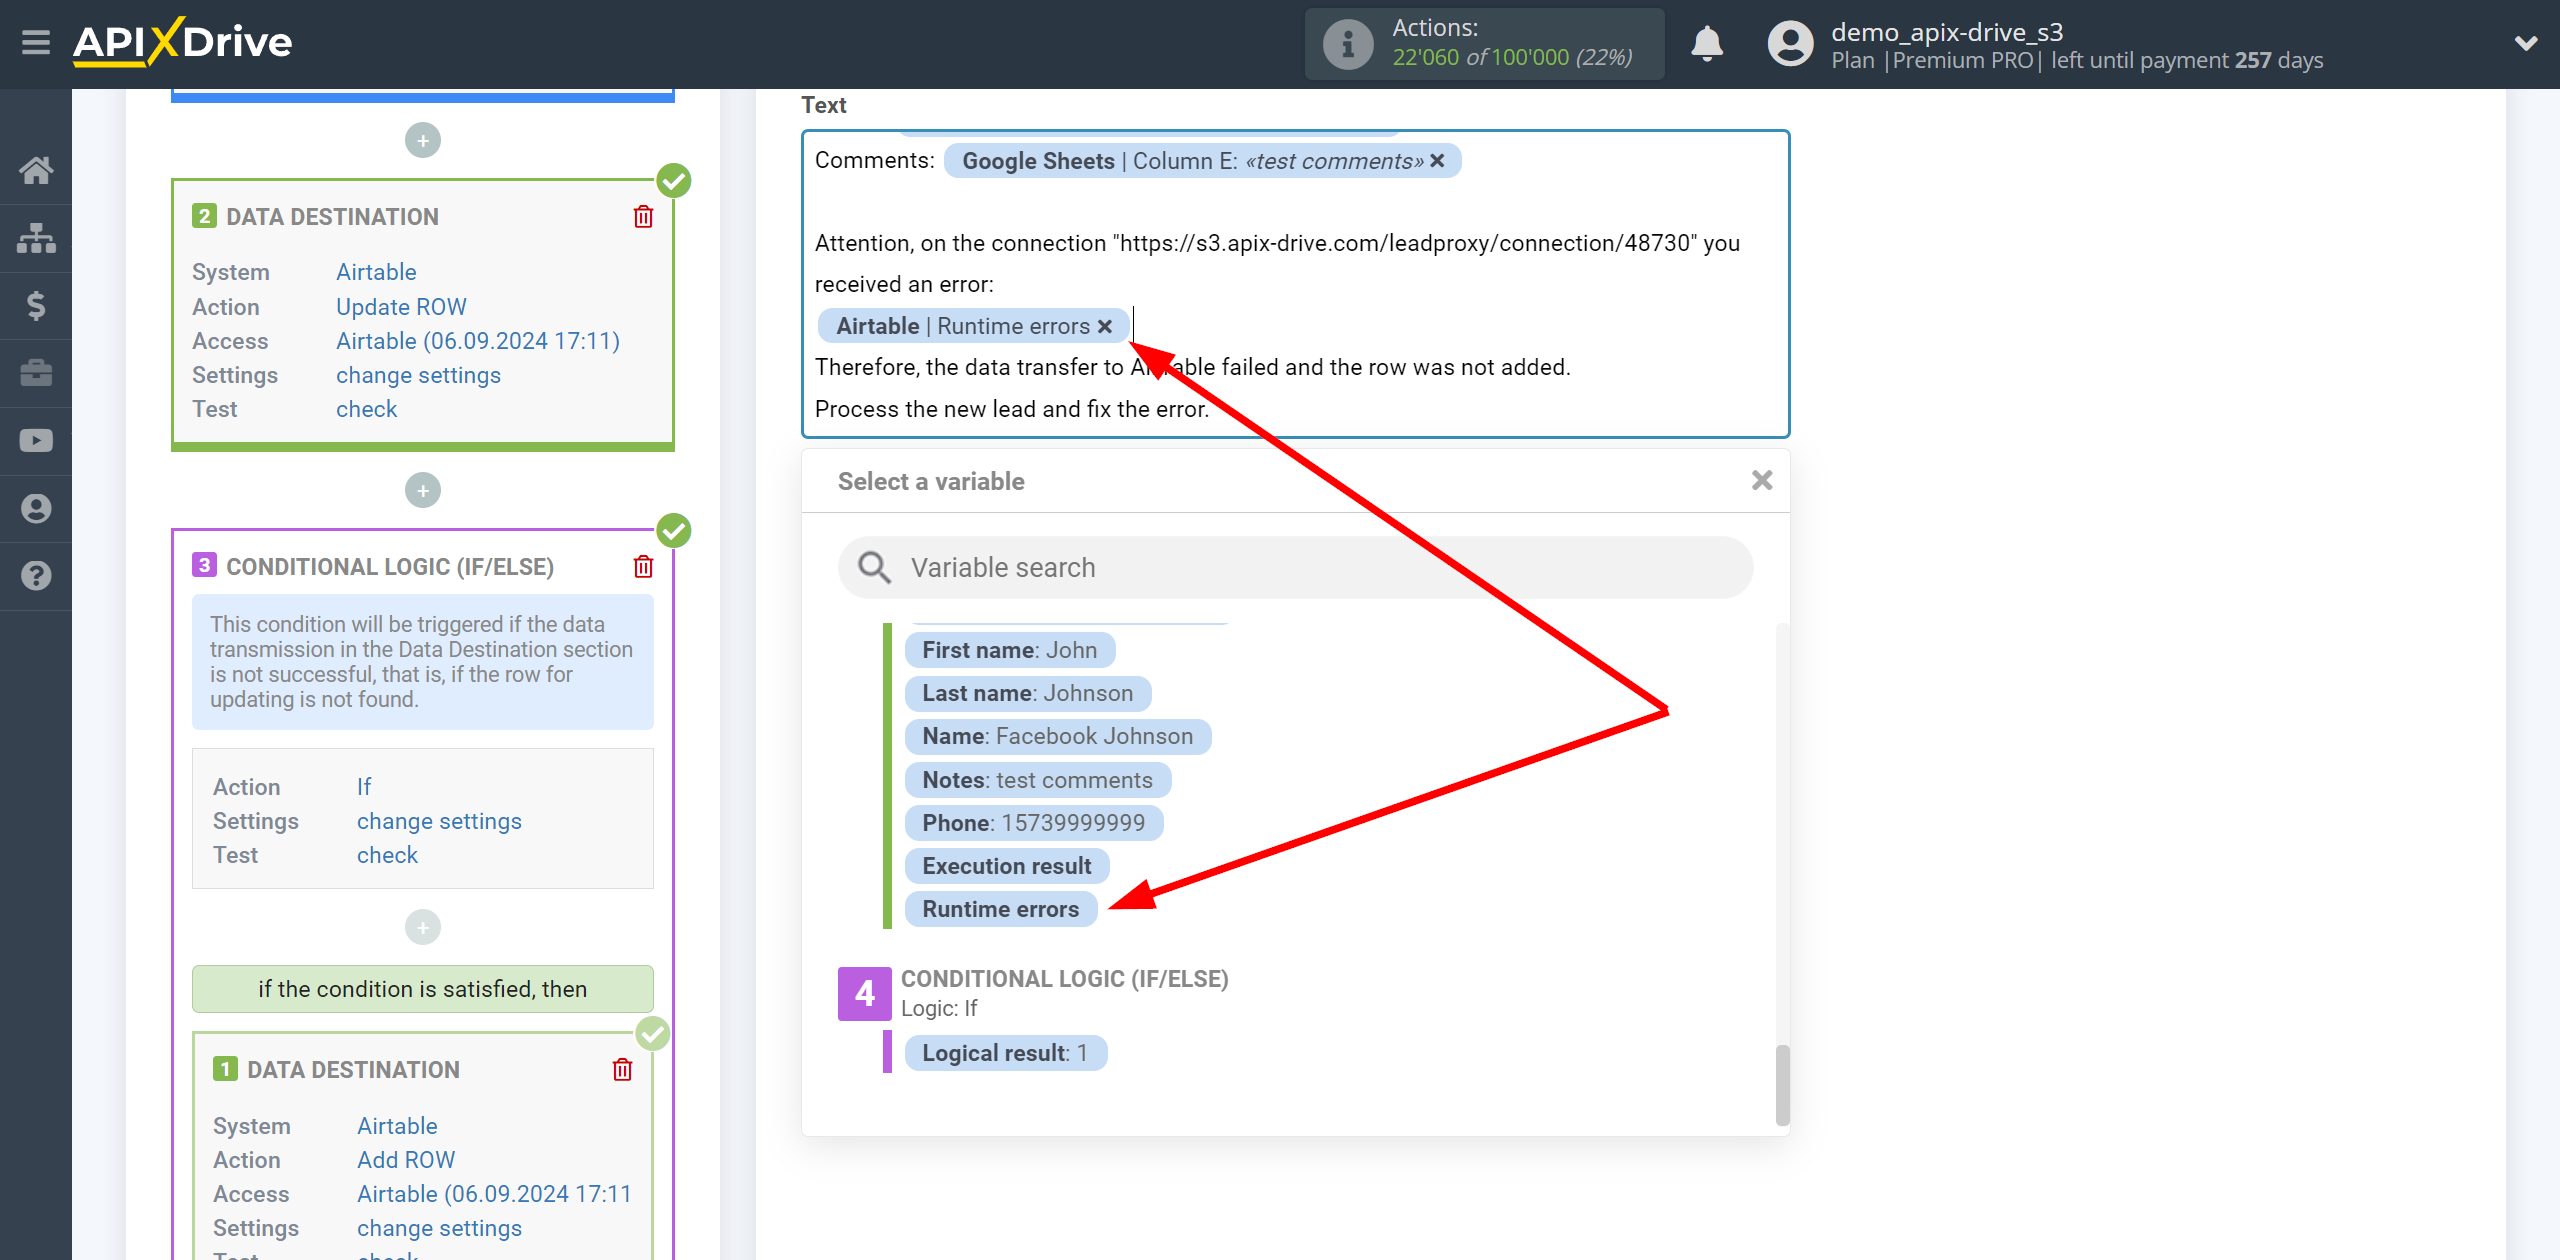
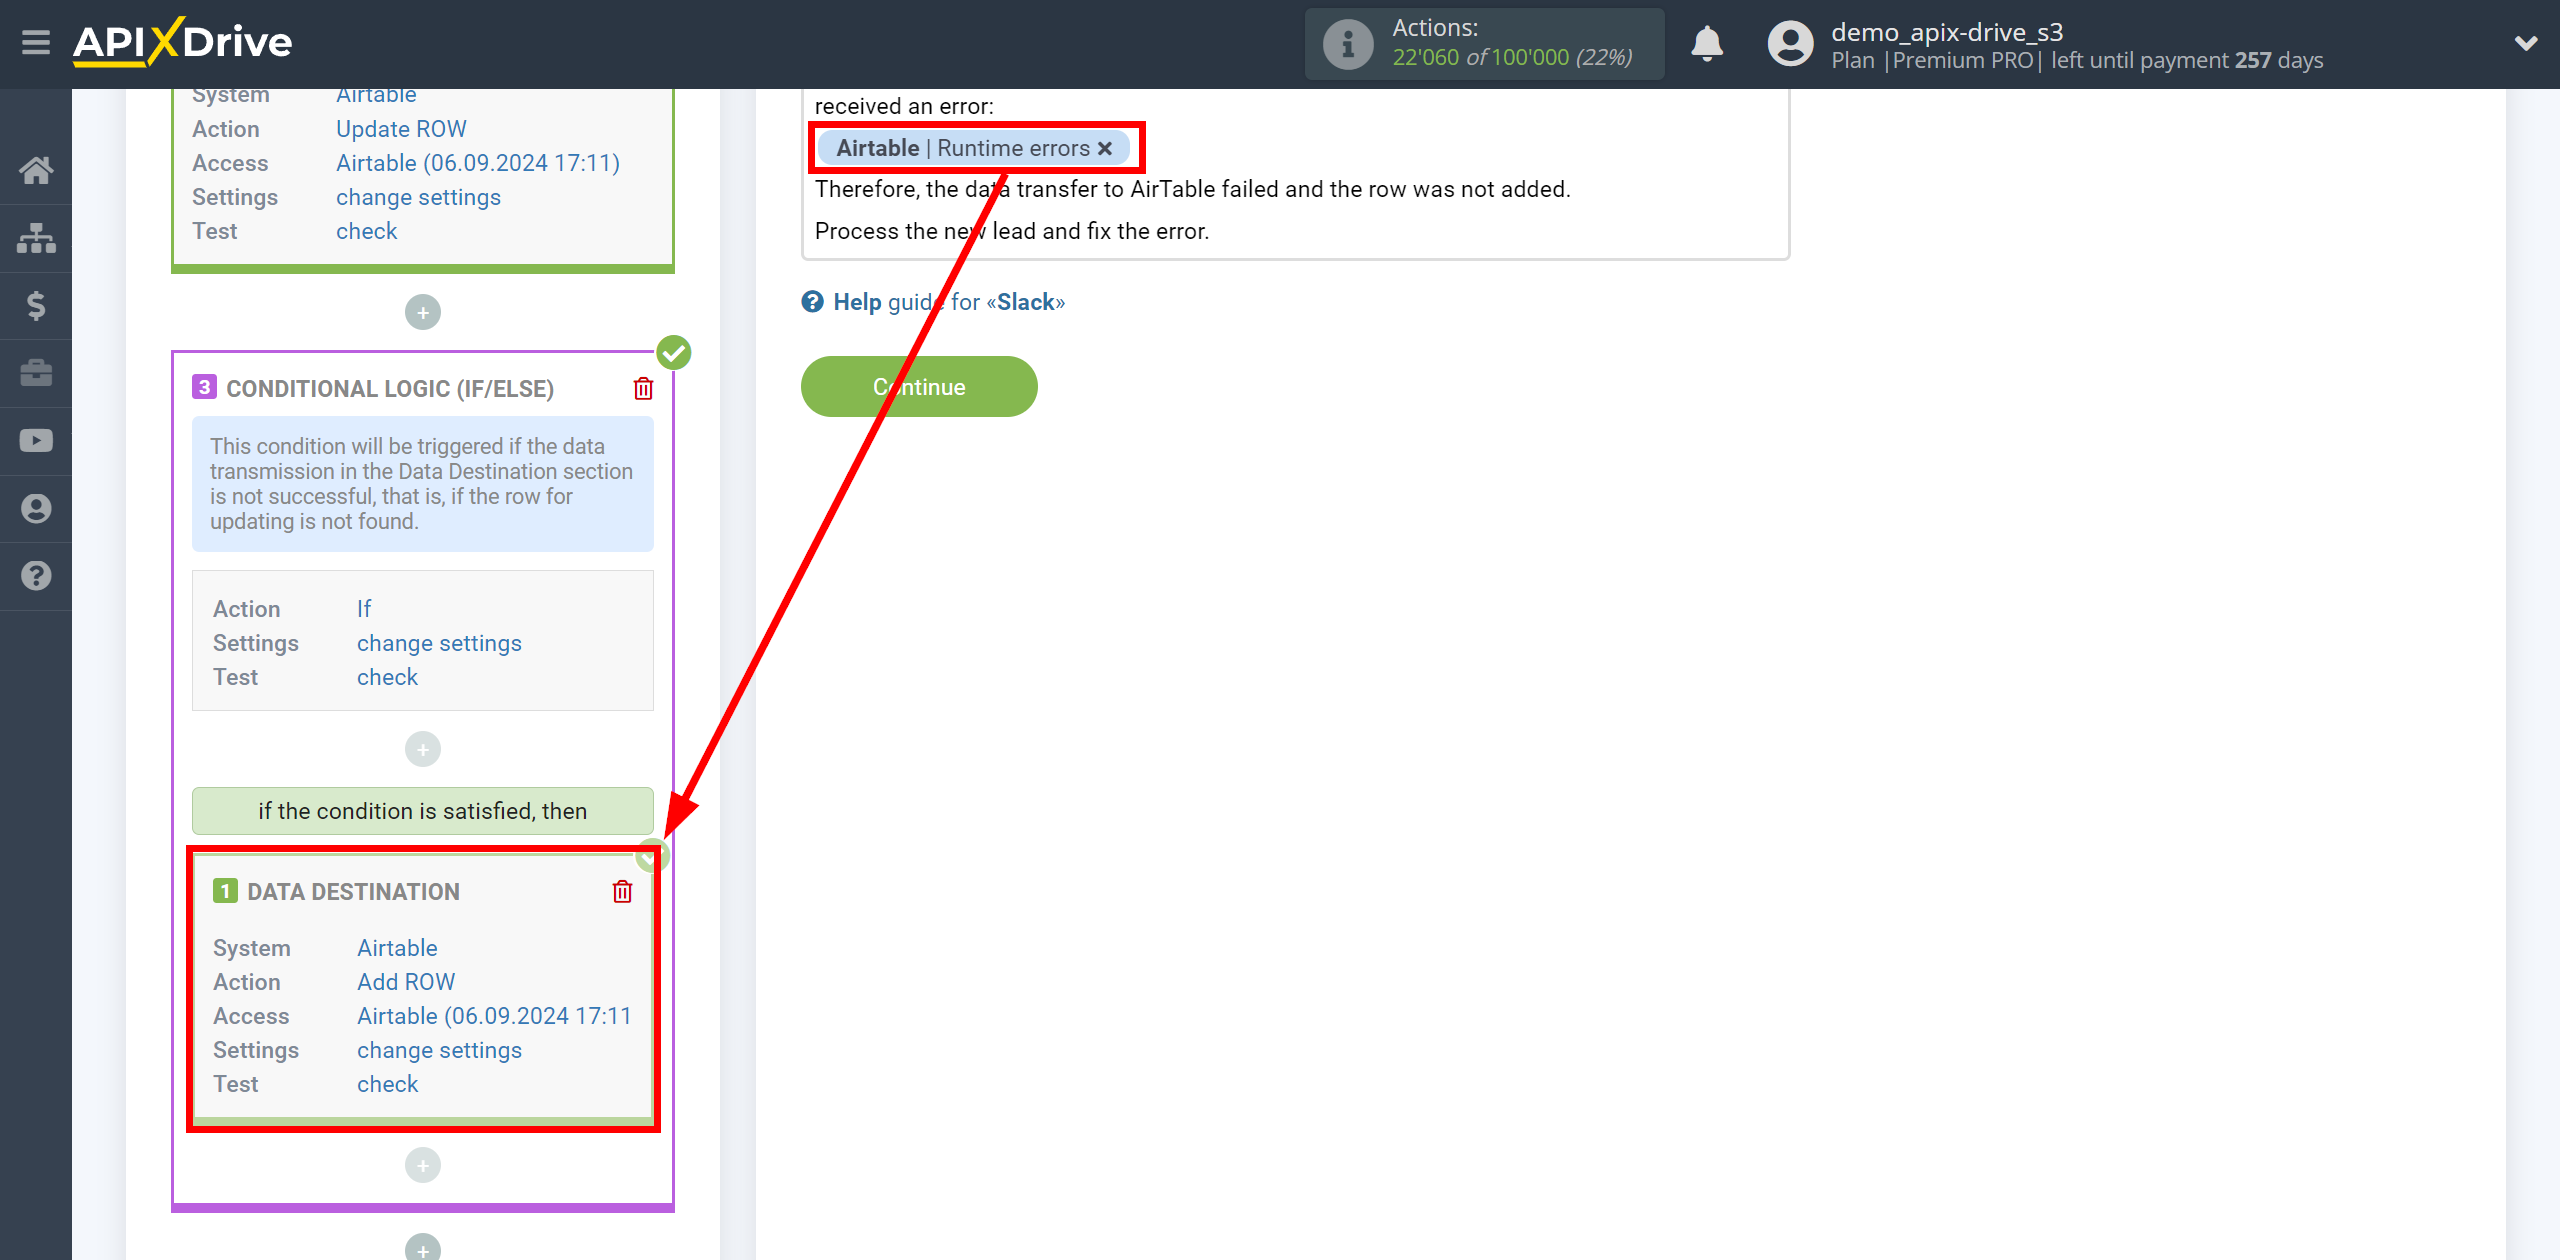
Also, in this example, we will add to the message text information about the error that occurred in Data Destination and a link to the connection in which the data was transferred unsuccessfully, for this, we will assign the “Runtime Errors” field from the Data Destination section of AirTable adding row.
Note! The "Runtime errors" field at the Test stage will be empty, since it is filled only when auto-updating the connection is running and if the Data Destination system contained an error text.
In order to get the connection link , log into the connection and copy part of the connection link from the address bar, as shown in the screenshot:
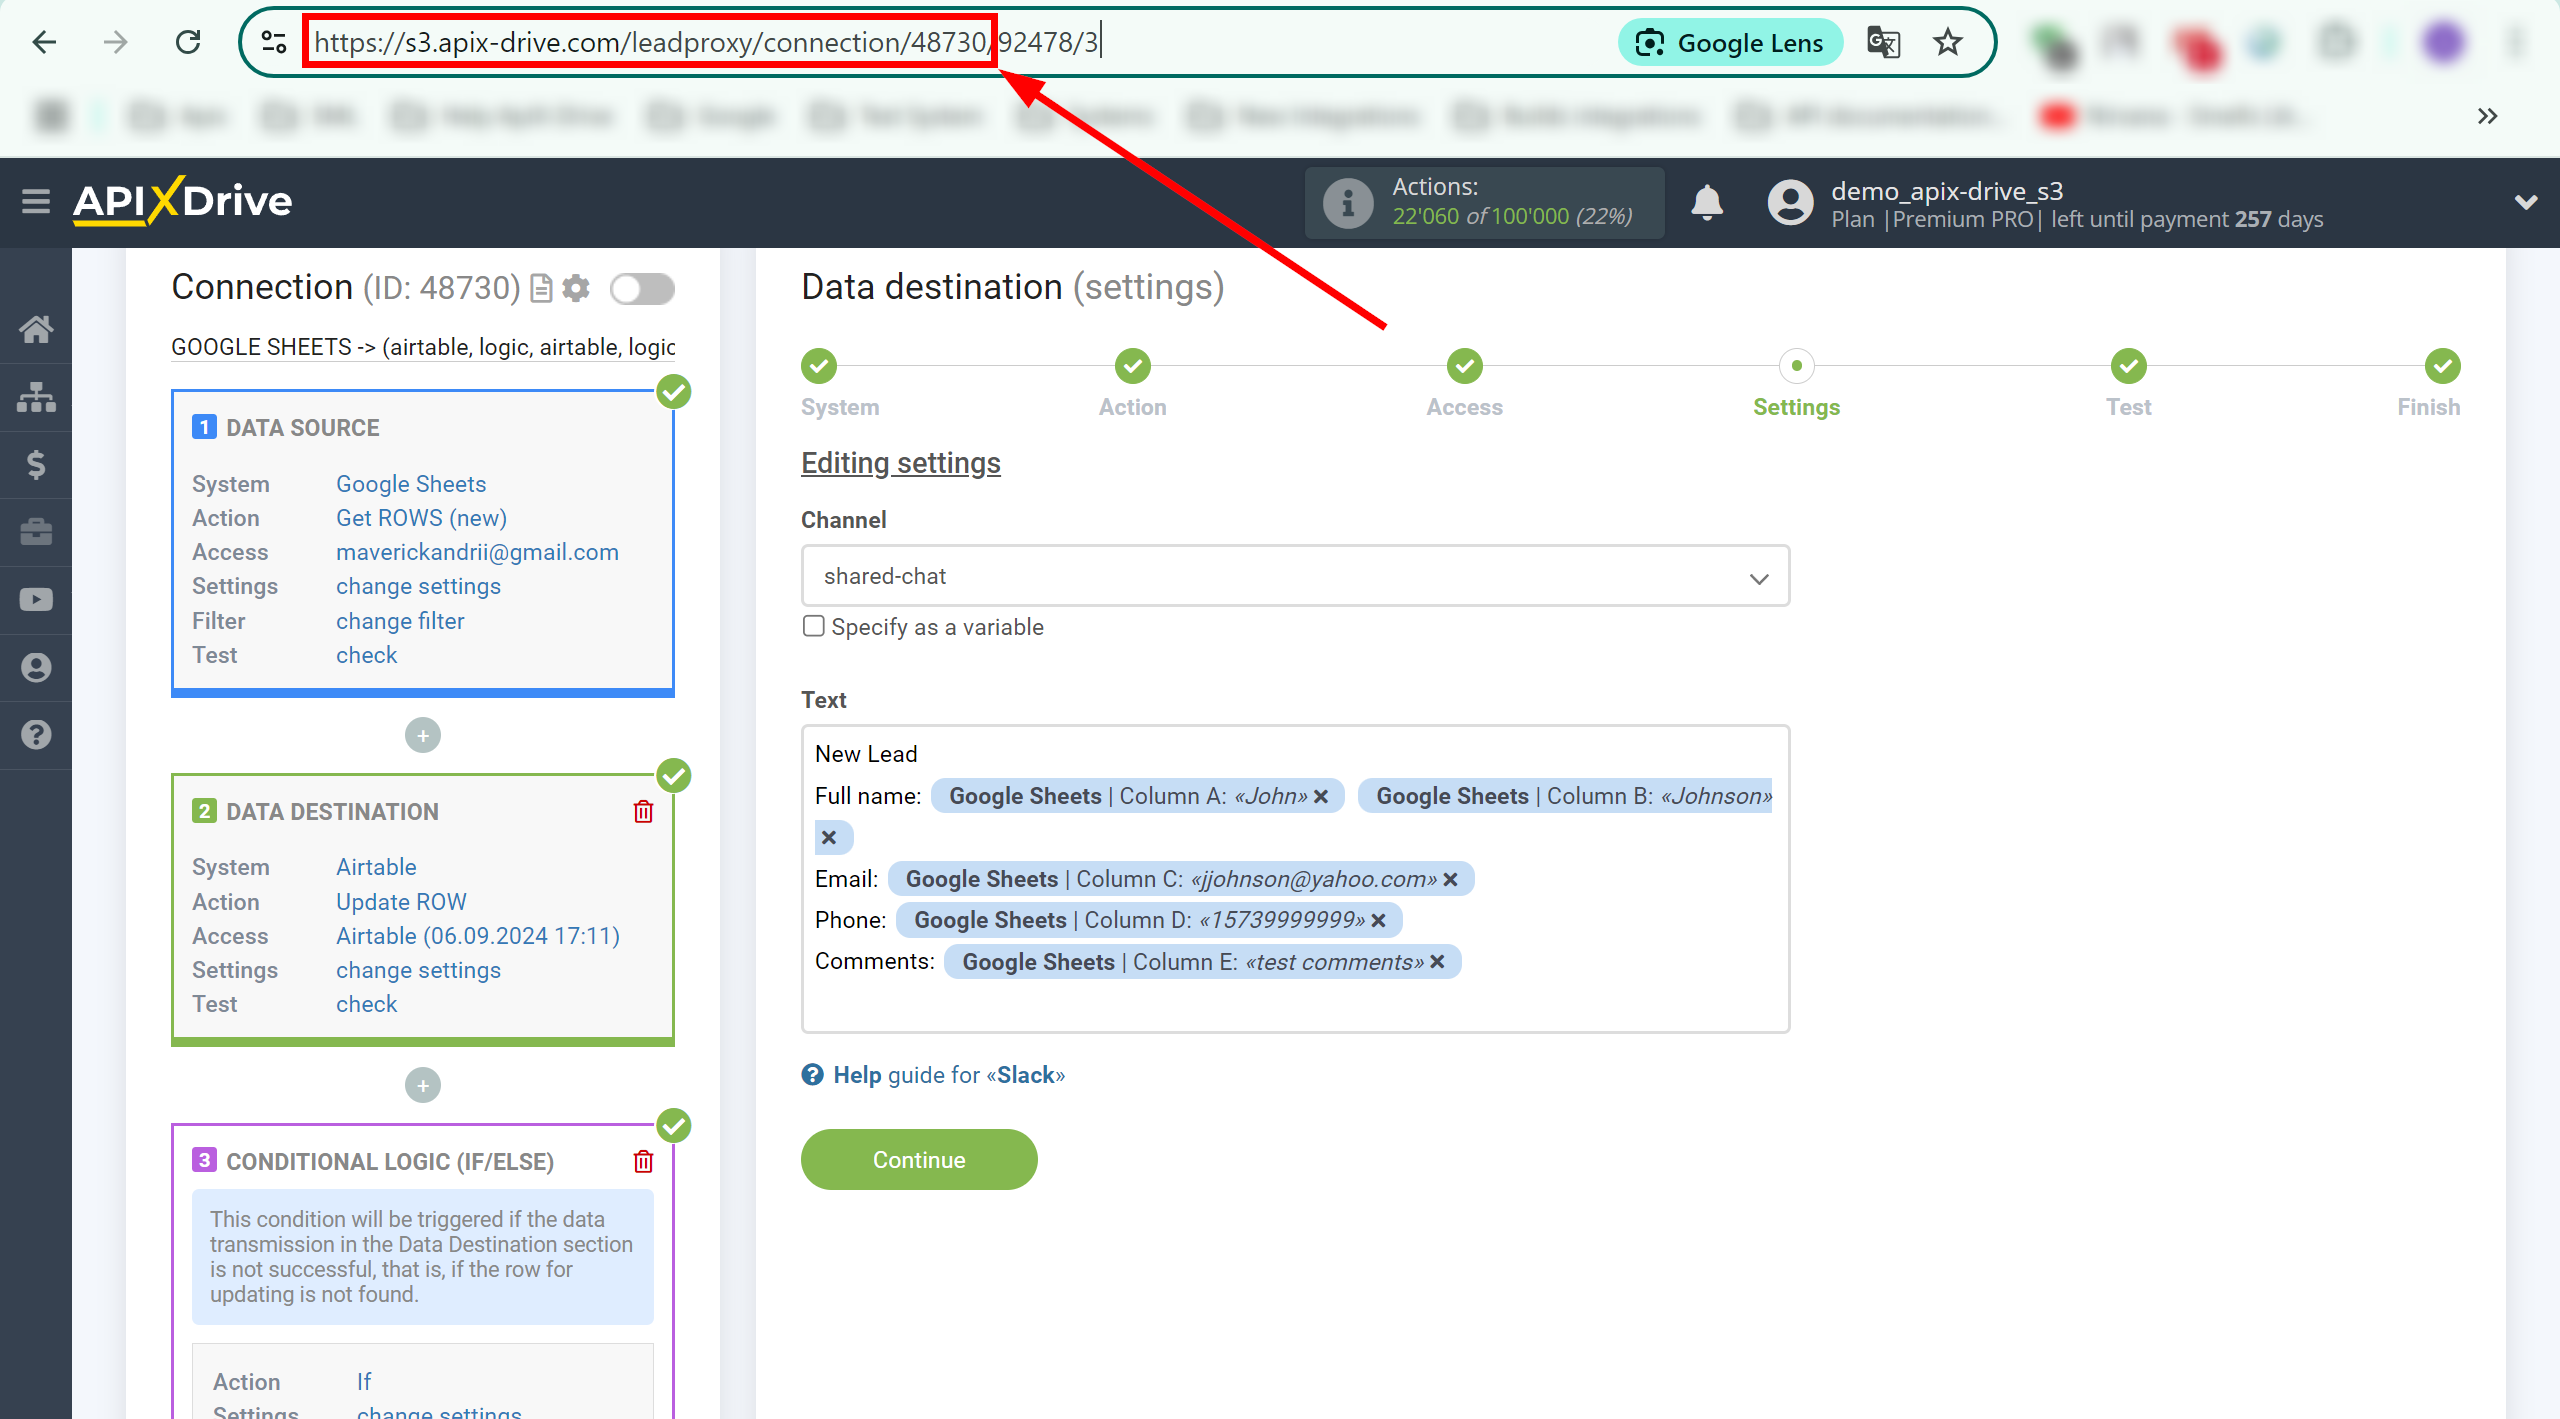
When the message is generated, click "Edit and continue".
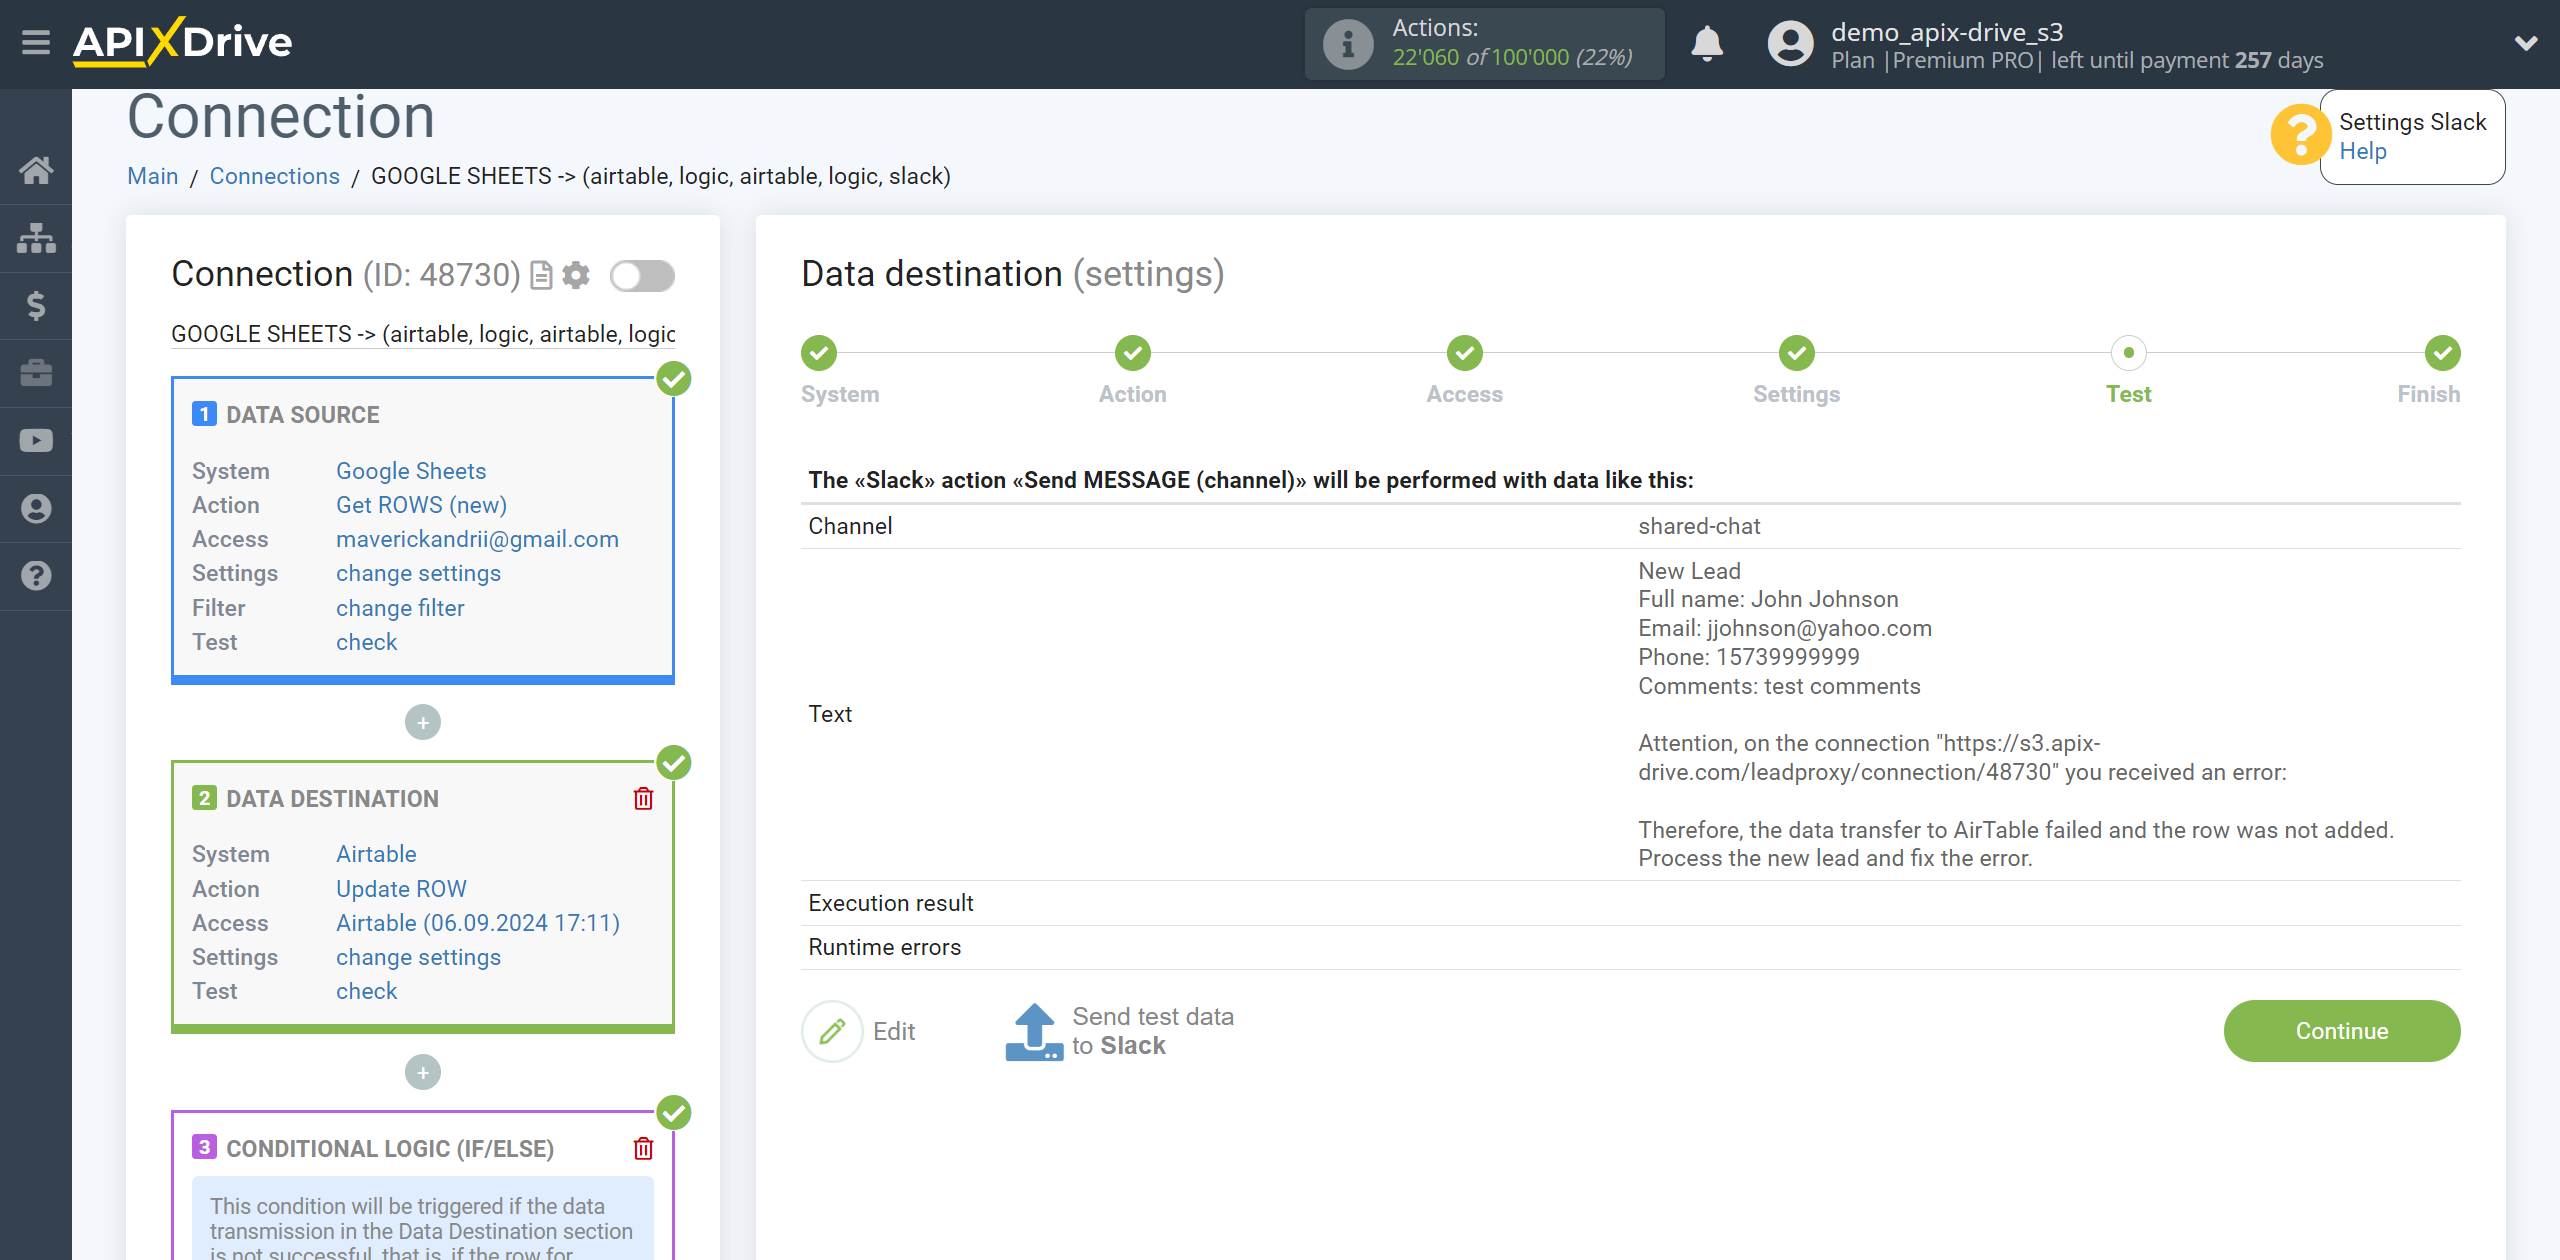
Now you can see the test data of what your message will look like.
To check the correctness of the settings - click "Send test data to Slack" and go to your Slack to check the result.
If something does not suit you - click "Edit" and go back one step.
If everything suits you - click "Next" for further settings.
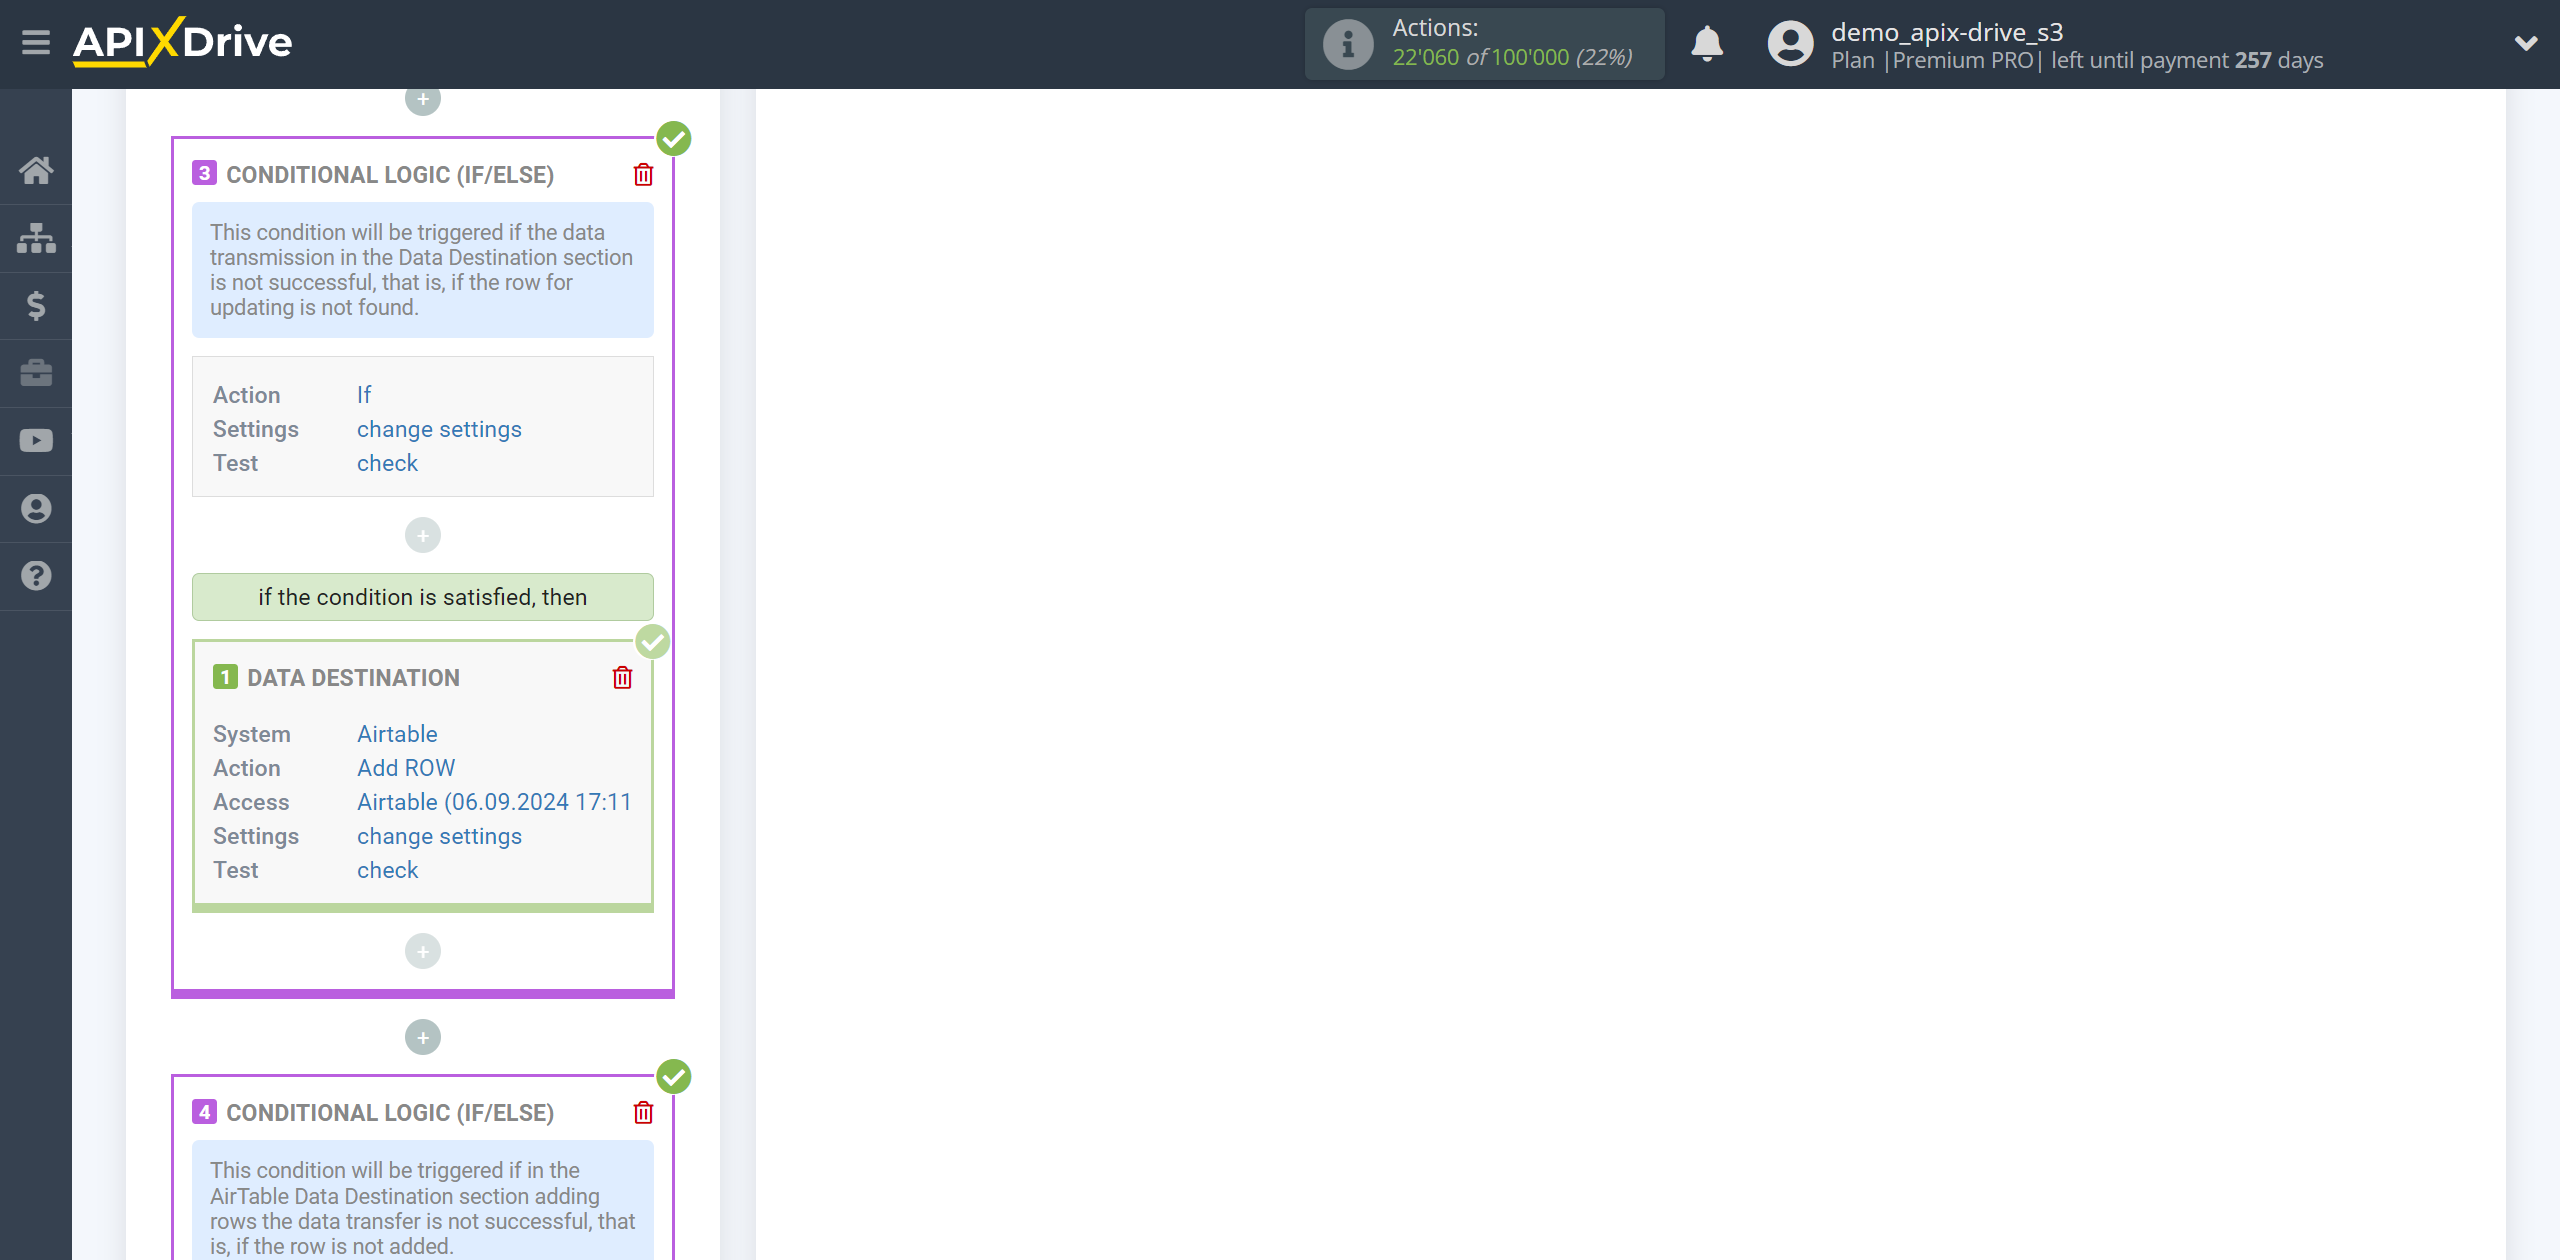
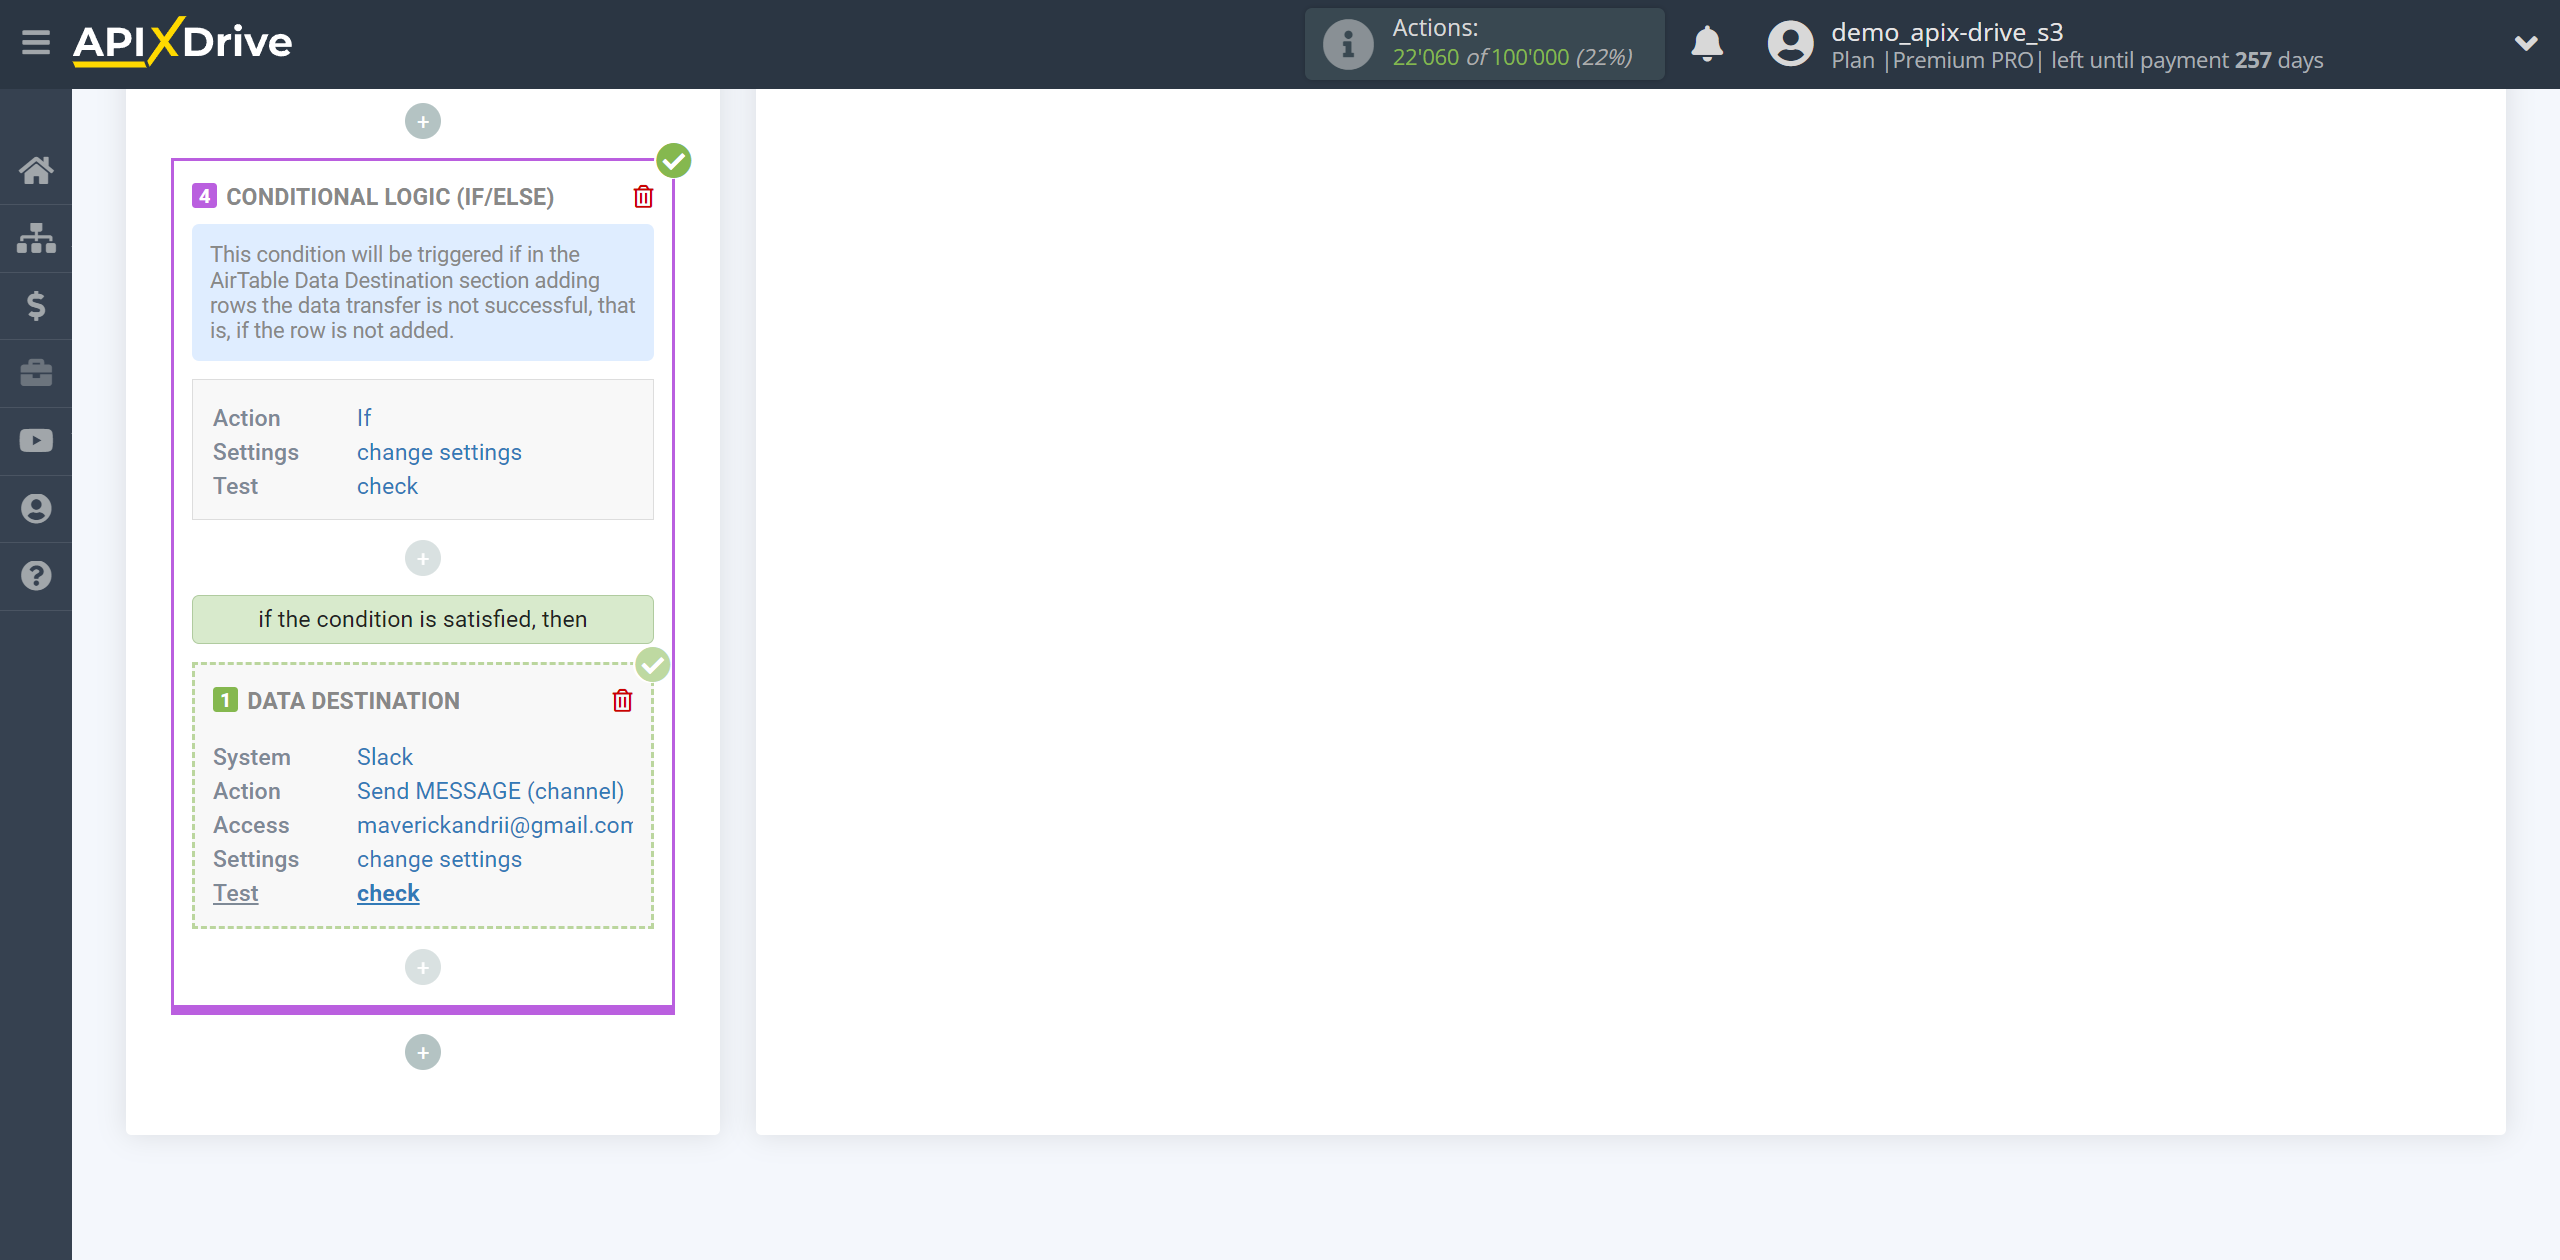
This completes the setup for Data Destination Slack!
As a result, we have the following condition: When get data from the Data Source system, we transfer the data to AirTable to update the row. If the row is not updated, that is, an error occurred or for some other reason the update failed, then we transfer the data to AirTable to add a row. In the event that a row will not be added in AirTable due to an error or for some other reason it will not be possible to add a row, then we send a message to the connected Slack account with data from the Data Source, and also with information about the error in AirTable Data Destination adding rows on the current connection.