Facebook and ClickSend Integration: Automatic Transfer of Contacts
In this guide, we will take a detailed look at how to set up automatic transfer of leads from Facebook to ClickSend contact lists. It will take only 5-10 minutes to create an integration. As a result, you can get rid of such regular tasks as tracking new leads in the Facebook advertising account and manually transferring contacts to the mailing platform.
Content:
1. How to create a Facebook and ClickSend integration
2. Facebook setup
3. ClickSend setup
4. Enable auto-update
5. The result of Facebook and ClickSend integration
ClickSend service is software for managing communications with clients and staff. This platform allows you to interact with the target audience using SMS, Email, MMS, Rich Media, voice messages. ClickSend provides high-speed data transfer, and also offers rich functionality for setting up mailings. Users can implement marketing campaigns through various channels, send notifications and transactional messages, track and process responses.
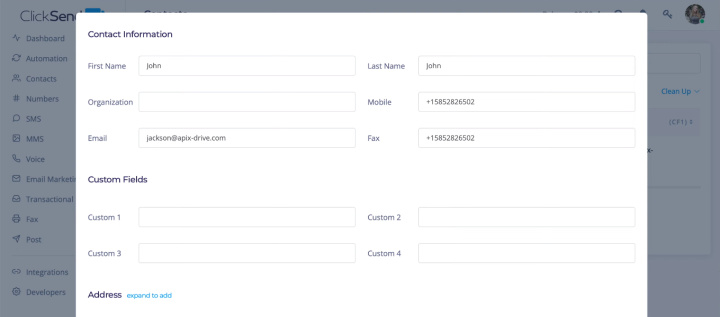
Newsletter cannot be carried out without an addressee, so marketers constantly analyze and update contact lists. Consider a situation where a business uses the social network Facebook as a tool for lead generation. Contacts from completed lead forms must be transferred to ClickSend, so that they can then be used in the implementation of various mailings. In theory, a marketer can regularly log into the FB advertising account and check for new leads. If there are requests, it will download the necessary data and add contacts to the ClickSend list based on them. This whole process can be fully automated with Facebook and ClickSend integration.
How to create a Facebook and ClickSend integration
Combining applications and services allows you to expand their functionality, as well as automate various business processes. As a result, routine work is excluded from the list of daily tasks, and employees get the opportunity to manage their time more efficiently. We offer a simple and fast way to create an integration that does not require the involvement of programmers or special knowledge/skills. The ApiX-Drive online connector will help us connect Facebook and ClickSend. This is a zero code service with a simple interface and hundreds of ready-made solutions for various tasks.
The ApiX-Drive service tracks changes in the data source, processes information and performs certain actions in the receiving system. In our case, the source is the Facebook advertising account. The online connector uploads data on new leads and initiates the creation of contacts in the ClickSend service, which is connected as a receiver. Such an automated process is configured through a web interface. Let's take a closer look at how this is done.
Facebook setup
Register on the ApiX-Drive service website and go to your cabinet. You can also login with your Google or Facebook account.
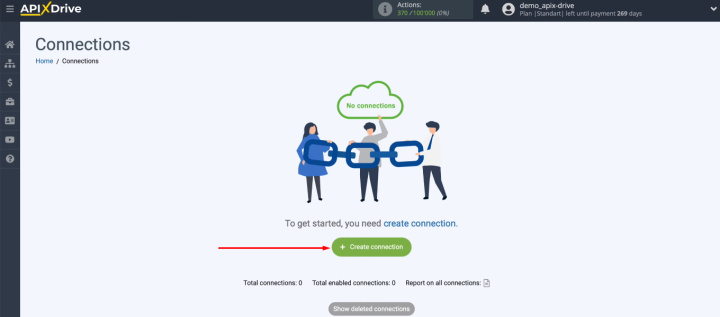
Create a new connection.
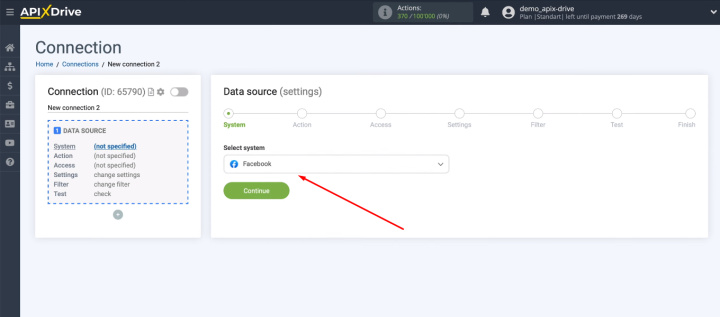
In the data source definition step, select Facebook.
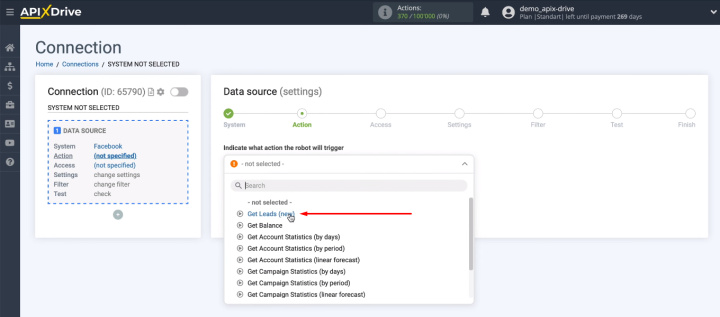
Specify an action — Get Leads (new).
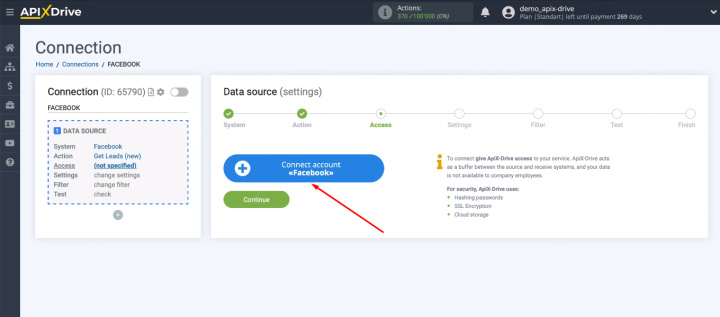
Add a Facebook account to the ApiX-Drive system.
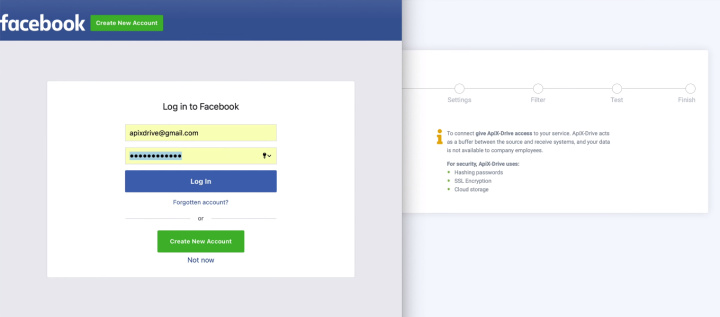
Enter your login and password.
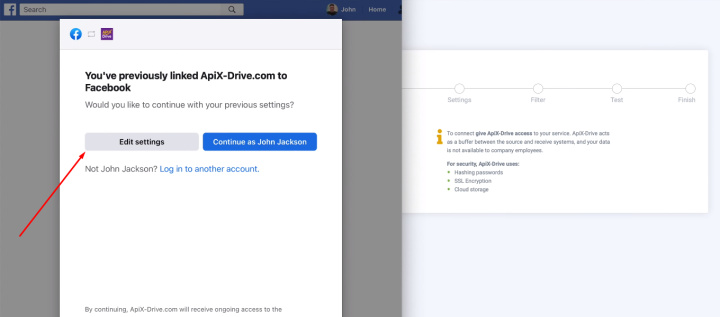
Go to advanced settings.
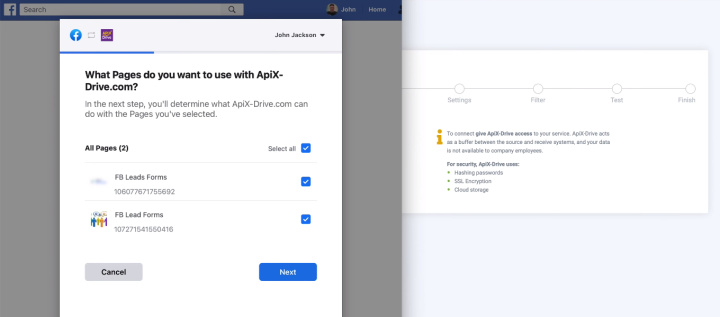
Mark the advertising pages for which you want to receive leads. We recommend checking the “Select all” box. If you get new advertising pages after adding your FB account, please reconnect in incognito browser mode and add new pages at this stage.
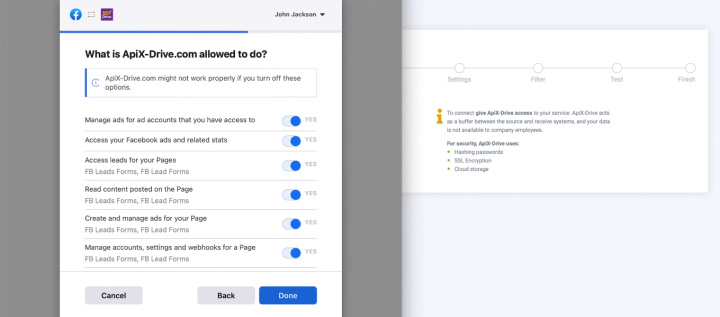
Check the access checkboxes. All of them must be enabled.
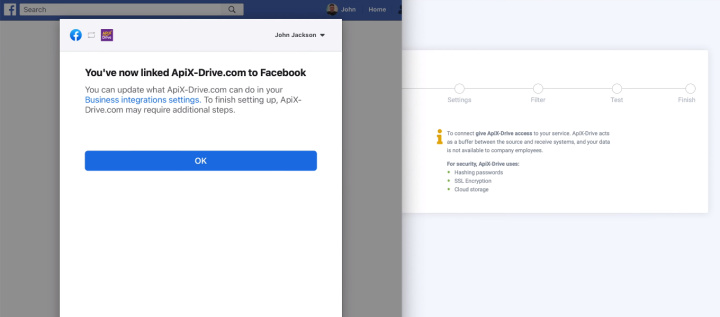
The Facebook account is now linked to the ApiX-Drive system. Click OK.
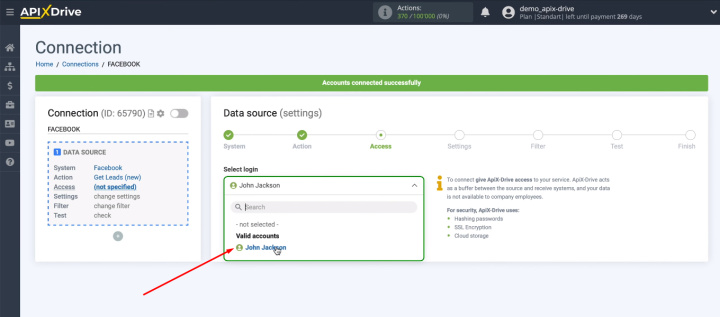
In the next step, select the connected Facebook account and click "Continue".
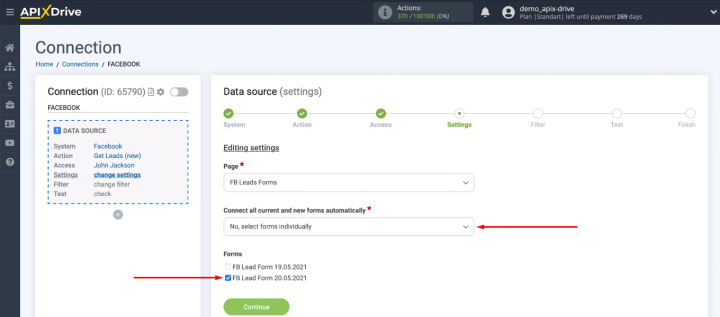
Select the advertising page for which leads will be uploaded. You also need to decide on lead forms. The system offers to connect all current and new forms.
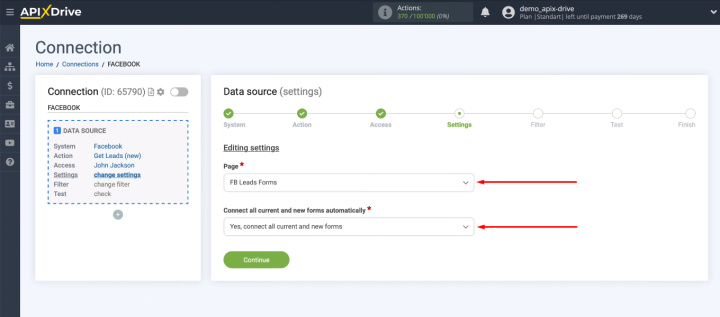
If you want to specify specific lead forms manually, select the “No, select forms individually” option.
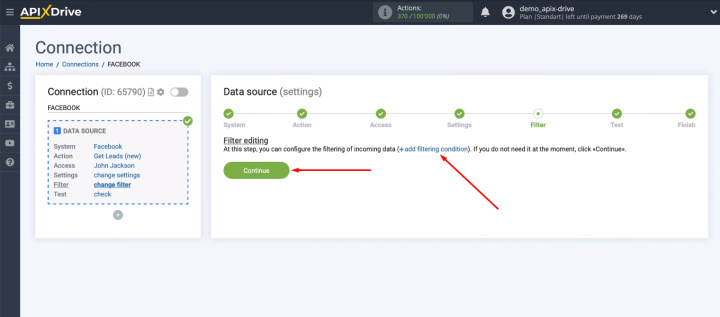
In the next step, we can create filters for the incoming data. We need to receive all new leads, so we just click “Continue”.
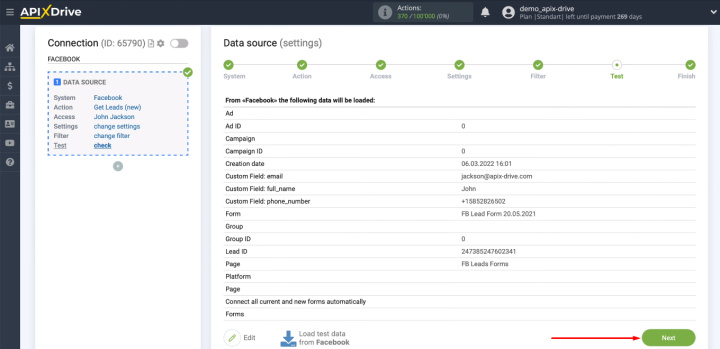
At the “Test” stage, check the list of data that will be downloaded from Facebook. If there is no data, generate a test lead on the social network, and then click “Load test data from Facebook”. After checking the data, click "Next".
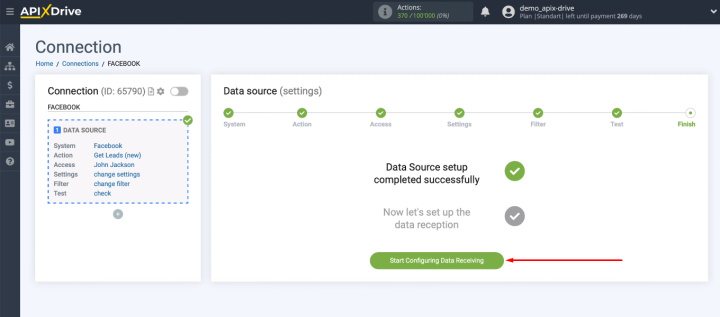
We are done with the data source. Let's start setting up the receiver.
ClickSend setup
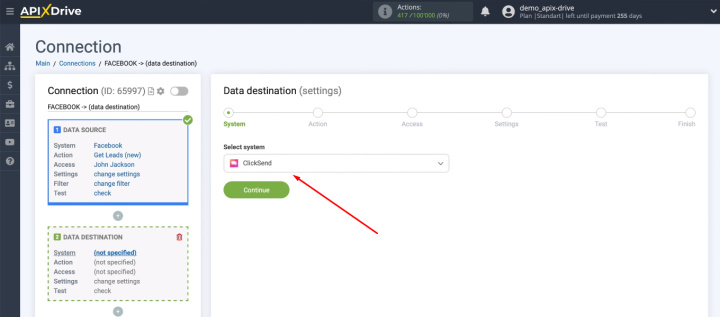
Select the receiving system — ClickSend.
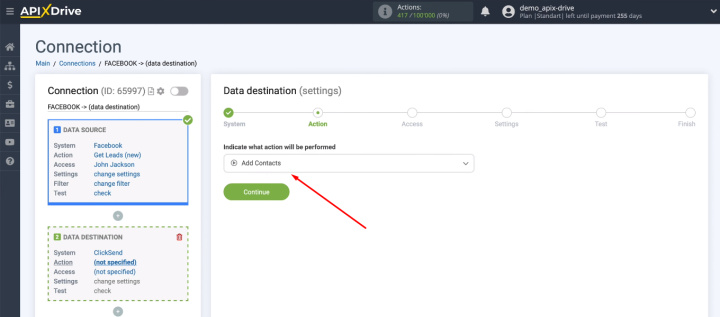
Define an action — Add Contacts.
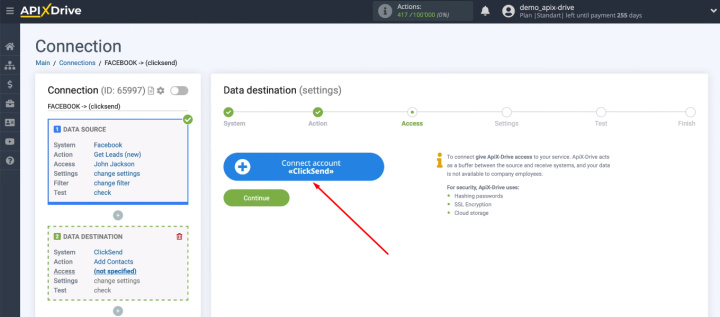
Connect your ClickSend account to the ApiX-Drive system.
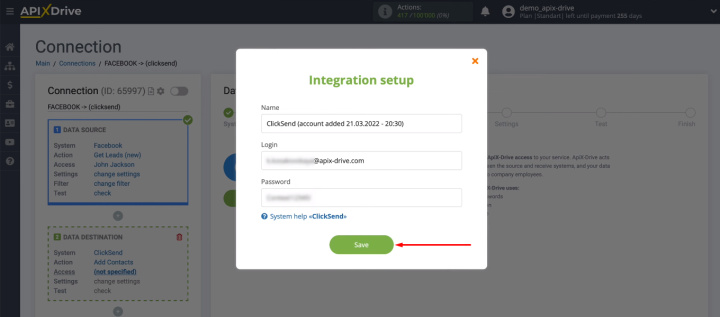
Enter the login and password for your personal ClickSend account. Click "Save".
Select a connected account from the list of available logins.
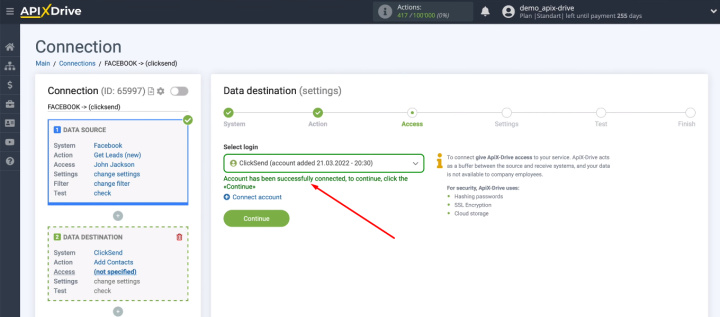
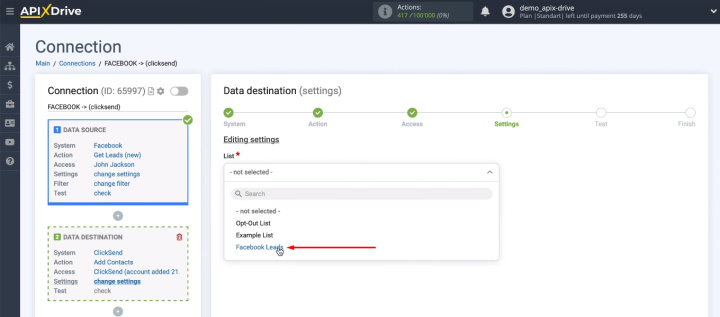
Define the list where contacts will be added based on new Facebook leads.
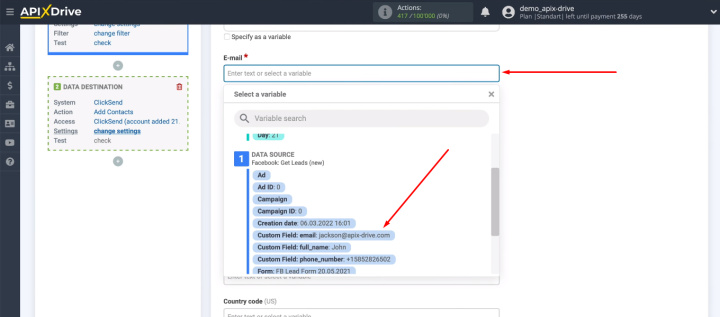
Assign variables to ClickSend fields. Click in the field and select a variable from the drop-down list.
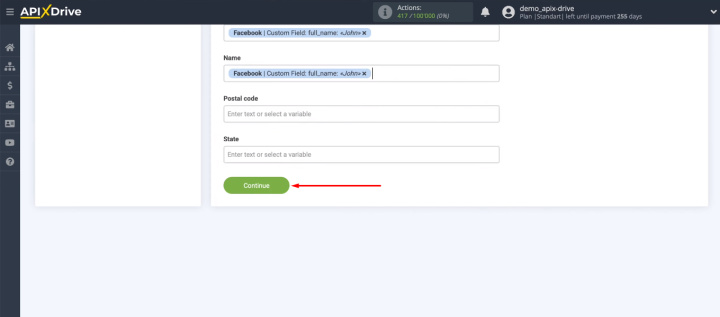
When all required fields are configured, click “Continue”.
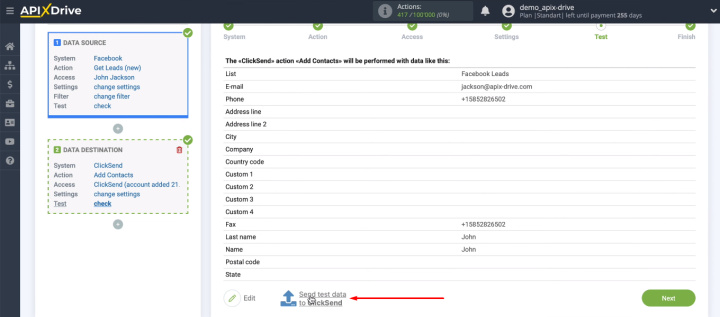
We see the test data that will be sent to ClickSend. If something doesn't suit you, go back a step and reconfigure the contents of the ClickSend fields.
To test the connection, click “Send test data to ClickSend”.
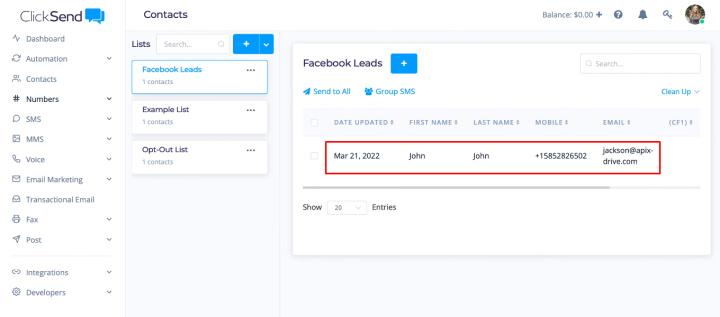
Go to the mailing platform and check that the new contact has been added correctly.
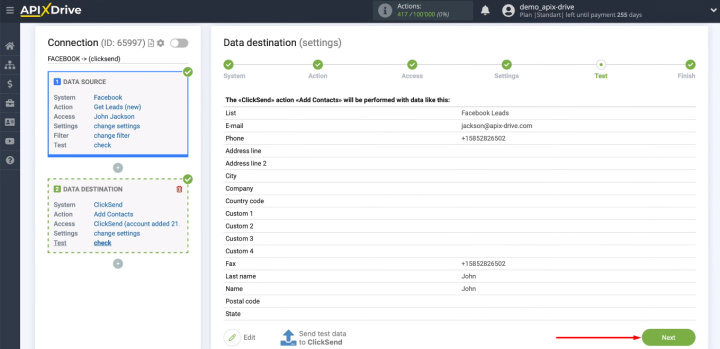
Return to the ApiX-Drive system, click “Next”.
Enable auto-update
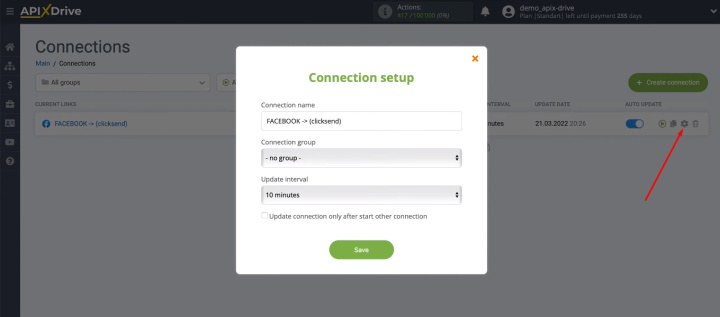
We just need to enable automatic data updating. This is done in one click.
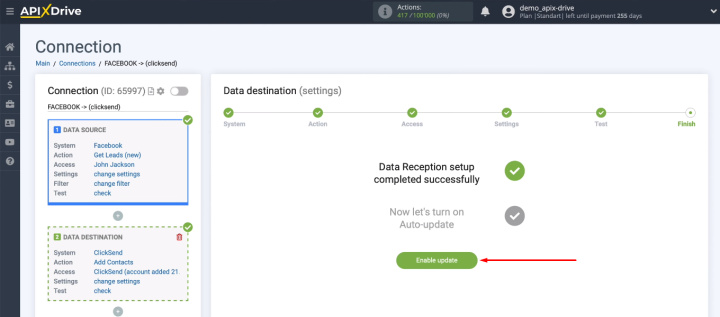
By clicking on the “gear”, you can go to the settings to change the name, select the desired communication interval, or add the integration to the group.
The result of Facebook and ClickSend integration
Using the ApiX-Drive system, we connected the Facebook advertising account and the ClickSend mailing service. Now each new lead from the social network will be promptly and automatically transferred to the desired contact list. Customized integration allows you to get rid of several routine operations, as well as minimize the likelihood of missed leads and errors during data transfer.
ApiX-Drive service is a simple and cost-effective solution for automating data transfer and other tasks. The online connector can be used without special knowledge and skills. Any employee or manager can independently set up an integration or a set of integrations to increase the efficiency of workflows.
