Google Sheets and ClickSend Integration: Automatic Contacts Download
Without high-quality communication with customers, it is impossible to develop a business and increase sales. The ClickSend service helps to implement multi-channel communication with customers. For mailing and messaging, it is necessary to constantly update the contact database. In this article, we'll show you how to automatically upload contacts to ClickSend from a Google Sheets file.
Content:
1. How to create a Google Sheets and ClickSend integration
2. Connect Google Sheets
3. Connect ClickSend
4. Turn on auto-update
5. The result of integration Google Sheets and ClickSend
A database of contacts is a valuable resource that is used to ensure communication and implementation of marketing technologies. The ClickSend service provides the ability to work with various communication channels: SMS, MMS, Email, Direct Mail, voice messages, etc. A simple and functional toolbar allows you to customize the sending of messages in just a few clicks.
A marketer needs to constantly update the database of contacts. Often, an employee has to transfer customer data to ClickSend from other services. For example, from Google Sheets. The popular spreadsheet service has a familiar interface and a low entry threshold. That is why many employees prefer to use Google Sheets to store various data: leads, tasks, contacts, etc.
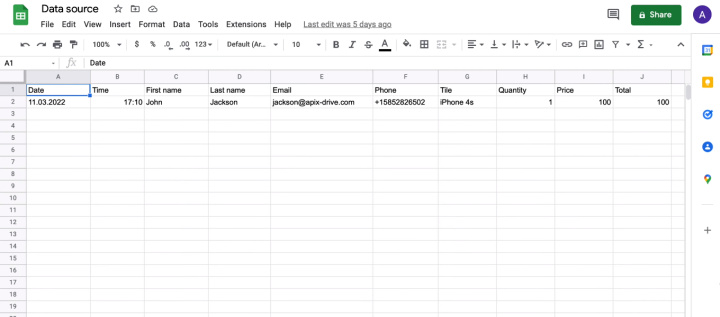
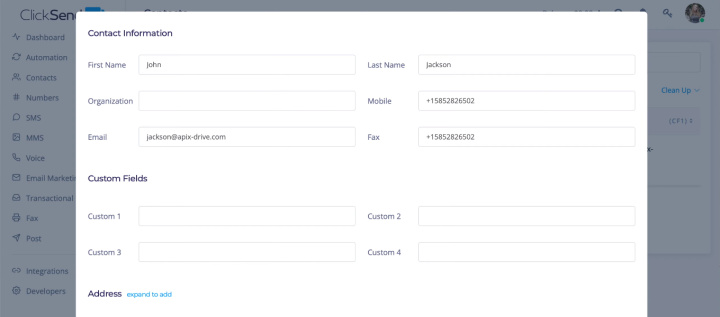
ClickSend is a multifunctional business communications tool. But for the effective use of this service, it is important to quickly update the contact database. For example, a welcome message should be sent to the customer as quickly as possible. Clients in modern realities are accustomed to quick feedback. If new leads and contacts are stored into a Google Sheets file, then the communications person should check the spreadsheet regularly and transfer the data to ClickSend. This is a laborious and routine task that takes quite a lot of time. But if you link Google Sheets and ClickSend, then the process of data synchronization can be automated. Updating the database of contacts in ClickSend will occur without human intervention.
How to create a Google Sheets and ClickSend integration
ApiX-Drive online connector is a cloud-based no-code solution for setting up various integrations. This service is a good choice to link Google Sheets and ClickSend. The ApiX-Drive system has a simple interface and an extremely straightforward setup process, making it an effective tool in the hands of any experienced PC user. Integration can be created without the involvement of programmers. Special knowledge and skills are not required.
The ApiX-Drive service tracks changes in the data source and initiates certain actions in the receiver. In our case, the system will detect new lines in the Google Sheets file, upload the necessary data and, based on them, create contacts in ClickSend. To create an integration, you need to connect the Google Sheets service to the ApiX-Drive system as a data source, and ClickSend as a receiving system. The entire setup process only takes a few minutes.
Connect Google Sheets
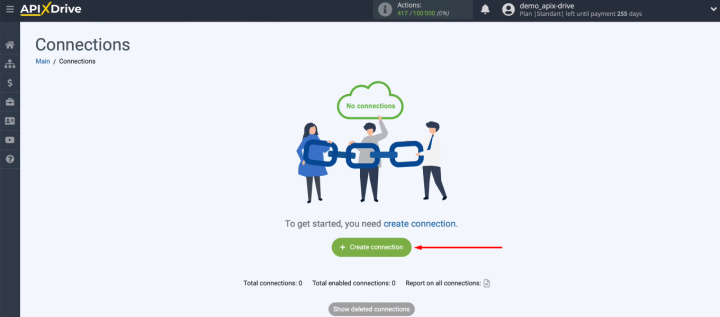
Register on the site apix-drive.com and create a new connection.
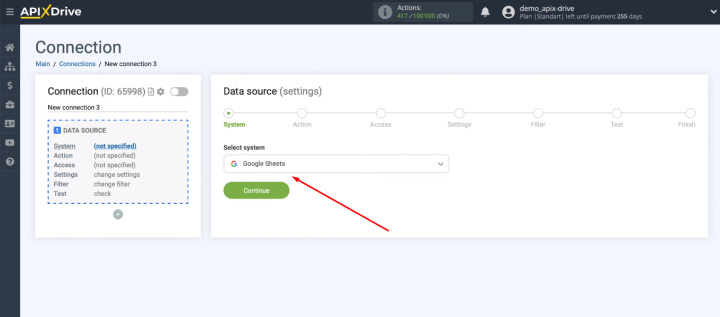
Select the Google Sheets service as the source.
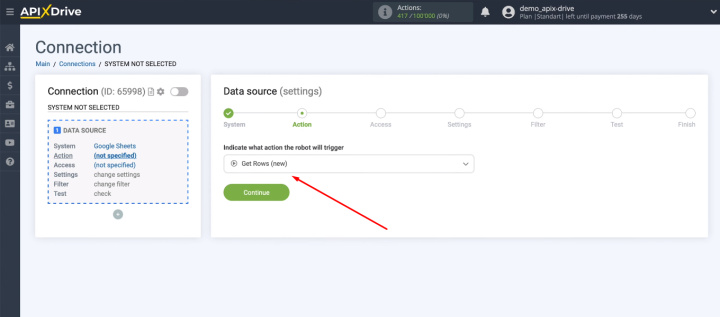
The next step is to define an action. The item “Get Rows (new)” suits us.
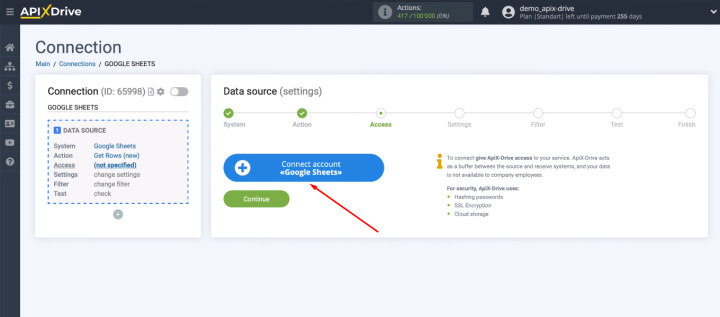
Connect a Google Sheets account to the ApiX-Drive system.
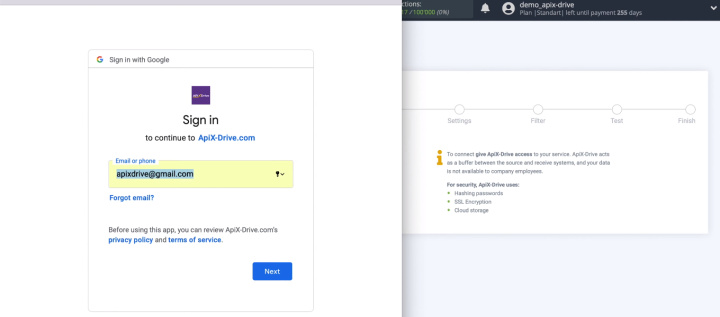
Specify the login of a personal Google account.
Enter the password.
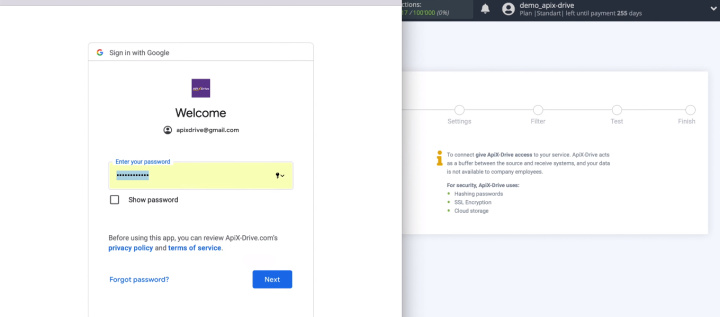
In the next window, you need to provide the access.
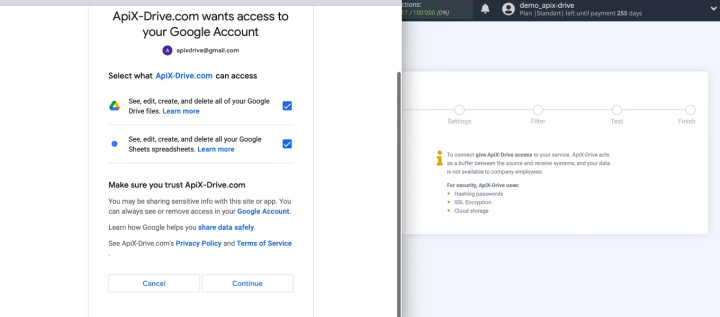
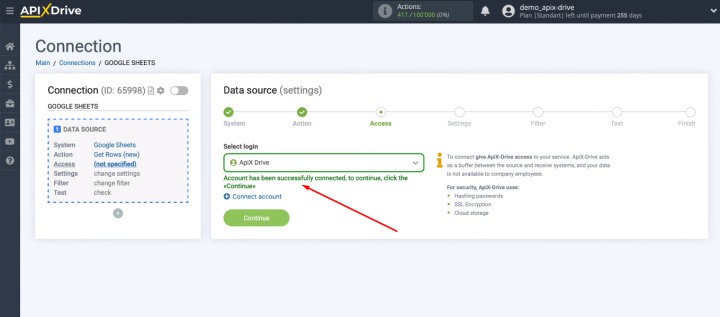
We have connected a Google Sheets account to ApiX-Drive. Select it from the list.
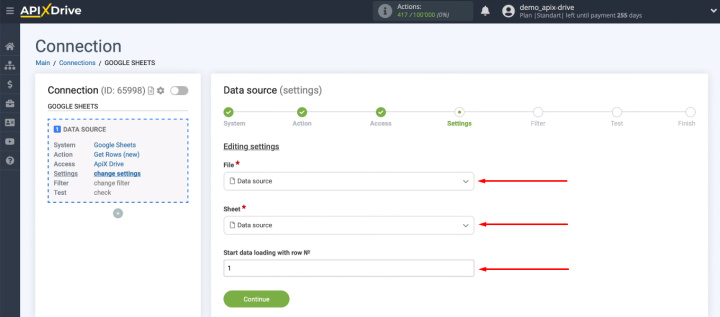
Select the file and sheet of the table from which we will upload data. We also need to determine the starting row from which the unloading will begin.
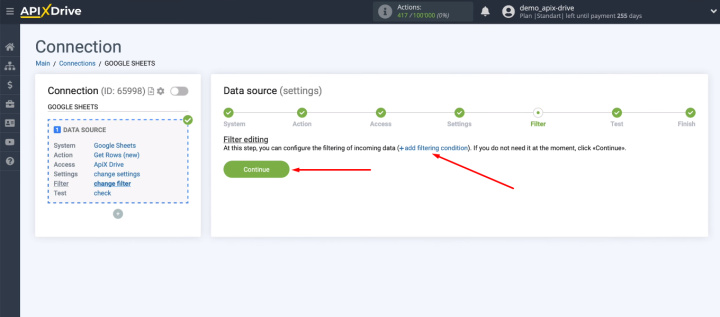
At the next stage, the system offers to add filter conditions for incoming data.
We will be uploading all new rows from Google Sheets, so we skip this step.
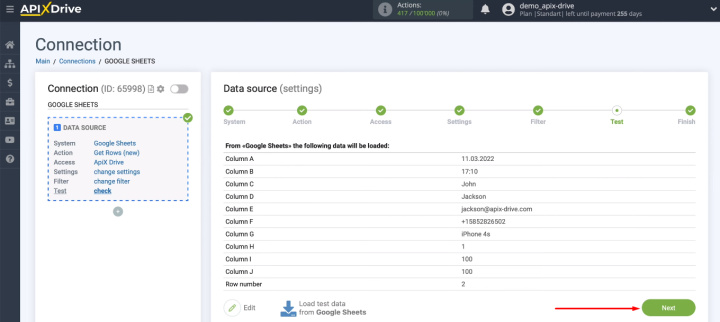
We see an example of the data that will be uploaded from Google Sheets. Check them and click "Next".
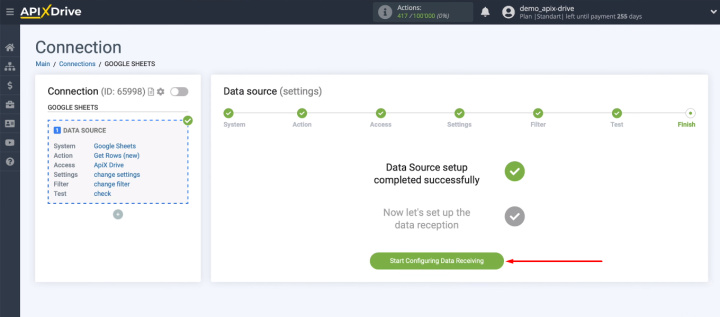
Google Sheets has been successfully configured as a data source.
Connect ClickSend
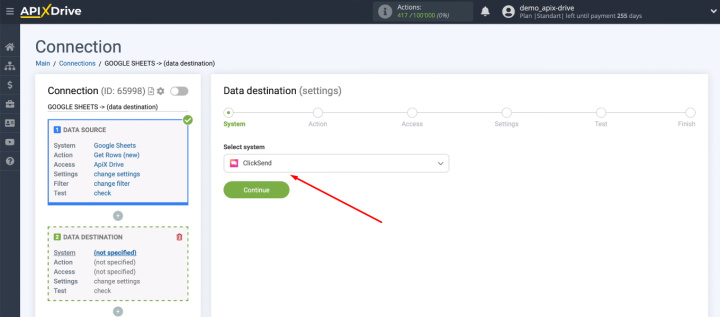
Let's move on to setting up the receiver. Select the ClickSend service.
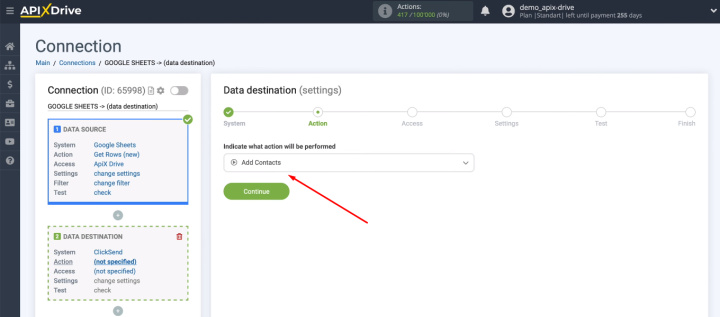
Select the action that will take place on the ClickSend side — “Add Contacts”.
Connect the ClickSend account to the ApiX-Drive service.
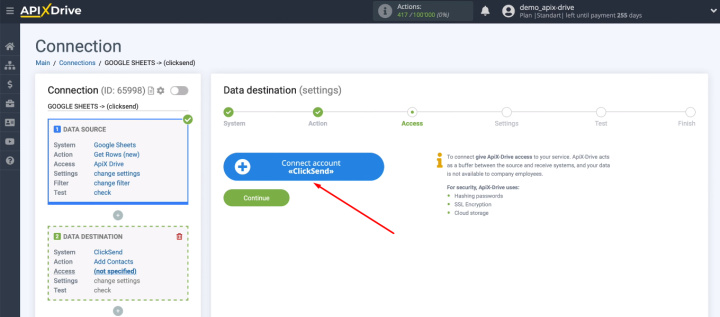
Enter the ClickSend personal account login and password.
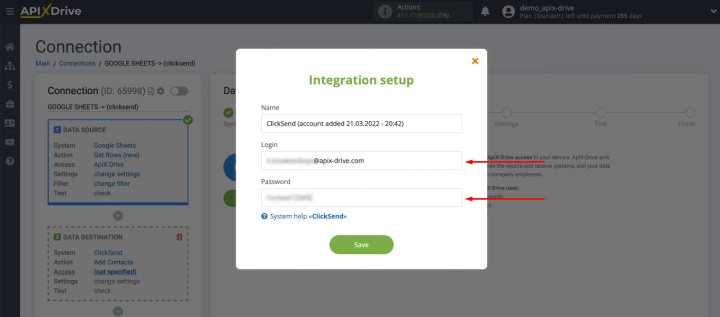
The connected account is now in the list of available ones. Select it for further work.
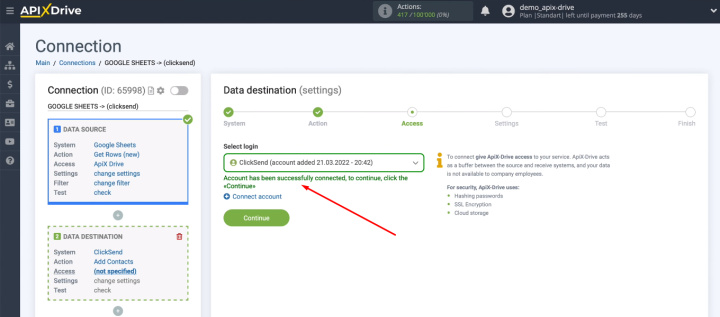
Select the list to which new contacts will be added.
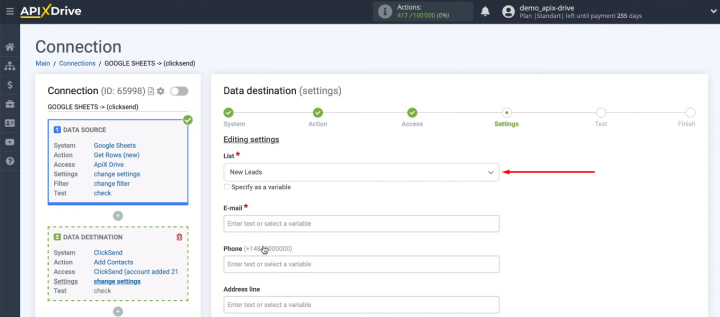
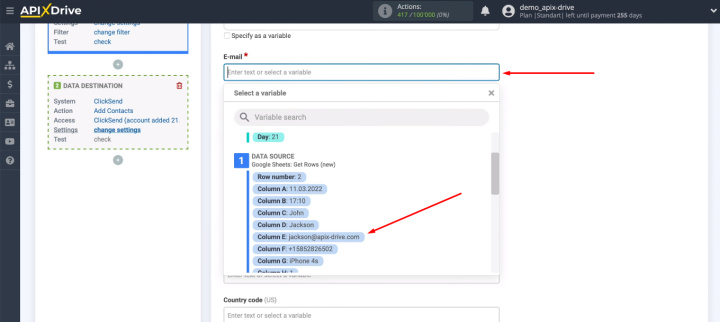
We need to define the contents of the ClickSend fields to create a new contact. Click in the required field and select the appropriate variable from the drop-down list. You can also enter your own text.
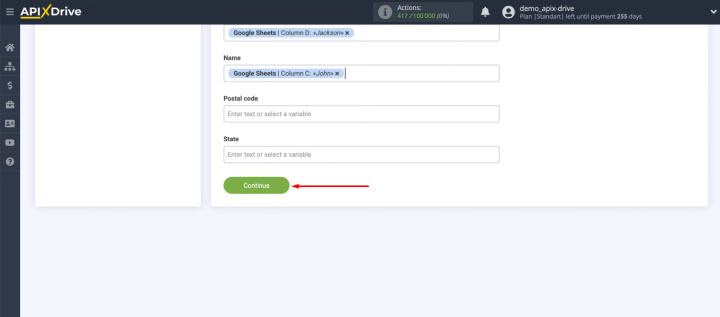
When the content of all required fields is defined, click “Continue”.
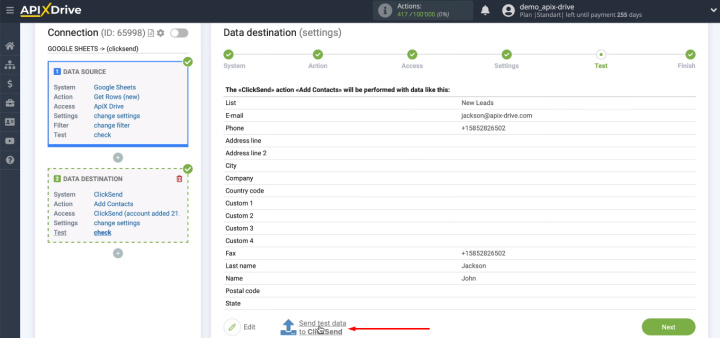
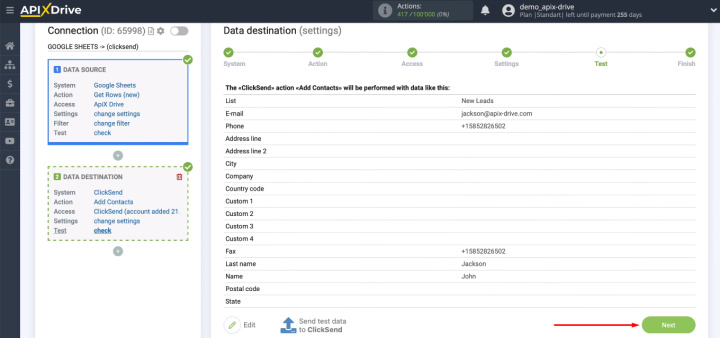
We see an example of the data that will be passed to ClickSend to create a new contact. Click “Send test data to ClickSend”.
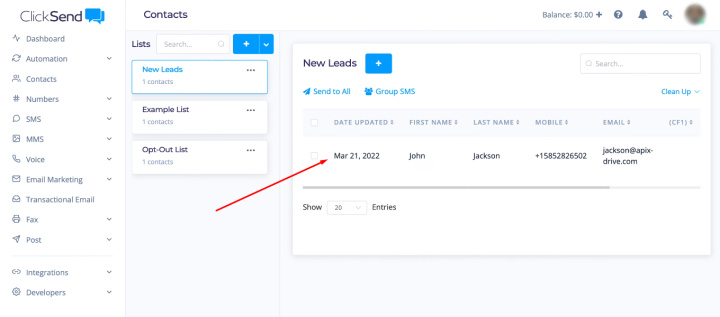
Go to the ClickSend account and check for the presence of the contact we just sent.
Return to the ApiX-Drive system and click “Next”.
Turn on auto-update
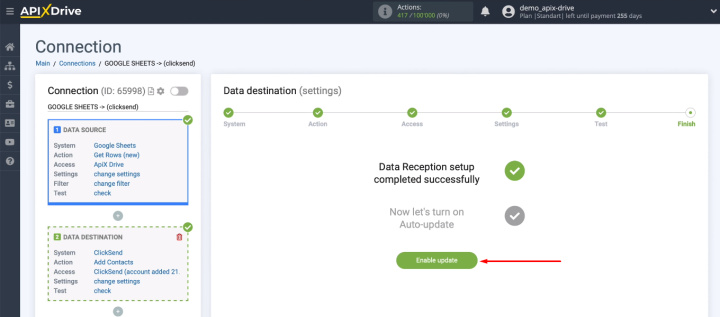
We have set up the data source and the receiving system. Now the last step is to turn on auto-update.
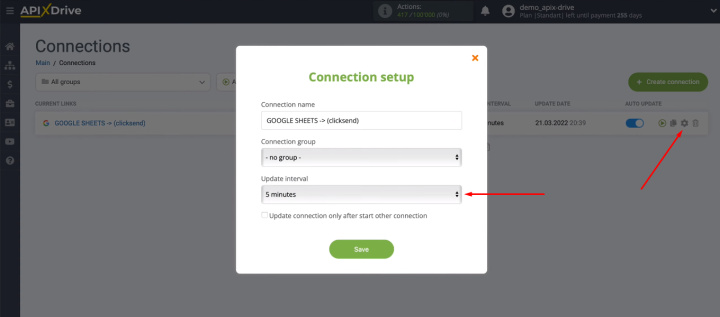
We can control how often the connection will be triggered and the ApiX-Drive system will check the spreadsheet for new rows. To do this, go to the connection settings and select the appropriate parameter in the “Update interval” field.
The result of integration Google Sheets and ClickSend
We have set up a connection between Google Sheets and the ClickSend service. The integration was created using the ApiX-Drive online connector. The result of our work is the automatic creation of contacts in the ClickSend platform based on new rows in the Google Sheets file. Thus, one of the routine work processes has become completely autonomous.
The ApiX-Drive service is a cloud-based tool that allows you to set up various integrations with any level of technical background. No programming knowledge or special skills are required to integrate systems and automate data transfer.
