Webflow and Salesforce CRM Integration: Automatic Data Transfer
Webflow and Salesforce CRM are powerful, full-featured platforms used by businesses for marketing and sales. If you want to get more out of them, you should consider optimizing your work with them. This can be achieved by integrating both systems. We recommend using the ApiX-Drive online connector for this purpose. In our article, you will learn how to set up Webflow and Salesforce integration with its help, thereby automating the transfer of leads from a commercial website or online store to a CRM system.
Automating the manual transfer of lead data will eliminate one of your time-consuming workflows. Its practical benefit lies in saving time and human resources. The significant acceleration of work with lead data, which is provided by the connection between the website builder and the CRM system, will allow you to increase your own performance, as well as raise the performance indicators of the department and the company as a whole.
By setting up Salesforce and Webflow integration using our codeless online connector ApiX-Drive, you will immediately be able to see and appreciate its benefits. The data of new leads that they submit through an order form on a website created in Webflow will automatically appear in the CRM. You will no longer need to manually transfer a whole range of data (first and last name, contact phone number, email address, country, postal code, locality, and so on). In this way, you will successfully optimize your work, and your clients will receive a positive experience of interacting with you and a high rate of feedback. This will allow you to rise one step above competitors who do not use automation in sales.
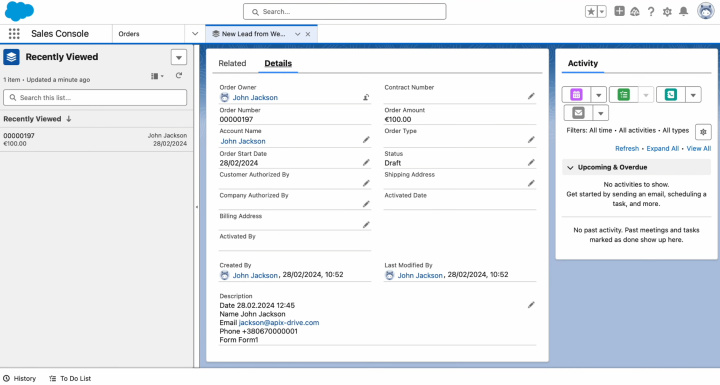
How to Set up Webflow and Salesforce CRM Integration
To set up Salesforce CRM and Webflow integration, you don’t need to urgently master the field of programming or understand the nuances of API requests. You won't need outside help, either. Our online connector, ApiX-Drive, will do everything for you. Its functionality allows you to link systems quickly and easily. Thanks to its intuitive interface and operating principle, you will spend no more than 10 minutes on the entire process. Detailed text and video instructions prepared by ApiX-Drive employees will help you understand how to connect accounts and configure settings.
The first step is to register on the official website, ApiX-Drive.com. Once you have done this, you can begin the Webflow and Salesforce integration.
Setting up the Data Source – Webflow
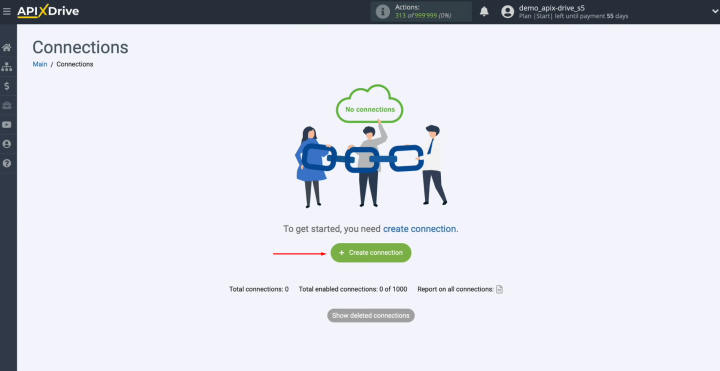
To set up Webflow integration with Salesforce, first, you have to create a new connection. For this, click on the green button.
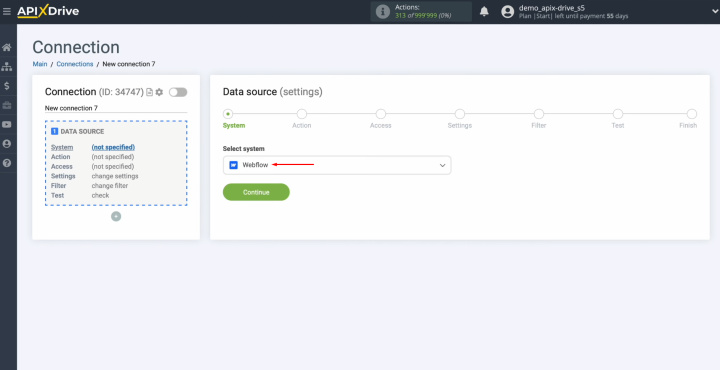
Select the data source
system – Webflow. Click “Continue”.
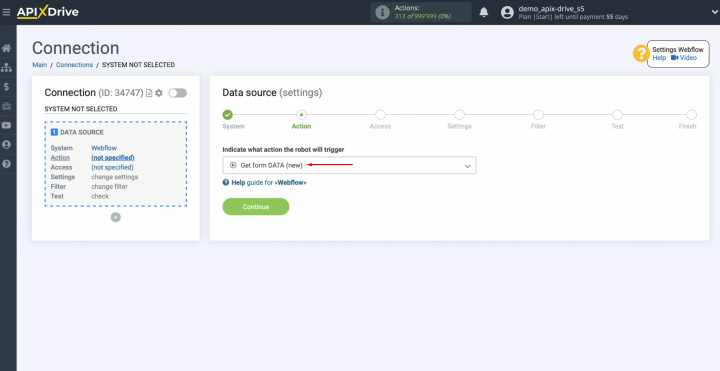
Choose the action "Get form DATA
(new)". Click “Continue”.
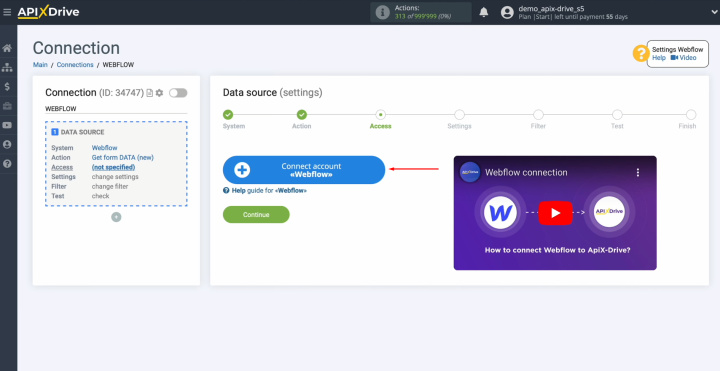
Connect your Webflow account to the ApiX-Drive service. For this, you have to click on the blue
button.
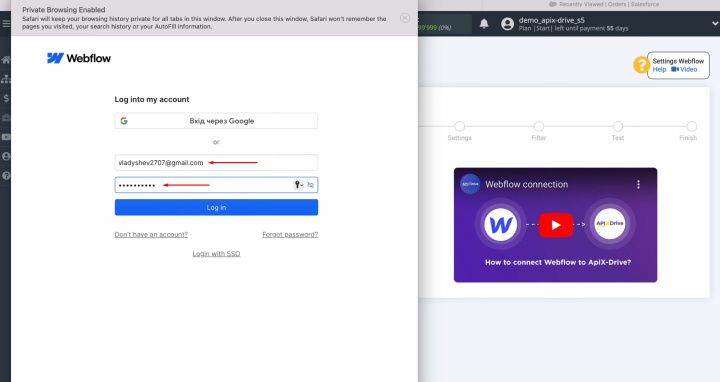
Specify the login and password of your Webflow personal account. Click “Log in”.
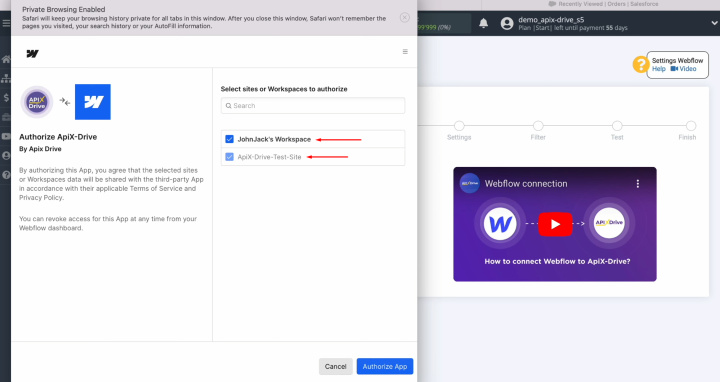
Provide ApiX-Drive access to your workspace in Webflow. Click “Authorize App”.
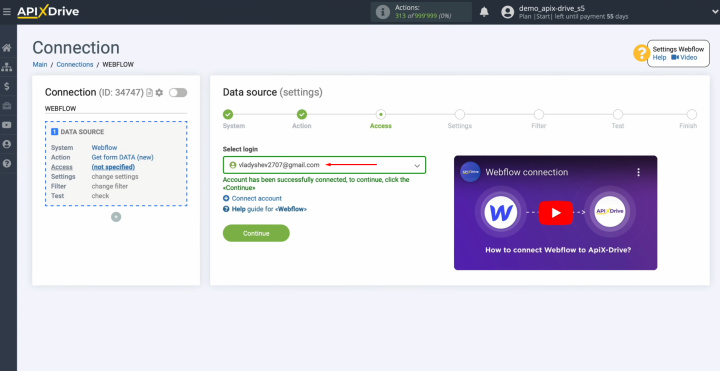
When the connected login appears in the list of active accounts,
select it and click “Continue”.
Select the website from which you will receive
new leads. Click
“Edit and continue”.
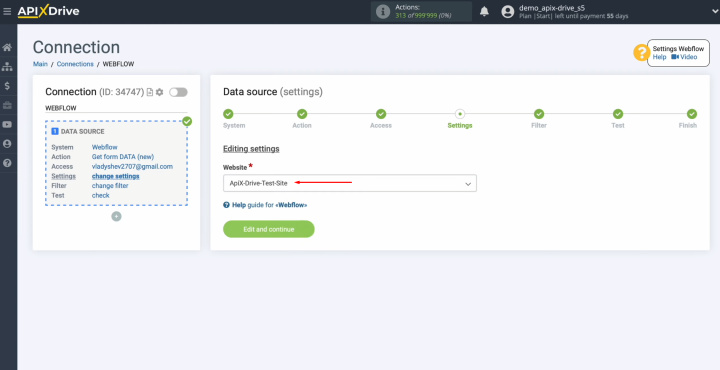
You can set
up a data filter, but in this case, there is no need for it. So you also click “Continue”.
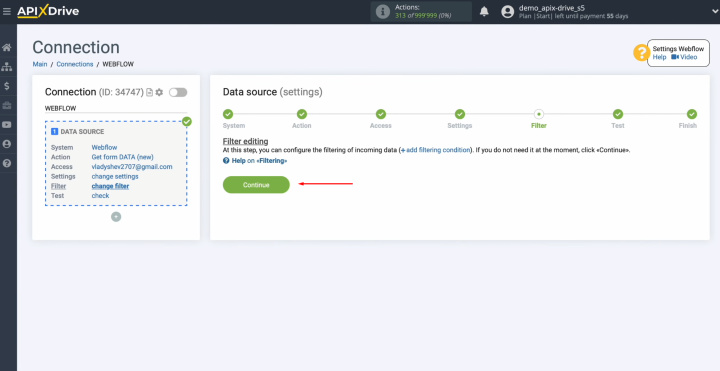
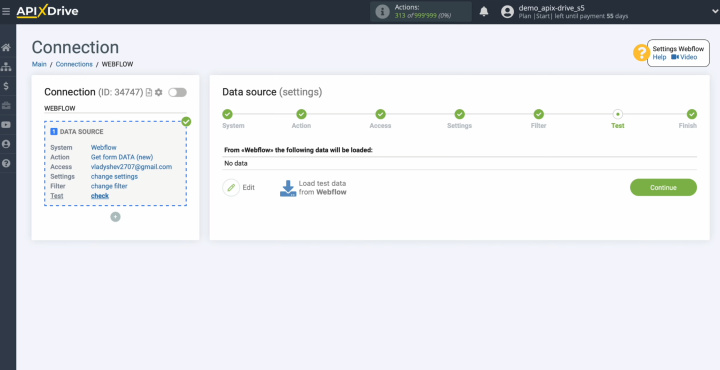
At this point, you should see
data for one of your Webflow leads. If
there is no data at this stage, you have to
fill out a form on the Webflow website.
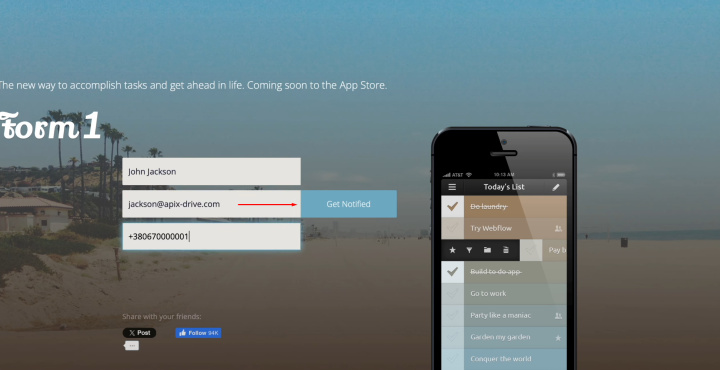
When the form on the site is
completed, click “Get Notified”.
Return to the ApiX-Drive system
and continue configuration. Click
“Load test data from Webflow”.
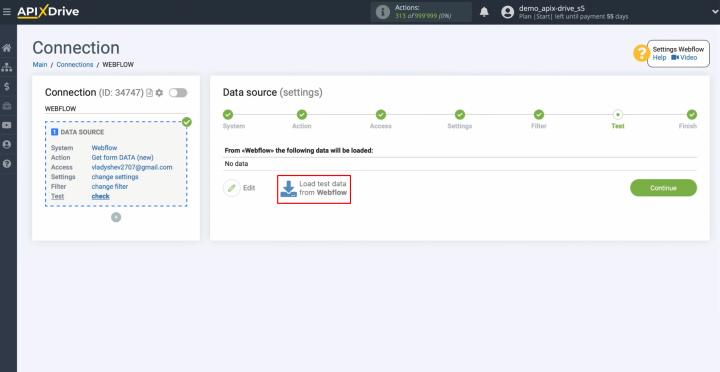
When the Webflow lead is
displayed, click “Continue”.
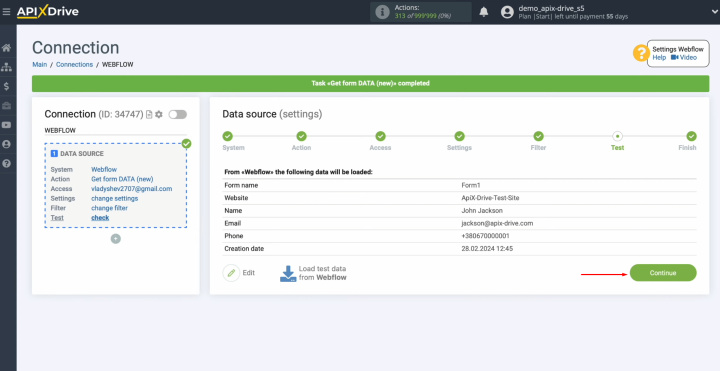
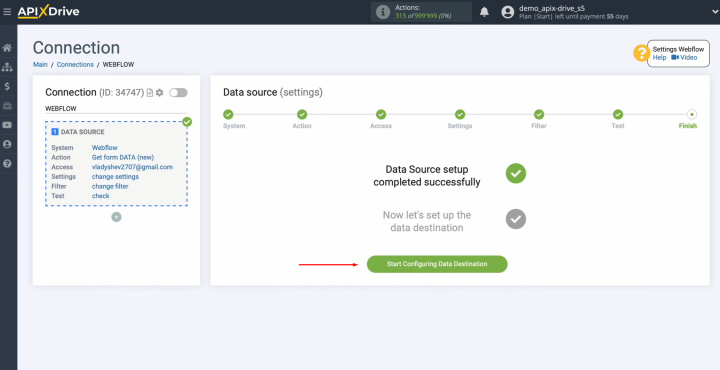
Setting up the Webflow data source has been completed successfully.
Setting up the Data Receiver – Salesforce
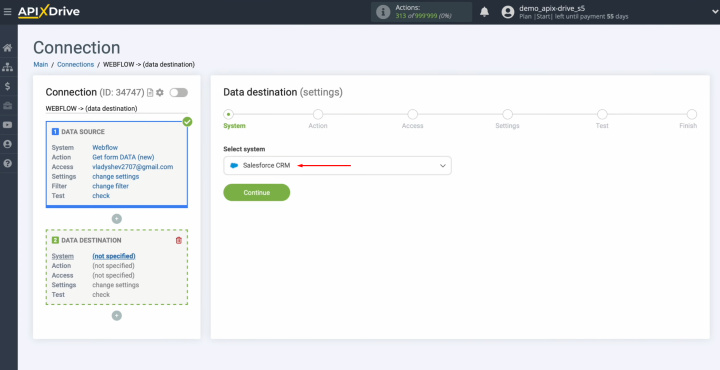
To set up Salesforce integration with Webflow, move on to setting up the data destination. For this, click on the green button.
Choose the system – Salesforce CRM. Click “Continue”.
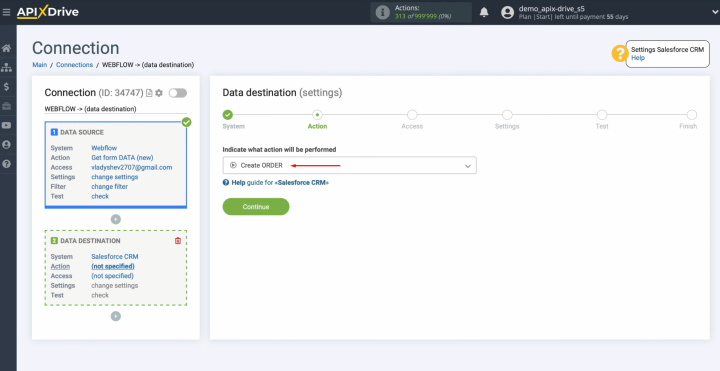
Select an action. In this case, choose “Create ORDER”.
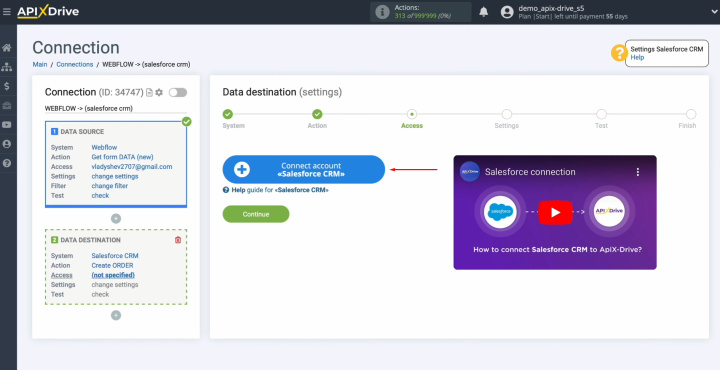
Connect your Salesforce CRM account to the ApiX-Drive system. For this, you have to click on the blue
button.
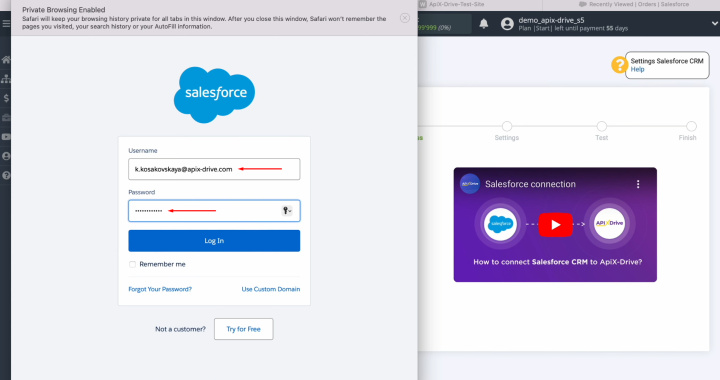
Specify the login and password for your Salesforce CRM personal
account. Click
“Log In”.
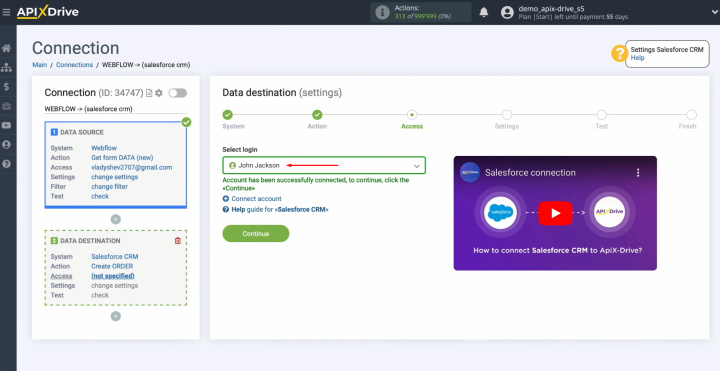
When the connected login appears in the list of active
accounts, select it and click “Continue”.
At this point, you will see the Salesforce CRM fields for
creating new orders. You can assign variables from Webflow to these fields. To do this, click on the field. Then, select the variable you need from the drop-down list.
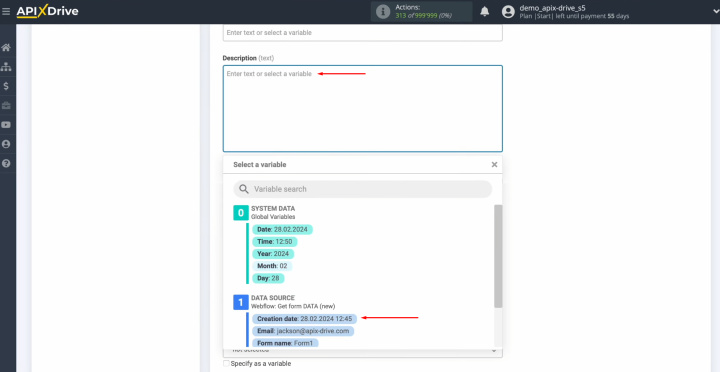
Please note
that you can use not only variables from the drop-down list but also enter
data manually.
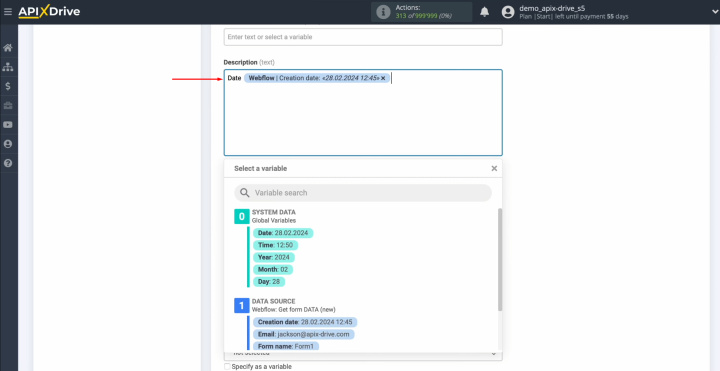
To go to the next line, press “Enter”.
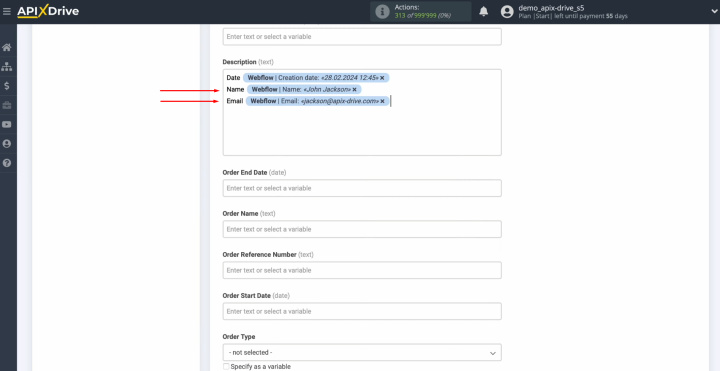
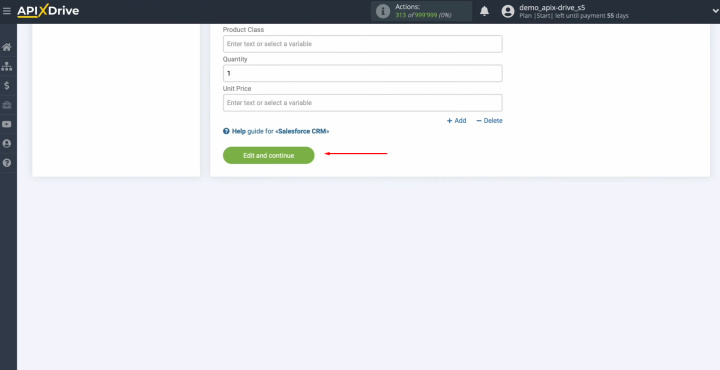
When all required fields
are filled in, click “Edit
and continue”.
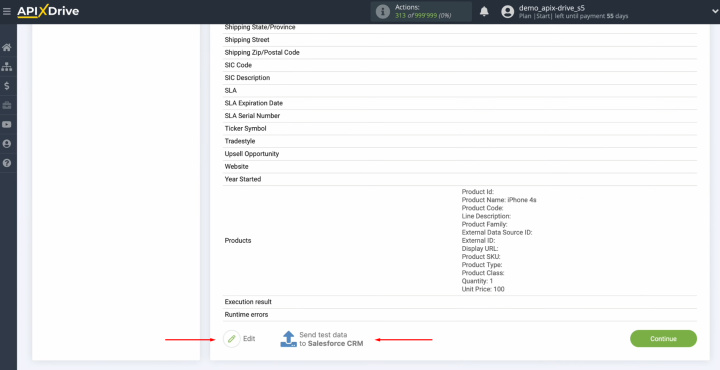
Now, you will see an
example of the data that will be transferred to Salesforce CRM in the form
of new orders with each new lead from Webflow. If you're not happy with something, click on "Edit" and you'll go back a step. Make any
necessary adjustments.
To check if you have made the settings correctly, click on “Send test data to Salesforce CRM”.
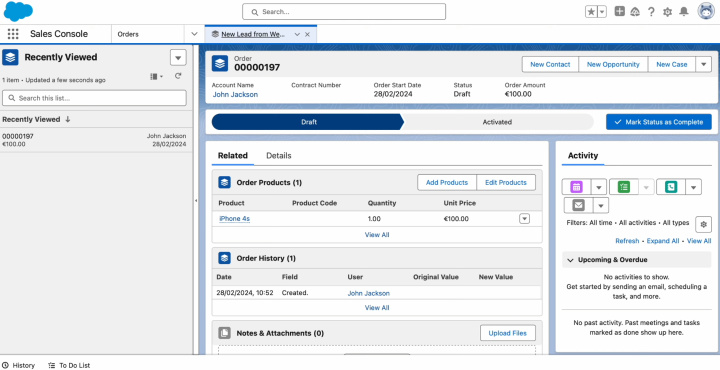
After successful sending, go to
Salesforce CRM and check the result.
If you are satisfied with
everything, return to the ApiX-Drive system and continue setting up.
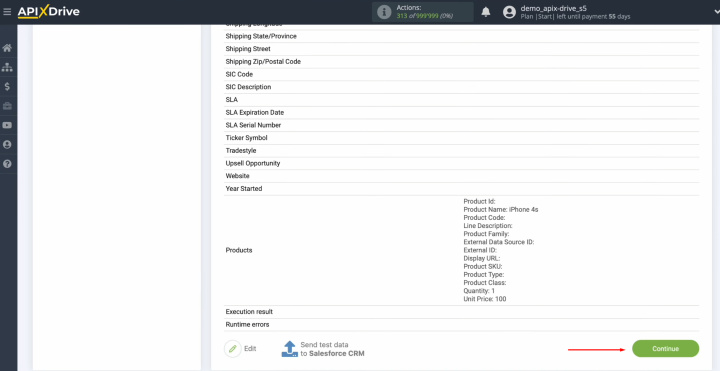
Setting up Salesforce CRM as a
data destination has been successfully completed.
Setting up Auto-update
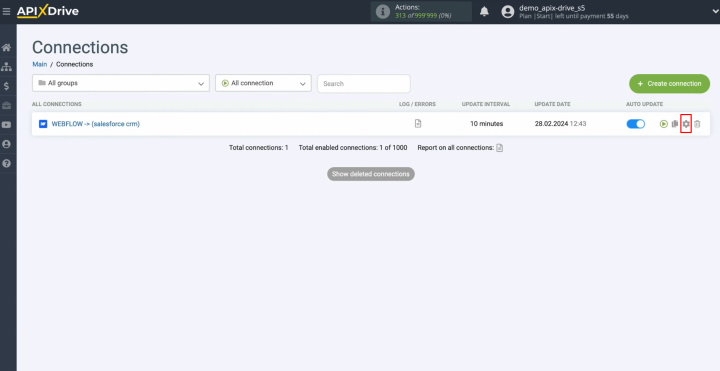
In order for data transfer to occur automatically, configure auto-update. Click on the green button, “Enable update”.
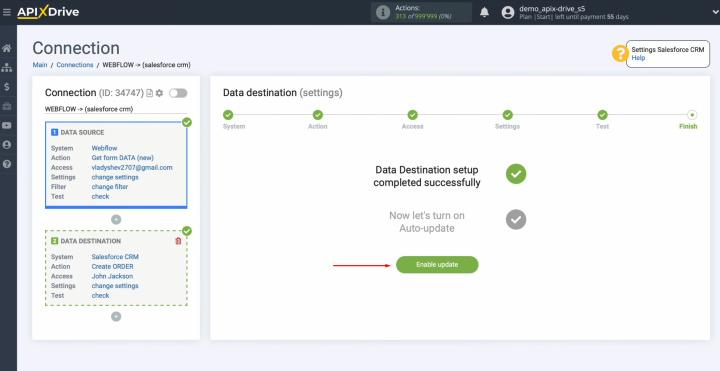
Click on the
gear button.
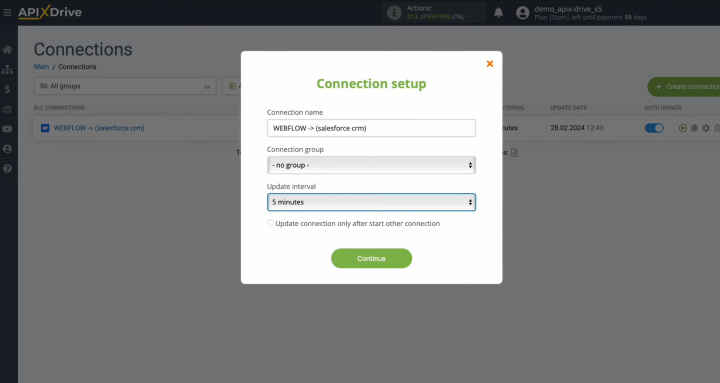
Select the
interval for the operation of the connection. For example, once every 5
minutes. In addition, here you can change the name of the connection and assign
it to the required group. Click “Continue”.
That's all. Salesforce and Webflow integration has been completed. Congratulations! You have done it!
Bottom Line
After successfully setting up the Webflow and Salesforce CRM integration according to our instructions and starting the auto-update mode, you now have a smoothly functioning connection between these systems. Moreover, most likely, you have seen the result with your own eyes – the automatic transfer of leads' data.
Salesforce CRM and Webflow integration will free you from routine, boring manual work. Thanks to it, you no longer have to worry about transferring lead data yourself. This action will be fully automated. Our online connector, ApiX-Drive, will take care of the routine. In the meantime, you can focus on improving your customer experience, learning new marketing strategies, and other important areas that will help take your business to the next level.

