How to Connect JSON as Data Source
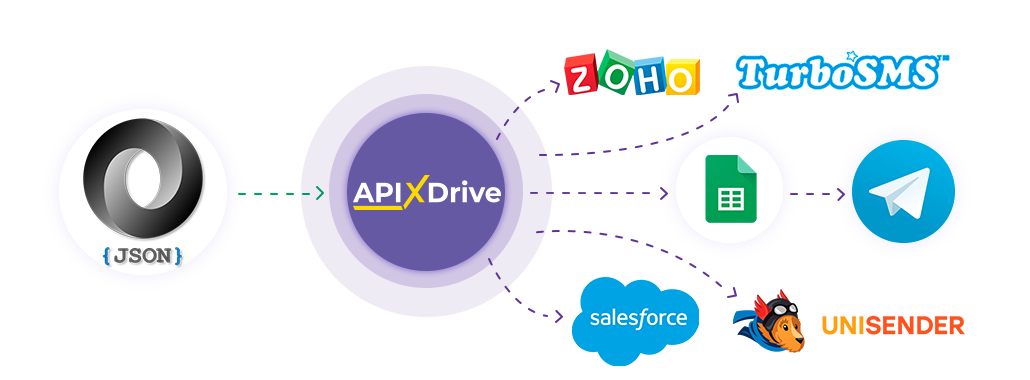
Integration will allow you to receive data from other systems via JSON and transfer it to any system with which ApiX-Drive already has ready-made integration. For example, you can transfer data to CRM, GoogleSheets, or send as notifications to a Telegram group. You can also send data to the SMS or Email service. This approach will eliminate the need to write personal integration for each system and will allow you to use ready-made solutions.
Let's go through the entire JSON setup steps together!
Navigation:
1. What data can be obtained from JSON?
2. How to connect JSON account to ApiX-Drive?
3. Setting for data reception.
4. Example data.
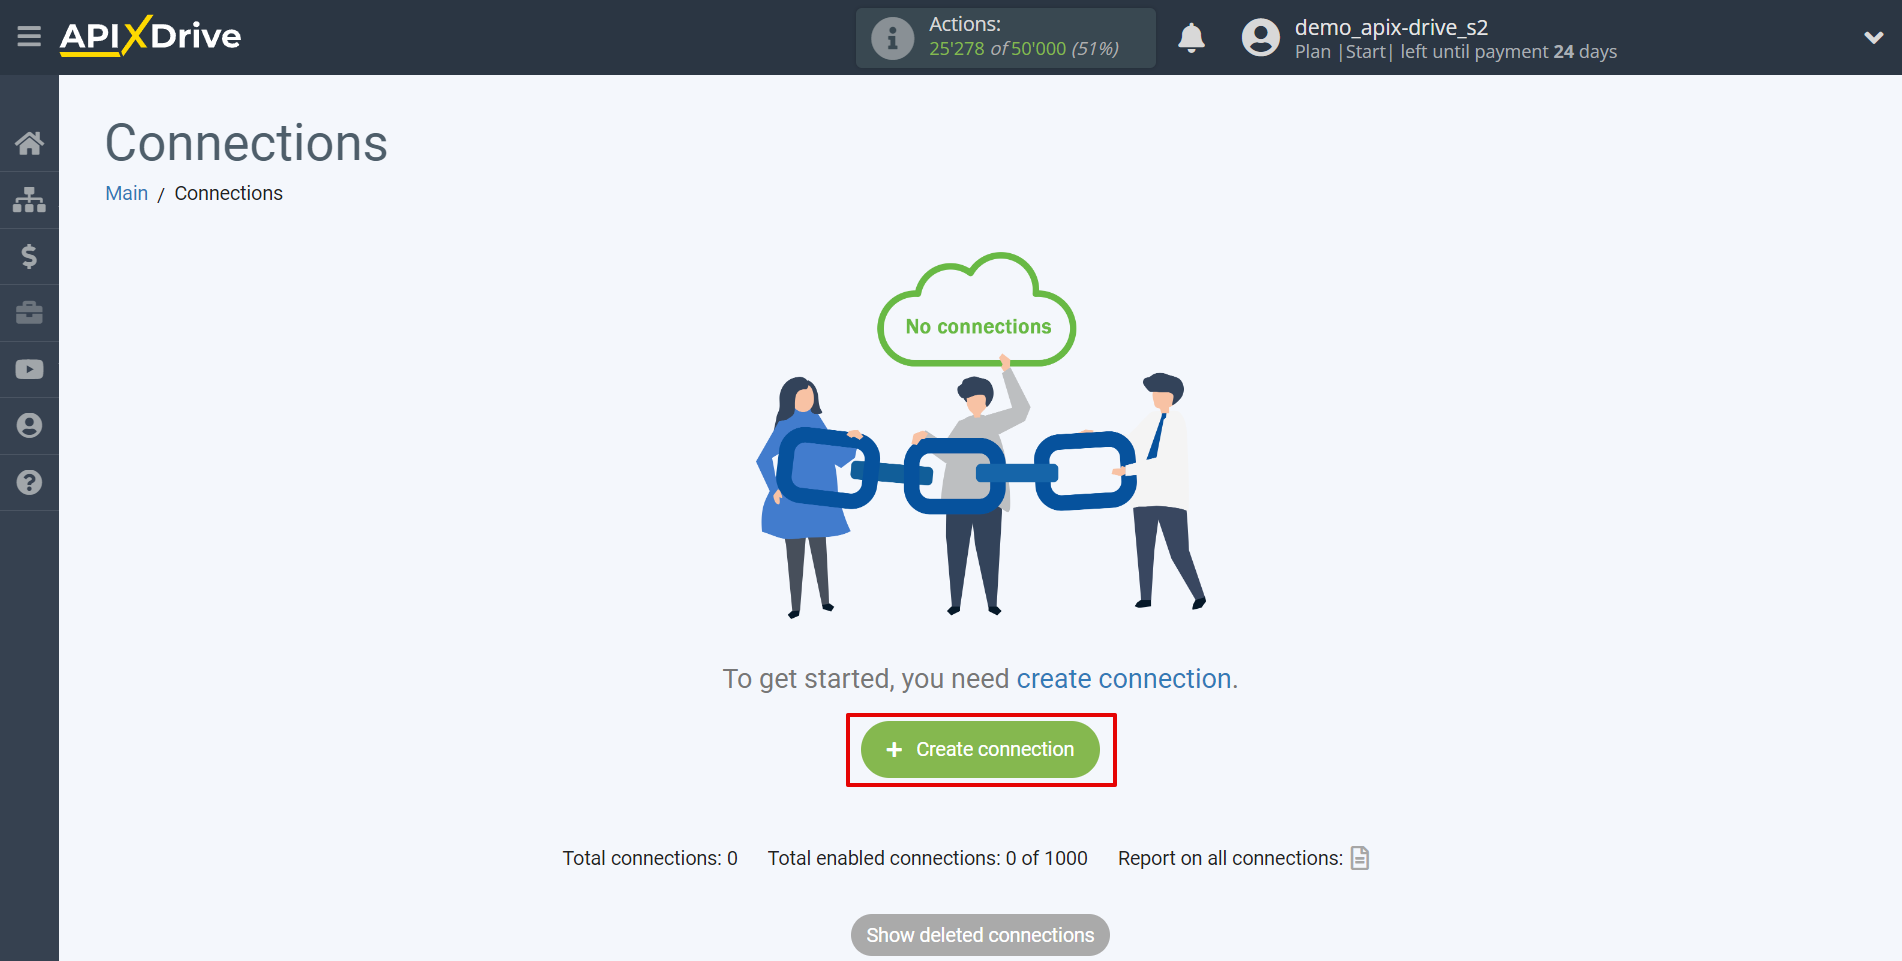
To start setting up a new connection, click “Create connection”.
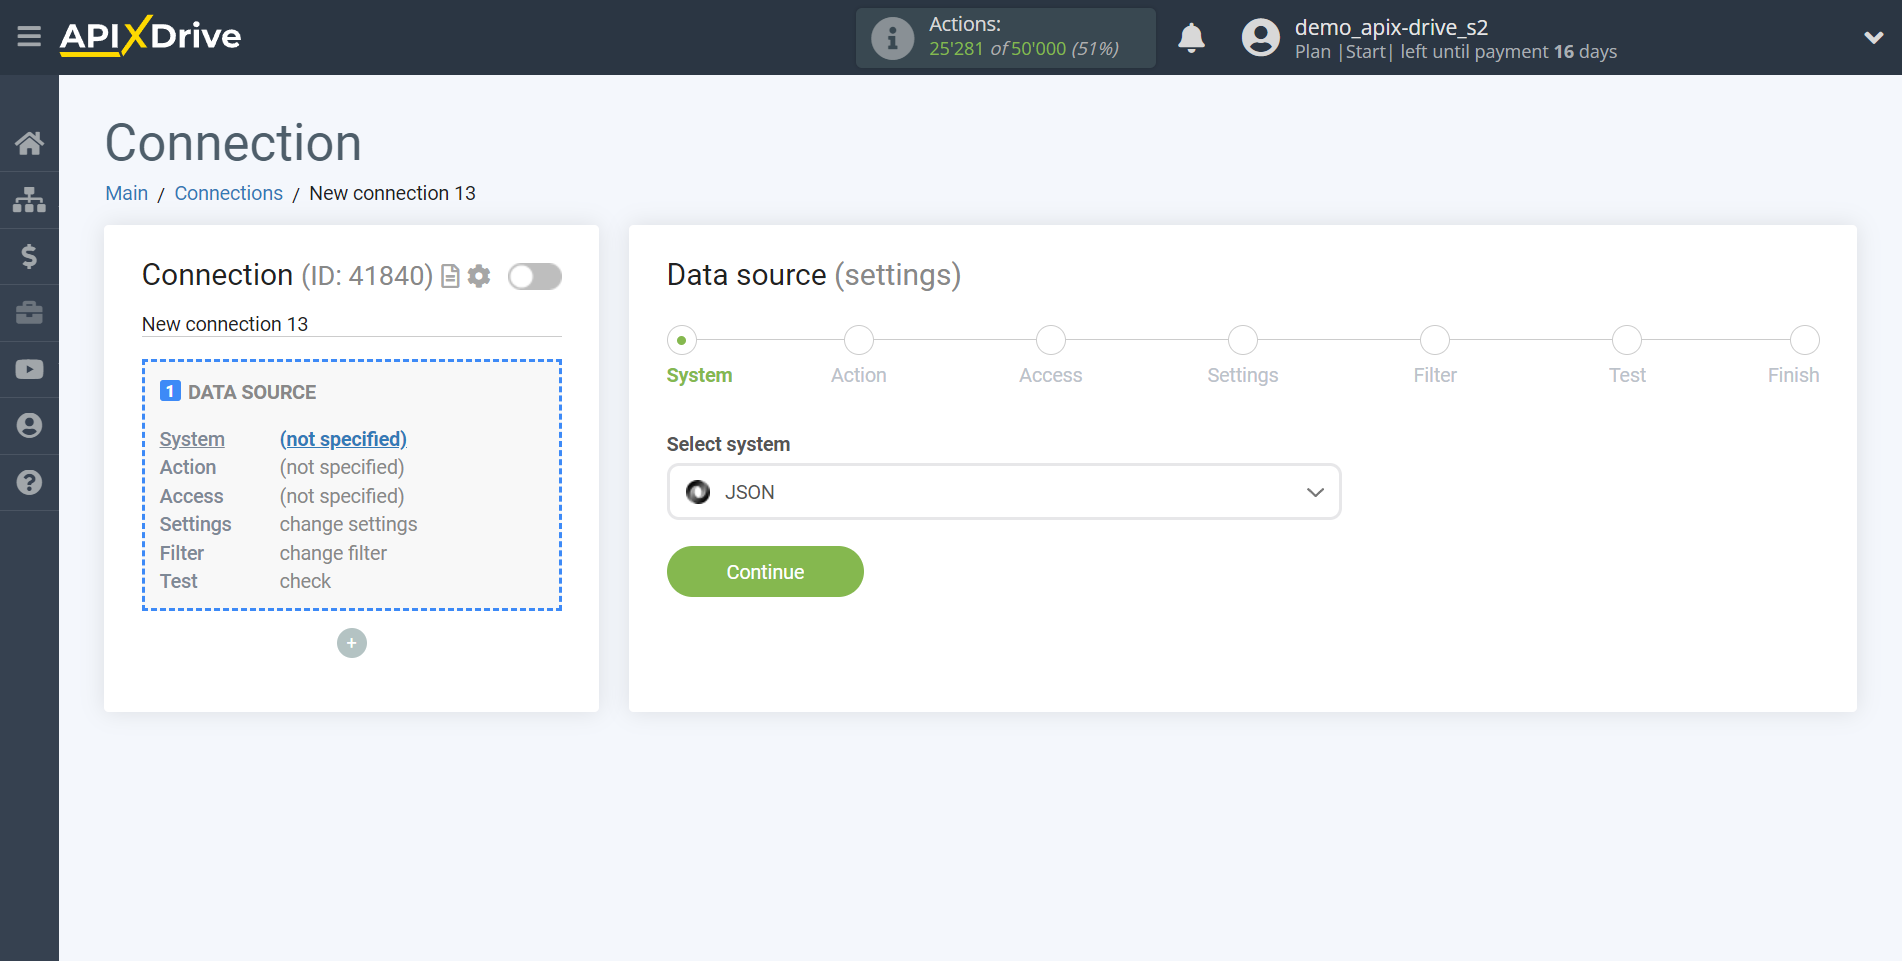
Select the system as the Data Source. In this case, you must specify JSON.
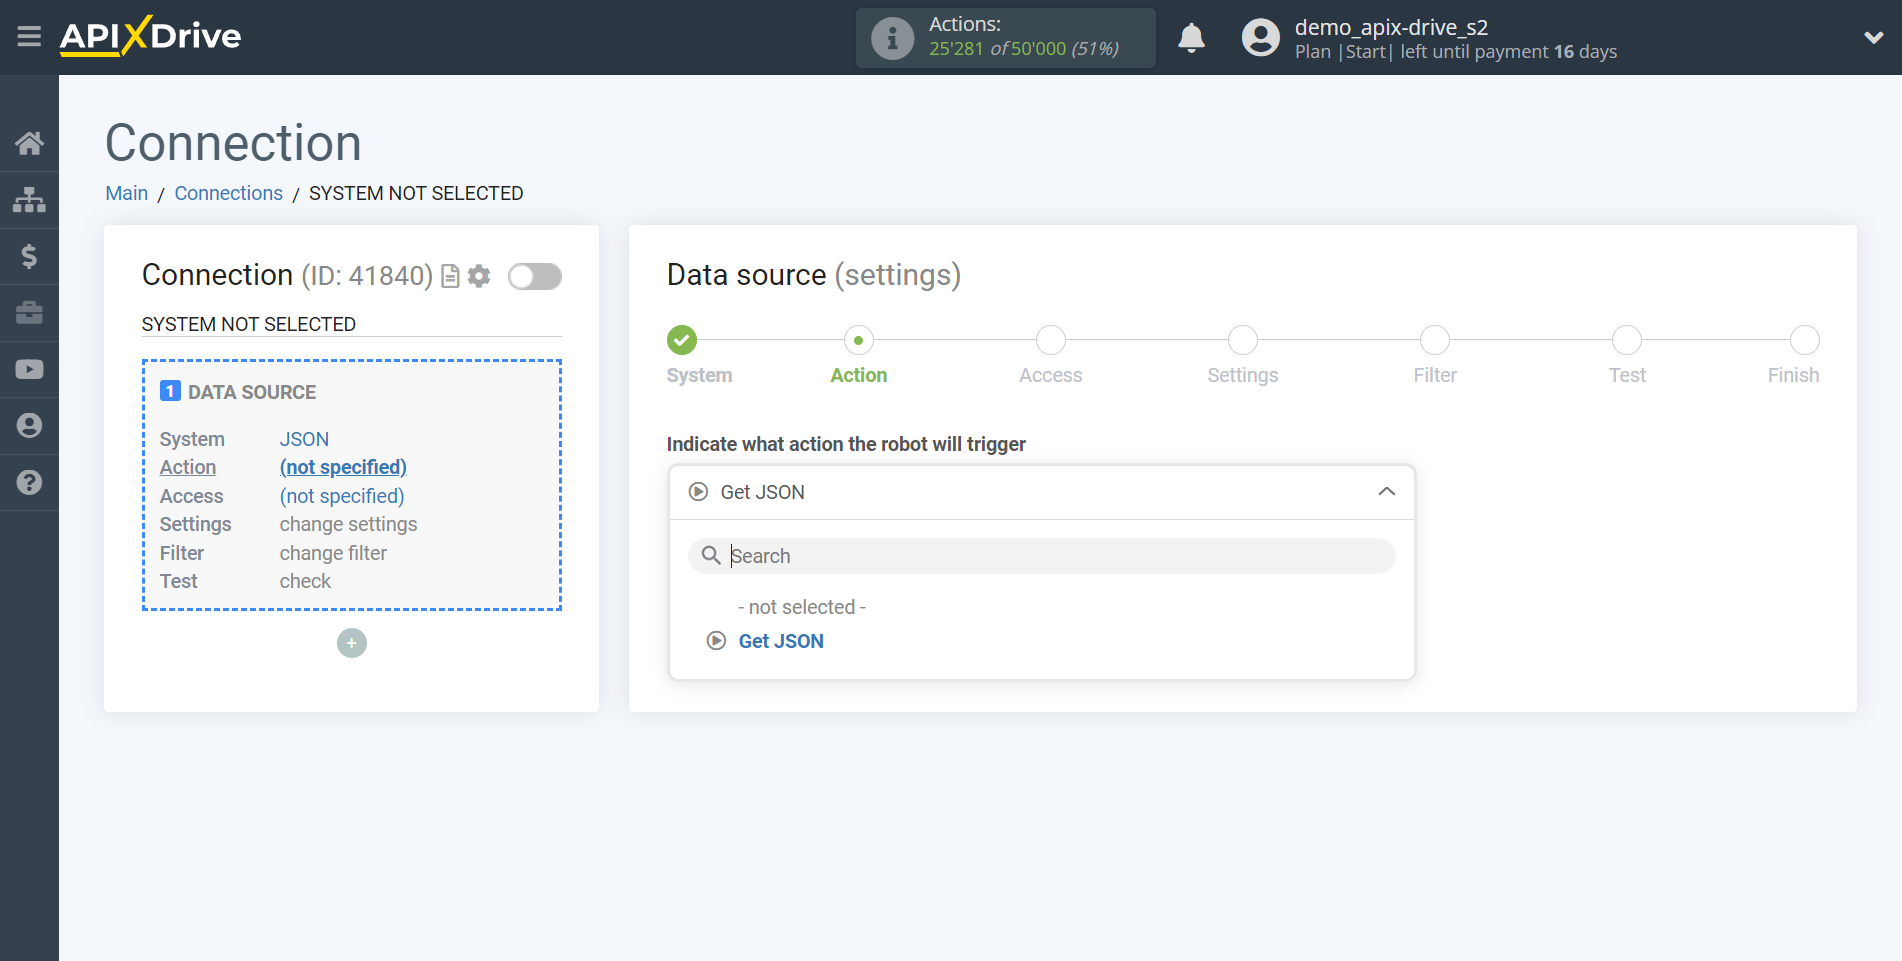
Next, you need to specify the “Get JSON” action.
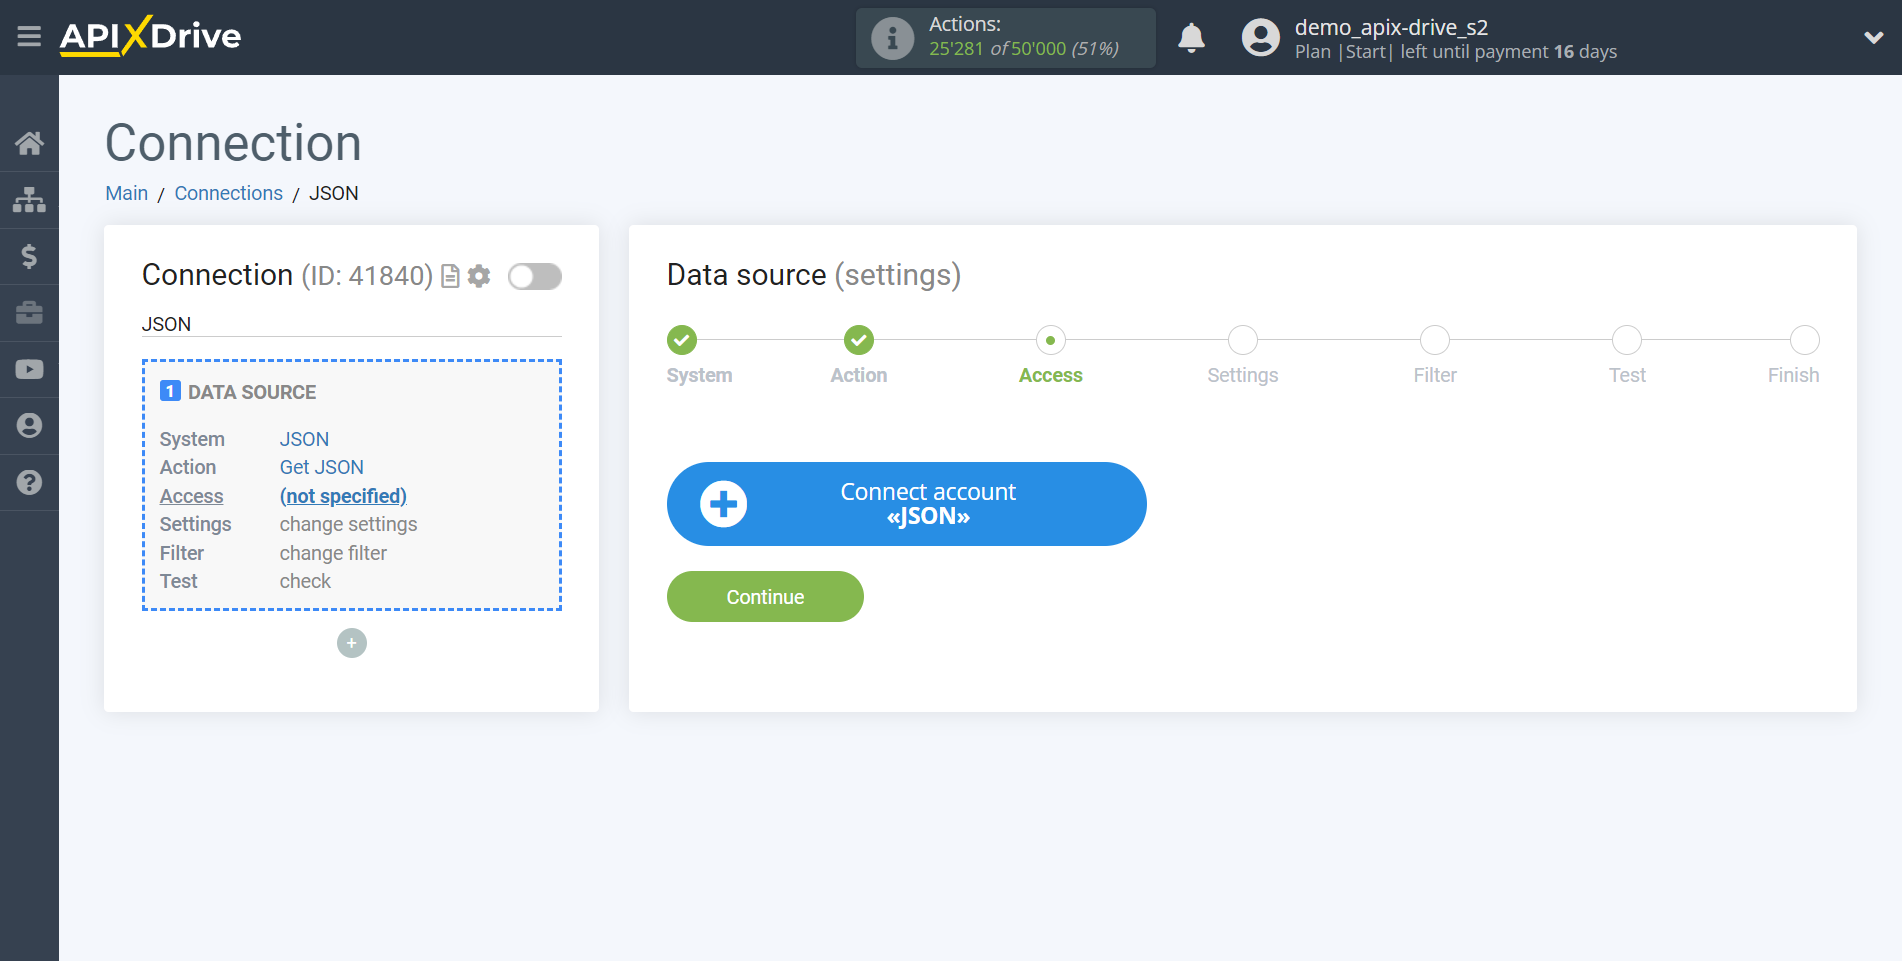
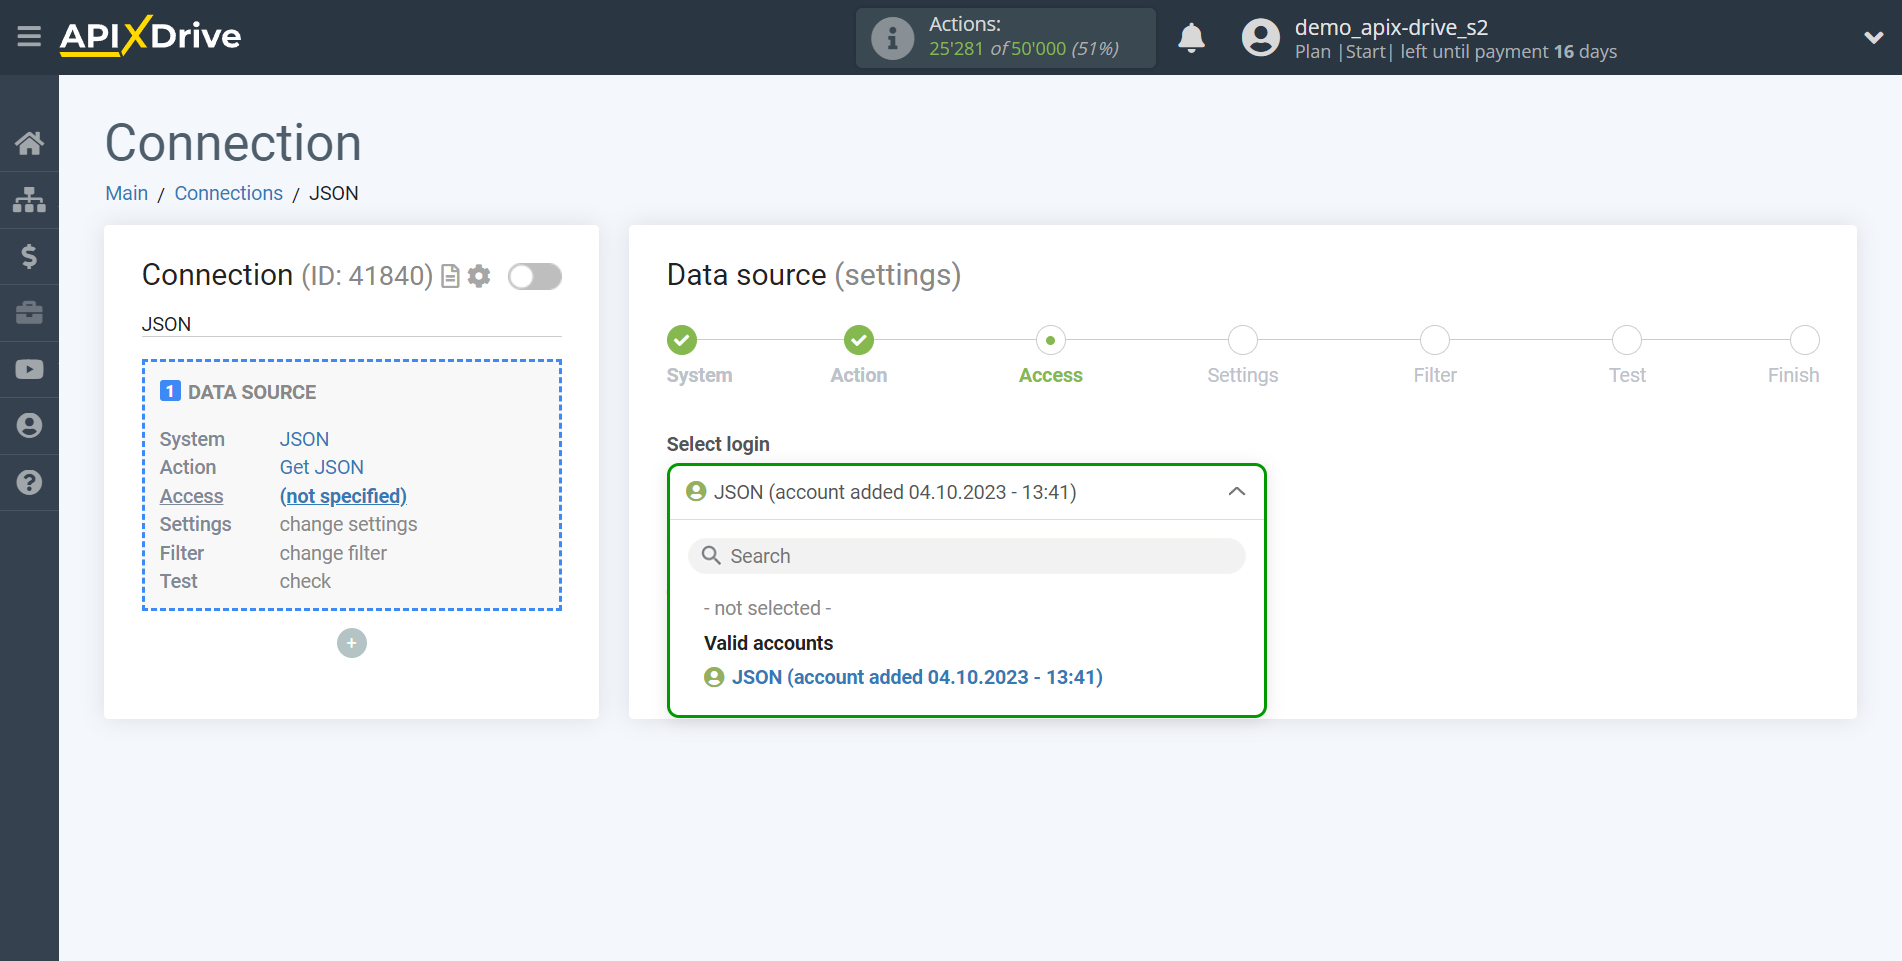
The next step is to select the JSON account from which the data will be downloaded.
If there are no accounts connected to the system, click "Connect account".
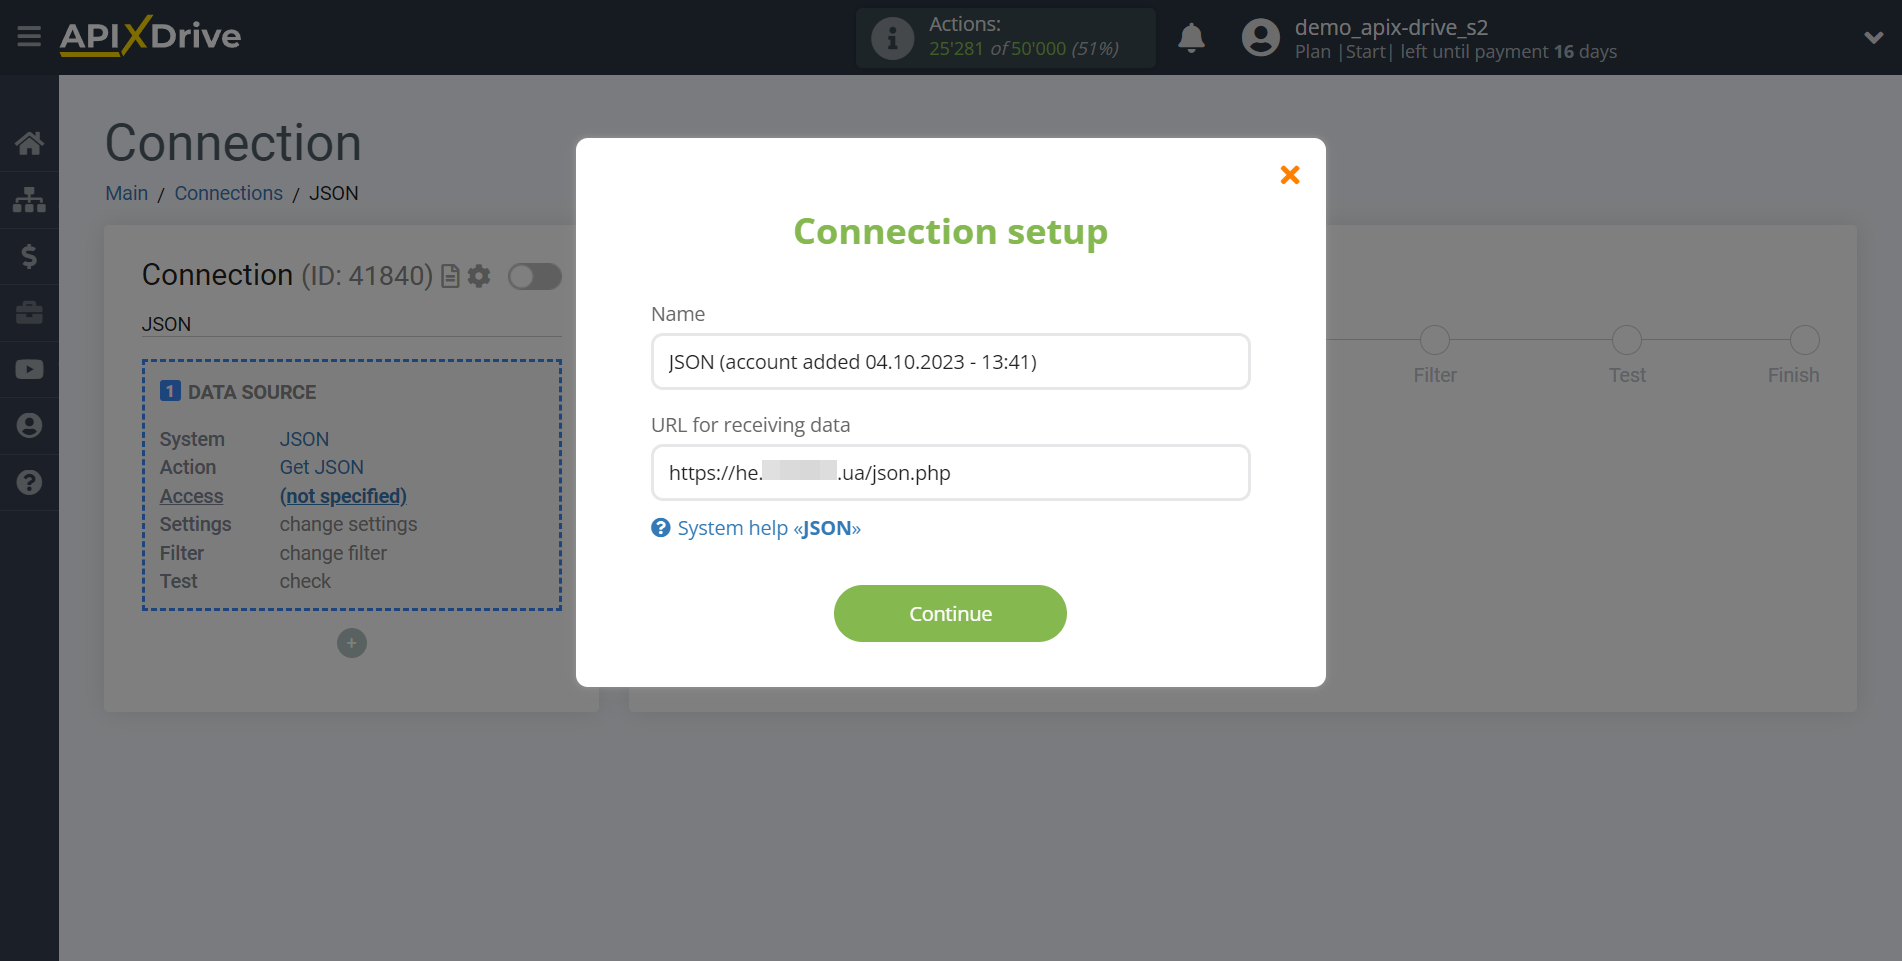
Next, you need to enter a URL to receive data.
After filling out, click “Continue” and reload the page, if necessary.
Enter the "Parameters" for which you want to upload data.
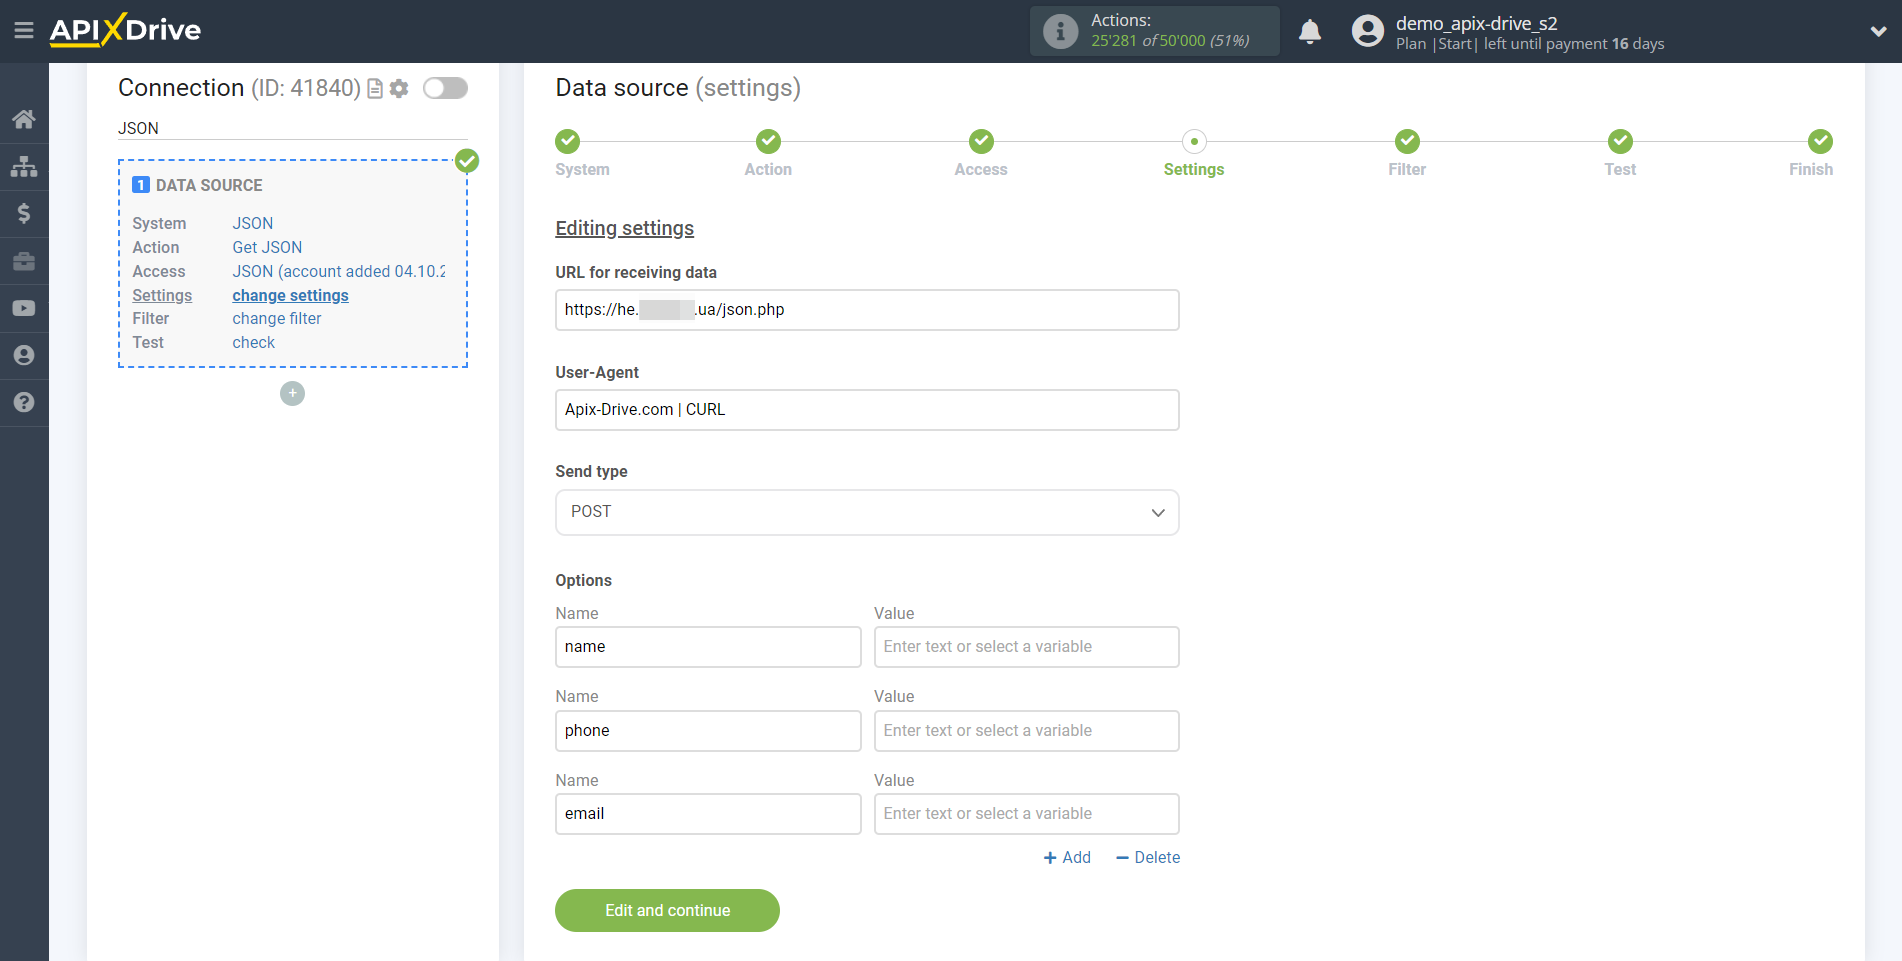
Now you can return to the ApiX-Drive system to continue the setup.
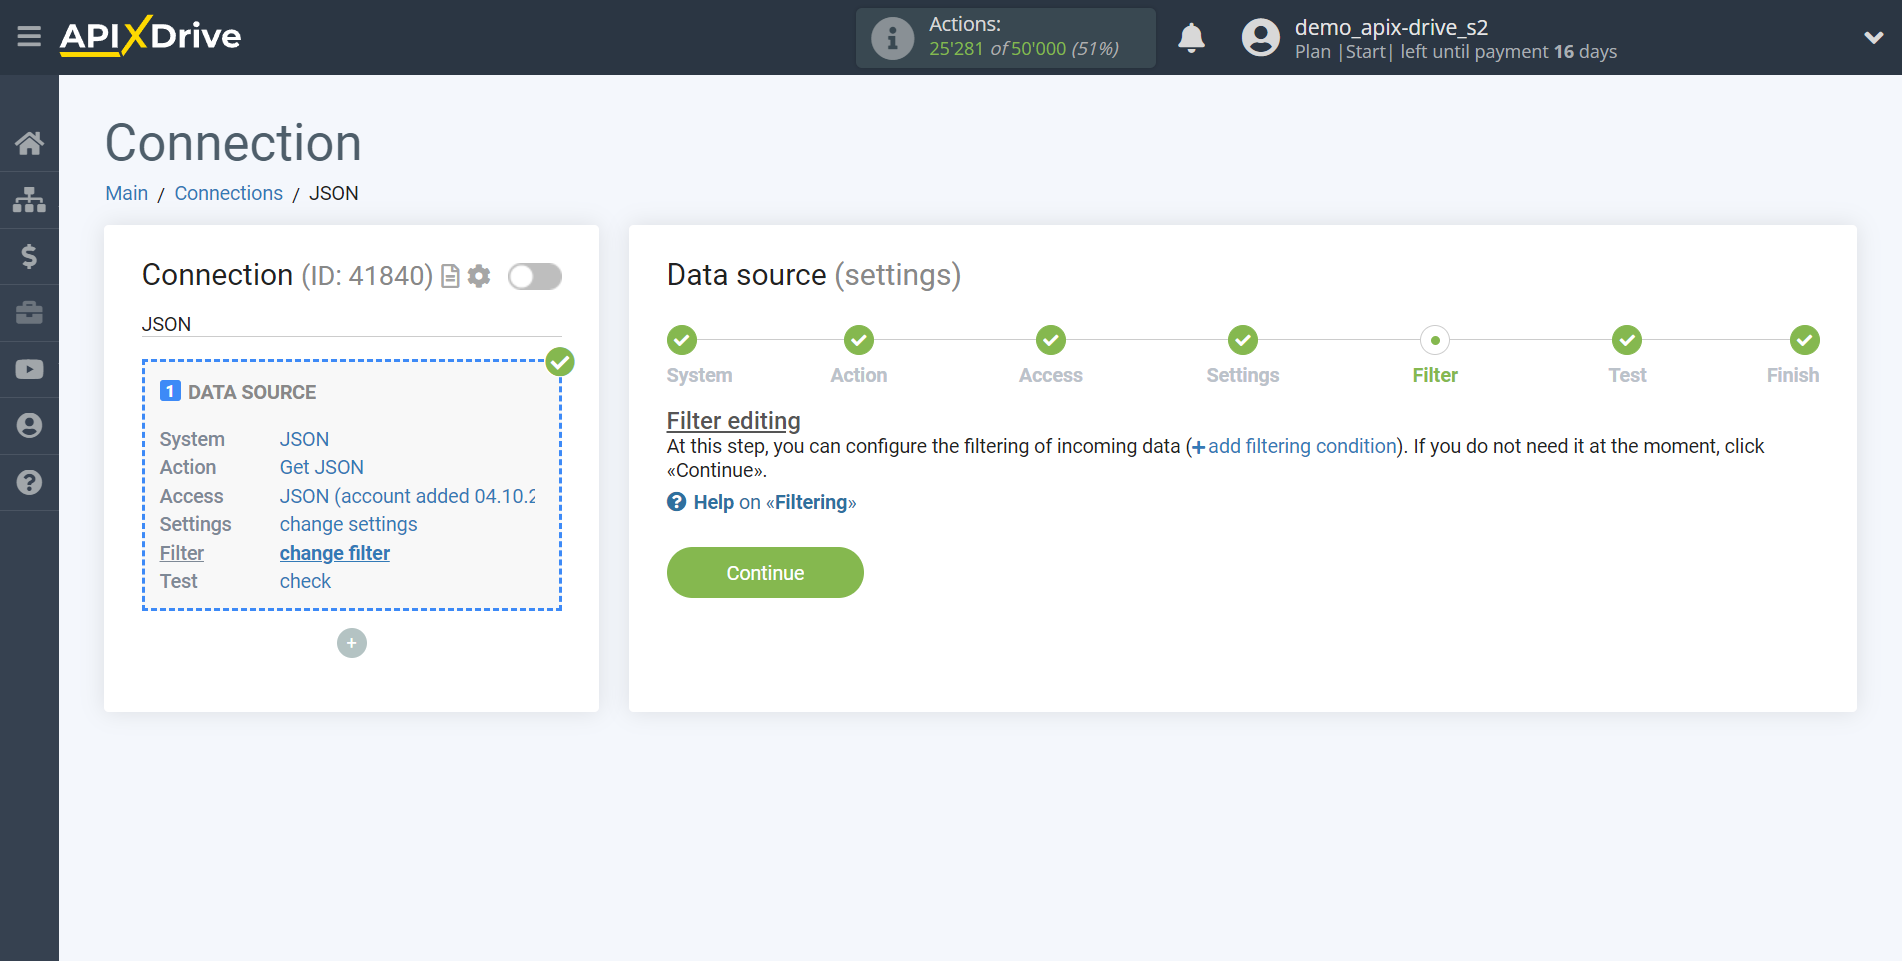
If necessary, you can set up a Data Filter, or click "Continue" to skip this step.
To find out how to setup the Data Filter, follow the link: https://apix-drive.com/en/help/data-filter
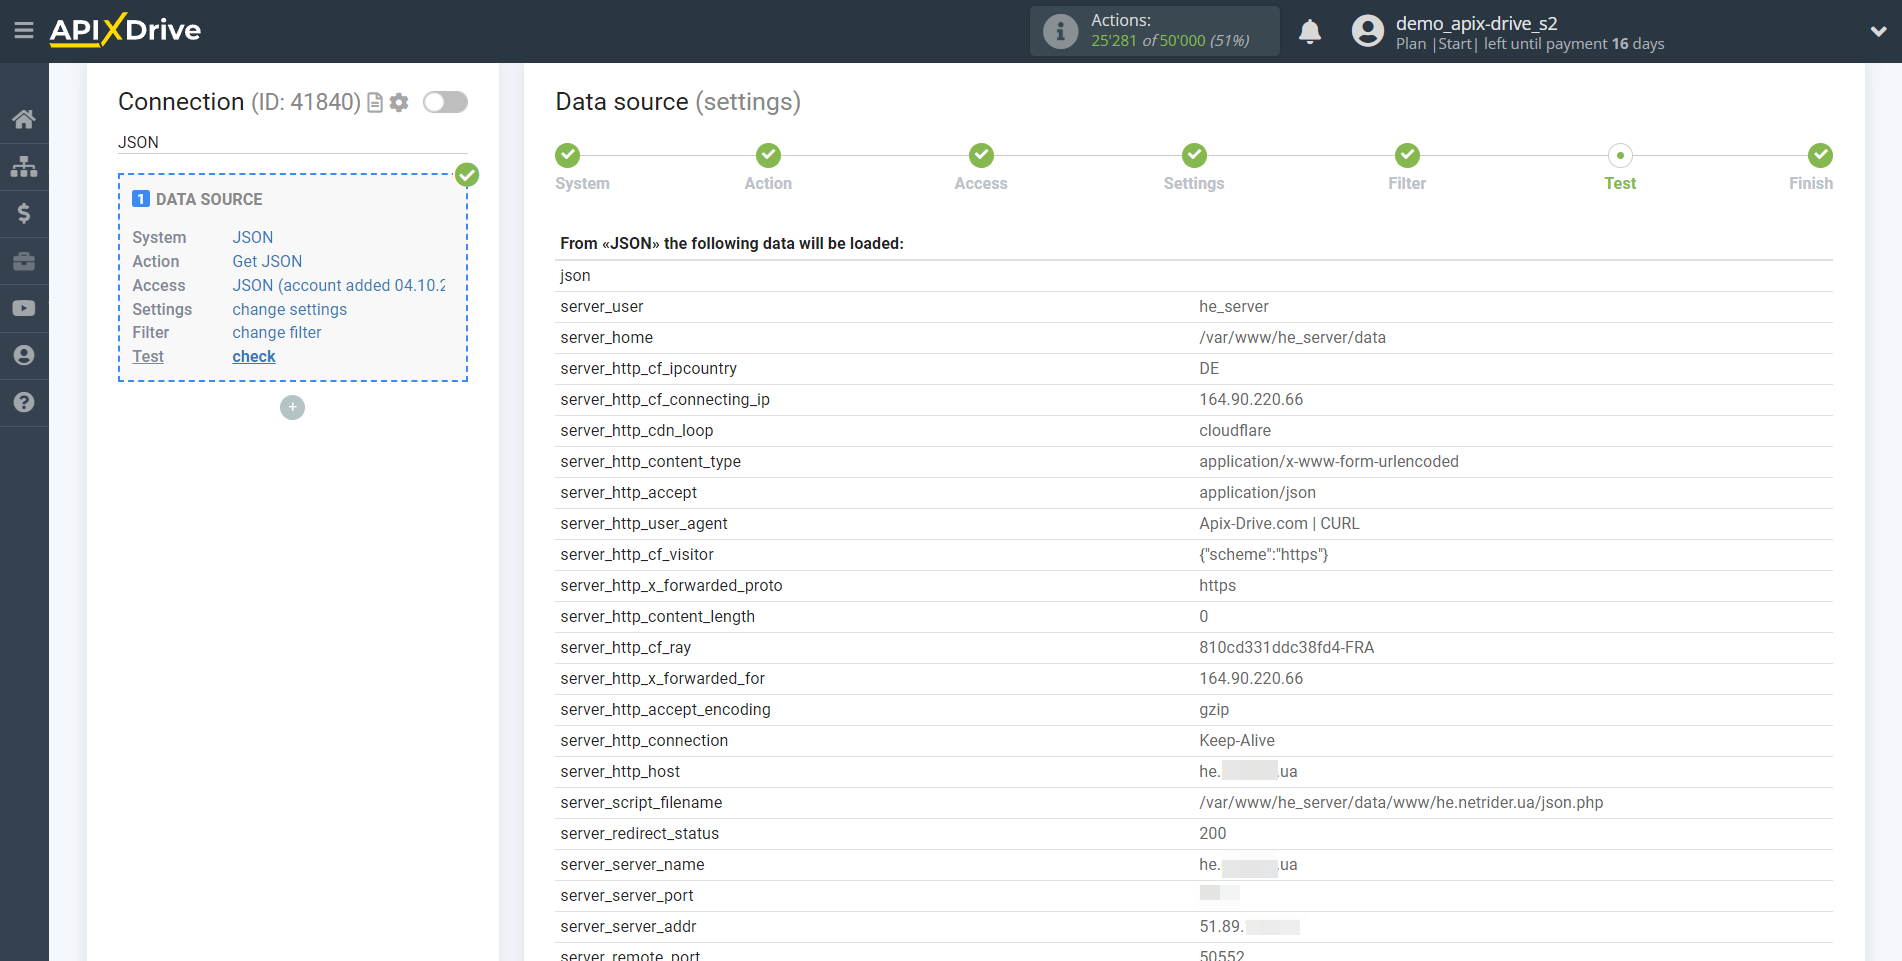
Now you can see the test data.
If the test data does not appear automatically - click "Load test data from JSON".
If everything suits you, click "Next".
Note! Our system can work with a maximum of only two levels of data structure nesting. If your multi-level JSON data hierarchy consists of three or more levels, then such data will be converted to 1 level.
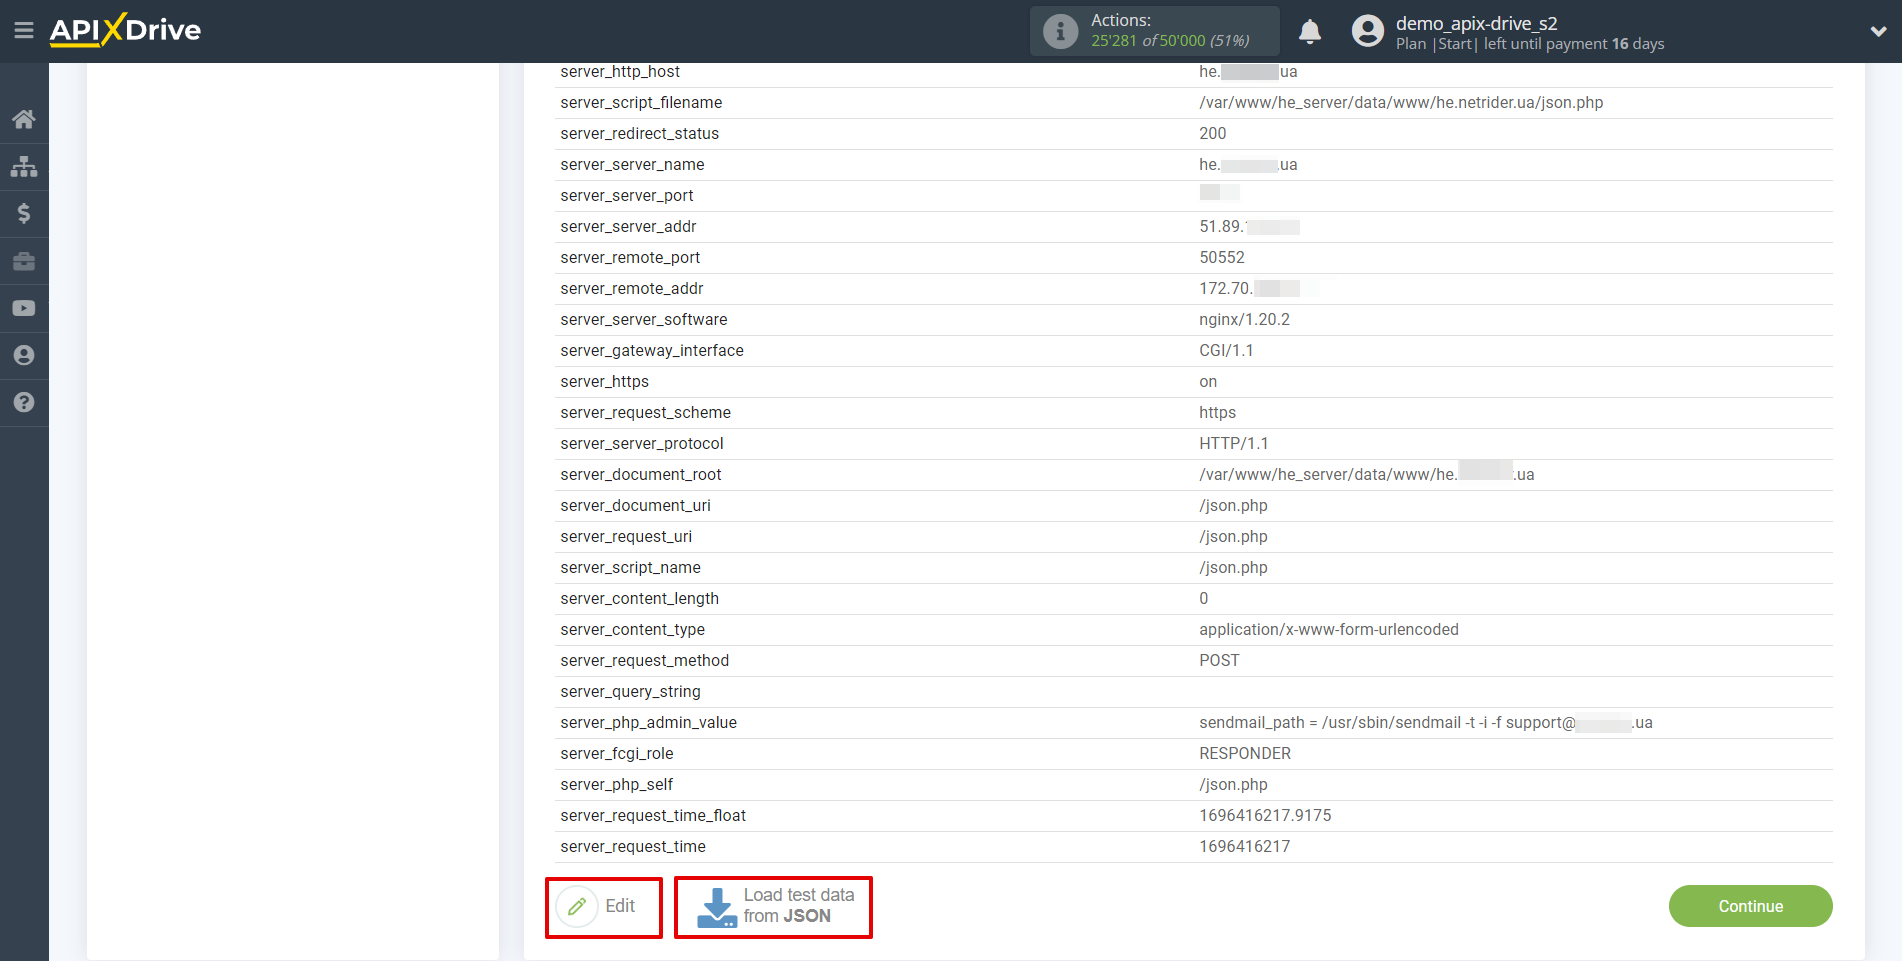
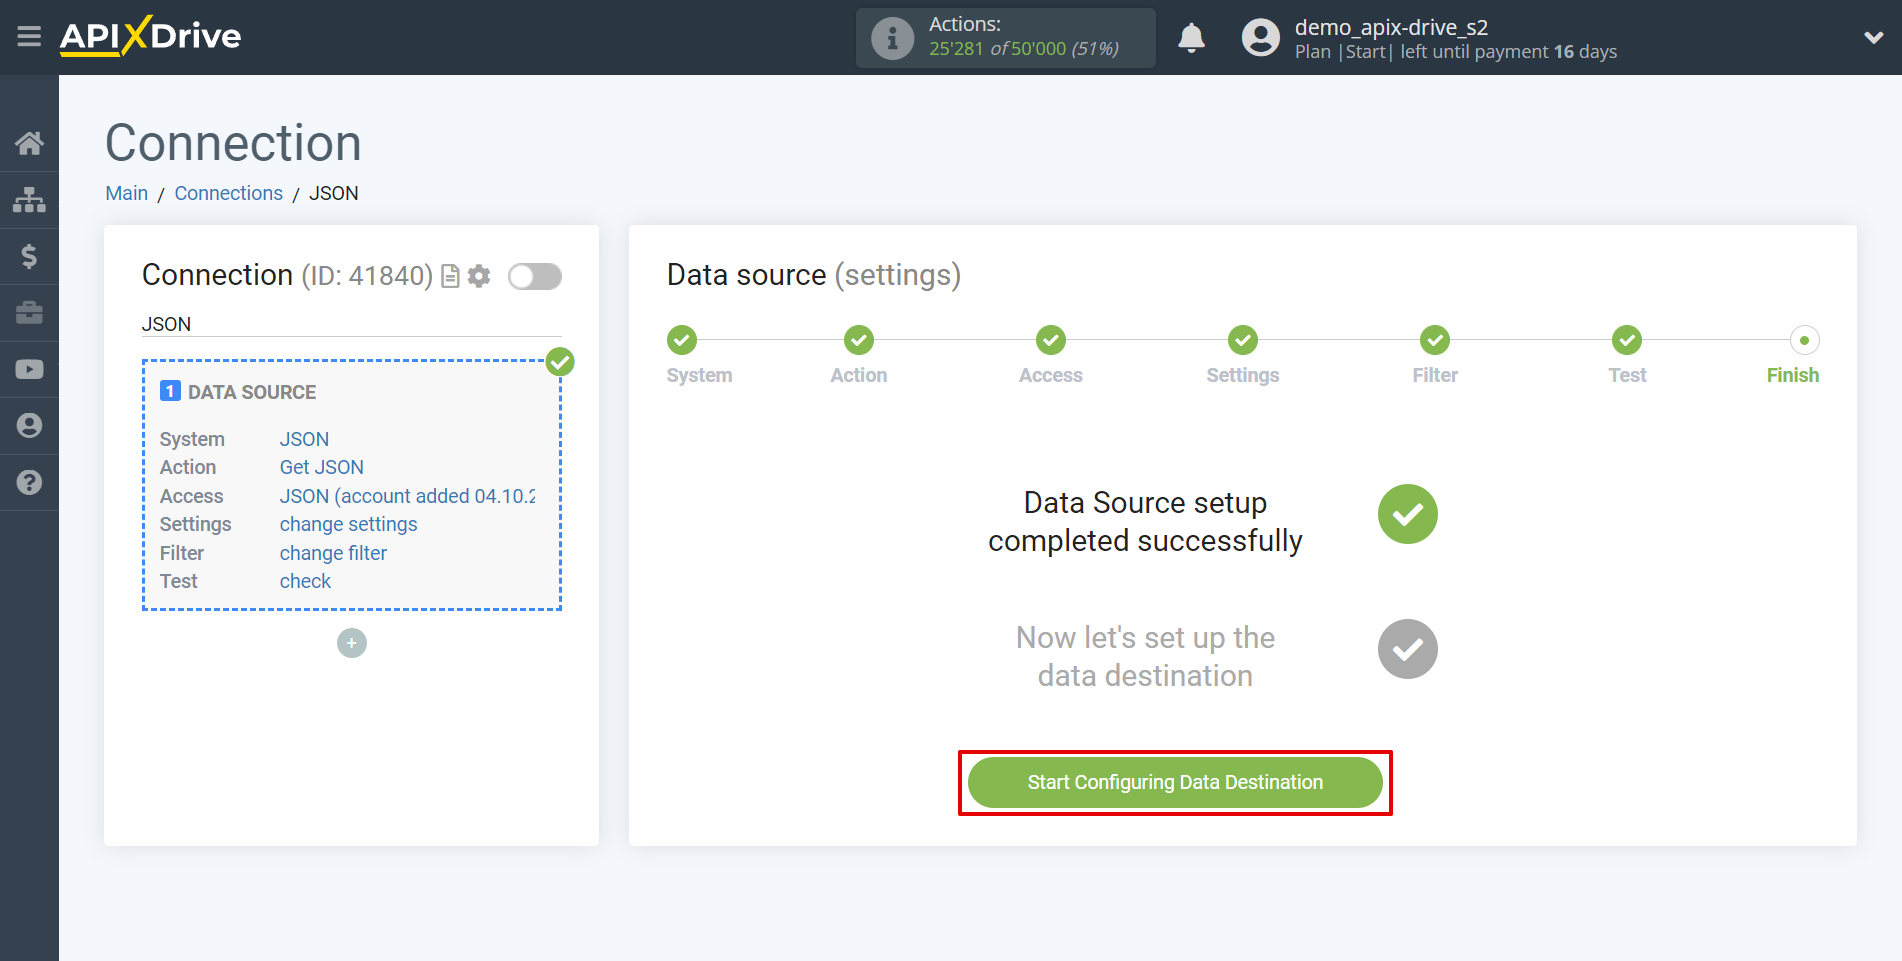
This completes the entire Data Source setup! See how easy it is!?
Now you can start setup the Data Destination system.
To do this, setup it yourself or go to the help section "Data Destination", select the service you need as Data Destination, and follow the setup recommendations.
Good luck!
