How to Connect MySQL as Data Source
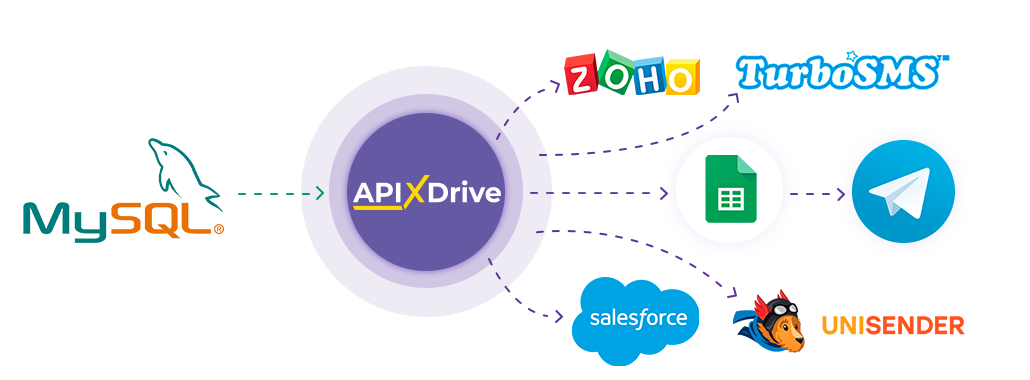
The integration will allow you get new rows from the selected table and sheet, as well as get all rows in the table, transferring this data to other systems. For example, you can send new rows to CRM or send them as notifications to yourself or a group of managers. You can also send rows to the SMS or Email mailing service. This will allow you to maximize the automation interaction of MySQL with other services and systems.
Let's go through the entire MySQL setup steps together!
Navigation:
1. What data can be get from MySQL?
2. How to connect your MySQL account to ApiX-Drive?
3. Selecting the table and sheet from which rows will exported.
4 . Sample data for one of the rows in your table.
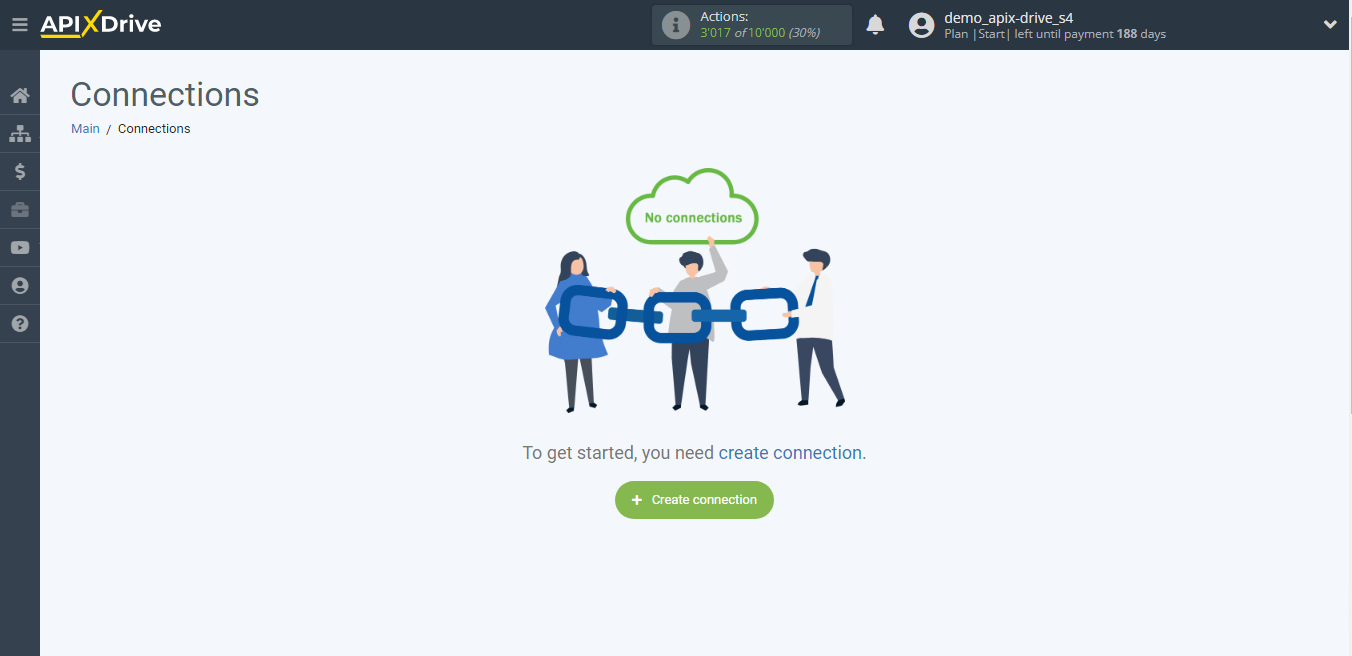
To start setup a new connection, click "Create Connection".
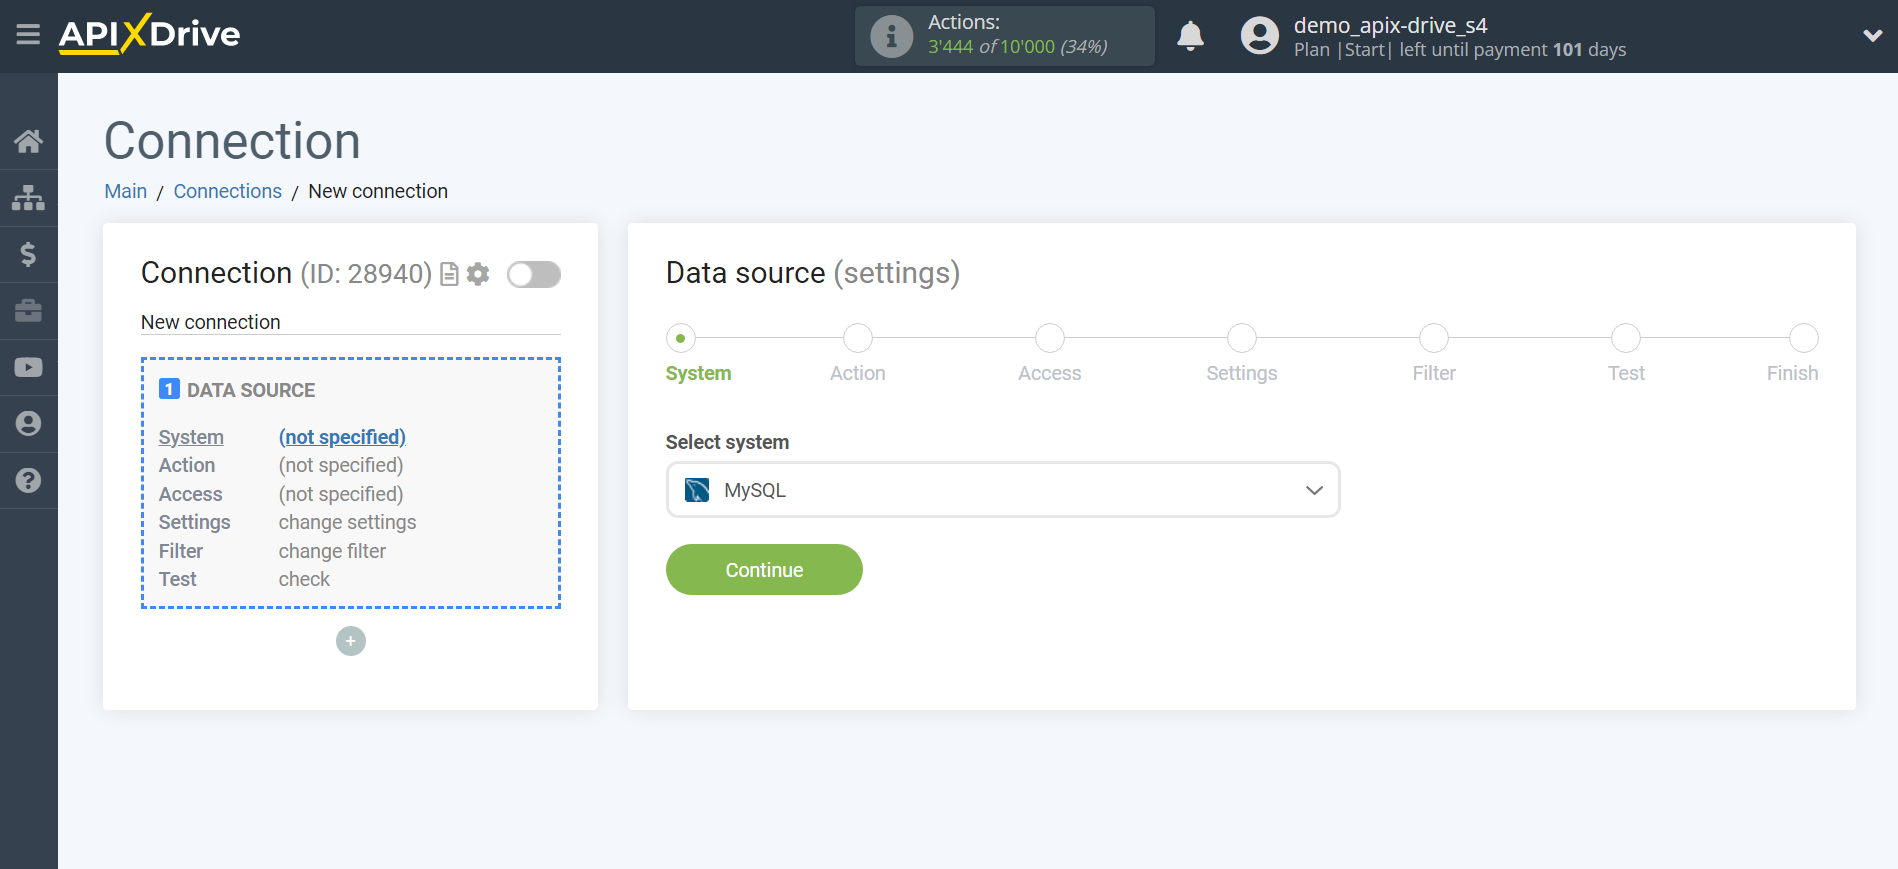
Select a system as the Data Source. In this case, you must specify MySQL.
Next, you need to specify an action, for example, "Get ROWS (new)".
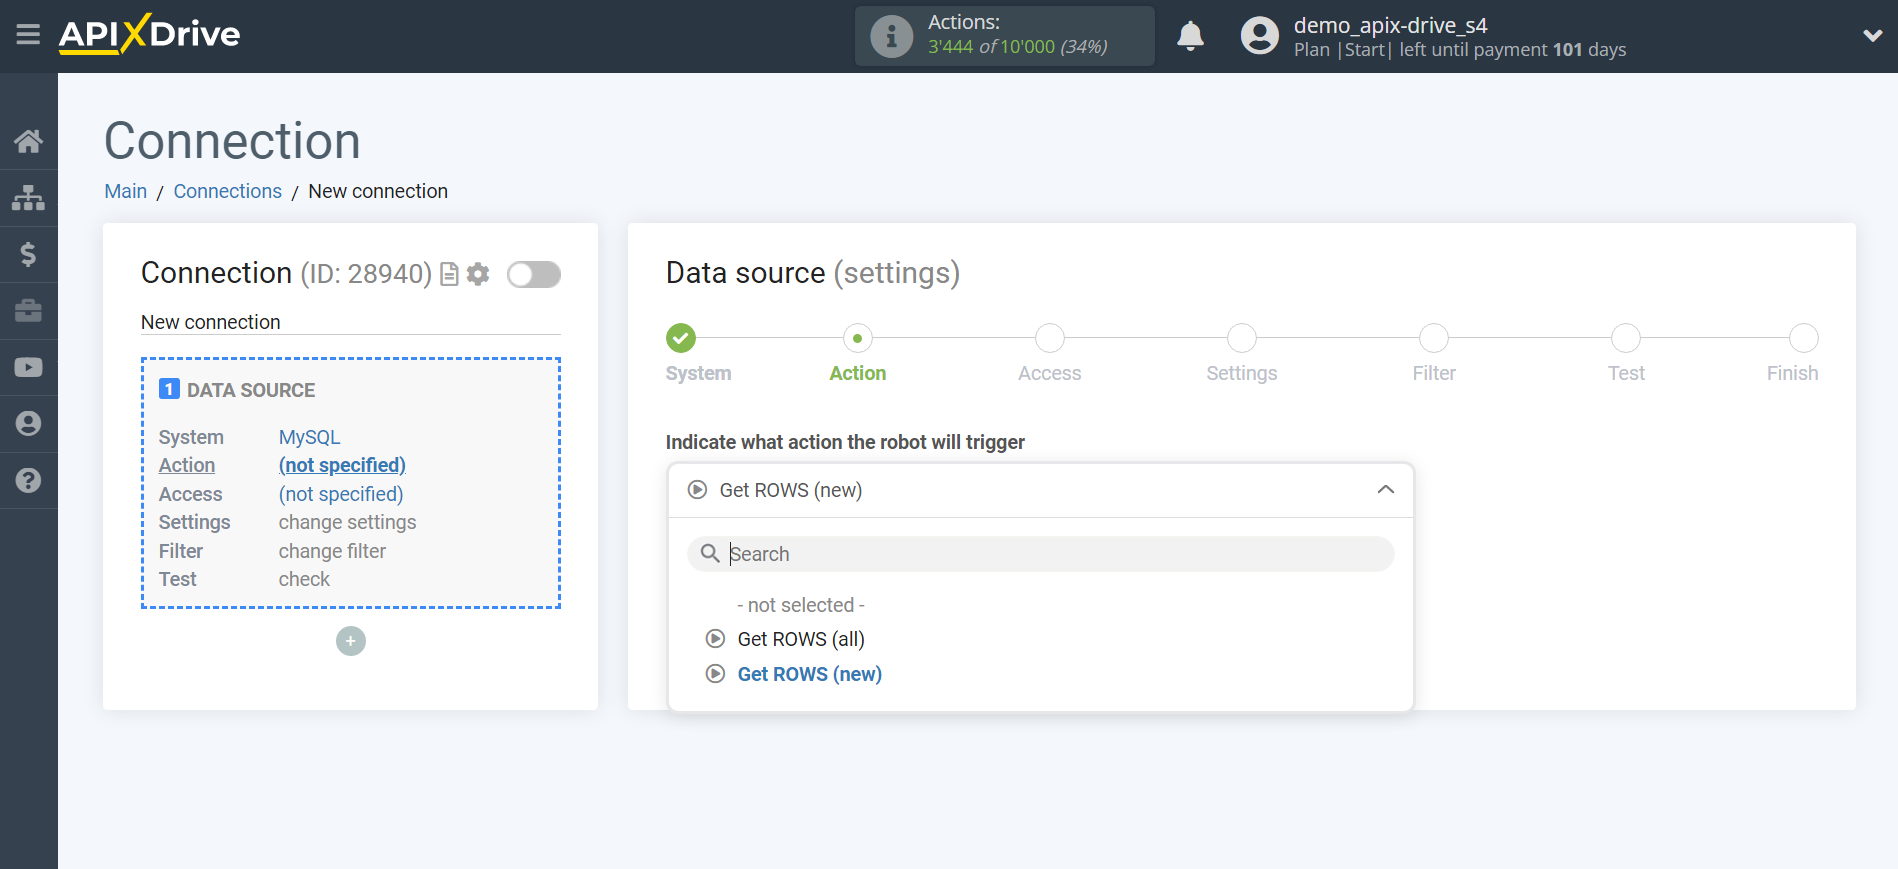
- Get ROWS (new) - new rows will get from the selected table and sheet. For example, if you have 5 filled rows and you indicated that you will get from the 5th row, then the system will get data from the 5th row during the first auto-update and then it will get data from the 6th row, etc. If, after turning on auto-update, you have 10 rows and you delete them, after which you start filling out the sheet again, the system will still get data only from the 11th row, etc.
- Get ROWS (all) - Apix-Drive will get at every auto-update all the rows that are in the selected table and sheet. For example, if auto-update is set to 10 minutes, and there are 100 rows in the table, then 100 rows will get to the Data Destination system every 10 minutes. If you want to transfer only new lines, then you need to select the action "Get ROWS (new)".
Note! The formulas that you wrote in the MySQL table in advance are also considered as rows filled with data, and the system will get empty rows that contain formulas. If you want to perform calculations with numbers, you can use the additional block of Mathematical operations in the ApiX-Drive system. More about this in our help .
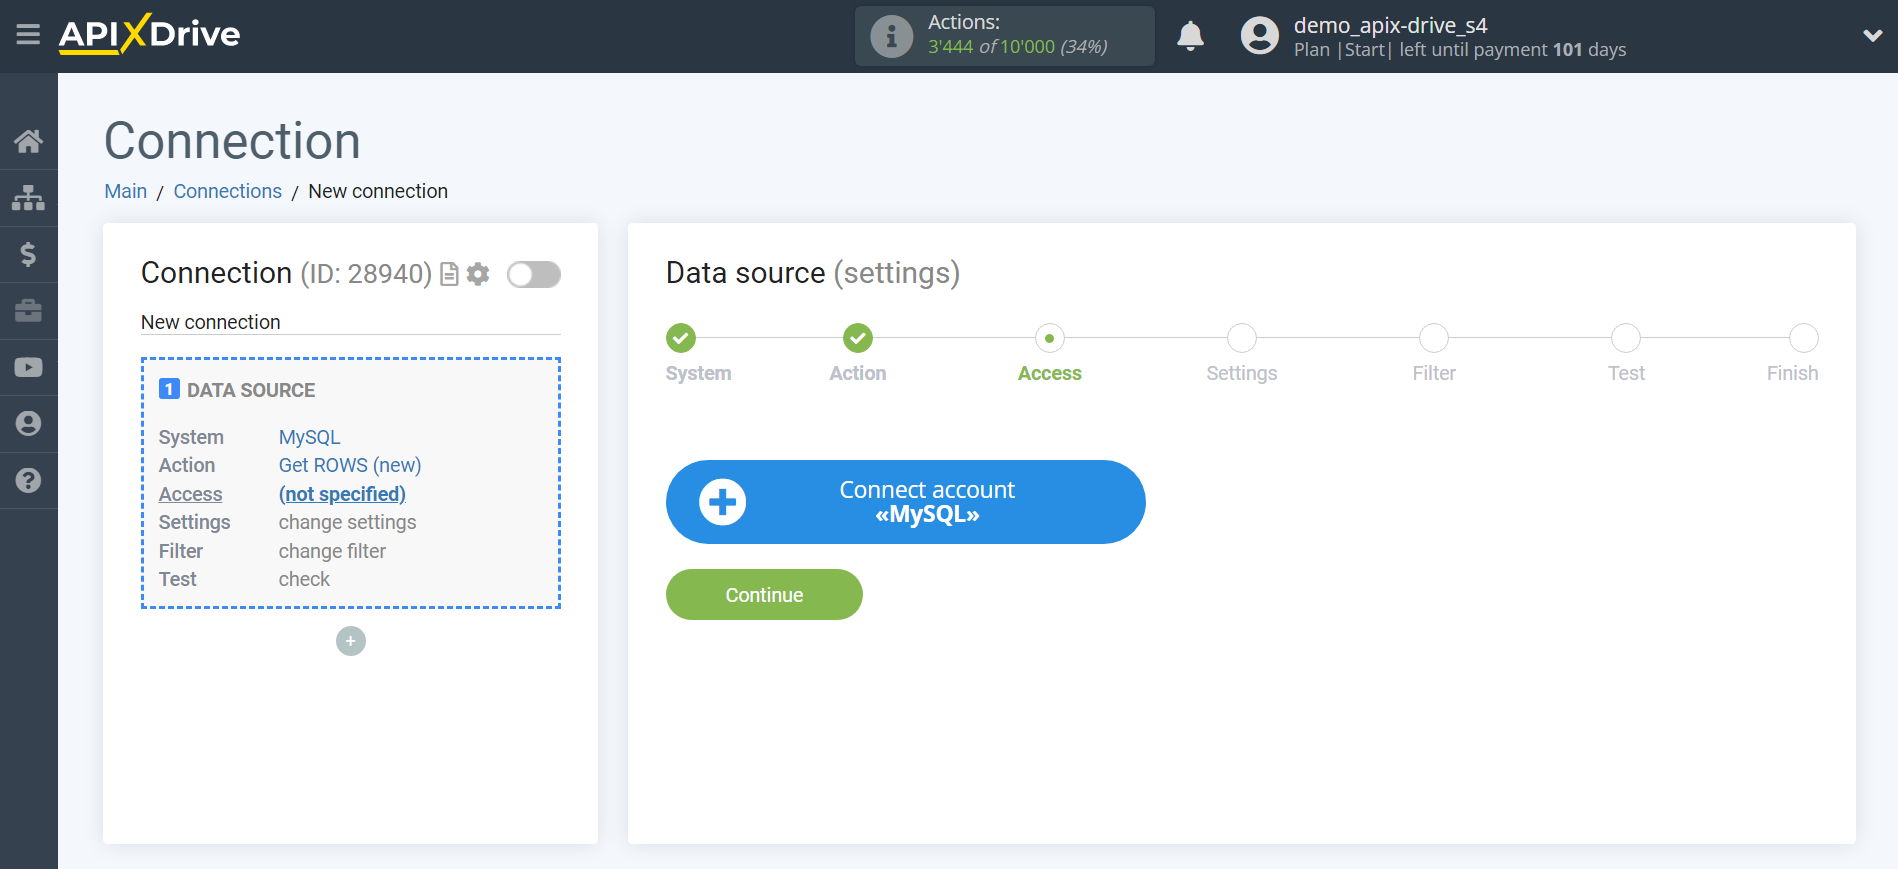
The next step is to select the MySQL account from which will get the data.
If there are no accounts connected to the system, click "Connect account".
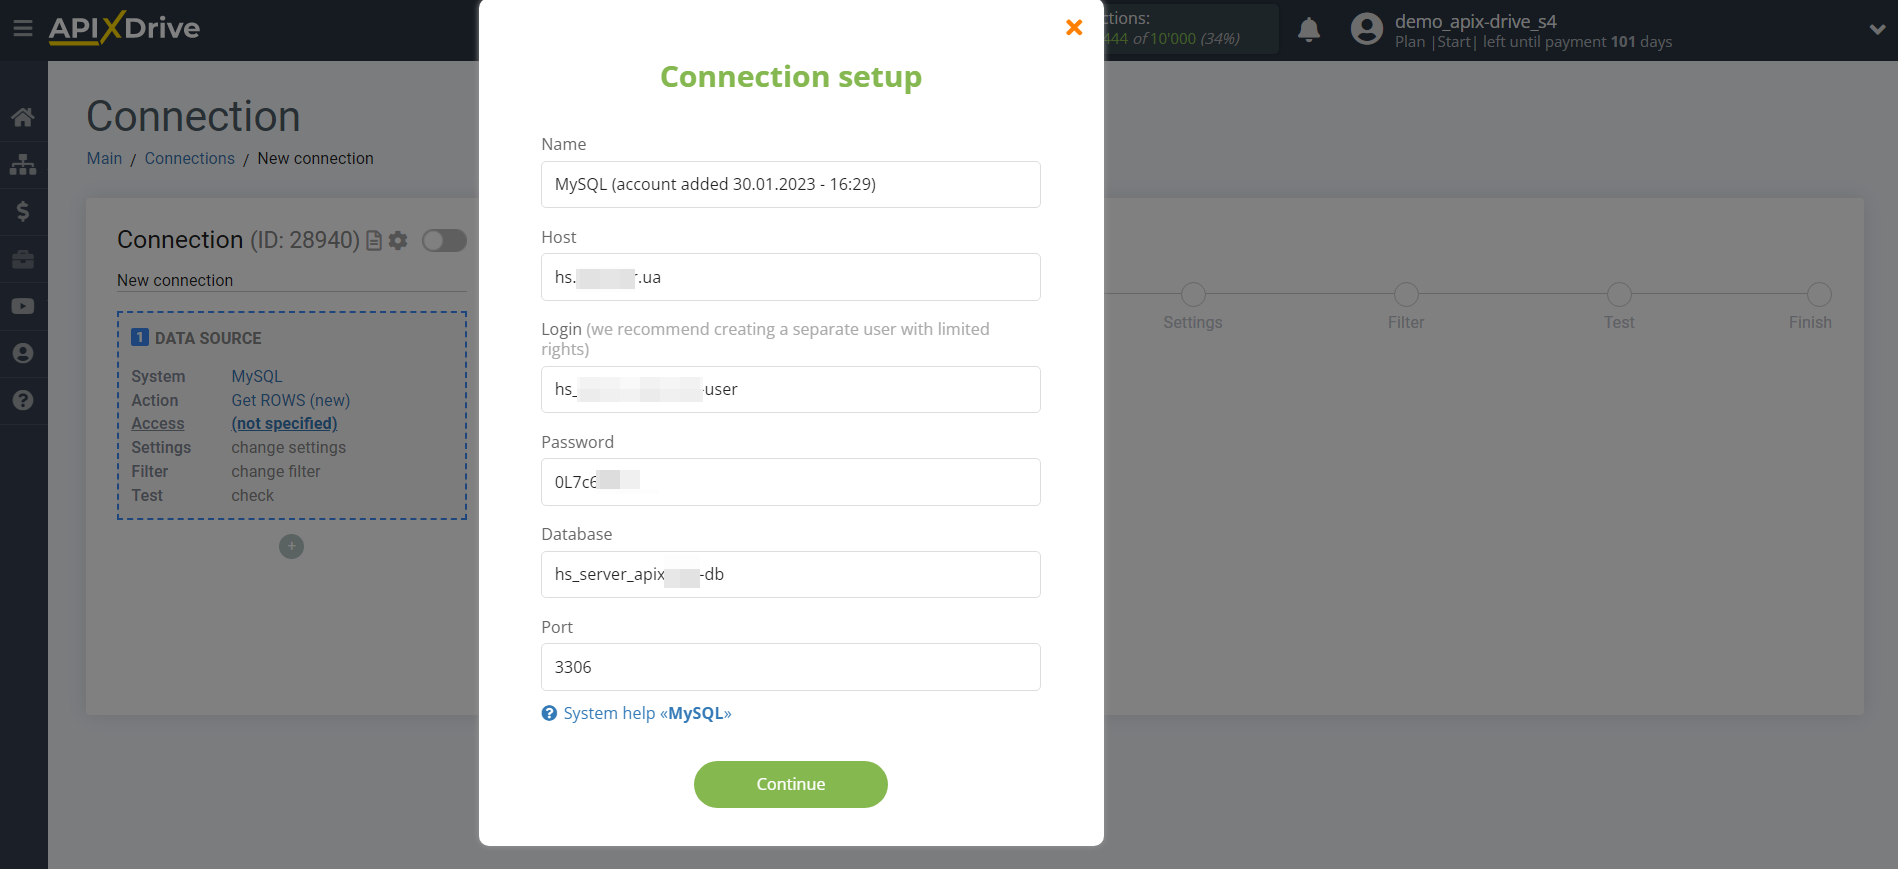
Before you start set up, you need:
1. Verify that MySQL accepts external connections over TCP/IP.
2. Find the port on which deamon listens
3. Ensure this port is accessible in both directions to * the ApiX-Drive ip server from which the connection is coming * 157.230.117.136, 164.90.220.66, 142.93.106.250, 206.81.27.39, 68.183.219.78, 164.92.182.124.
4. Ensure that the user is authorized to access from the * ip or host of the ApiX-Drive server from which the * connection is made.
If you have an address bar URL in your ApiX-Drive account:
s1.apix-drive.com - 157.230.117.136
s2.apix-drive.com - 164.90.220.66
s3.apix-drive.com - 142.93.106.250
s4.apix-drive.com - 206.81.27.39
s5.apix-drive.com - 68.183.219.78
s6.apix-drive.com - 64.226.126.14
a1.apix-drive.com - 164.92.182.124
Fill the fields with the relevant data where:
- Host - your MySQL domain name specified without additional https:/, /, etc.
- Login - login to MySQL system.
- Password - password in MySQL system.
- Database - the name of the database to which our system will refer.
- Port - port to which we will connect.
You cannot use root, toor, admin, administrator system names to improve security.
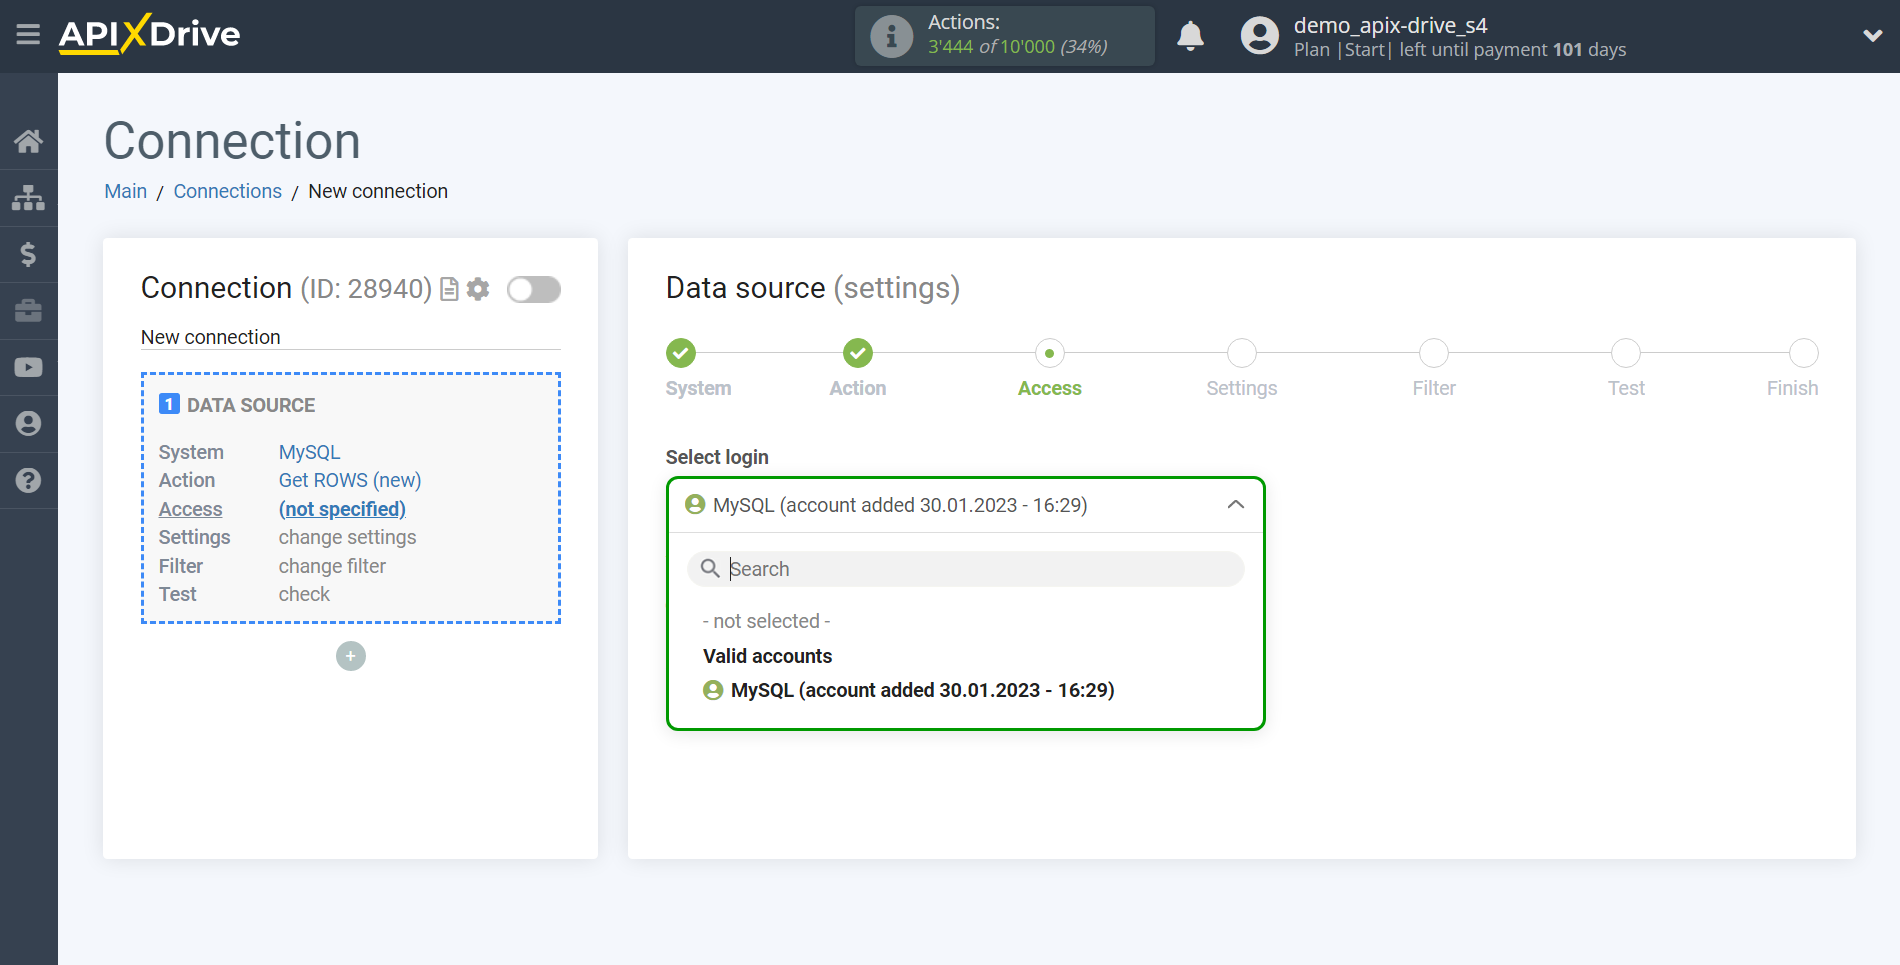
When the connected account is displayed in the "active accounts" list, select it.
Attention! If your account is in the "inactive accounts" list, check your access to this account!
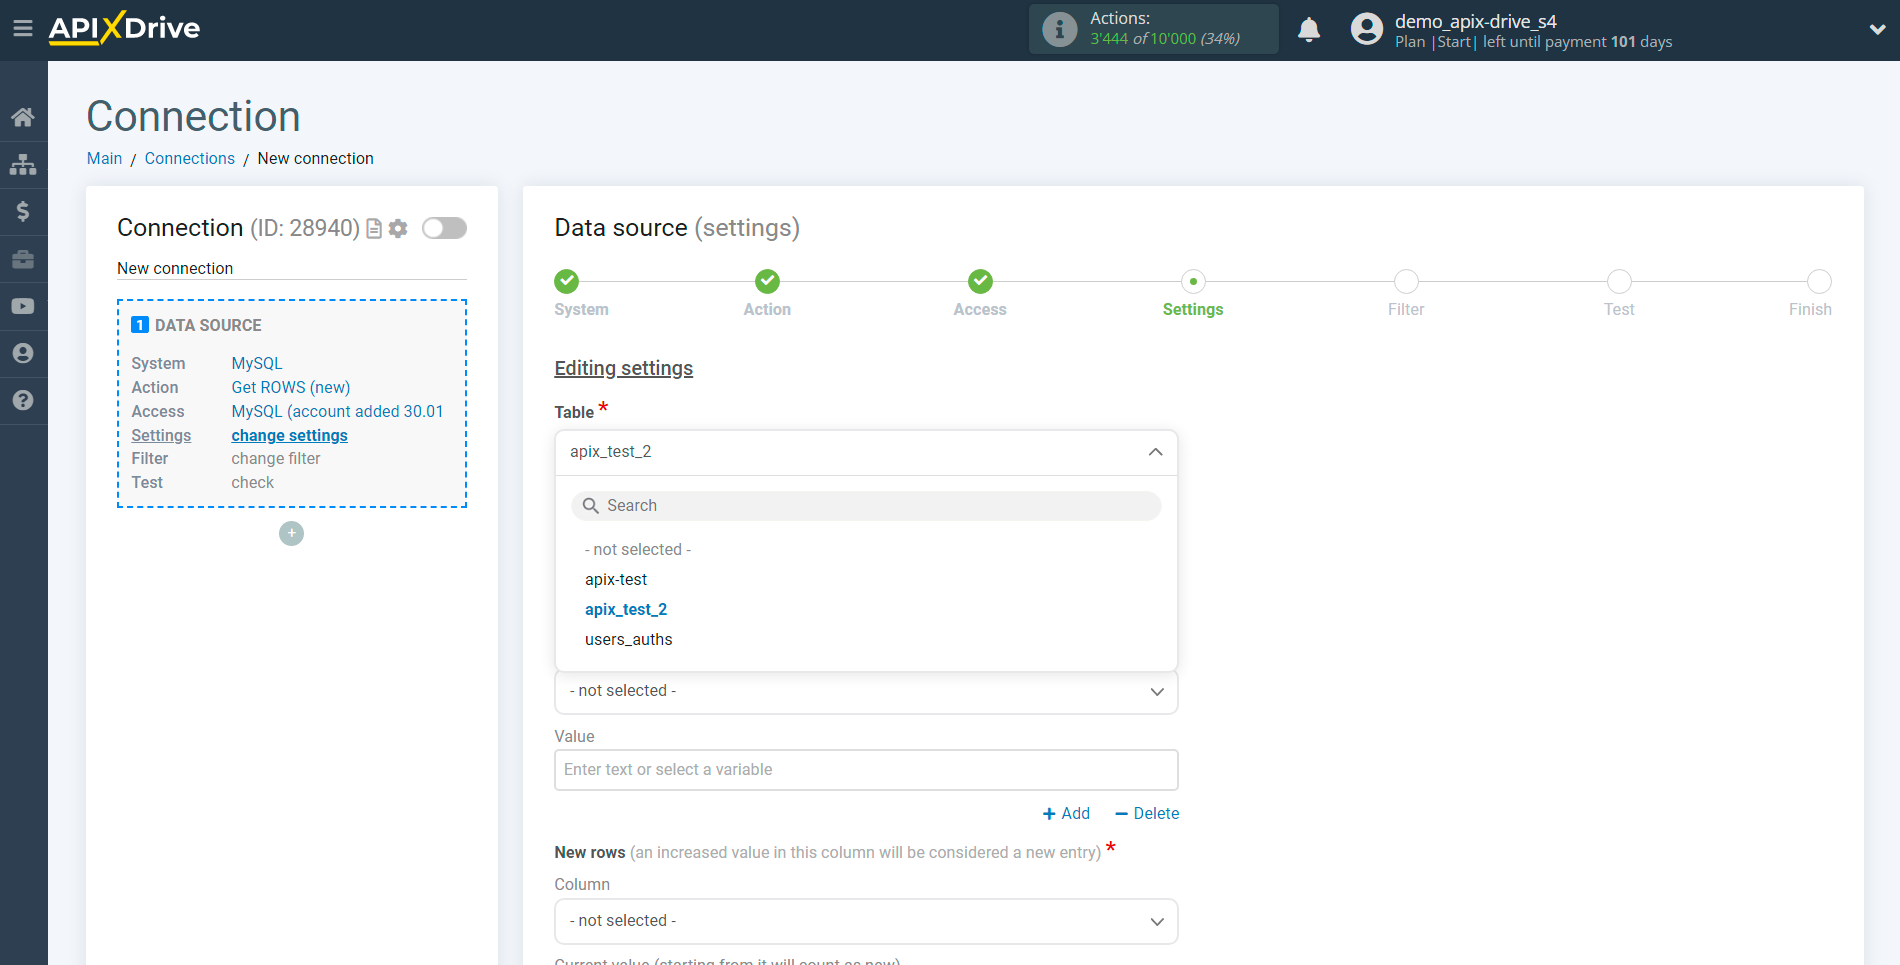
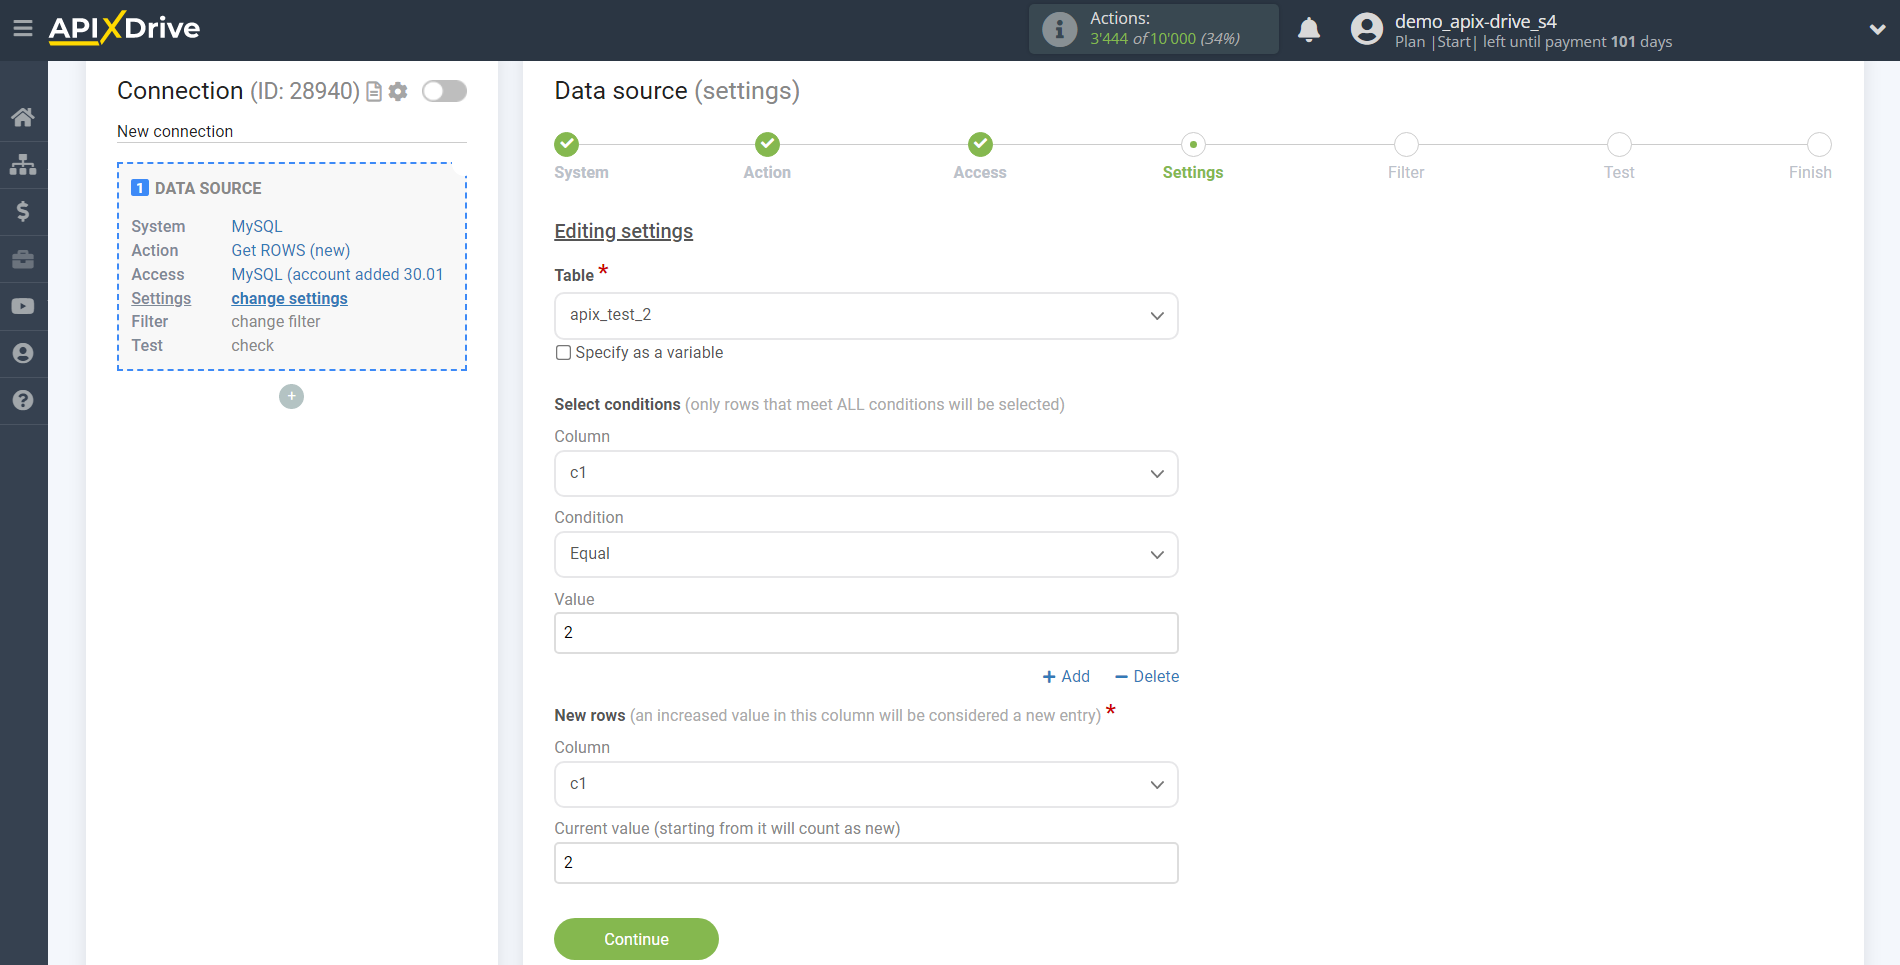
Select the table from which the data will be loaded.
Sampling conditions:
1. Select the sampling column that will be used to filter the data to be transferred.
2. In the "Condition" field, select the action to be applied as a filter -
- Equal - data that is equal to this value will be unloaded.
- Contains - data that contains this value will be uploaded.
- Does Not Equal - Data other than this value will be unloaded.
- Does not contain - data will be uploaded that does not contain this value.
- Greater than - Data that is greater than this value will be uploaded.
- More than equal - data that is greater than or equal to this value will be uploaded.
- Less - data less than this value will be uploaded.
- Less than equal - data that is less than or equal to this value will be uploaded.
3. Specify Value for filter. Only rows with the specified value that satisfy the filter condition will be unloaded.
New entries:
1. Select the column with the value from which the unloading of data will start.
2. Specify the value from which data unloading will start.
For correct operation, it is recommended to specify a column with a numerical value. For example, if you specify 12345, then those rows will be unloaded which have the value 12346 in the selected column, etc.
Then click "Continue".
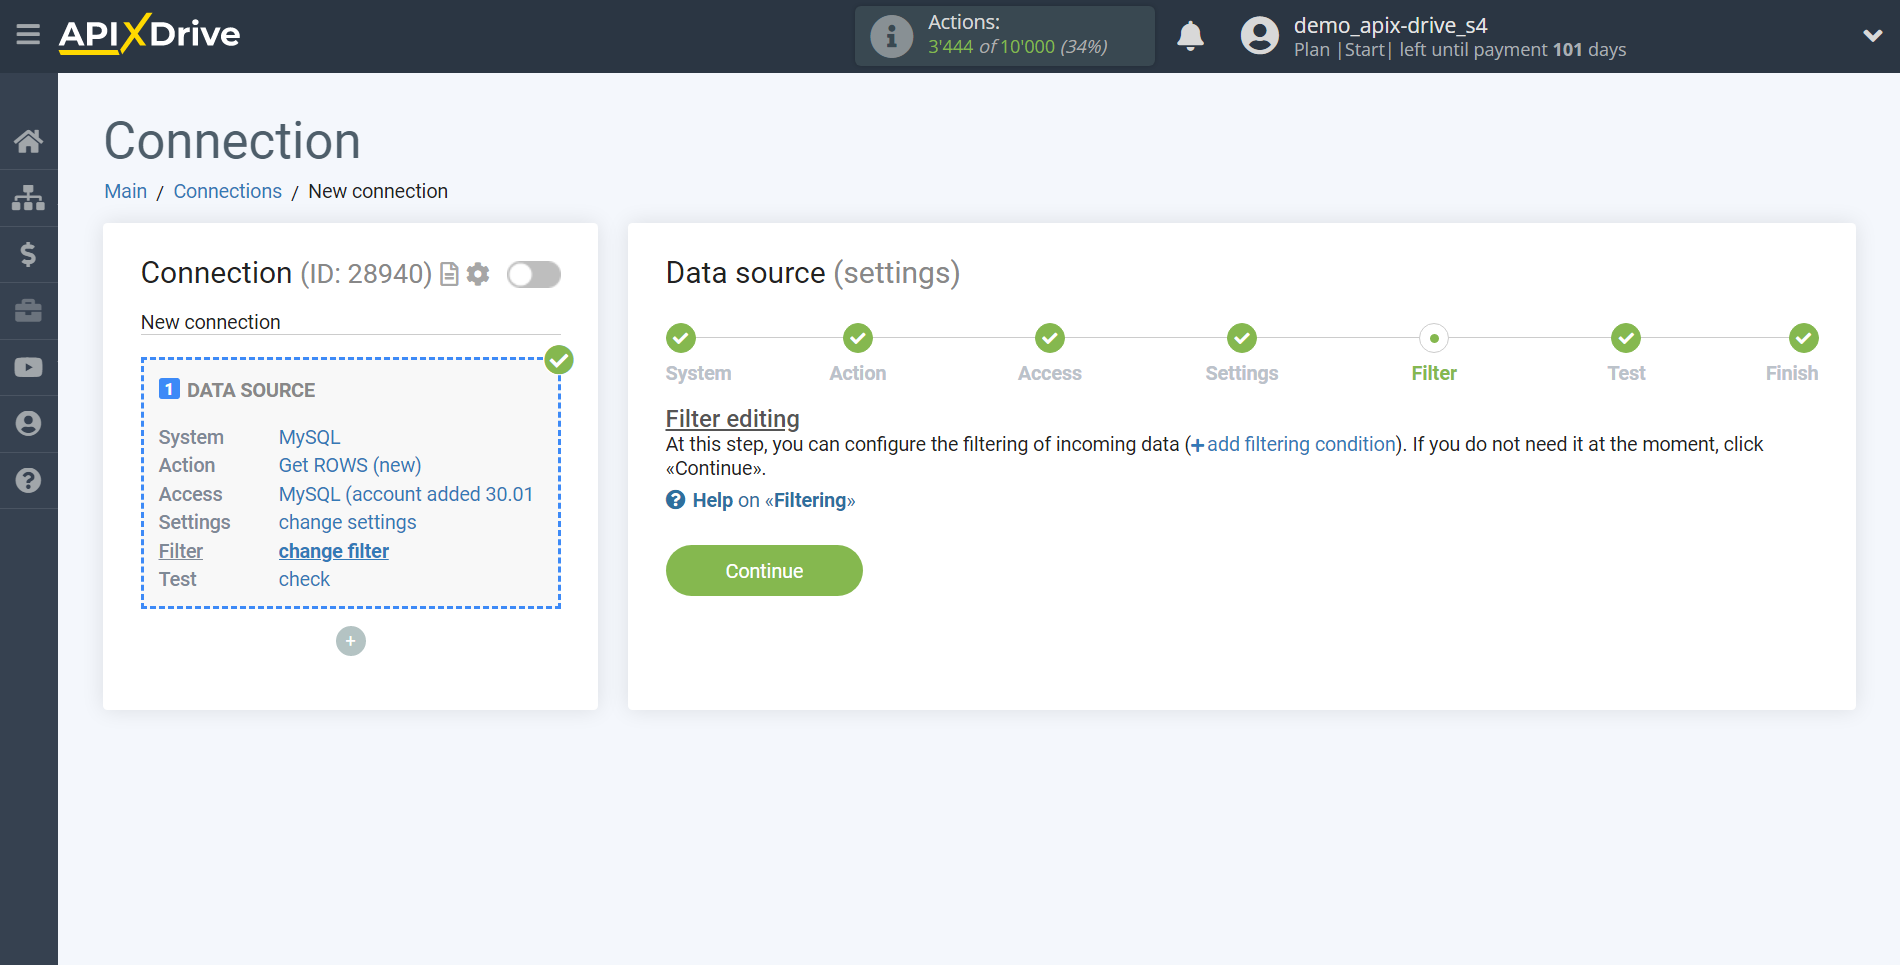
If necessary, you can set up a Data Filter, or click "Continue" to skip this step.
To find out how to setup the Data Filter, follow the link: https://apix-drive.com/en/help/data-filter
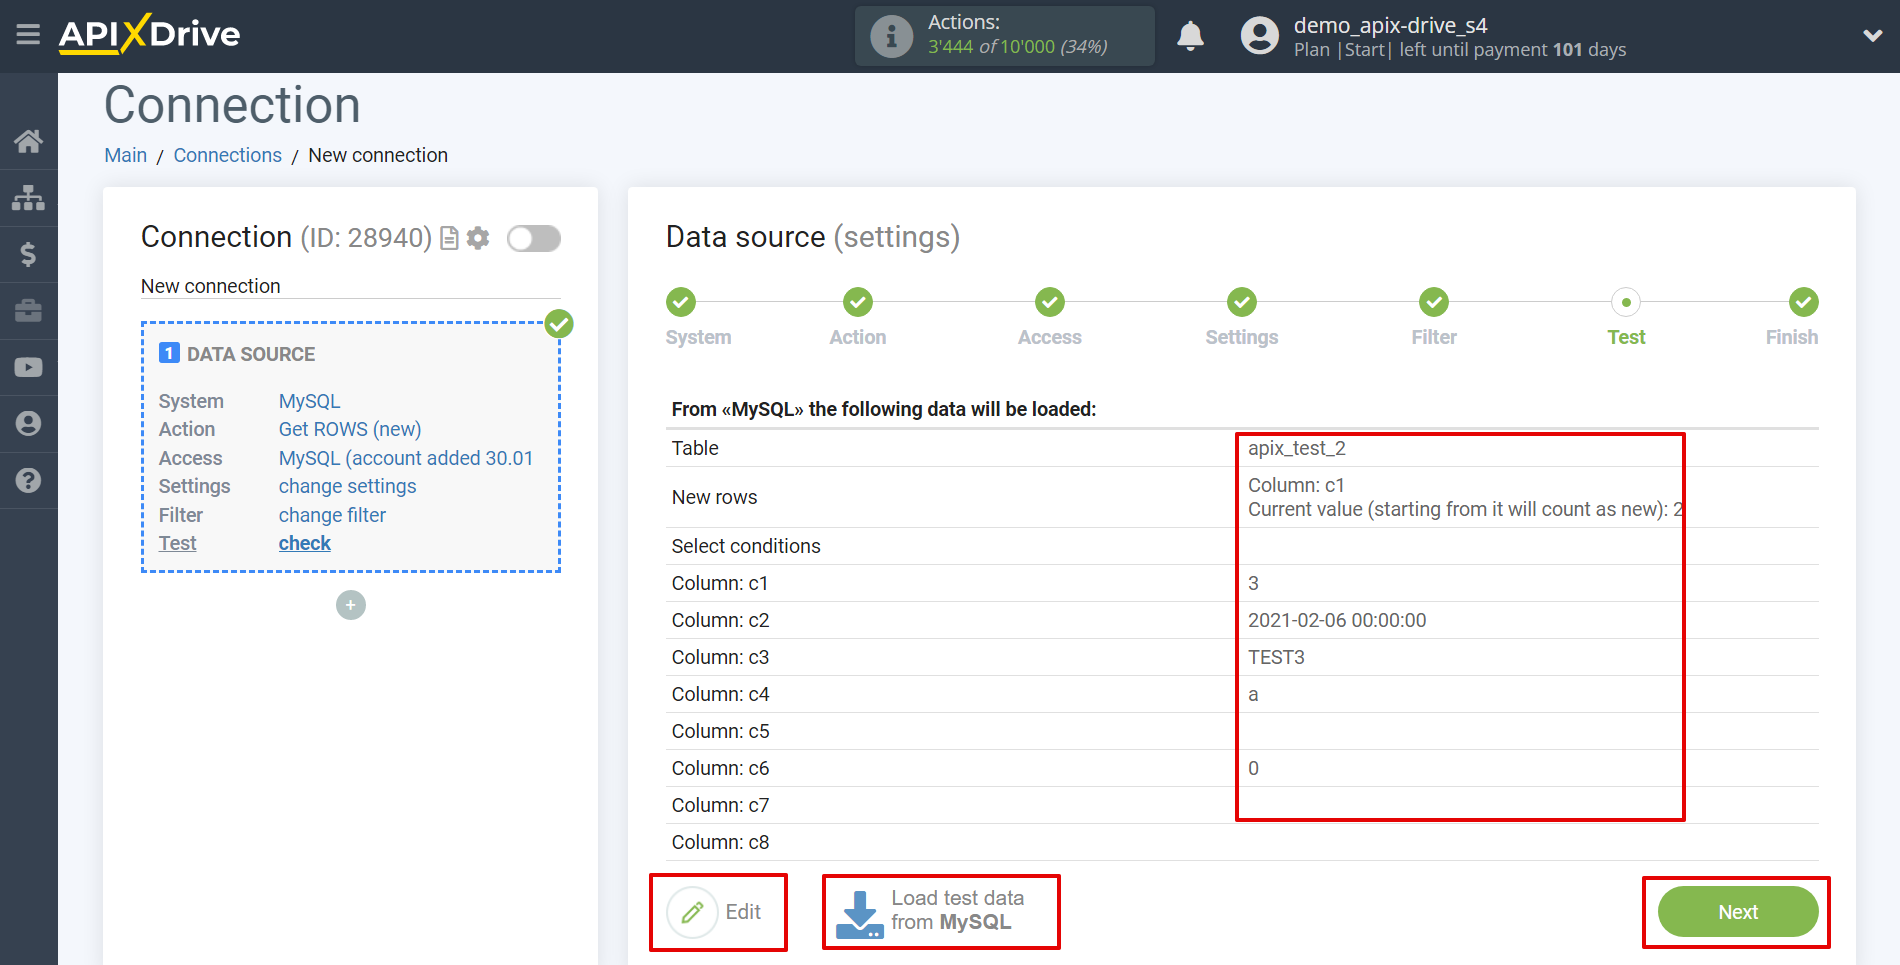
Now you can see the test data for one of the rows in your table.
If you want to update the test data, click "Load test data from MySQL".
If everything suits you, click "Next".
This completes the entire Data Source setup! See how easy it is!?
Now you can start setup the Data Destination system.
To do this, setup it yourself or go to the help section "Data Destination", select the service you need as Data Destination, and follow the setup recommendations.
Good luck!
